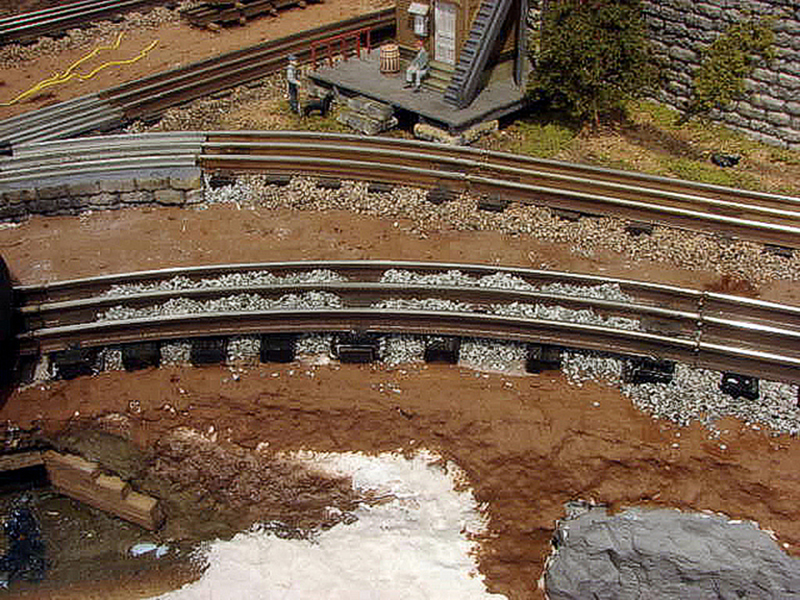
There are many track choices available to the O gauge hobbyist, but for the traditional enthusiast Lionel tubular track has great appeal. This is the track we grew up with, and for many of us it is still the track of first choice. It’s toy-like, and many of us like it that way. However, if and when the decision is made to add more realism to your layout, you don’t have to leave your tubular track behind.
In building my most recent layout, featured in the November 2013 issue of Classic Toy Trains, I opted to use traditional tubular track in a realistic setting. I used three techniques to blend the track into my layout setting – painting the rails, adding ties, and ballasting. The combination successfully downplayed the traditional shiny and whimsical nature of tubular track. I then used landscape blending to provide a more realistic environment.
Tie up your track
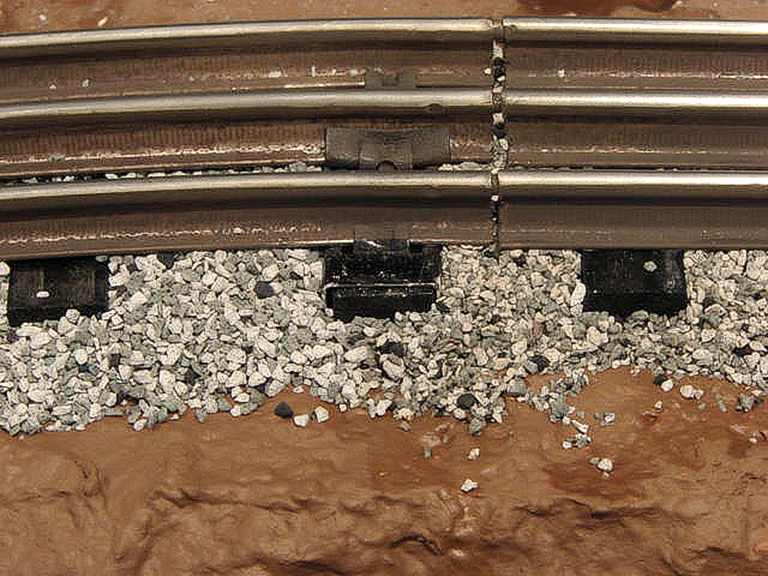
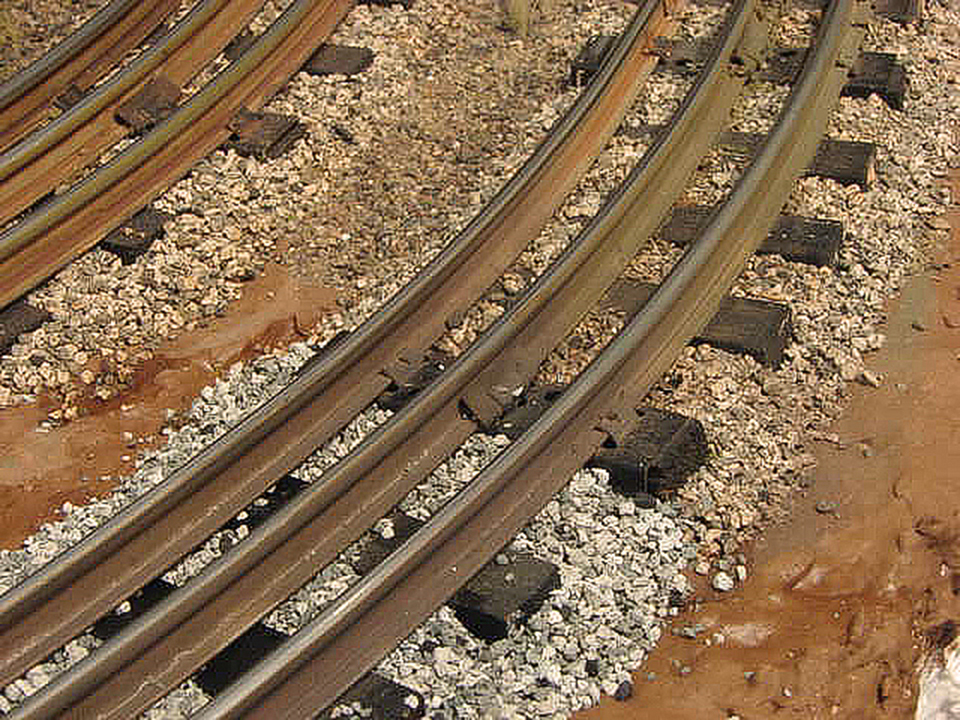
A section of traditional tubular track – either O-27 or standard O – has only three metal ties, and these are twice the width of normally proportioned ties. I opted to place three additional wood ties between each metal tie. In addition, I placed a wood block within the hollow space created by the metal tie. Viewed from the side, you see a complete line of wood edges. Each tie is 1/4 inch tall, 1/2 inch wide, and 2 1/8 inches long.Not having economical wood material readily available, I took an unconventional route by gluing lengths of ¼-inch-square wood together. I purchased the ¼-inch square wood in 36-inch lengths from a local home-improvement center. A single length netted eight full ties. After gluing two ¼-inch-square lengths together, I lightly sanded the edges and painted the ties with Walmart ColorPlace No. 259863 flat black spray paint. I then used a light coat of common white household glue to hold the ties in place on the cork roadbed.
Dress up your rails
To downplay the shiny tubular rails, I opted to paint the sides of the rails using Floquil No. F110070 Roof Brown. This paint has since been discontinued, but your hobby retailer will be able to steer you to a similar product.
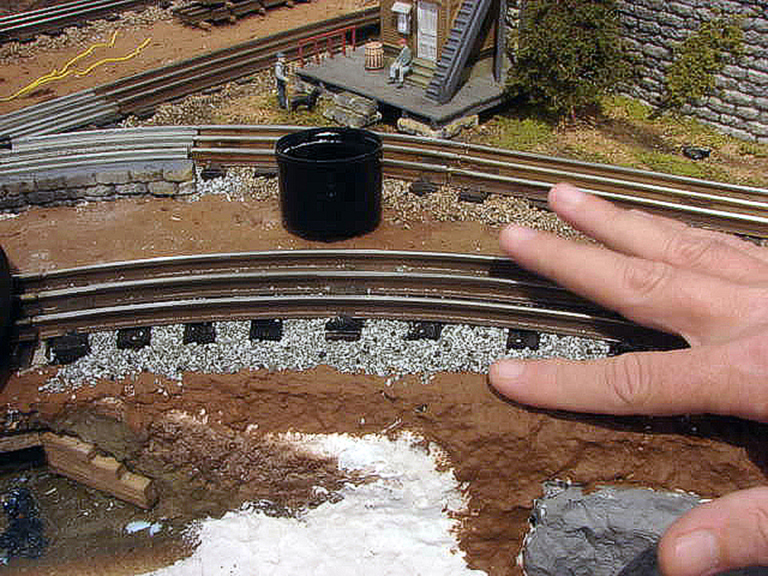
I experimented with a number of techniques, including brush painting, spray-painting, and using paint markers. I highly recommend painting your rails off the layout, before the track is down. In a well-ventilated area you can mask off the black ties and use spray paint; however, you will want to immediately wipe paint off the tops of the rails. I recommend using lacquer thinner to ensure you remove all paint and have clean rail tops.
Another popular choice is the use of Floquil paint markers. I had little success with these, finding the felt marker tips tended to catch on the tabs holding the metal ties in place.
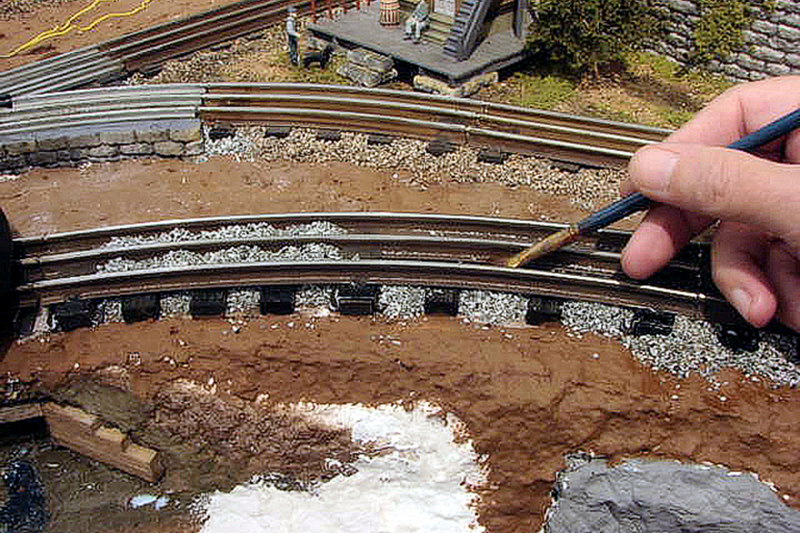
I found the best choice to be brush-painting. Using an old, broad brush, I was able to cover the entire side of the rail in one pass. An additional benefit is the flexibility to go back and paint track already secured to your layout.
With the rails painted, the extra ties inserted and glued in place, and the track secured, it’s time to move on to the finishing touches.
Ballasting your track
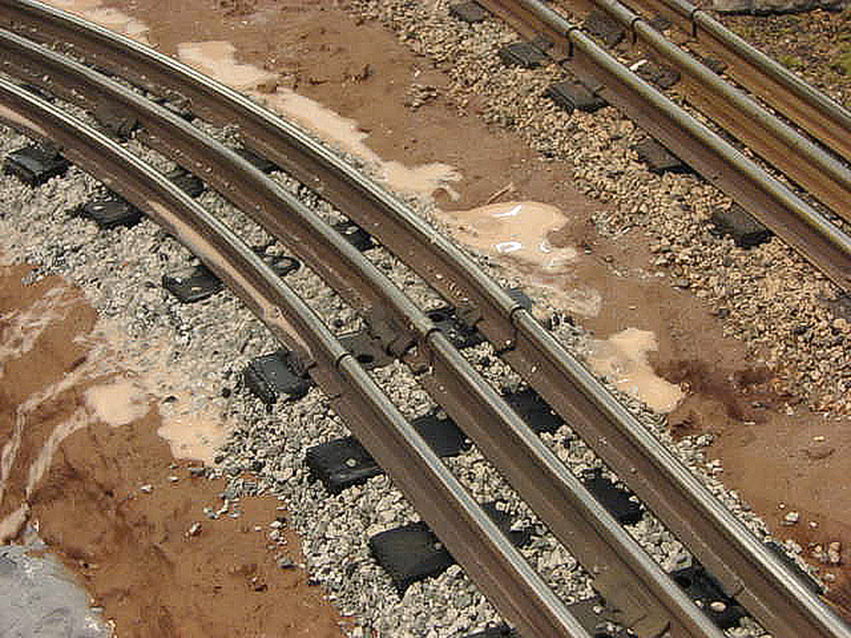
Tubular track takes a lot of ballast due to the height of the rails. You want your rails to rest on the ballast and the ballast level to match the tie height. If you need to economize, you can experiment with an inexpensive filler material, such as sawdust, and place a thin layer of ballast over the filler.
There are many commercial products available for ballasting. I used Brennan’s Better Ballast (brennansmodelrr.com) and recommend it highly. The product is well sized and has a good range of coloration.
There are many substitute products used for ballasting, including kitty litter, roofing granules, aquarium gravel, and small pebbles. Think of it this way. Go to a real track and pick up a single piece of ballast. It fits comfortably in your hand. Now equate the size of the O scale ballast you intend to use to the hand of an O scale person. By looking at it from this perspective, you will find many of these substitute products to be just too large. Like most things in model railroading, think of the process as it relates to real life.
So there you have it. If you’re a fan of traditional Lionel track – be it O or O-27 – you can easily bring more realism to your track by following these suggestions.


I found spray painting with Rustoleum Dark Earth Camo, a very flat paint, worked well. It’s dark enough you can also cover the ties. It also works for Gargraves or Ross track, although you’ll want to wipe off the rail head immediately to keep the “phantom rail” look. Once you’re done laying track touch up the rail joints and track screws with a brush or paint marker.