


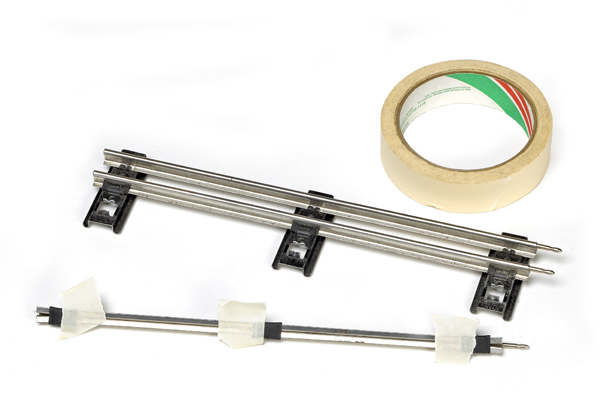
To make an insulated track section this is all you’ll need: A screwdriver, pliers, three small sections of cardboard for insulation, maybe a bit of tape to hold the cardboard in place, and an insulating track pin.
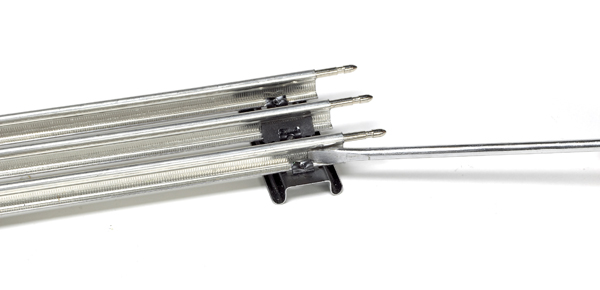
Gently pry up the metal lip on the metal tie that holds the rail in place and remove the rail. Take bits of thin cardboard sized to match the width of the tie. If you have a junk section of tubular track, re-purpose the three cardboard sections beneath the center rail. Use a spot of tape to hold the sections in place while you are working on the rail. Remove the track pin.
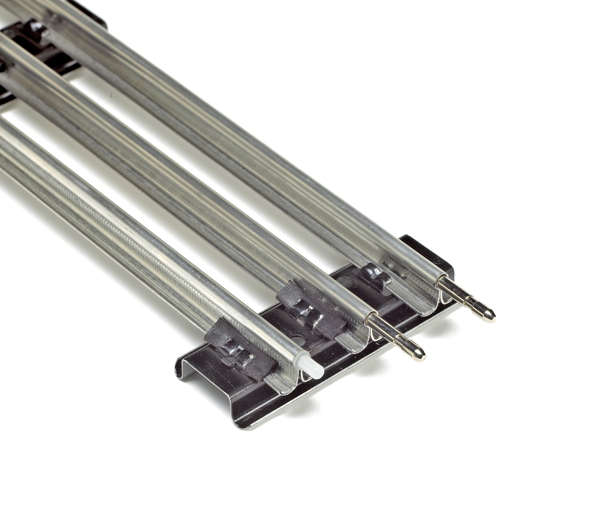
Place the rail back on the ties, and bend the lips back over to hold the rail in place. Next, be sure the metal of the rail doesn’t contact the tie. Insert a plastic insulating pin where the metal pin had been. So there you have it, and the insulated section works just as well in 2011 as it did in 1941!
In the less technologically complex postwar era, the two most popular ways to activate such trackside devices from Lionel as grade crossing lights and block signals were the nos. 145C, 153C, and 1045C contactors (devices that used a train passing over the contactor to power a circuit) and the insulated track section.
Over time, the 153C could become a bit unreliable – but the insulated track section virtually never failed. And since the gizmo was basically a modification of something you already owned (a piece of track), it saved a few pennies by your not needing to buy anything else. This technique will work with any brand of standard, postwar-style tubular track. And the great news is, that even in these heady 21st-century times, it still works!


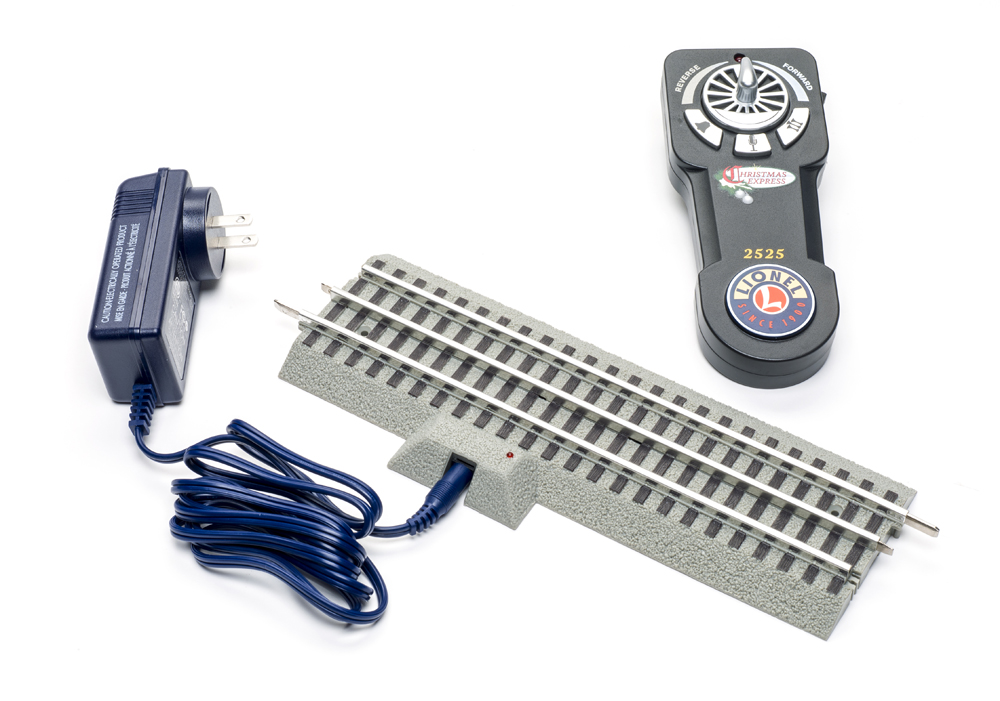


Actually, you would need two insulated pins, the second one to replace the pin in the track adjoining at the opposite end