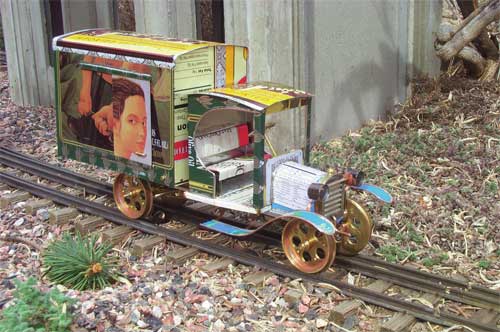
I’ve always liked Ted Stinson’s plans and have wanted to build some of them, but finding time has always been difficult. In all the years the plans have been included with the magazine, I have only managed to build one (#18, the barge). The Model T truck, which first appeared in the October 1998 issue as a stake-side and was rerun in August 2004 issue as a tanker, has always attracted me. I thought it would make a good railtruck.
Another thing that has always appealed to me, but which I had little experience in, was working with tinplate. This is what “tin” cans are made of-sheet steel plated with tin. In some parts of the country, you can still find tinplate in sheets, but not where I am. I am reduced to cutting apart old food cans and flattening them, which I’ve been doing for some time now. I’ve accumulated a pretty good stockpile of tinplate, some printed and some plain. Of all the cans out there, gallon containers of olive oil provide some of the best material, as far as size and flatness.
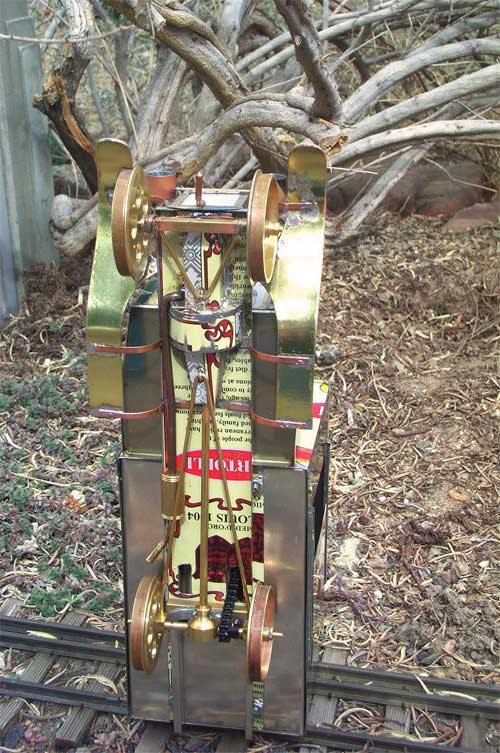
In retrospect, it seems inevitable that the Model T truck plans and the stockpiled tinplate would meet, and finally they did. The truck, as presented in the plans, was to be made of bits of wood and cardstock. I copied the plans, cut out the pieces, sprayed the backs with adhesive, and stuck them to the tinplate sheet. I found that I could easily cut out the metal parts with a good pair of scissors.
Bending the parts was mostly done in the vise. I clamped the piece in the vise with the edge to be folded just at the top edge of the jaws. Then, using a mallet and a piece of scrap wood, I beat the part over the vise jaw. If the jaws got in the way because of a previous bend, the part could usually be supported in the vise with a piece of hardwood.
Traditionally, tinplate is soldered together. I’d had a little experience with it using a resistance solderer, but wanted to try it the old way, using an iron. My small, 35W iron proved to be just what was necessary. Usually, one side of the tinplate will have printing on it or, on the inside of some cans, a protective coating of some sort. This must be removed for the solder to stick (I used a Dremel tool with an abrasive disk to grind away the coating). Both parts to be joined have to be “tinned” first-that is, a thin layer of solder must first be applied to the areas to be joined. The parts are then held together and the iron applied to the joint. If all is well, the solder melts and the joint is made. Solder is never applied directly to the joint, but is picked up on the end of the iron, then transferred to the joint. It takes a little practice, but is great fun and the results are very satisfying.
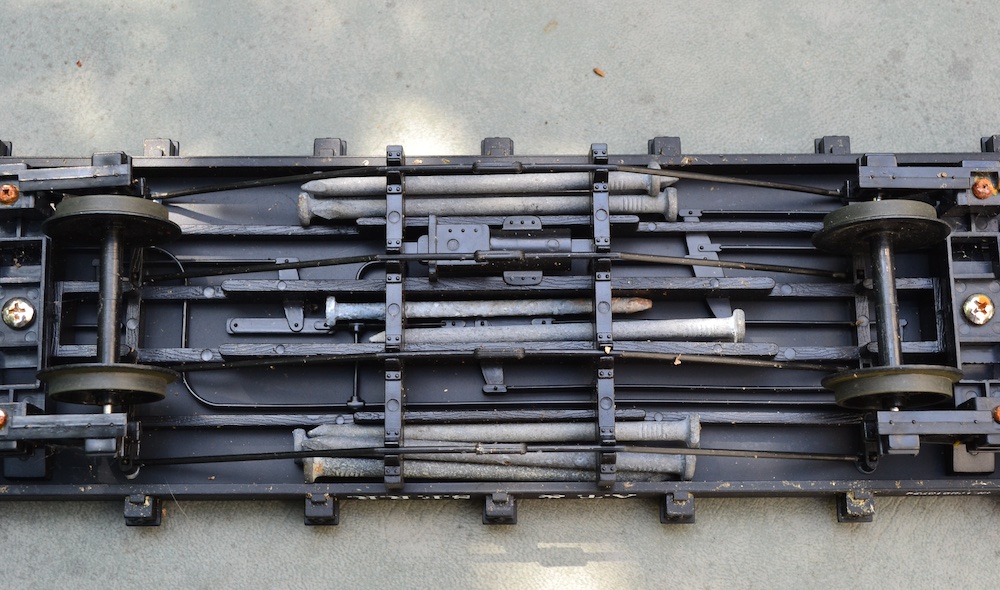
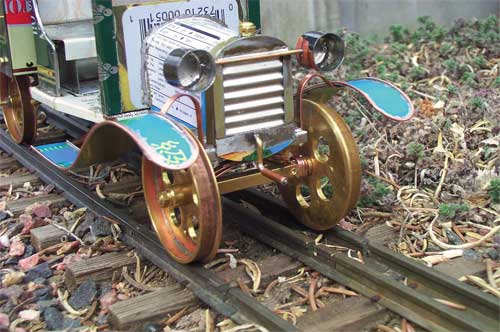
A few of the parts, like the wheels, differential, and radiator cap, were turned on the lathe. Most of the rest of the model is tinplate, with the exception of some of the structural parts underneath, which are made of brass wire according to the plan.
The grill was a stumper. I ended up just running a piece of tinplate through one of those tube squeezers used to make corrugated siding. Seats were made of an old black pepper can. I scored the metal a little to represent upholstery. The headlights (which are not the proper shape) were made by rolling strips of tinplate around a dowel, then soldering backs to them. I was completely flummoxed by the louvers on the sides of the hood and ended up just leaving them off. A piece of real glass forms the windshield, which is held in place by tinplate clips.
For power, I’d been experimenting with clockwork motors. The plans, as printed, called for the truck to be a stake-side. However, this wouldn’t conceal a clockwork motor, so I decided to build a van body.
The motor in the truck is a modified surplus one I picked up on eBay. The governor was removed, but the governor gearing was left in place. This provides enough governing power so that the truck doesn’t run over-fast. The drive system is Serv-O-Link delrin chain and sprockets, geared up 1:5 to the axle. To wind up the motor, you open the van door on the right side, insert the key, give it a few twists, and off you go. The truck makes a satisfying rattly sound as it heads down the rails.
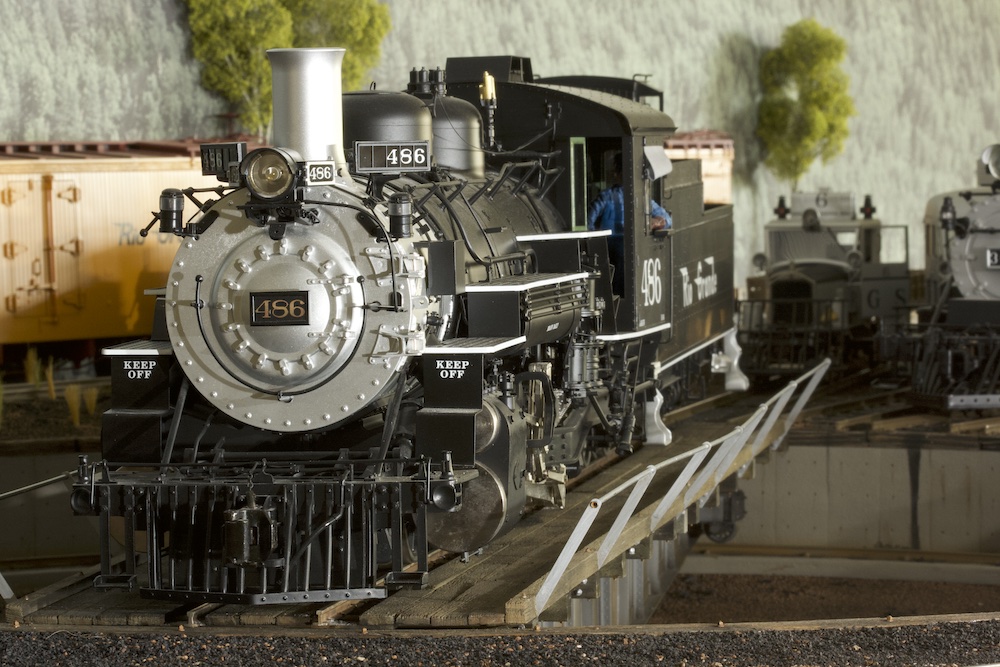
The truck has very little power, but will move itself around 60 feet, coincidentally just about the same distance between two of the stations on our Ogden Botanical Railway. Only one wheel is powered, to keep the wheels from binding on curves and reducing the run.
My original intention was to paint the finished truck, but the consensus of those who have seen it is to leave it au naturel. I’m still deciding.