Pond-ering the steps
In my experience of building railways, each one unique, the muse requires time-usually days. Investigating a problem from many angles seems to tap into the cosmic bank of knowledge. While working on the obvious tasks, we keep coming back to the mystery until we gratefully see the answer staring us in the face.
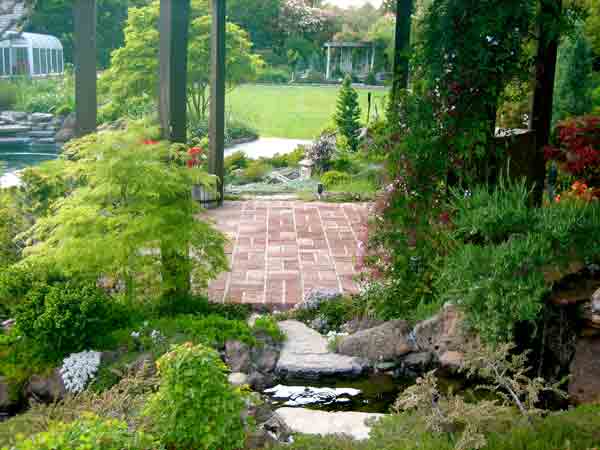
Such was the case in photo 1. The civil-engineering issue was how to build a human right-of-way to a gazebo, surrounded by water, without a bulky footbridge that would obscure the waterfall. After a week of contemplating how to get safely across the water and keep it in scale, several discarded flagstones seemed to surface from nowhere. Revelation! The waterway’s embankments could be flat and big enough for size 12s.
Directing traffic
Taking time to design a landscape as right as possible, before laying track, rewarded Richard and Melinda Murray with features they wouldn’t have known they needed. They even hosted open houses before they laid any track, just to show others the steps they were taking to build it. PVC pipes, laid on the ground, represented their track layout, and daily working around these obstacles showed them where pathways and bridges were necessary.
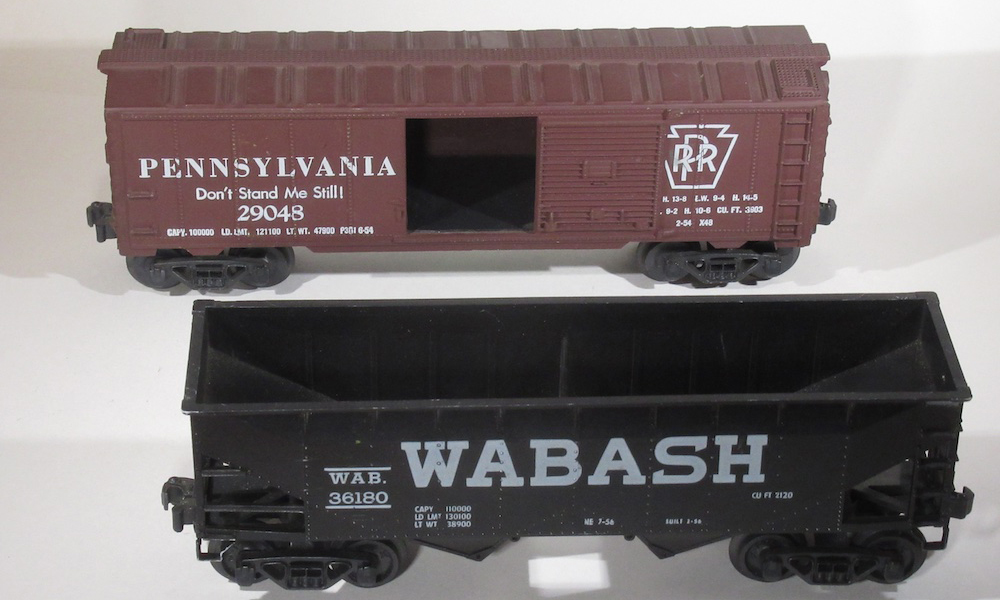
Meanwhile, they became avid live steamers and figured out where to build a handy-but-hidden place for guests to prep steam engines at steamups (photo 2). Guests get to the rear of their railway on curving, tree lined, decomposed-granite footpaths. These paths set up like concrete (when compacted at least 6″ thick), blend well into the miniature scenery, and stay relatively weed free, if walked on regularly.
Plant the path
Walking on plants is a perfectly practical way in and out of your railway. You’ll want to use “stepables,” though-tough, perennial groundcovers, listed at this nursery: www.stepables.com Choose from 160 non-lawn groundcovers, sorted by your USDA Hardiness Zone, then buy them locally, especially if you can find some raised near you. Be sure to note whether they require shade vs. sun exposure, and moist vs. xeric soil. The fun part is that the cool, green swath becomes the meadow or back forty for your railway structures. If guests are intended for green paths, welcome them in with occasional stepping stones.
Tunnel vision
You may remember a war movie featuring European mountains through which a train runs in a tunnel that has an open side to it, like a stone snow shed. Garden railroaders sometimes model this tunnel style on the maintenance-side of their mountains, using treated planks or concrete blocks held up by posts. We reach the trains between posts.
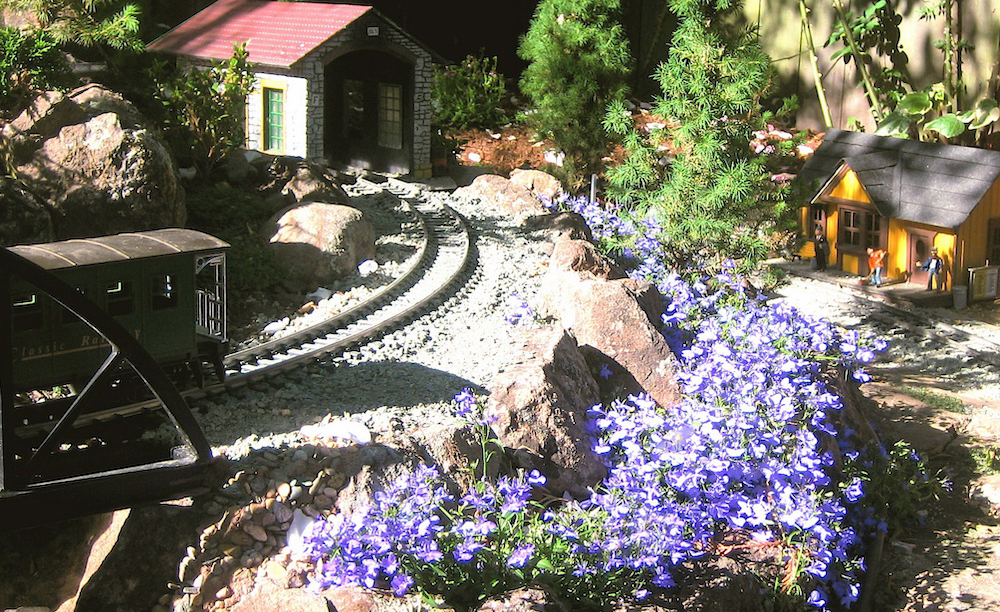
Photo 3 shows the author’s open-tunnel project on the viewing side of a railway, where we didn’t want to extend the tunnel but needed to protect the railroad from constantly falling branches. If we had extended the 4′ tunnel, we would have installed a covered irrigation box above the middle of the bore to reach stuck trains.
Tabletop operation
The less we like to crawl, the more we want to get our trains running closer to our reach. Designing retaining walls into the landscape provides easy accessibility. Yes, “planter box” railways are way harder to build than ground-level lines but, once they are up, so are you! Many folks rely on local landscape companies to build their walls and fill them. Then they take over building their dream railways, almost as if on a table in the garage. Just remember that someone (you) has to clamber onto that tabletop, so plan for stairs and buy kneepads.
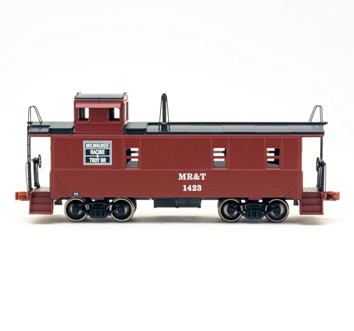
Joe and Annie Mellen went a step further, where much of their railroad is the retaining wall (photo 4). On the opposite side they curved their dogbone-shaped railway around a canyon for maximum reachability while standing on a dry creek bed (GR, December 1994, “The Mellen Patch”).
“Benchwork” is another way to run trains close to waist level. Basically, the track runs on boards supported by posts (sometimes PVC pipes), often concreted into the ground. To disguise the man-made structure, shrubbery may be grown in the ground alongside or underneath, sometimes trimmed to represent trees on either side of the tracks. Hinged or lift-out bridges get you inside the loop. In the August 2002 issue of GR, “An innovative indoor/outdoor 0-scale line” shows plans for benchwork built over a deck.
In an era of conserving expenses as well as our backs, Bill Mansell must have been musing about running trains while working for a company that manufactures prosthetics. He recycled discarded titanium tubes to build a very strong railway in the benchwork style. In photo 5, he has greened up the line by planting English-ivy vines (Hedera helix, Zone 4-9) on a trellis of black netting that will disappear after a few years. It’s an easy-to-maintain and simply lovely yard, where trains float between forested islands over a sea of smooth pebbles.
Regional gardening reports
Zones listed are USDA Hardiness Zones
Question: How have you provided access to your railroad or prevented the need for it?
Ray Turner
San Jose, California, Zone 9
Bigfoot
I’ve learned (often the hard way) that I need to get into all areas of the railway. I was going to build a sawmill complex on the other side of the track here but realized that I needed this space to step into the railway beyond for maintenance. So when I build it, I’m determined to make it easily removable. There is also a step built into the 18″-high rock wall, making it easy to climb into the area for work. I camouflaged the step with a stone retaining wall.
All turnouts and spurs, except the one to the mine (in the picture), are easily accessible from alongside the railway. In order to throw this turnout and uncouple cars on the mine spur, one needs to step into the railway, so I built a concrete pad next to the spur that I can step/kneel on. I covered it with ore-colored fines and debris to make it look like part of the mine-tailing piles.
Here and there on the railroad I placed a foot-sized piece of flagstone. It looks very natural (since it is natural) as part of the landscaping and gives me a place to stand or kneel to prune the plants or maintain the track.
Herb Zuegel
Near Chicago Illinois, Zone 5
Gramps’ cramps
Gimpyness has afflicted this geezer in his eighth decade via a bad knee. Consequently, getting the rough crud off the rails in springtime is a chore that now starts by using a plastic scrub-pad soaked with paint thinner on a broom handle instead of praying my way around the pike. Next comes more intensive running of the track-cleaning locomotive to establish good electrical conductivity on the brass rails for smooth running. Were I to start over, aluminum flex track with on-board battery power would be a better choice. As for controlling invasive vegetation, one becomes reconciled that a surgically manipulated string-trimmer will suffice. I know of no magic re-railment remedy other than grandkids. . .if they are still low to the ground.
Sharon and Bob Yankee
Mulino, Oregon, Zone 7
No goats here
Easy access is our biggest headache. Bob wanted a certain look of backwoods Oregon in the 1930s logging era. We have real dirt mountains. Some are 5-6′ tall. The slopes need mountain-goat maintenance, nimble feet, and good knees, but fortunately, the dwarf and miniature trees need only occasional or no trimming. Extensive use of groundcovers and mulch, be it bark, gravel or rocks, does cut down on the weeds, which limits the use of Roundup. However, at one open house, as I was giving a tour, a 3′ thistle plant suddenly made faces at me and said, “Ha, ha, missed me!” Nope, no easy access here but lots of photo ops once the thistle was unceremoniously yanked out of its hiding place.
Doug Matheson
Ontario, Canada, Zone 4
East vs. West
While gardens and trains go well together, people traffic often does not, and a garden must be entered to be enjoyed. I use the Oriental philosophy of leading the viewer to vantage points and controlling the view and perspective. This is opposed to the Occidental idea of allowing people to go where they want, passing through a series of “garden rooms.” This thinking led me to build flagstone walks and three stiles to get past
elevated tracks.
Dick Friedman
Sacramento, California, Zone 9
Optimal options
I built my railroad in an existing garden, so I faced some of these issues back when I was installing the garden. My backyard is relatively flat, so I raised the rear of the line above the rest with concrete blocks. Now, years later, the blocks are nearly invisible in the shadows and greenery of the backyard. While building the railroad over the years, I’ve tried to leave pathways so I can get into the more remote areas to remove fallen oranges, tangerines, apples, and leaves that can obstruct the right of way!
I built my rail yard where there is a drop in elevation for a sidewalk, so I can assemble trains in the yard from a sitting position in a chair. Lastly, this past fall/winter I built a “train shed” to hold my garden-railroad stuff. I put a little door in the side of the shed so I can assemble complete trains inside and run them out, onto the railroad. I also purchased a small, rolling garden seat, which I use while working on various parts of the railroad, but sometimes I just decide to plop on the ground. Rolling all of my track-fixing tools in a couple of gondolas, I just pull them along with me as I clean joints, re-level track, and add ballast.
That’s why our hobby is called “Enjoyment with everlasting challenge!”
Frank Lucas
Pleasant Hill, California, Zone 9
Grabber
We designed three “hidden” paths into our railroad right at the beginning because we knew that they would be needed. But, even with these, the body still finds itself in some amazingly weird and impossible positions. (I didn’t know I had muscles there!) But when I do get in there, I find that my most useful tool is the grabber in the picture. It is absolutely worth its weight in gold. Uses include lifting maple leaves out of distant bonsais; righting little people who have been knocked over by squirrels, towhees, sparrows, and cats; retrieving derailed cars from difficult locations (this usually happens when certifying five-year-old operators); pulling de-coupled cars out of tunnels (due to improperly modified/matched couplers); just to name a few.
Sue Piper
San Diego, California, Zone 10
Track paths
In our first garden railroad, we began with a 10′ x 10′ area. It didn’t take long to realize this wasn’t big enough to do much of what we had envisioned. We did, however, learn a lot.
After much research, we decided our track should be laid on top of a trench filled with grit. We did not realize how much open area we needed for access to maintain the track or greenscaping we wanted. The only logical means of access was to walk on the track itself. Obviously, grit or other types of ballast do not provide the support required to avoid damage.
Our next attempt was based on a video purchased at a train show that demonstrated the use of 2″ x 6″ treated wood as a track bed. This has been a great solution for us. And, when it’s been time to enlarge the railway, we just remove some screws and reuse the wood. Some of it has been in the ground for eight years with no sign of decay.
The only other advice I have is, “Bend over ’til you hurt, squat ’til
it’s uncomfortable, kneel for a while, and, if there’s room, just sit down to recover!”