G-Scale Graphics
4118 Clayton Ct.
Fort Collins CO 80525
Prices: Floor mount, $39;
door mount, $29
Website: www.gscalegraphics.net
Power-and-charging-interface circuit for battery R/C installations; two versions—one for mounting in a power car, one for mounting to the floor of a locomotive; power switch, charging jack, and 5-amp fuse included
Pros: Simple installation provides power, charging, and circuit protection, all in one small board
Cons: None
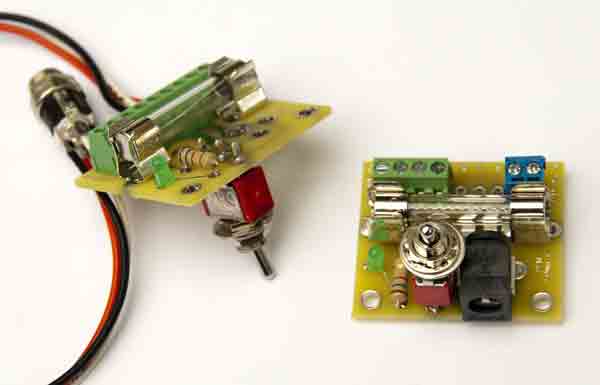
G-Scale Graphics’ Battery Conversion Module makes this task easier. Everything you need to get power where it needs to go is included on this small, easy-to-install board. There’s a power switch, charging jack, screw terminals for the battery input, and two sets of power outputs for whatever you need to power, be it a throttle or sound system. There’s also an LED on the board to let you know the power is on.
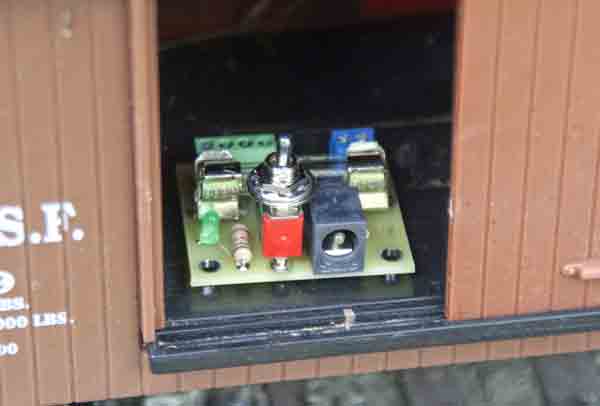
The board comes in two varieties; a floor-mounted version that’s ideal for on-board installations in locomotive tenders or diesel bodies (wherever it is convenient), and what they call a “door mounted” version, which is designed to be mounted inside the door of a boxcar or similar enclosure where you can easily access it. This second version is ideal for power cars.
Installation of these units is straightforward. On the “door mount” version, you simply attach the board to the floor of the car, inside the door opening of the boxcar, and hook the appropriate wires to the appropriate screw terminals to get power from the battery to the control electronics. G-Scale Graphics recommends screws for mounting the board, and provides small spacers to raise the board a fraction of an inch off the floor of the car. You could probably get away with using double-sided tape as well. The “floor mount” version is simply attached via the power switch. The switch is soldered to the PC board so, once the switch is mounted to the floor of the locomotive (tender, or wherever), the PC board is held in place. The charging jack must be mounted elsewhere, but comes with around 10″ of wire attached, so you should be able to find a place nearby without too much issue.
The PC board itself is around 11⁄2″ square, so it doesn’t take up a lot of space—not much more than the space taken up by just the fuse holders I currently use, so it’s nice to have everything in such a neat package. It might not be able to fit in really tight quarters but, for many of the electronics installations I’ve done over the years, there’s usually ample room for a board like this. For those who haven’t learned to solder, having the screw terminals for all your power connections makes installations a lot less daunting.