Northwest Short Line
PO Box 1349
Hamilton MT 59840
Price: $36.95 for 8 wheels
Website: www.nwsl.com
Nickel-silver replacement wheels for USA Trains diesel locomotives (#2662-6); 40″ diameter at 1:29 scale
Pros: Smooth finish, easy to install
Cons: None
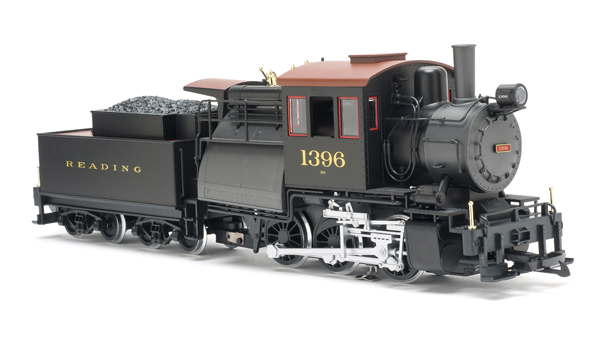
Northwest Short Line offers replacement wheels for Aristo-Craft and USA Trains diesel locomotives. These come in two diameters: 36″ and 40″ (as measured in 1:29 scale). They also offer three different wheel profiles: a deep flange, similar to that which comes stock on the locomotive; a semi-scale flange; and a prototypical flange. I opted for the 40″, deep-flange version, since the track on which this engine will run has a few twists that challenge wheels with smaller-profile flanges.
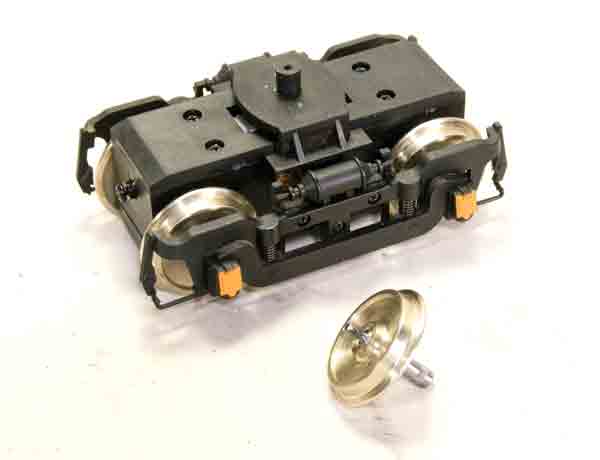
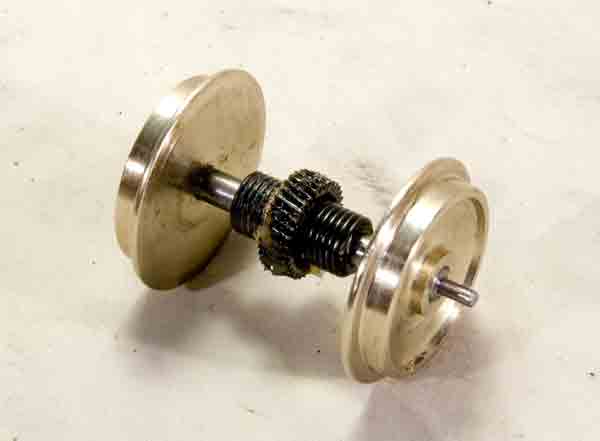
The wheels come eight to a set, which is enough to do one locomotive. Each wheel is on a half axle that slides into a plastic gear, which holds the two halves together. (There’s a small lip in the middle of the gear that keeps the axles from touching, thus preventing a short.) The wheels I ordered are nickel-silver. This looks a bit yellower than other nickel silvers I’ve used but the wheels are going to get painted anyway, so no matter. The wheels actually measure 1.37″ in diameter (40″ at 1:29). Their width is .271″, which measures 7.8″ in 1:29—a bit wide from a scale perspective but within NMRA standards for large-scale-wheel width. If you’re using the deep flanges, you’re probably not worried about scale wheel profiles anyway. The flange measures .110″ deep, which is within the NMRA’s standards (.118″ maximum depth). The flange width measures .087″, which is a bit wider than the NMRA maximum, but in line with many other manufacturers’ flanges.
Installing the new wheels is pretty simple. The sideframes need to be removed from the power truck by removing three screws per sideframe. Once these are off, the bottom plate of the truck can be removed and the wheels and gear assembly removed from the power truck. Removing the stock axles from the gear isn’t quite as simple as grabbing and pulling. That might work on some but a little bit of “friendly persuasion” was in order for a few of mine. I cut a notch in a block of wood that I placed in a vise to hold the gear, then I gently tapped the back of the wheel to pop it out.
I discovered, however, that many of the hubs on the USA Trains gears had split from age or some other factor, so when I installed the replacement axles, they just spun in the gear. Clearly that wasn’t going to do. Rather than replace the gear, however, I just used a short length of a steel spring, wrapped around the hub of the axle as a clamp. With that on the hubs, the new axles pressed in snugly and didn’t move. I used a drill press to press the axles into the gears.
When pressing in the new axles, I first relied on the stops molded into the gears to keep the axles separated. However, I found the back-to-back spacing of the wheels varied considerably and, almost without exception, was too narrow. I tapped them out a bit and tried again, this time using a caliper to set the back-to-back spacing to 1.560″. This is the minimum back-to-back spacing recommended by the NMRA standards. Since the flanges themselves are toward the thick end of the spectrum, the back-to-back needs to be narrowed so that the check gauge standard is not exceeded (see “Garden railway basics” in this issue).
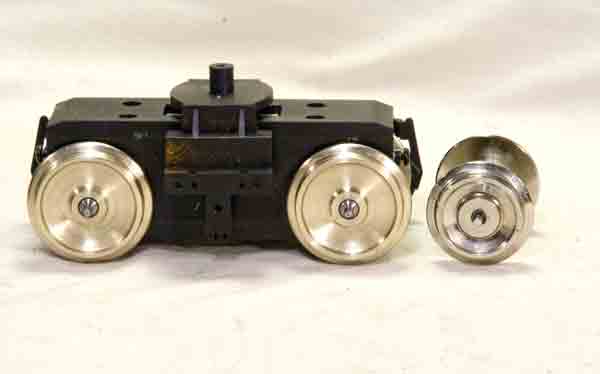
With the new axles in place and gauged correctly, I ran a bead of grease around the gear and reassembled the motor block. The larger-diameter wheels do require you to trim away some of the brake-shoe detail on the sideframe. From an aesthetic standpoint, I’d rather sacrifice brake-shoe detail than look at undersized wheels. Brake-shoe-detail moldings can easily be re-attached if so desired.
The end result is a diesel-locomotive truck that has a much beefier look to it and better fits the prototype. One thing to remember, though, is that because the wheels are a larger diameter, they will raise the coupler half the difference in the diameters of the wheels, which is about .085″ (a whisker over 1/16″). You may have to shim the coupler back down for them to mate properly with other couplers.