Q: I have built three HO scale railroads and am in the planning stages of my fourth, which will be my last. I want to do this one right. I have seen many articles about how to construct open grid benchwork, but none provide instructions about how to install structures, roads, fields, etc. into the open grid. I would appreciate any suggestions that anyone at Model Railroader might have about how to add terrain to open grid benchwork. I would like to include elevation changes for my track, and I think the open grid would work well for this, but how are structures and such installed? – Robert Turner
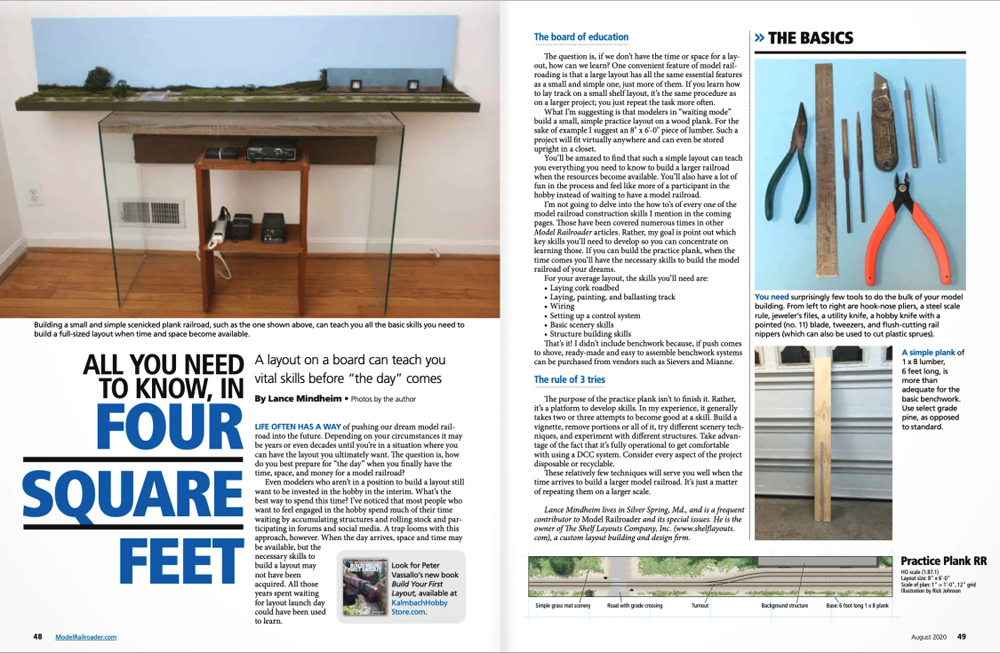
A: Open grid benchwork, in which track and roadbed are supported on a ribbon of plywood just a bit wider than the roadbed, is great for track that will change elevation. Just attach the plywood subroadbed to risers of different height to make the right-of-way curve up or down. But then what do you do to fill in those empty spaces between the track? How do you add terrain to open grid benchwork?
Model railroaders have come up with a lot of different techniques to add terrain to open grid layouts, and none of them are wrong. Look over these possibilities and see which might appeal to you.
Cookie cutter benchwork
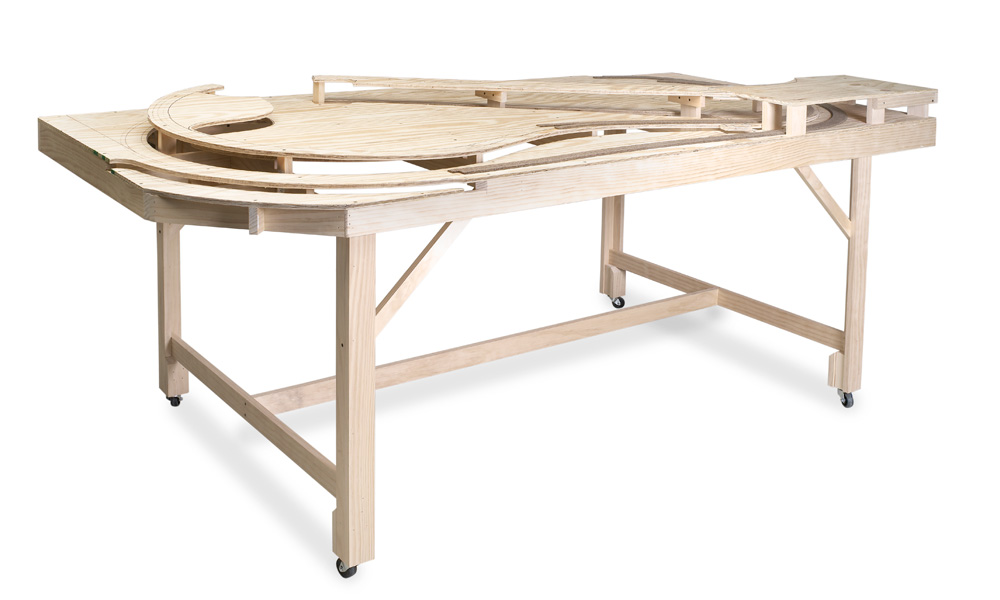
If you’re already cutting your subroadbed out of a sheet of plywood, why not use the rest of the plywood sheet to hold up your towns, fields, and forests? The technique is called cookie-cutter benchwork. Instead of cutting the rest of the plywood away from your subroadbed, leave it attached where it’s the same height as the track, such as yards, industry sites, and grade crossings. Use a jigsaw to cut it away where the track inclines or declines compared to the terrain. Then attach the plywood to the benchwork using risers of 1 x 3 or 1 x 4 dimensional lumber. By varying the height of the risers, you can change the elevation on your track, towns, and other scenery. Just be sure you’re absolutely happy with your track plan and transfer it to the plywood accurately, because it’s hard to modify your track arrangements after the plywood is cut.
Extruded foam insulation board
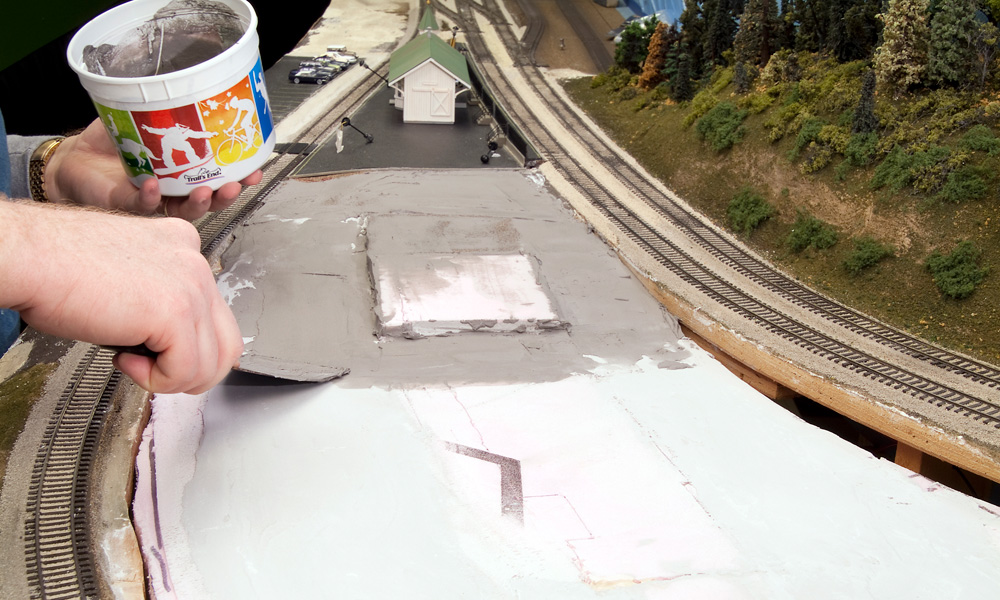
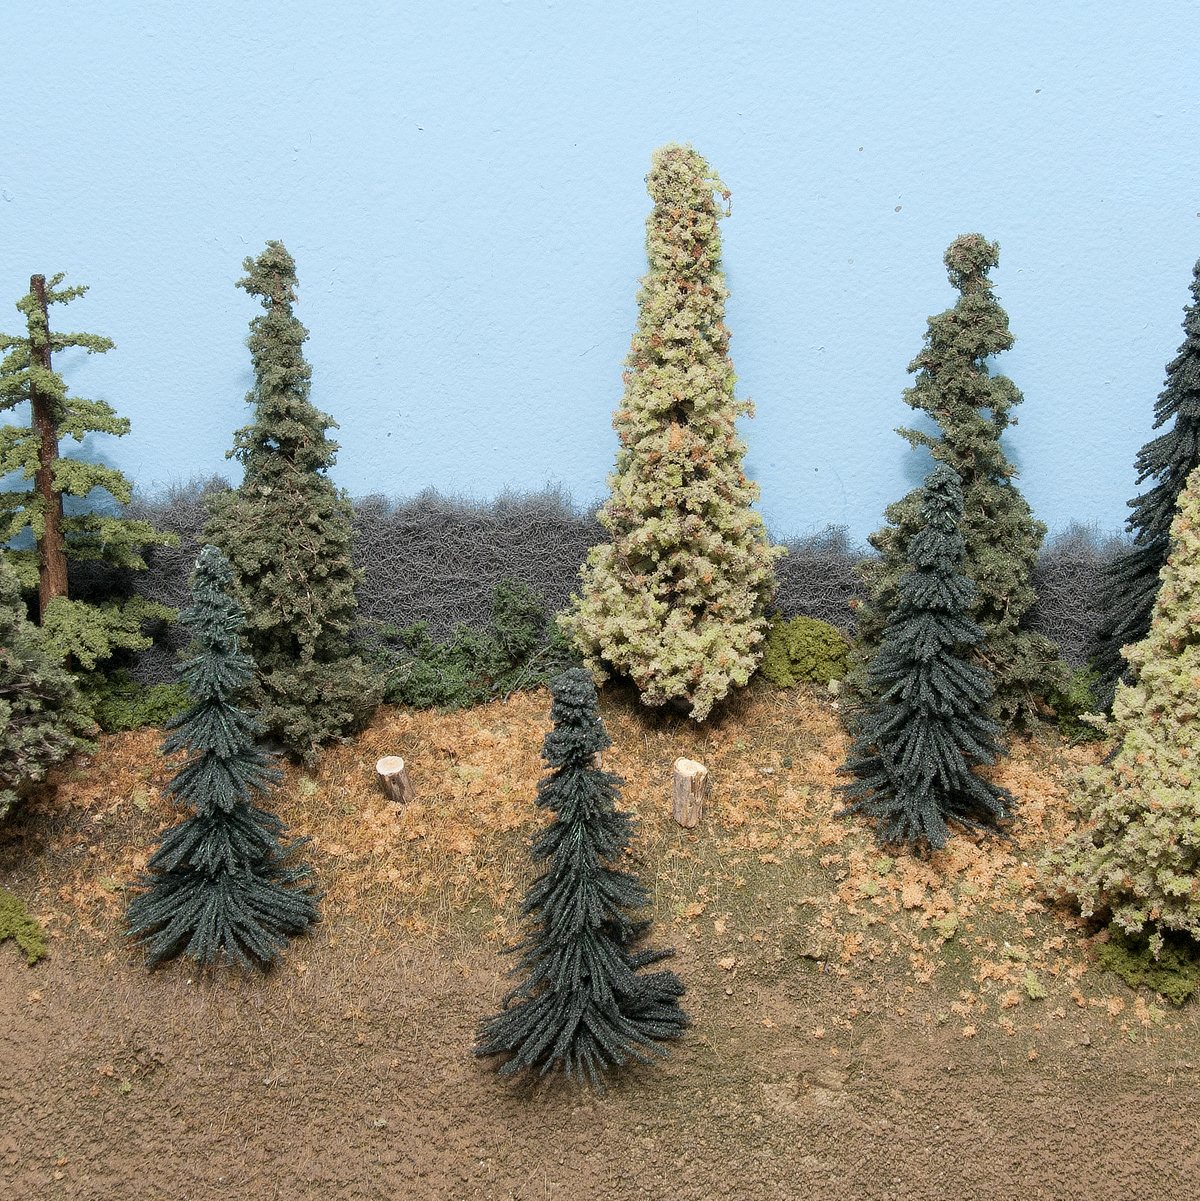
A relatively new technique is to fill in the open areas of your open grid benchwork with extruded foam insulation board. If you live in an area that gets cold in winter, you’ll find sheets of this easy-to-shape material in your local home center. Stack it in layers to build up higher terrain and carve it away with a serrated knife, wood rasp, or hot-wire cutter to make below-grade scenery. Leave the town areas flat. Then cover it with plaster or Sculptamold, paint it, and glue on the ground cover materials of your choice.
Hardshell
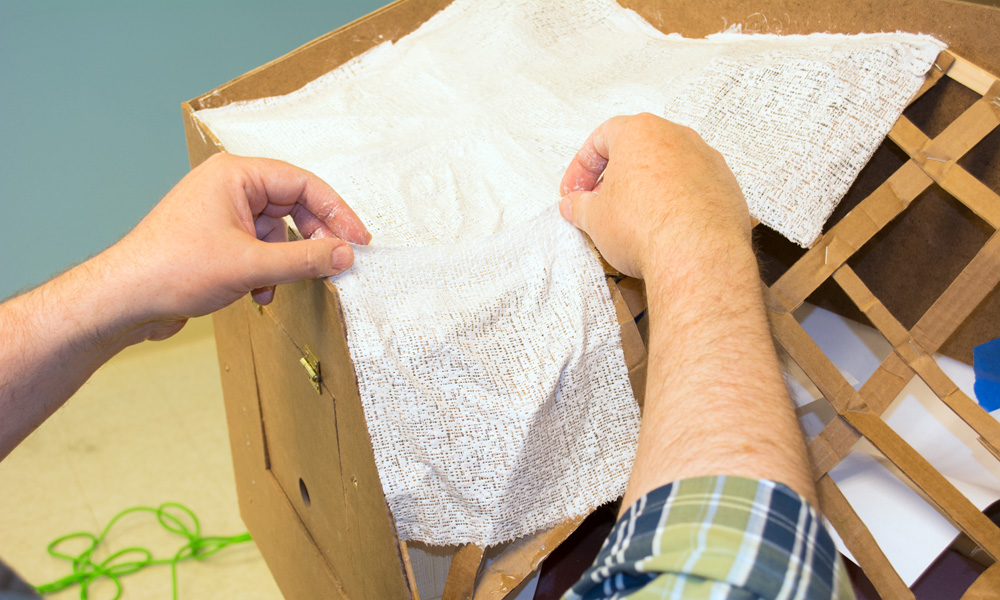
One of the earliest techniques to add terrain to open grid model railroad is still one of the best. Hardshell terrain is a self-supporting shell of plaster-impregnated cloth or paper towels. First, you rough in the shape of your landforms with a grid of cardboard strips, woven together and secured with staples or hot glue. Or you could build up your landforms with piles of wadded up newspaper, used plastic shopping bags, packing peanuts secured with masking tape, or crumpled metal window screen supported with plywood or foam profile boards. Whatever works for you. Then dip paper towels in plaster or use commercially available plaster gauze like that used to make casts for broken bones. Drape the plaster-impregnated material over your framework and let it harden. This technique works best for irregular terrain like mountainsides, since it’s not easy to make level ground with hardshell. Insert a piece of plywood or foam to make a level base for a town or large industry.
There are plenty of possible techniques to add terrain to open grid benchwork. You might find you like one, or that a mix of techniques serves different parts of your layout.
Send us your questions
Have a question about modeling, operation, or prototype railroads? Send it to us at AskTrains@Trains.com. Be sure to put “Ask MR” in the subject.


