Locomotive disassembly essentials: Locomotive disassembly is an essential skill to learn. Follow along to learn how to disassemble and reassemble a WalthersMainline HO scale Electro-Motive Division (EMD) SD50.
The first step is to remove the draft-gear boxes and couplers. The front and rear boxes are secured with a single Phillips-head screw. Remove the screw and pull the boxes (with couplers) out. Place the screws, boxes, and couplers in a container so they don’t get lost on the workbench.
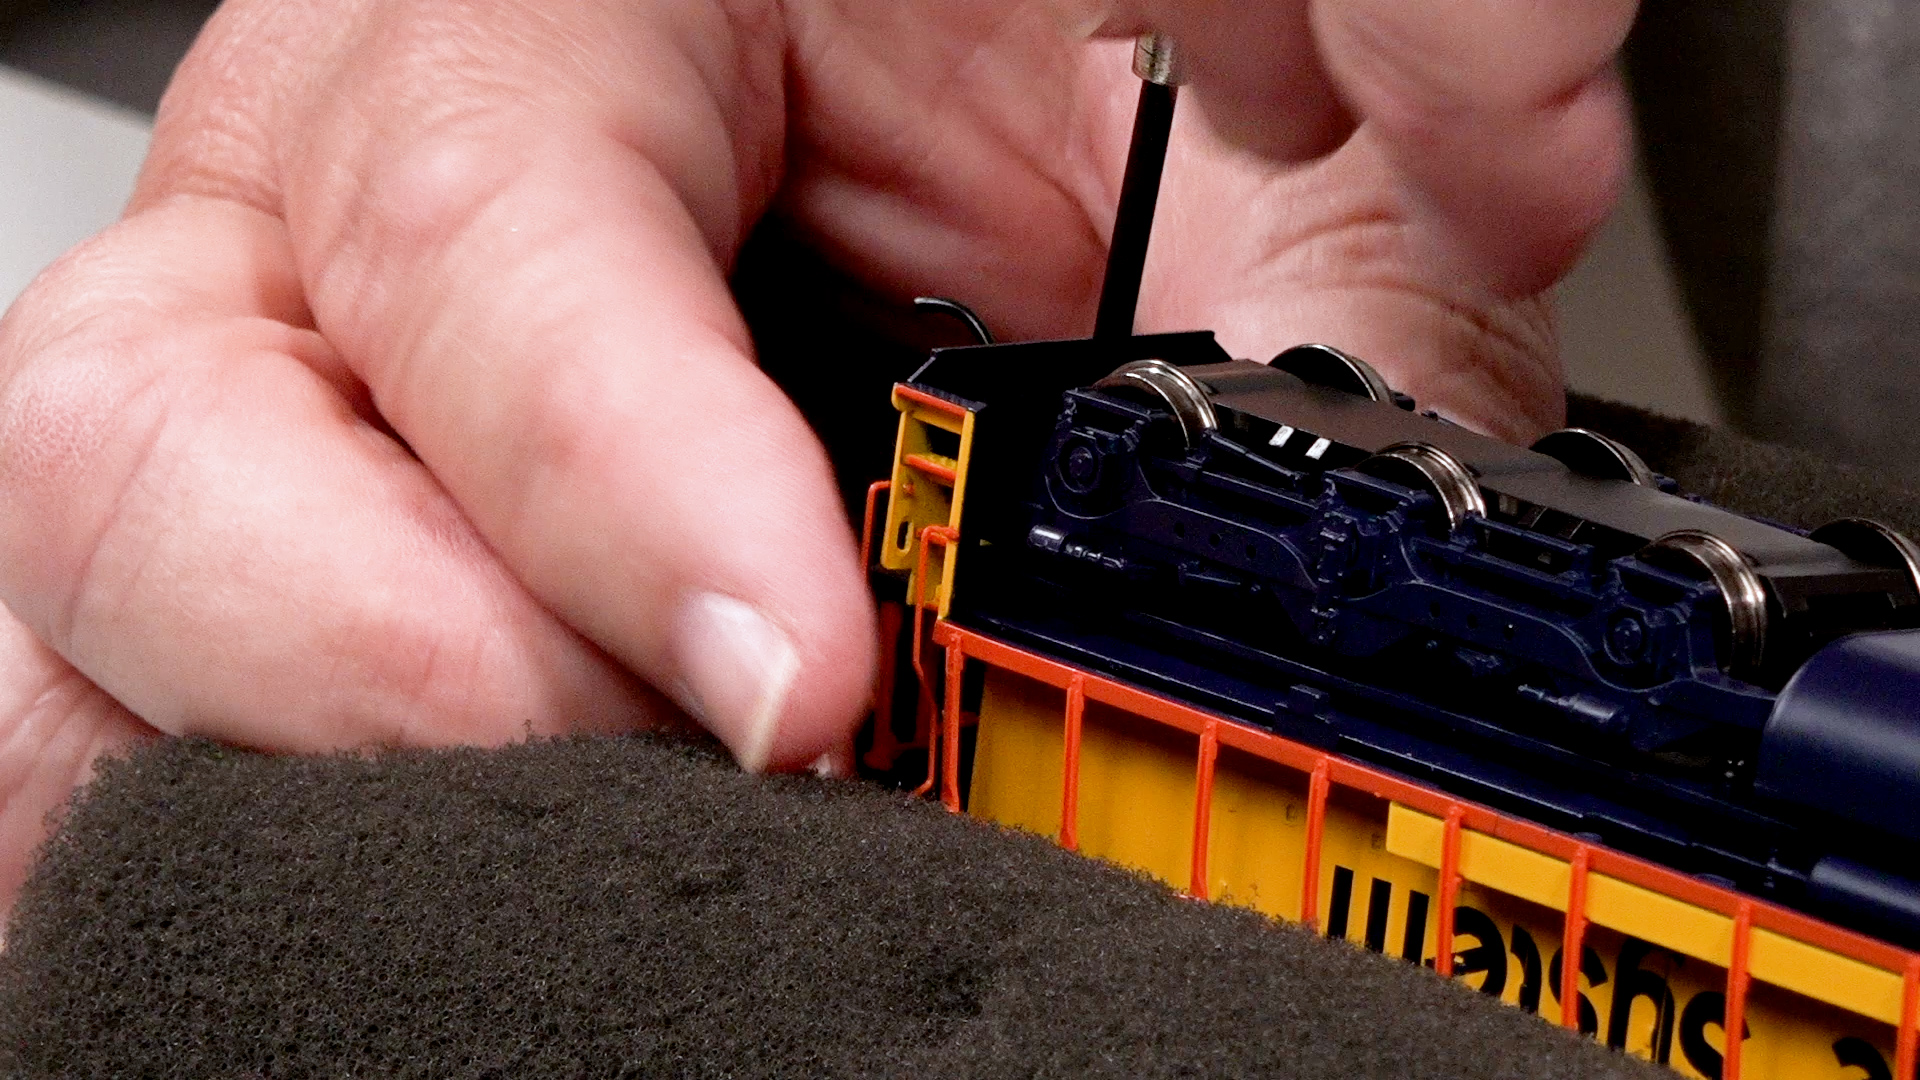
Next, find the screws that hold the shell to the mechanism. On the WalthersMainline EMD SD50 there are two shell screws, located between the fuel tank and the front of the rear truck. You may need to rotate the truck slightly to reach the screws. These screws have a coarse thread because they mount into plastic. Place the shell screws in your container as well.
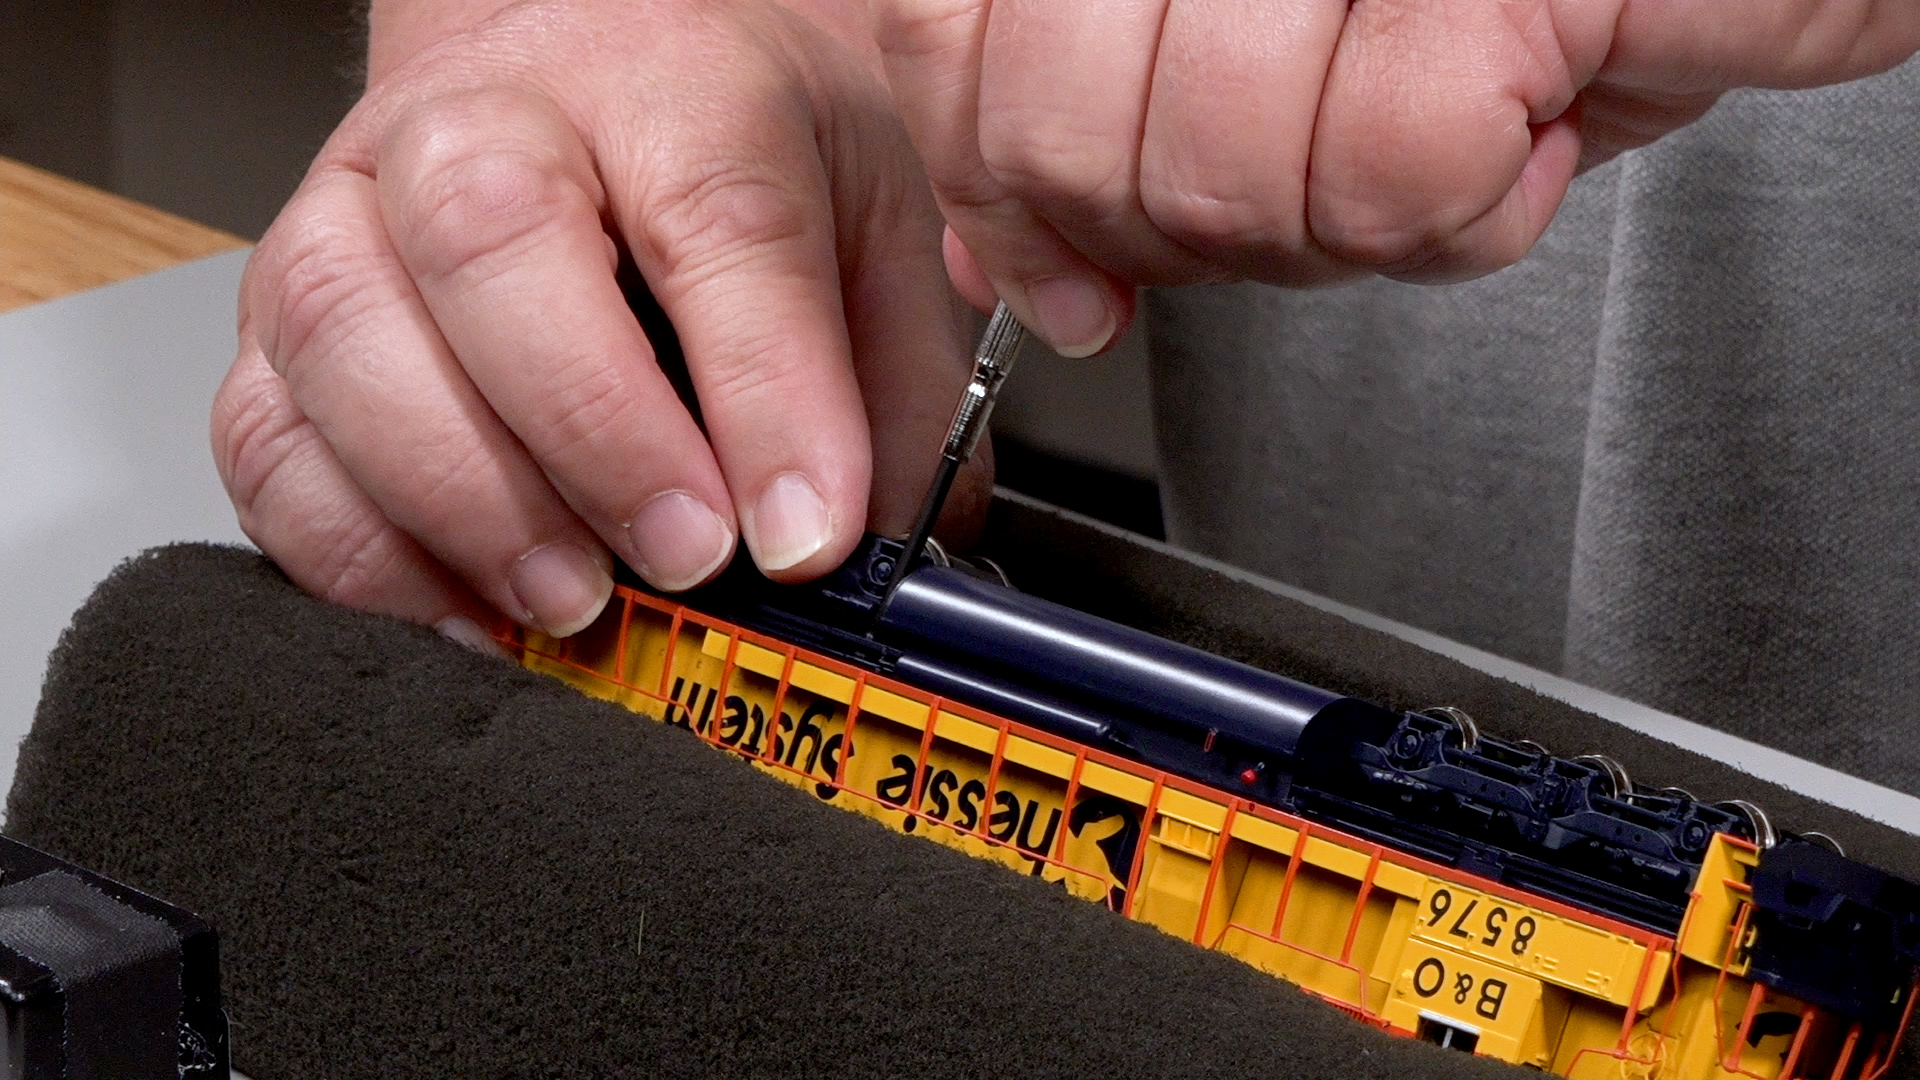
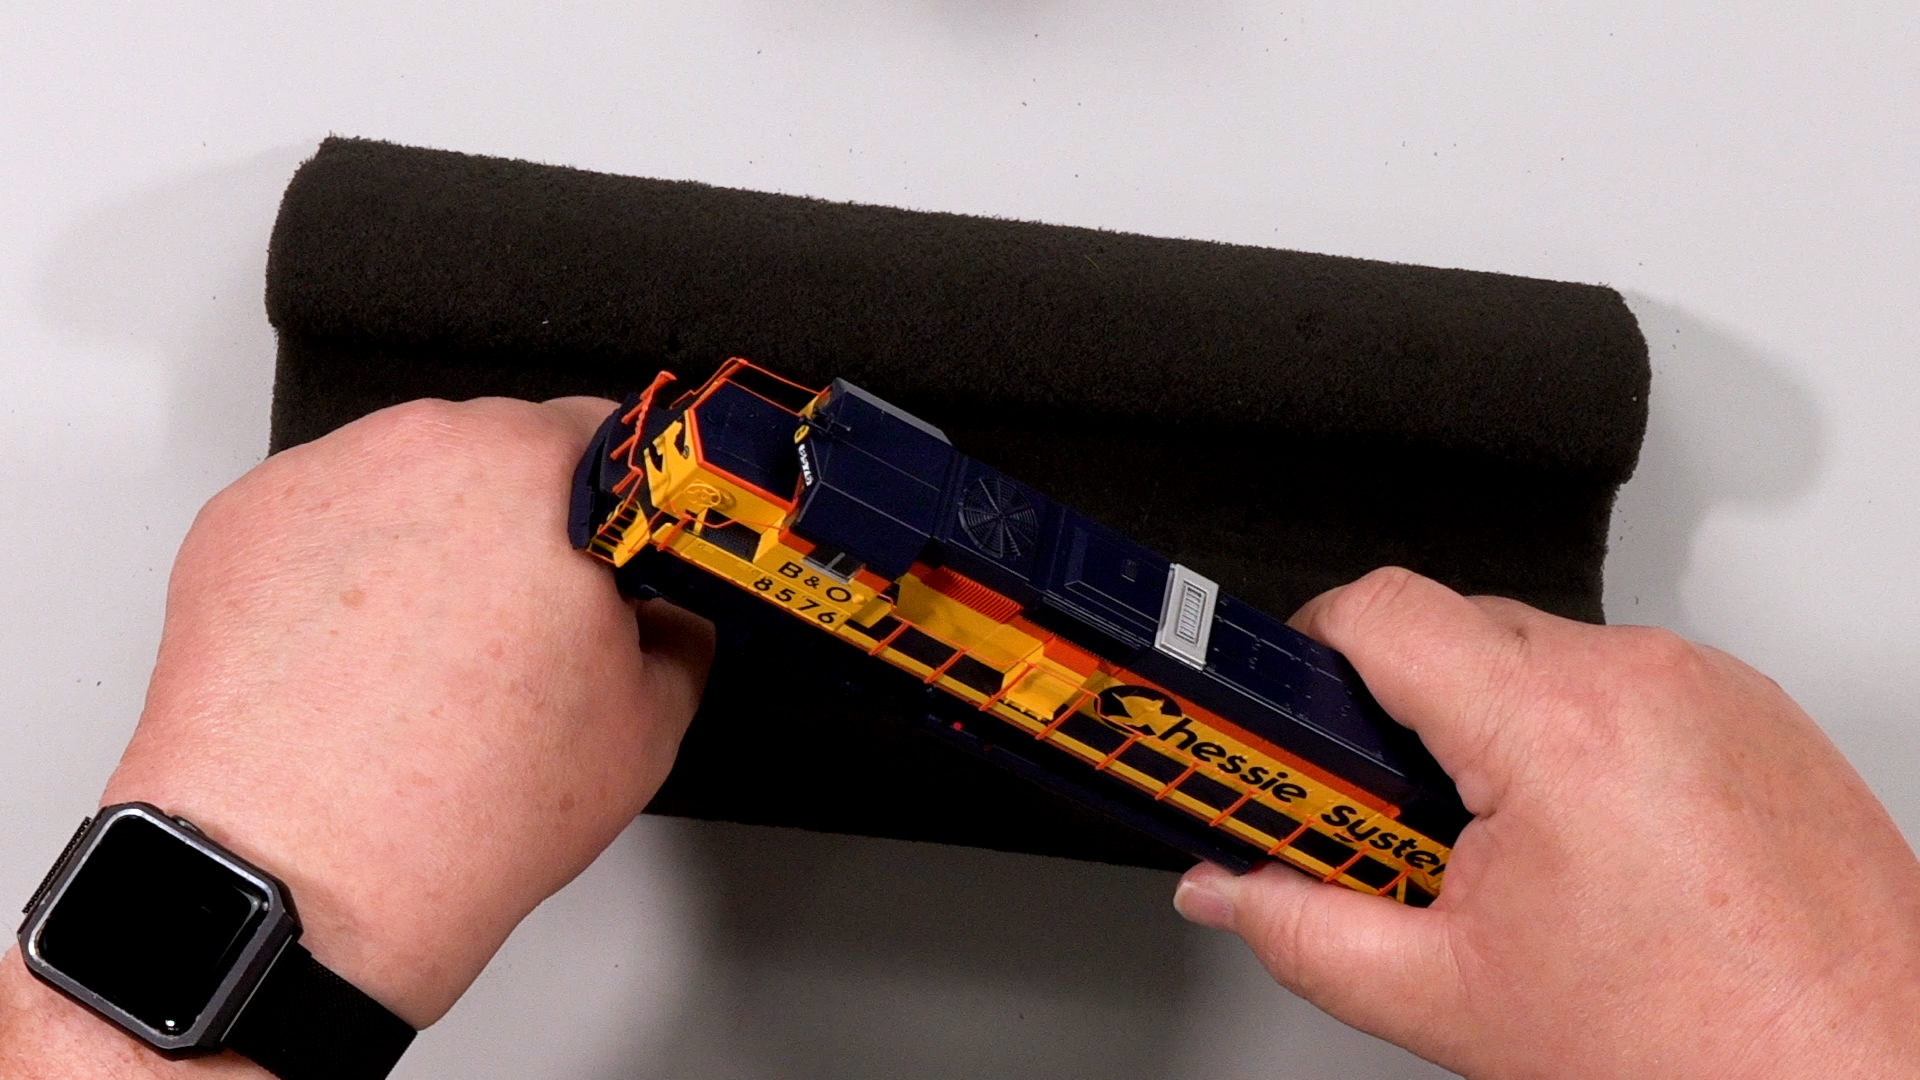
Now that the shell screws have been removed, separate the shell from the body. A useful trick is to take the locomotive in your right hand, making a fist with your left hand, and lightly tap the shell from below the front pilot. Then do the same thing on the back pilot. This should cause the shell to release from the mechanism.
The next step is to remove the trucks. Before doing that, remove the plugs connecting them to the motherboard. They’re the two small plugs in front of the large plug labeled “Front.”
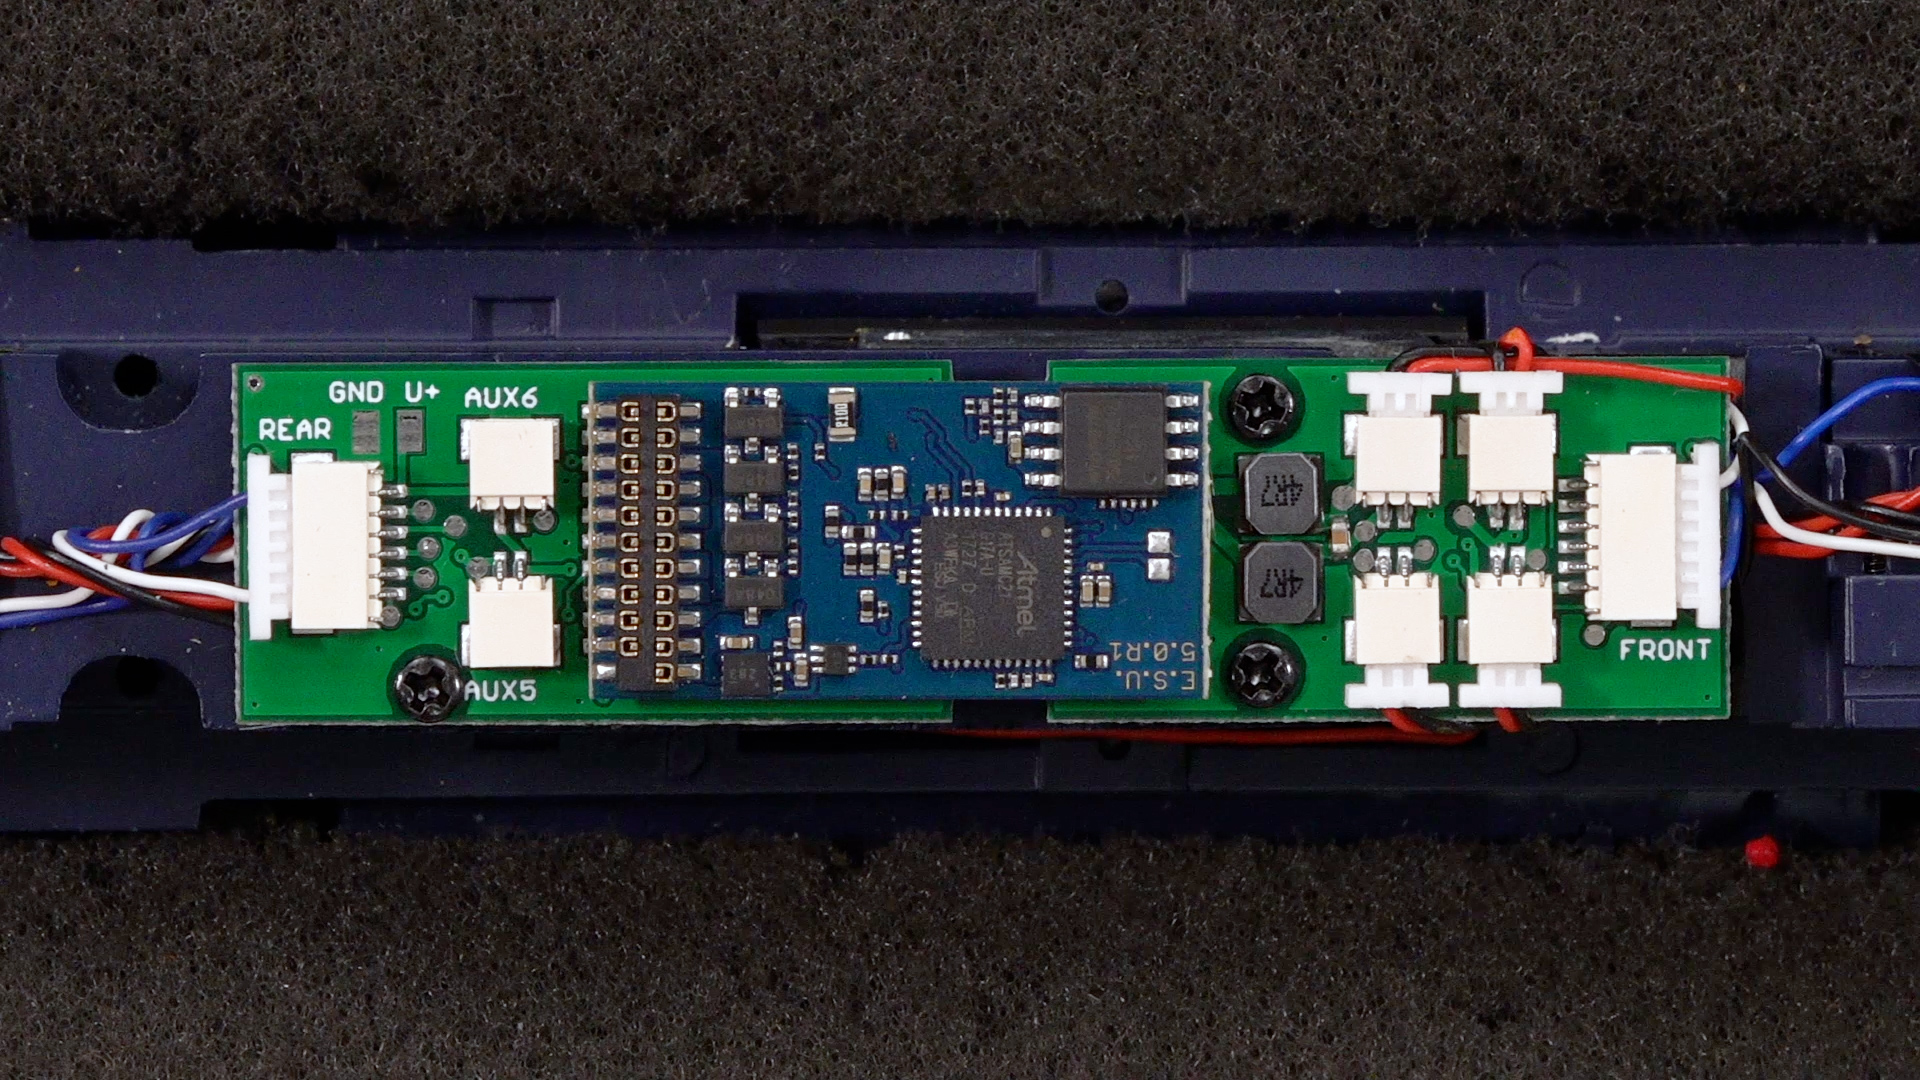
Disconnect the 1mm plugs from the motherboard. There are two for the trucks (TRK), one to the motor (MTR), and one to the speakers (SPK). Remove the bigger plugs (Front and Rear) as well. Now the board is free. This step also allows you to remove the mechanism from the frame.
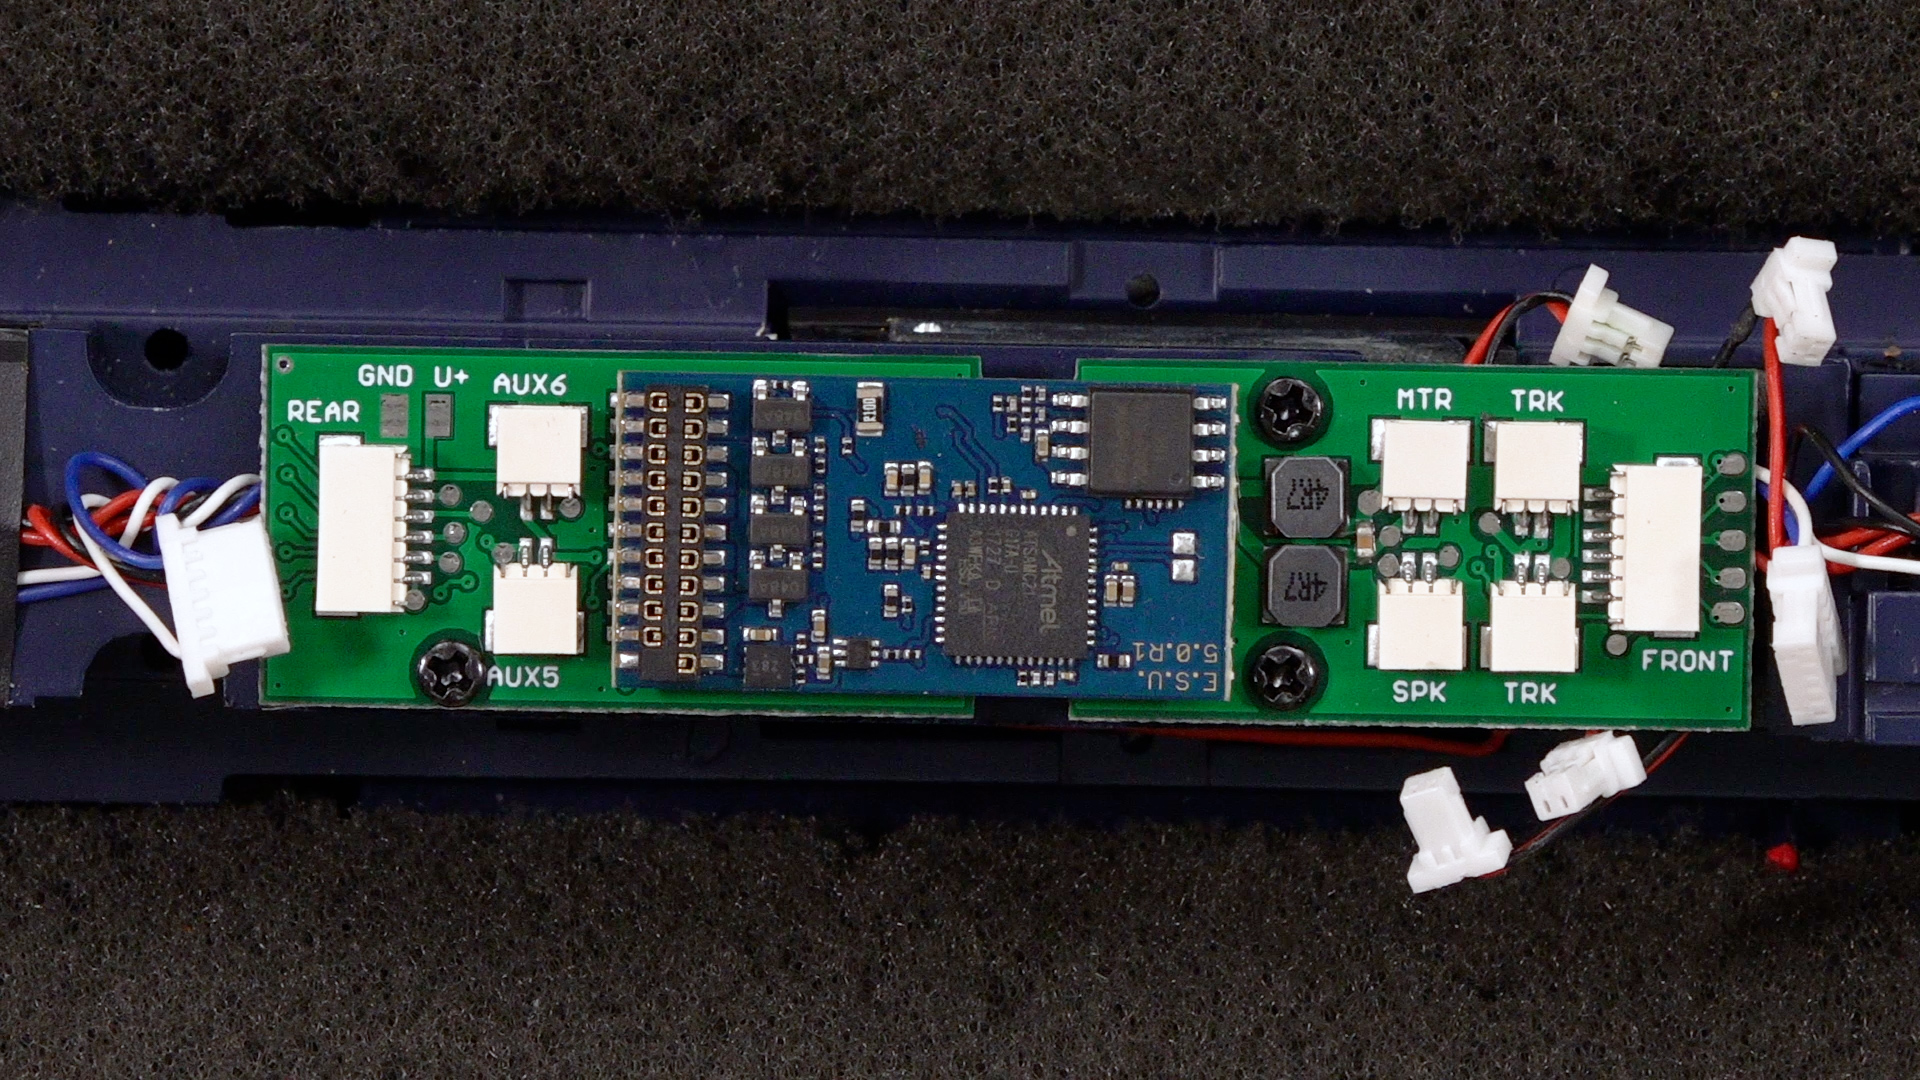
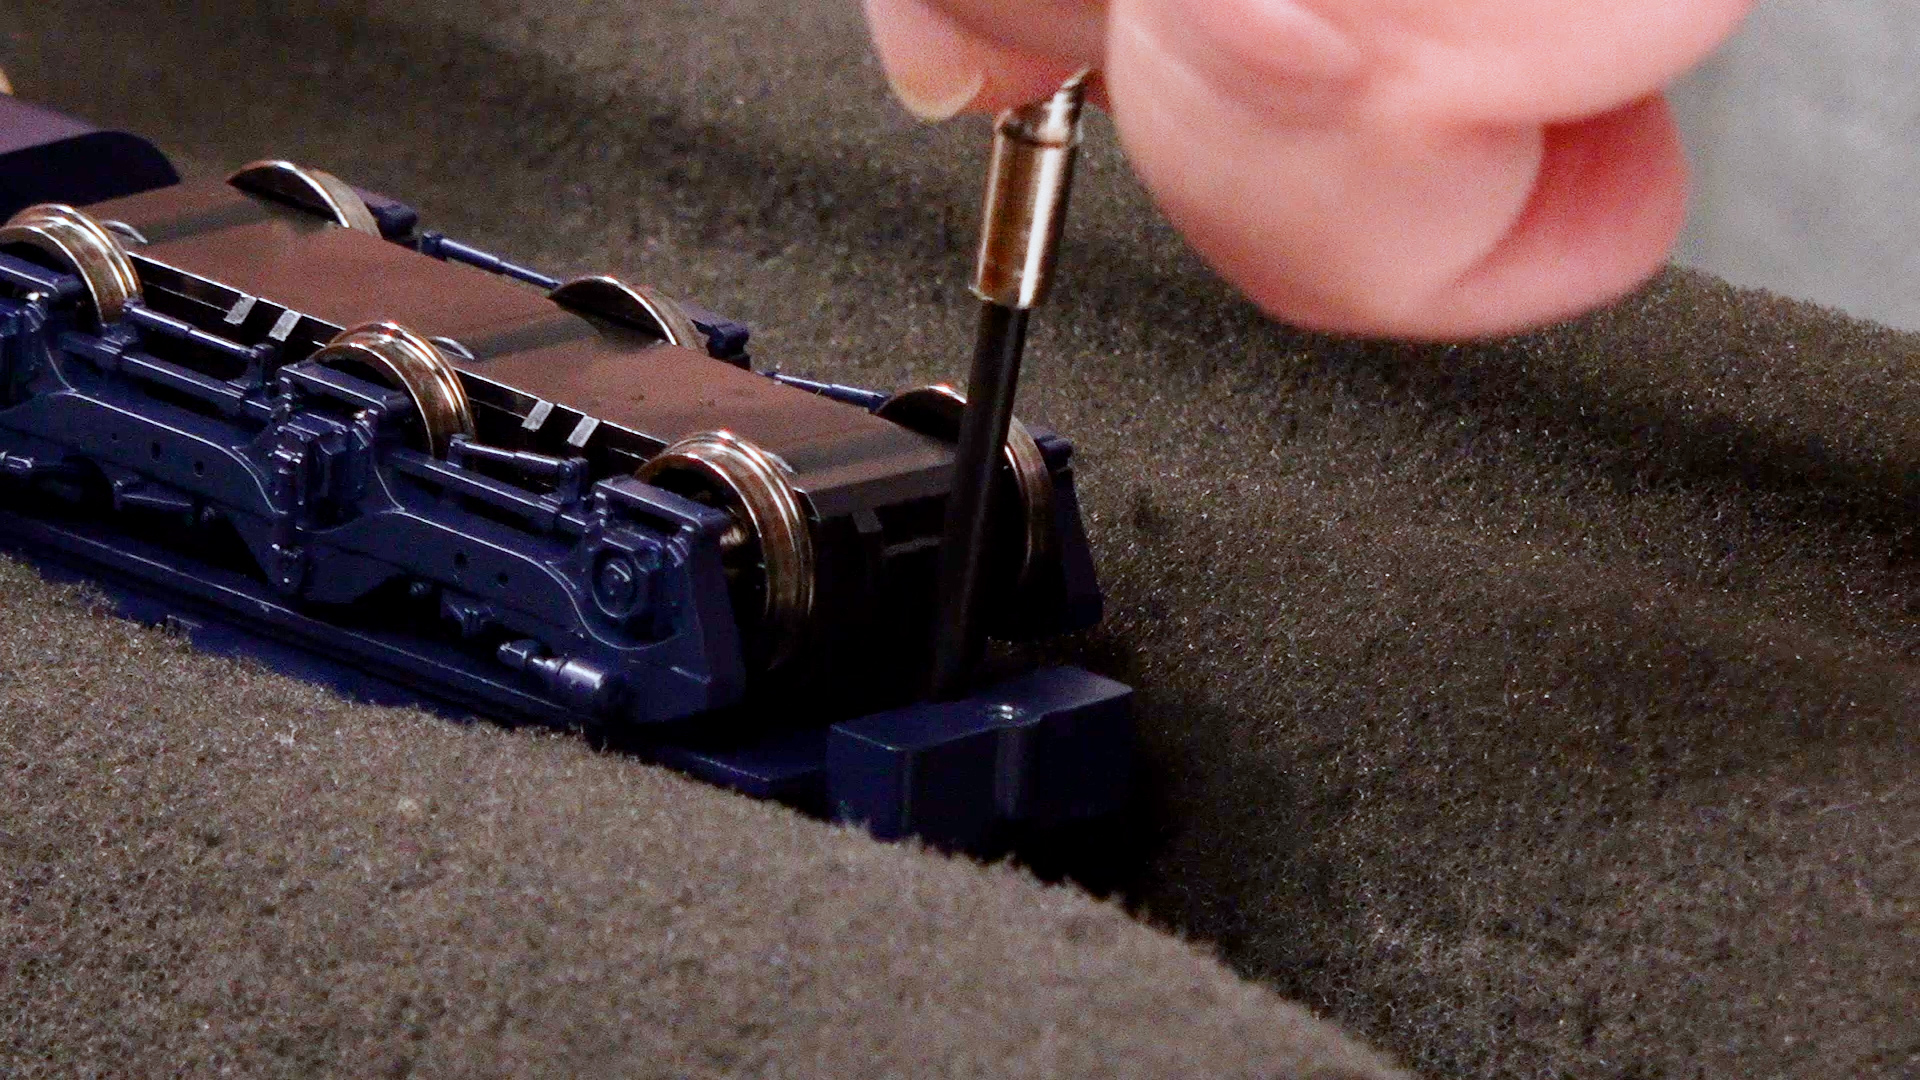
In order to release the trucks, remove the screws that hold the weights to the chassis. The screws on the SD50 are located behind the draft-gear boxes. There’s one on each end.
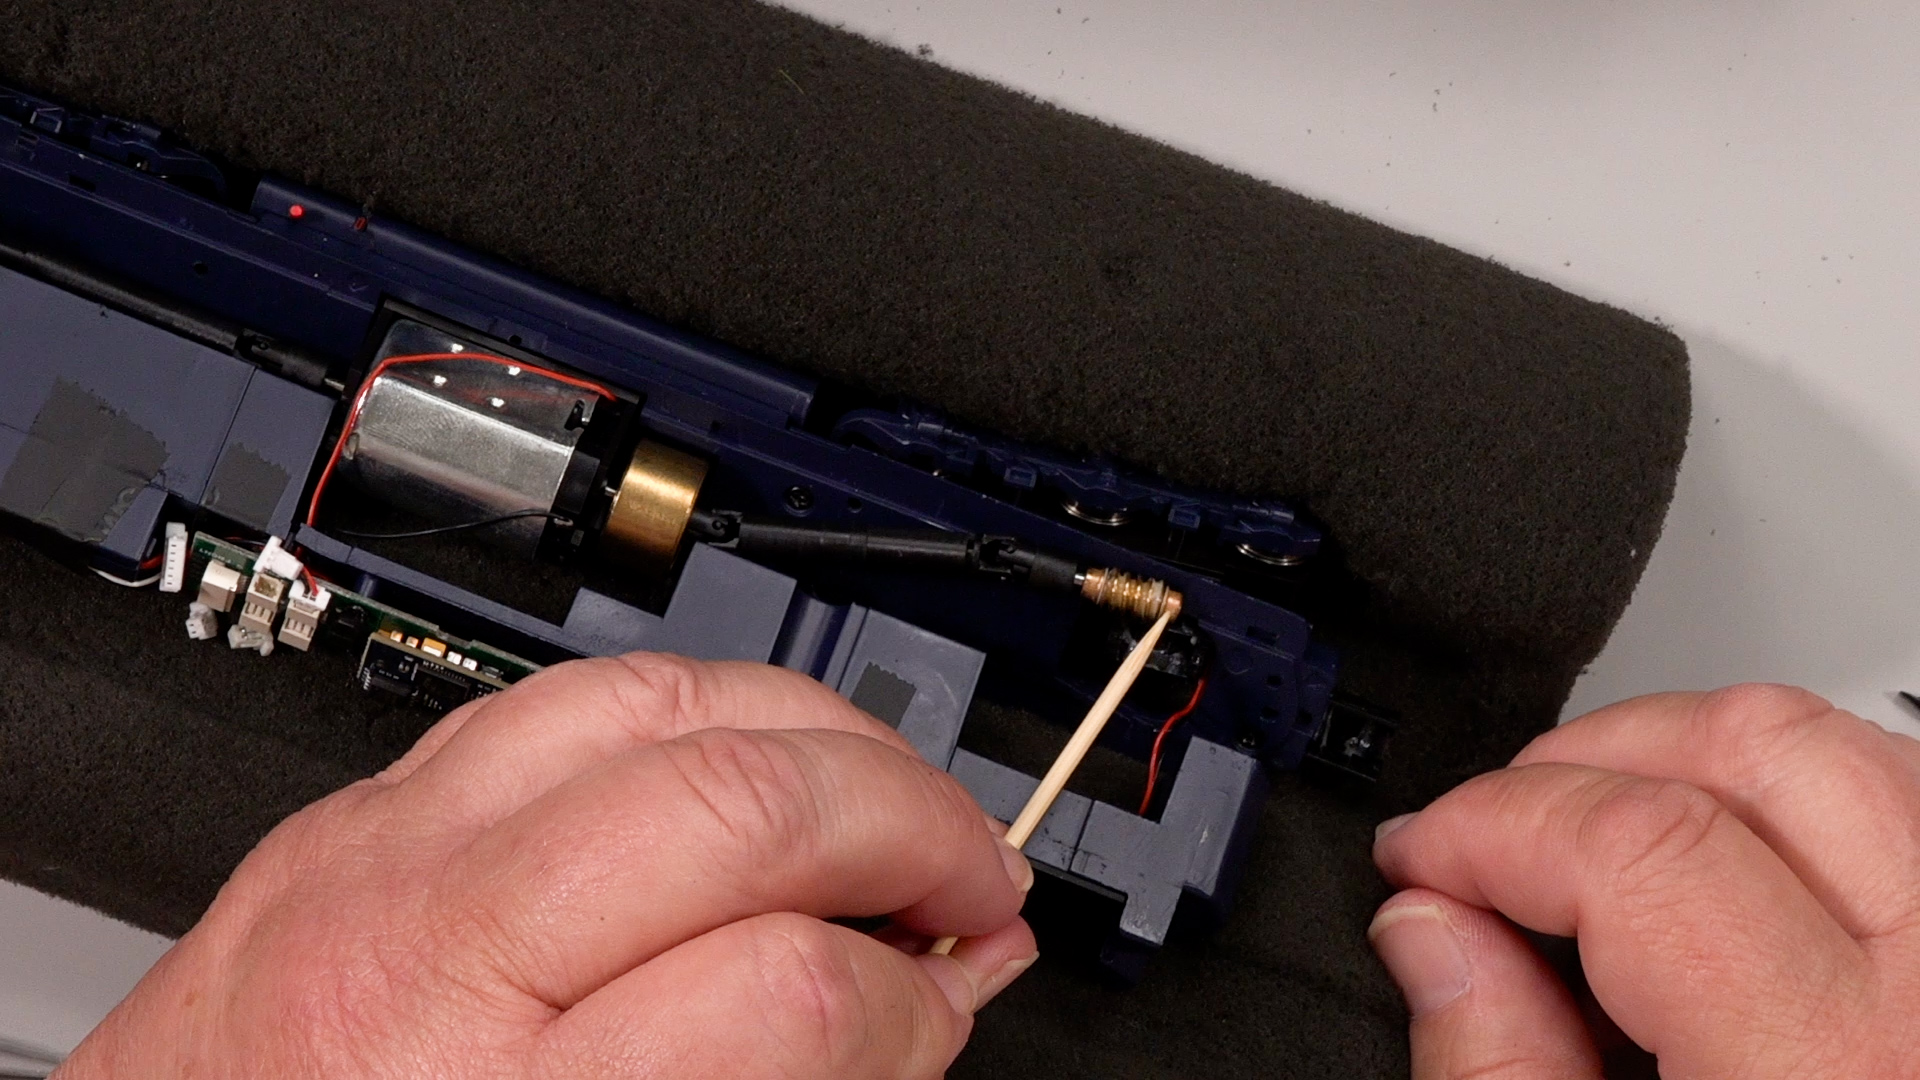
Removing the weight opens up the drive train area. The truck retainer clips hold the truck to the frame. There’s a worm gear attached to the drive shaft, which is attached to the motor. The SD50 has one flywheel, which goes onto another drive shaft. The other truck with the same retainer clip and worm gear inside to turn the gears.
Use a flathead screwdriver to remove the truck retainer clips. They should pop right off, releasing the drive shaft. Now the trucks are free to drop from the frame.
With the truck off and the worm gear exposed, you’ll see it’s well lubricated from the factory. If you do hear noise or want to add lubrication, apply it to these gears. A small drop of a light oil, like Labelle No. 107, is all that’s necessary. Once you’ve completed maintenance work on the trucks, replace the retainer clip. It should just snap back into place if the worm gear is seated correctly.
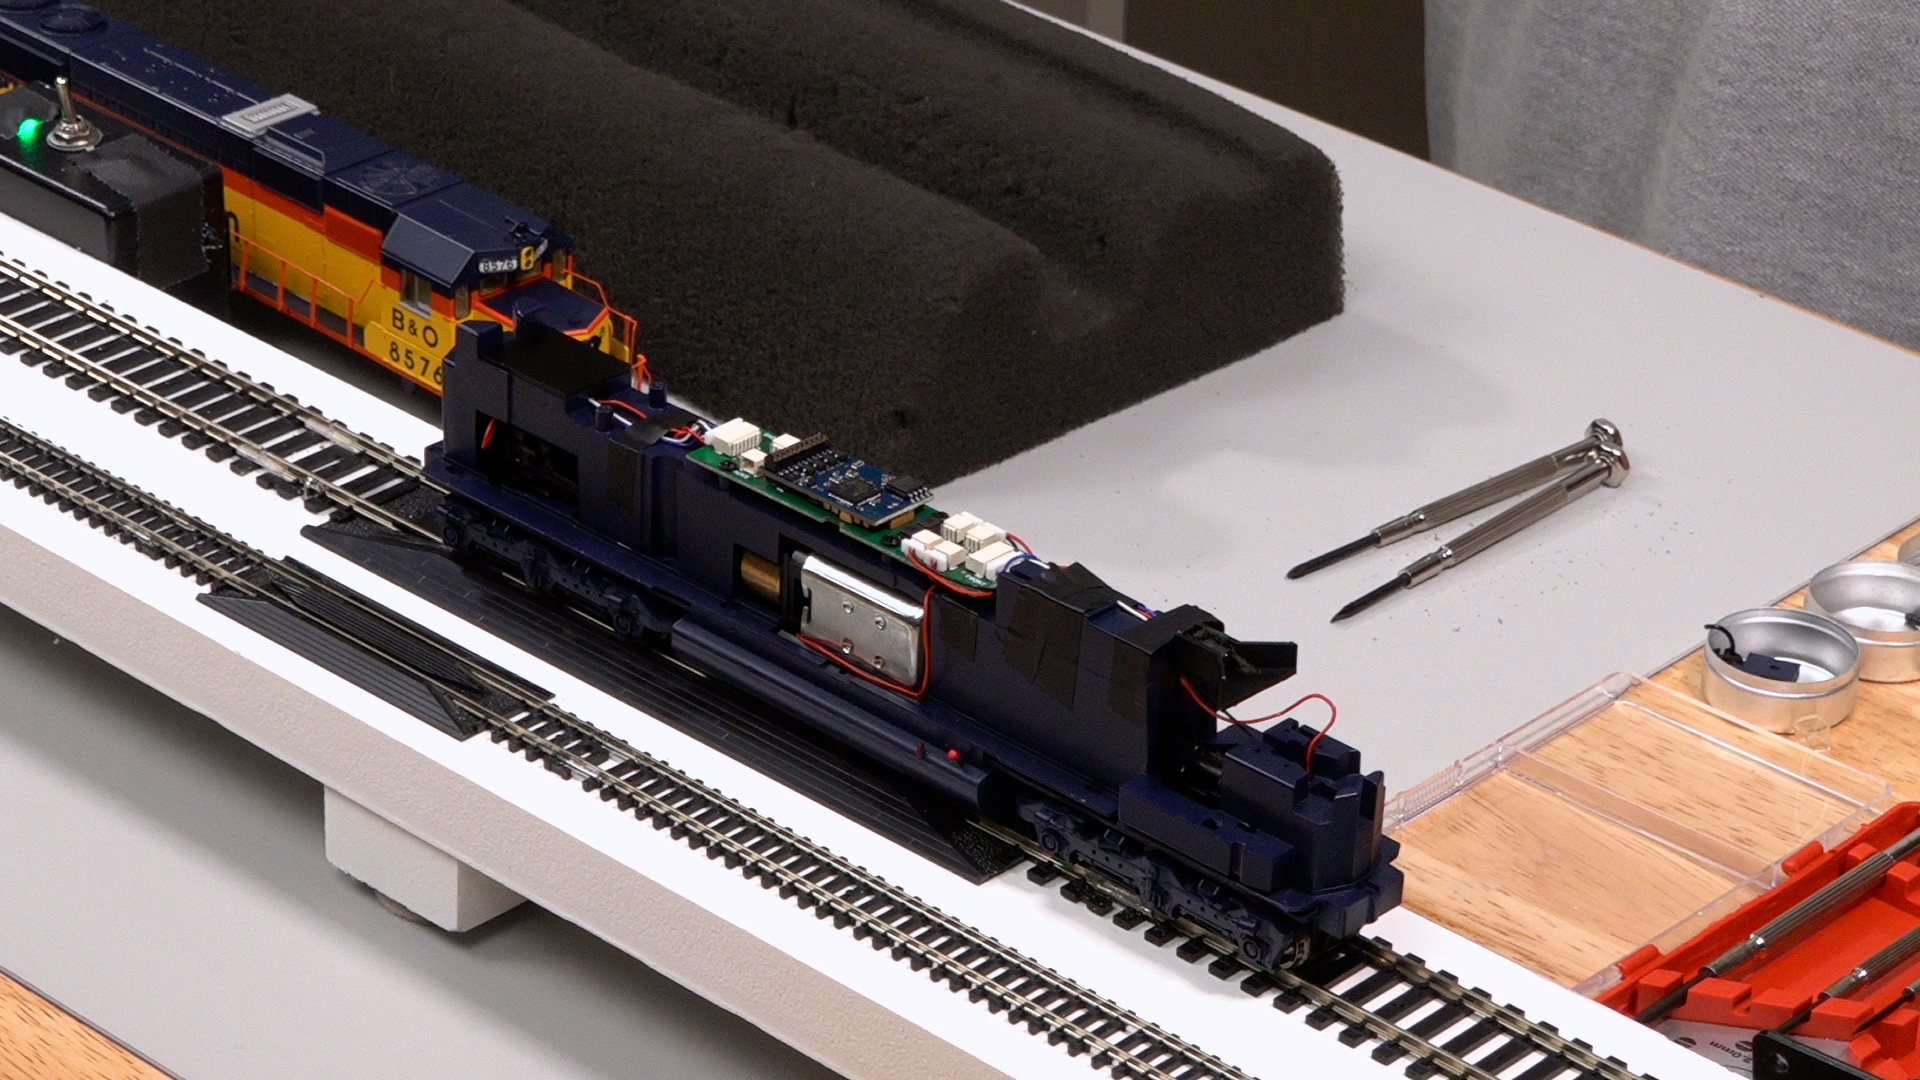
Next, reattach the frame to the weight. Take the screws that were near the draft-gear boxes, place them in their respective holes, and tighten down.
Then reconnect the plugs to the motherboard. They should be very close to where they came out. Just snap them into place. When the final plug is in, test the locomotive to make sure everything is working as it should.
Now that you’ve verified the locomotive is working, remove it from the test track. Then put the shell back on. Install the shell screws first. A magnetic screwdriver works best here. Tighten the screws and then reinstall the draft-gear boxes and couplers. Test the locomotive again to verify all functions work as they should.
Though locomotive disassembly essentials may seem complex at first, they’re not difficult to learn. Take your time, pay attention to each step, and you’ll find you’ve mastered locomotive disassembly essentials.




I have a Life Like P2K GP38-2 that the body wouldn’t separate from the frame. I found that the installed MU hoses had a long sprue (on the back side of the pilot) that was blocking the route. I trimmed the sprue and the frame then had a clear removal route.
See a lot of article about how to on deezle locomotives but hardly ever see anything about how to steam locomotives? Or are we just too old for that?