


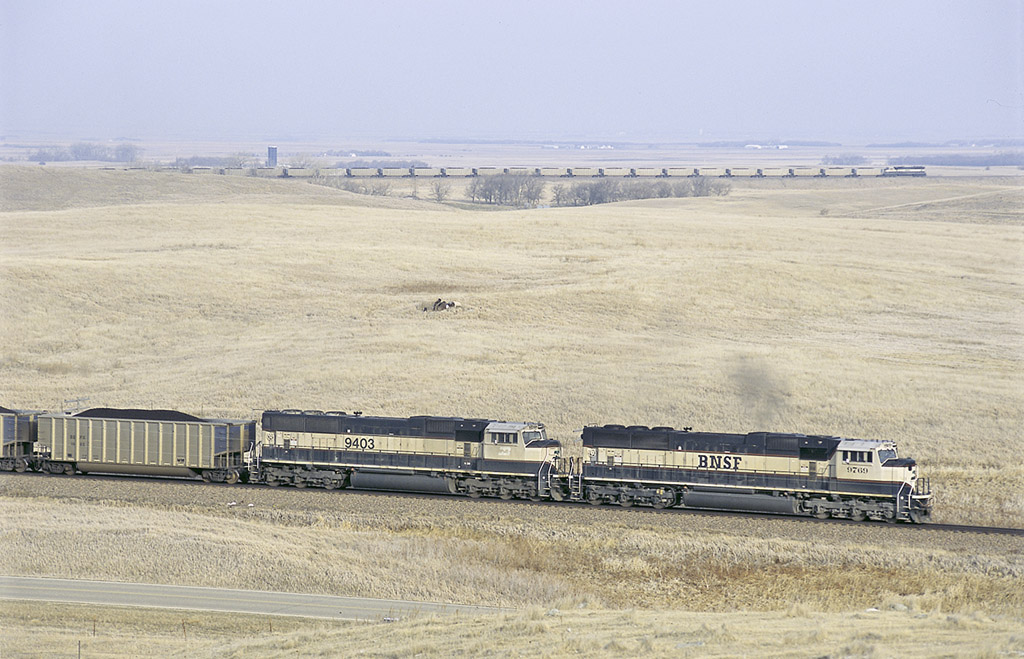
1. Either couple the two power sets together or situate them in the train as desired. Either way, power sets must be attached to the same brake pipe.
2. Condition the controlling unit for the remote set. This includes:
a. Turn the isolation switch to “run”
b. Turn the dynamic brake circuit breaker to “on”
c. Turn the control (and fuel pump) switch to “on”
d. Turn the engine run switch to “on”
e. Turn the generator field switch to “off”
f. Put the throttle handle in the “idle” position
g. Put the reverser in the “centered” position
h. Set the air brake setup switch to “lead-cut in” or “lead-freight”
i. Put the automatic brake handle to “continuous service”
j. Put the independent brake handle in the “fully applied” position
3. Set up the controlling remote locomotive for distributed operations. This is done on the right-hand control screen:
a. Select “dist power”
b. Select “remote setup”
c. Enter the number of the controlling lead locomotive
d. Select “same” or “opposite,” telling the system which way the controlling distributed unit is facing compared to the lead unit.
e. Verify whether the computer has your previous selections correct. (PCS valve will trip)
f. Verify “DP enabled/lead cut in” for EMDs, or “Dist pwr remote/lead freight” for GEs.
g. Place the independent brake handle in “release”
4. Condition the lead controlling locomotive by setting all controls to the same position you did on the remote set.
5. Using the computer screen on the lead locomotive, link the lead power set to the remote set.
a. Select “dist power”
b. Select “lead setup”
c. Enter the number of the controlling remote unit and select “link”
d. Verify the link for all remote units and press “accept” or “done”
e. Clear distributed power penalty by following display screen instructions
6. Brake pipe test: Use the brake pipe to confirm the two sets are in the same train
a. When prompted, move brake handle to “release”
b. When the system reports “ready for brake pipe test,” press “BP test,” then select “execute.”
c. When prompted, move automatic brake handle to “minimum reduction” position. The test will conduct itself automatically, and may take up to 90 seconds to complete. The system will report “BP test OK” if successful; if not, repeat the test procedure.


is there any locomotive simulation linking dp in this site ?