Through many years and experiences, I’ve come to appreciate the wide range of interests our hobby has to offer. I’ve repaired and restored vintage Lionel locomotives, custom-painted entire train sets, and even researched the history of Lionel’s Super O trackwork. Although these activities are still exciting, they don’t compare to the thrills I’ve had operating postwar trains and accessories on my layouts.
I’ve built and operated more than 50 layouts over a 40-year span. Like so many others, I started with a simple 4- by 8-foot O gauge pike. But regardless of the size or shape of the layout, I always learned something from planning, building, and operating each one. Here, I’ll share 10 of my top insights and tips for getting the most enjoyment from an operating layout.
Plan ahead, buy a book (or two)
Even if you’re highly motivated, it still can take months to get layout construction underway. Why so? There are many things to consider before you can lift a board or drive a screw.
To start, a basement may need cleaning and organizing, new lighting and painting, or a new drop ceiling and floor. In some cases, new electrical circuits may need to be installed to handle the power requirements.
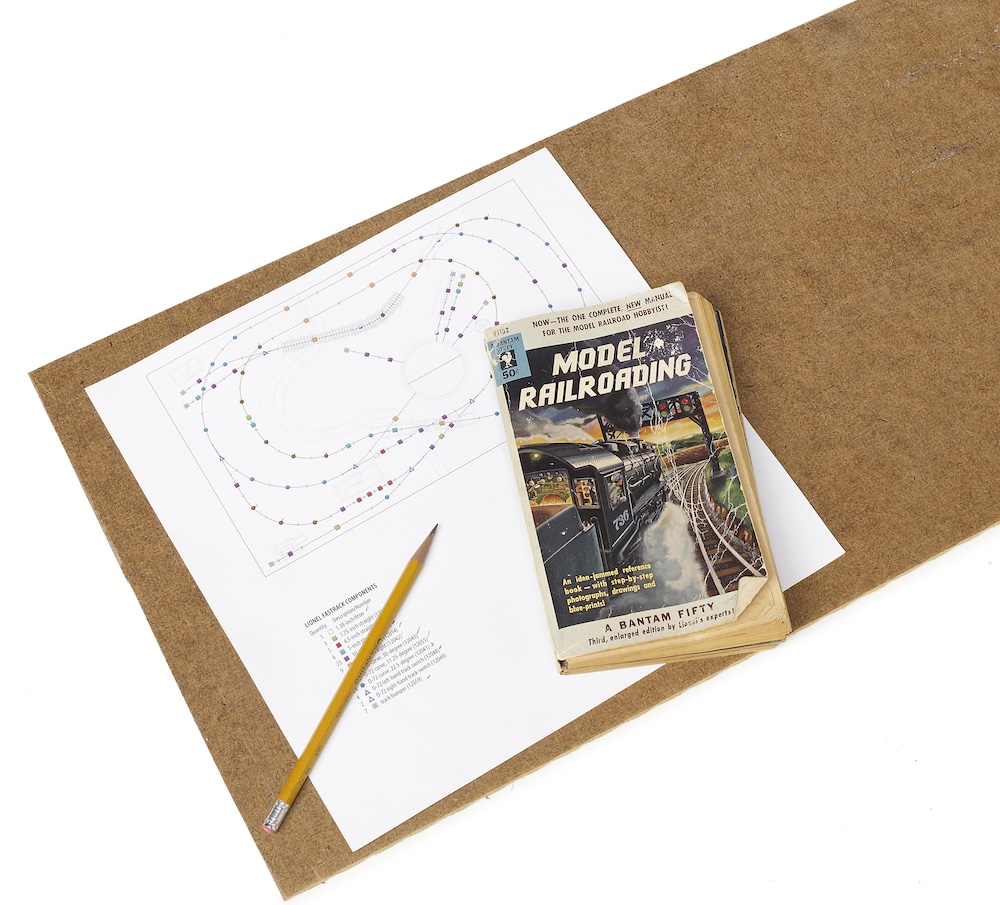
With all that initial work to do, I take the time to create a track plan that includes the features I want to build. I’ve found it’s best to create and alter several track plans, and then select a final candidate to develop with detailed specifications, including type of track, wiring schematic, operating theme, aisle space, and other considerations.
When the time finally arrives to start working from your plan, use it to guide your efforts rather than dictate them. Your plan may tell you just how much wood is required, but you might find that another approach makes things easier.
In addition to a track plan, books can help guide you. One of my favorite references is called Model Railroading, a Bantam classic that was prepared by Lionel Corporation employees. More than 50 years after this out-of-print book was first published, a great deal of the information is still quite useful today (for used copies, check out abebooks.com).
Attach to the walls
Regardless what style or shape your benchwork takes, you better build it solid. Some builders say that if you don’t feel comfortable walking on your train table, then you haven’t built it right.
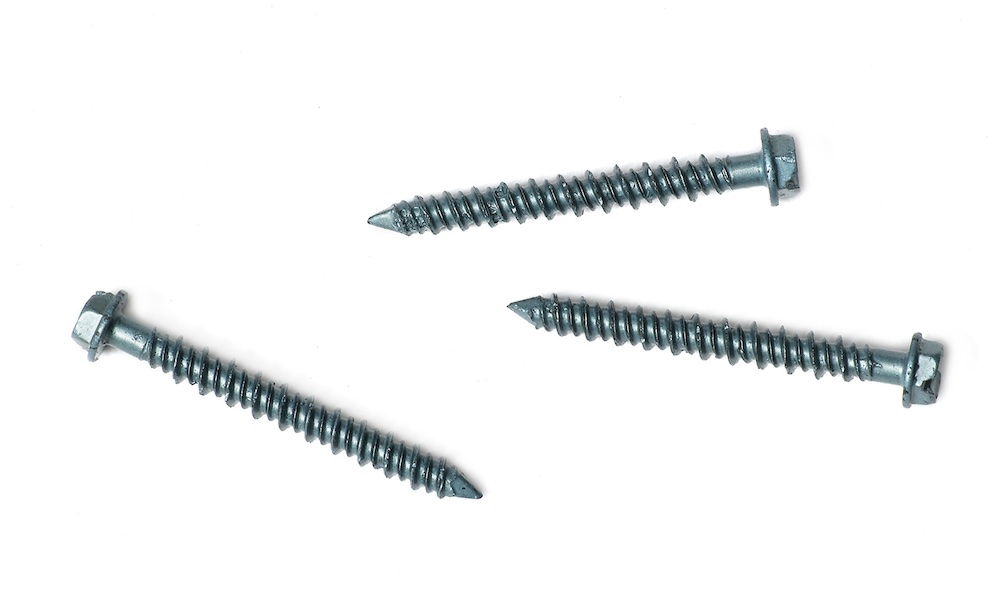
To solidify shaky construction, try attaching benchwork sections directly to the walls or floor. Bolts and screws come in handy when working with wood framing, but it’s not quite as convenient when the basement walls and floors are poured concrete. In these situations, I’ve used concrete anchors and screws to help secure the layout.
Create smooth, spackled surfaces
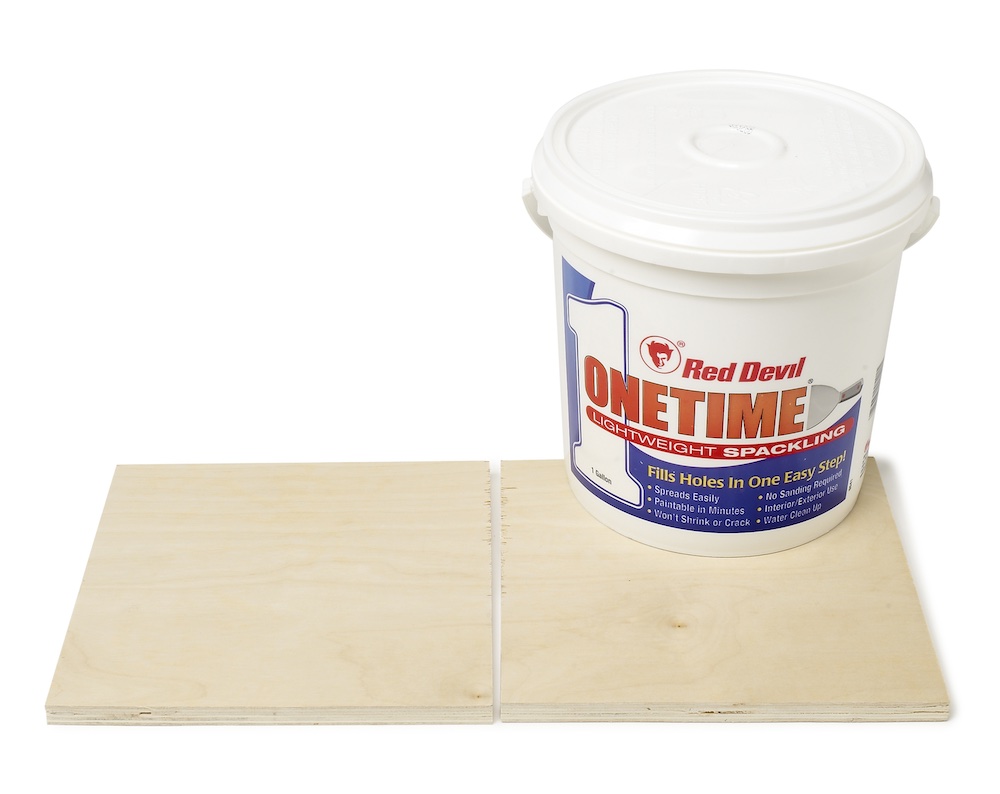
If you’re using plywood sheets for your layout table, you may have locations where two or more pieces meet. To make smooth transitions here, try applying spackling paste or joint compound to the crevices with a spackling knife. If you allow the spackle to dry and sand the joints smooth, you’ll have a level surface on which to lay your track.
Keep on the straight and narrow
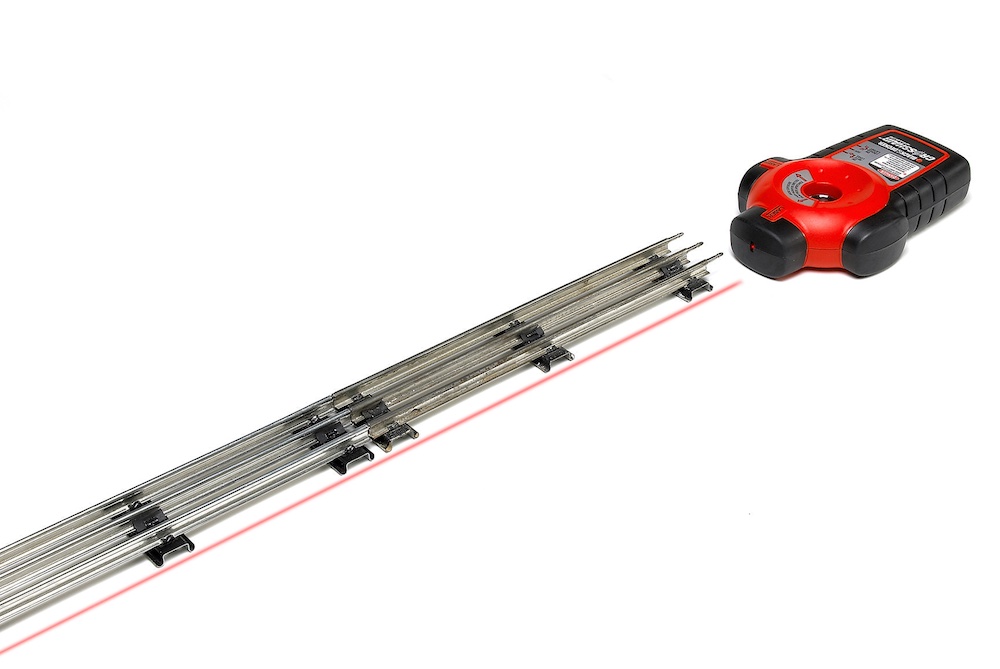
To help prevent derailments and poor operation, always use some sort of guide to keep long runs of track straight. The quickest way to align straight sections is to sight down the rail. Use small screws or nails to temporarily hold any adjustments you make. You can also use a yardstick, chalk line, or laser level to establish a straight run.
Secure track with screws
Though it may be tempting to use nails or adhesive to hold the trackwork to the layout, screws are less likely to work loose as plywood expands and contracts. If you’re working with GarGraves and Ross track, don’t forget to drill a small pilot hole through the ties to avoid splitting the wood when you drive screws with a cordless screwdriver.
Include industrial spurs
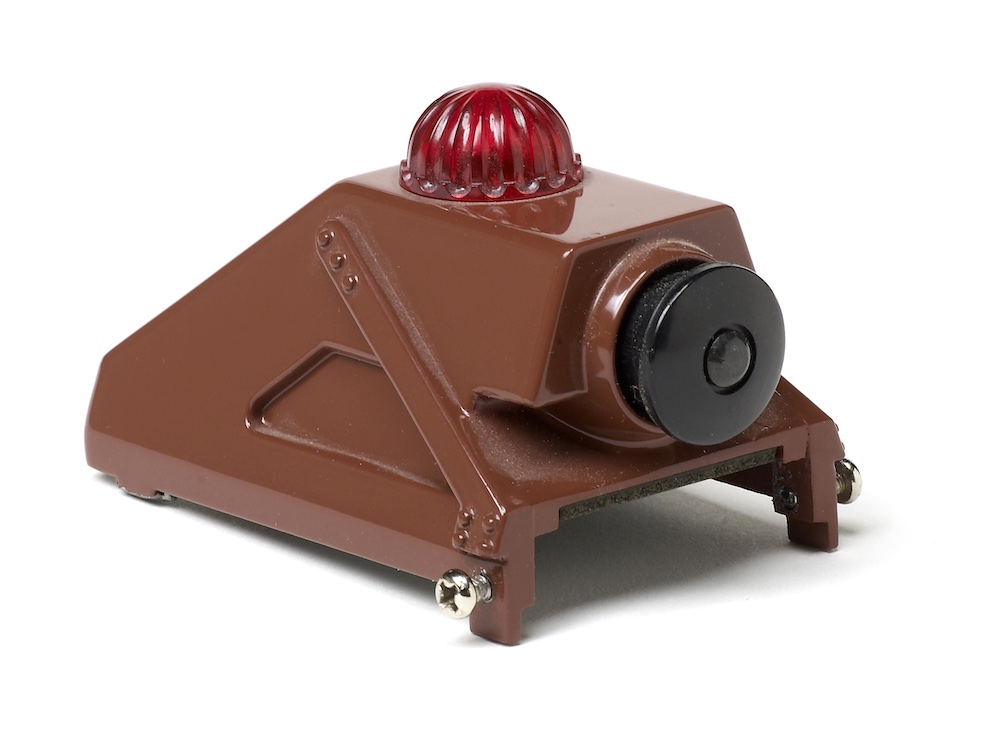
You can never have enough destinations for your freight trains. Adding a dead-end spur, a track bumper, and an inexpensive plastic building or simple shed along the main line creates a place to deliver various freight cars.
A single screw is enough
With tubular track, one screw per track section is usually enough to hold the track down securely. Even though traditional tubular track has more than one screw hole, you’ll really need to use only two or three screws where you have loose-fitting or tight-curve sections.
Add a switch yard
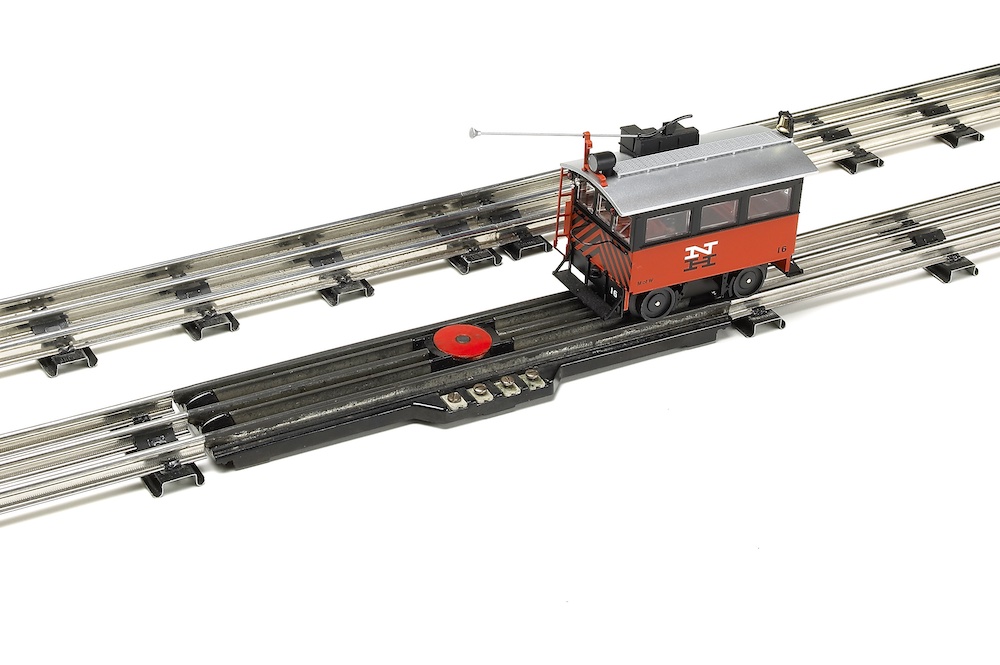
Making up or breaking up the cars in a train is one of the most engaging jobs in model railroading. Be sure to include yard tracks complete with remote-control uncoupling sections. Here, a switch engine operator can build strings of cars into one or more trains ready for a road engine to haul around the layout. When you complete the journey, reverse the sequence to disassemble the train.
Skip the singles
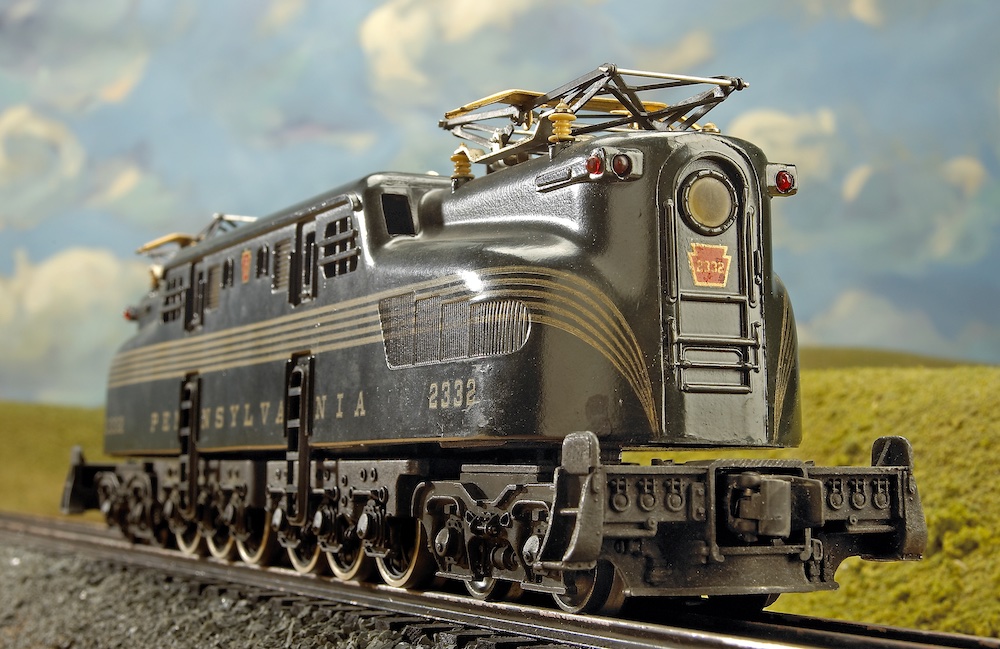
Early versions of some Lionel postwar locomotives were made with a single motor. Units such as Lionel’s no. 2332 GG1 electric locomotive and No. 2023 Alco diesels are appealing models, but they aren’t nearly as powerful as similar models equipped with twin motors.


