I live in the northeast region of the United States, where winters are harsh. Ice, snow storms, and heavy dampness attack structures left outdoors on the railway. While the track remains in place, I put away most of my structures during winter.
I cannot put away a couple of wooden rail bumps, the fence around the farm, and a metal railing that fences the street and the rail tracks on a curve. These are permanently planted and remain outside, requiring ongoing repairs and maintenance.
The farm fence looks pretty good right now because I just painted it. However, the metal railing by the train curve has corroded quite badly. When I first installed it (see August 2016 article), the metal was encased in white plastic, and I thought that it would be a good way of protecting the metal. But that plastic coating disintegrated and allowed the metal to corrode and decay. (It is on my list of repairs, and most likely will be the subject of a future article.)
When I began plans for a new fence on a street, I wanted to make it removable to avoid such maintenance.
This street has a hill and a row of houses on one side, with a steep drop onto the train tracks below on the opposite side. The street gets lost in the background of houses, trees, stones, and other shrubbery.
I thought installing a fence on the steep side of the street would bring it to life. It would provide much-needed protection for the town’s citizens, add a new perspective, and a new highlight would appear on the landscape.
Requirements
The fence not only had to be removable but needed to be easily stored, so I built it in sections.
The sections needed to be easily installed and removed, so I put metal pins at the bottom of the posts to push the sections in place.
I wanted to maintain a small country feel on the railway, so I built the fence out of wood.
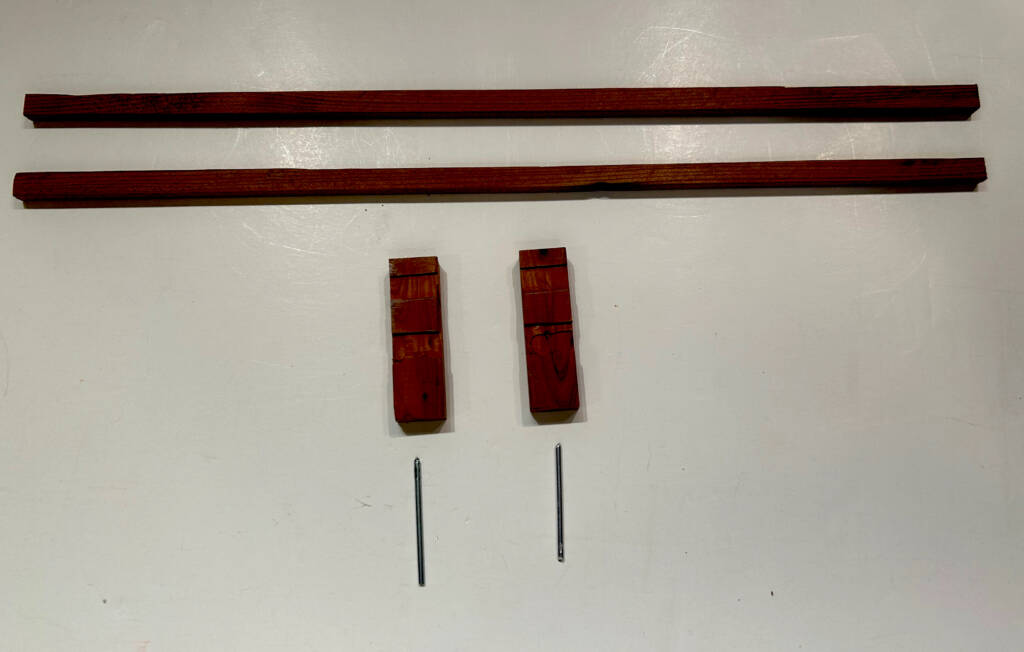
Materials for each section:
- Two 1/8” aluminum rivets
- Two wooden posts, 2” L, ¼” D, 5/8” W
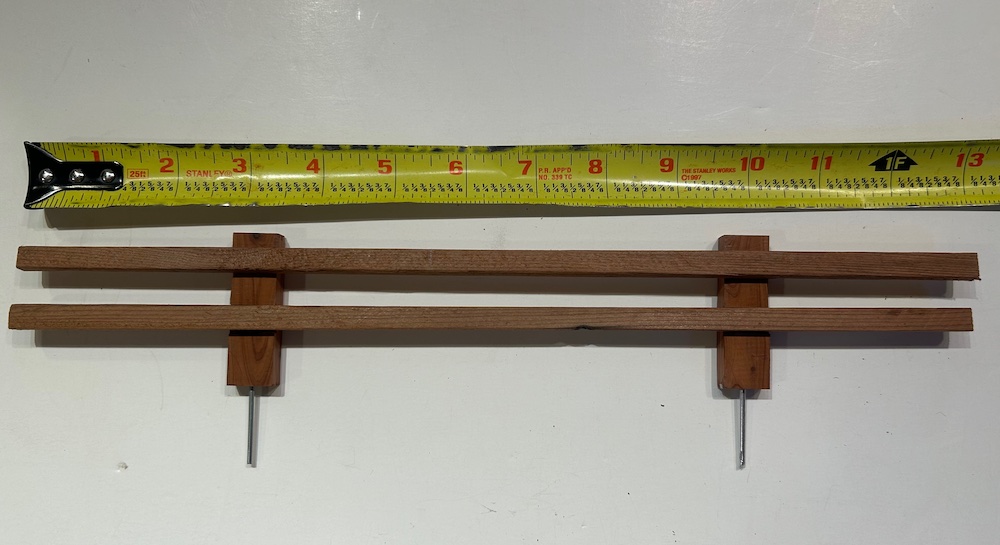
- Two wooden rails, 13” L, 3/16” D, ¼” W
- Exterior carpenter’s glue
- 5/8”, 23-gauge pins (for pneumatic gun)
Wood type
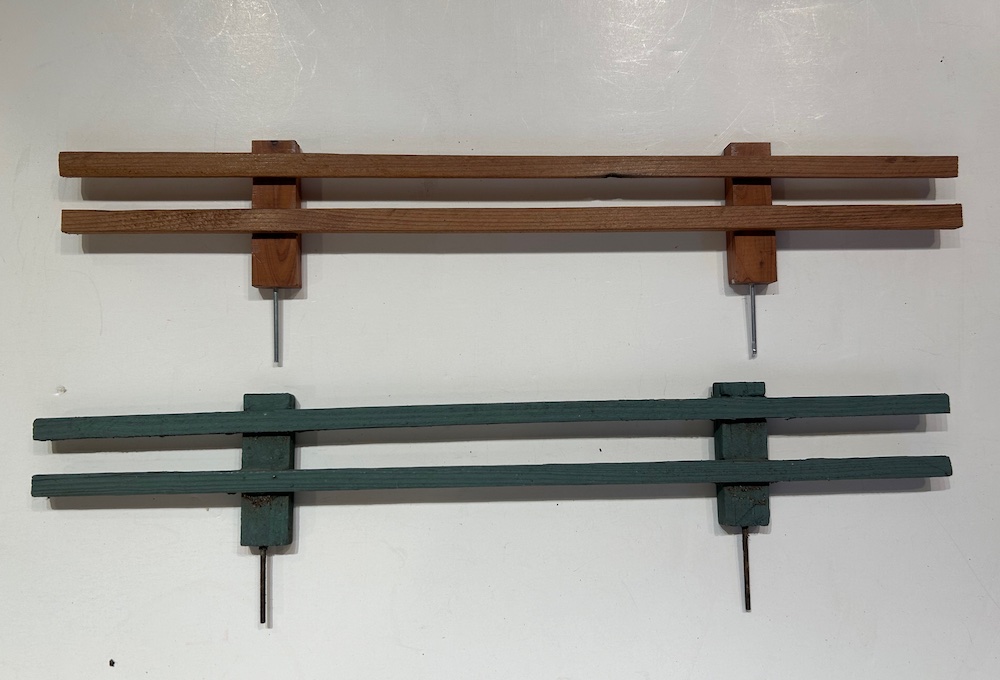
The fence will be stored during winter, so any wood will work. I had some leftover pieces of cedar closet liner planking, so I used cedar.
To paint or not to paint
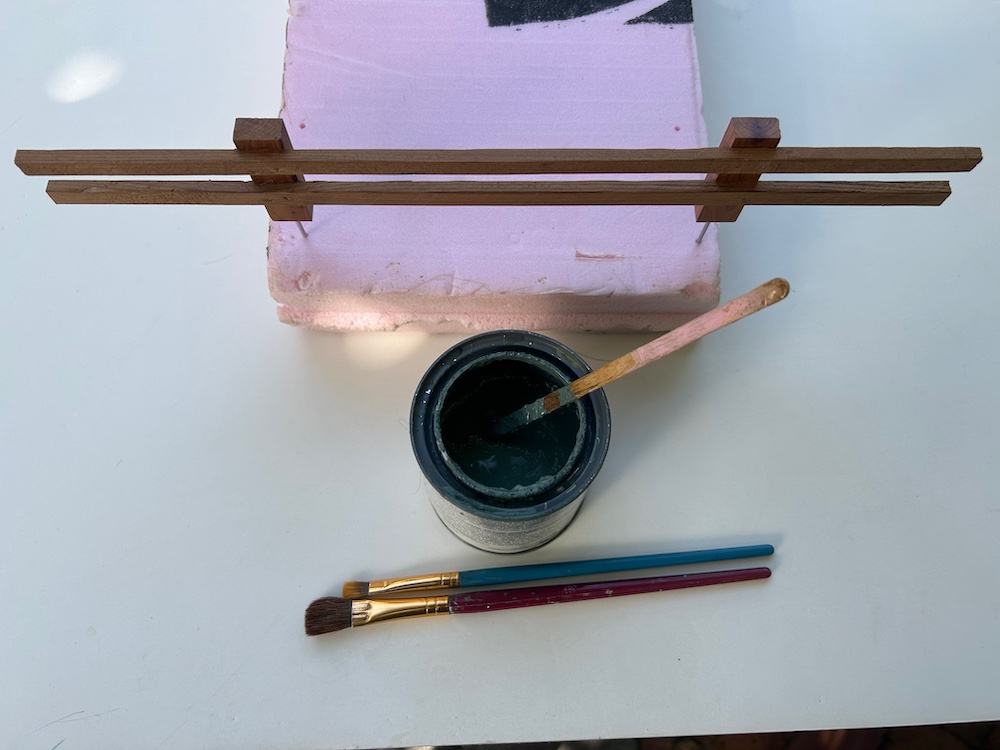
A coat of external sealer would give the fence protection against fading or changing color. To add to the country feeling, I used Blue Moss made by Behr (Behr 510 My Perfect Color). It is a weatherproofing wood stain with a solid covering.
Process
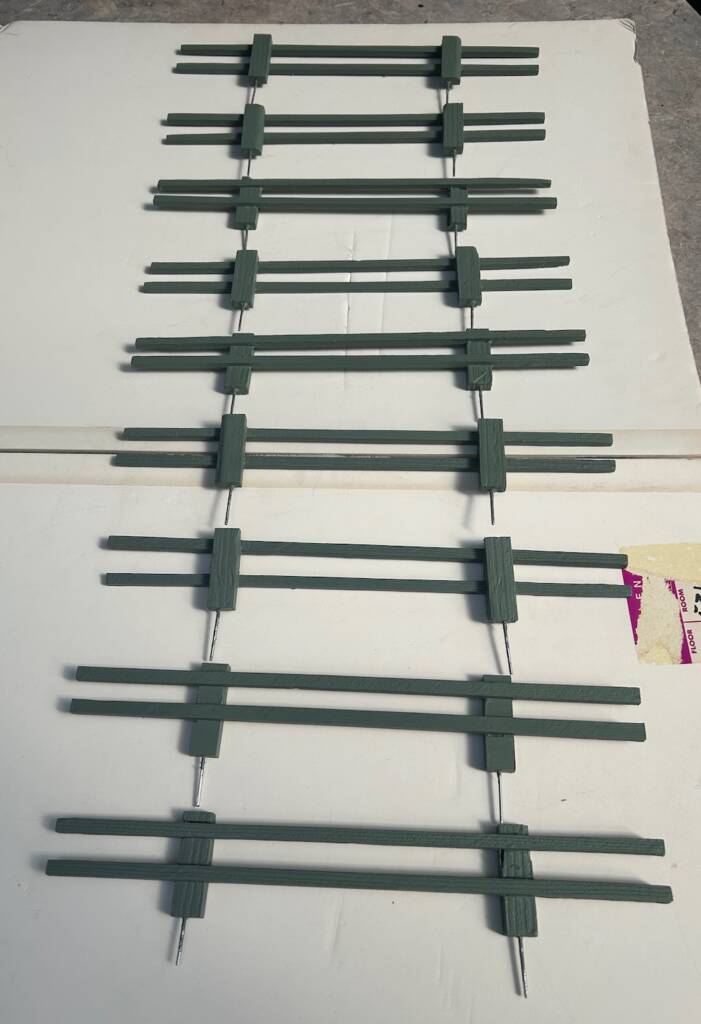
The cedar closet liner planking is ¼” thick. I ripped 5/8 wide strips for the posts, and 3/16 strips for the rails (giving 3/16” x ¼” dimensions).
I cut two 2” pieces from the 5/8” wide strips for the posts, and two 13” pieces from the 3/16” strips for the rails.
I set up my table router with a ¼” bit to cut two channels on the posts to accept the two rails.
I drilled 1/16” holes at the bottom of the posts to accept the aluminum pins. The holes are about ½” deep.
I removed the rivets from the pins, nipped the pin heads, and coated one end of the pins with carpenter’s glue prior to inserting them in the posts.
I sanded the pieces lightly and began the gluing and nailing process by putting the posts six inches apart, and about 2 ¾” from the ends of the rails. This assembly is quick, since the glue and pins hold the parts together right away.
NOTE: I angled my pin gun 45 degrees and put two pins on each post at opposite angles, forming a V. This holds the parts together much better, and prevents the point of the pins from sticking out on the other side.
After everything was dry, I applied two coats of the stain sealer.
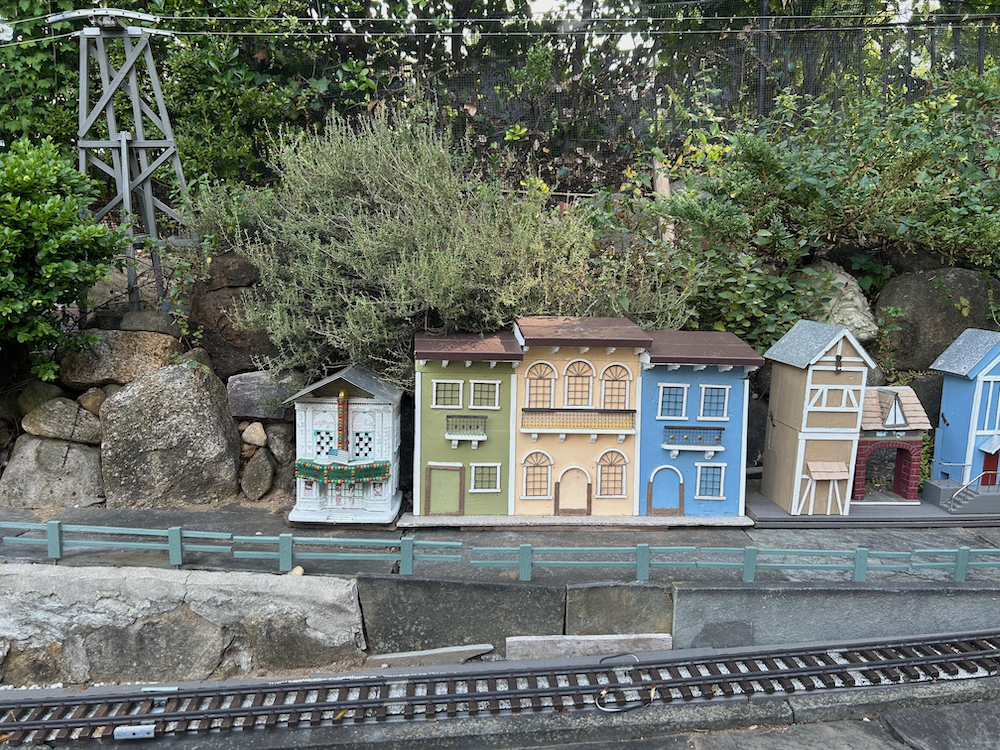
As shown in the photos, fences not only protect and divide areas, but also unite the landscape.


