


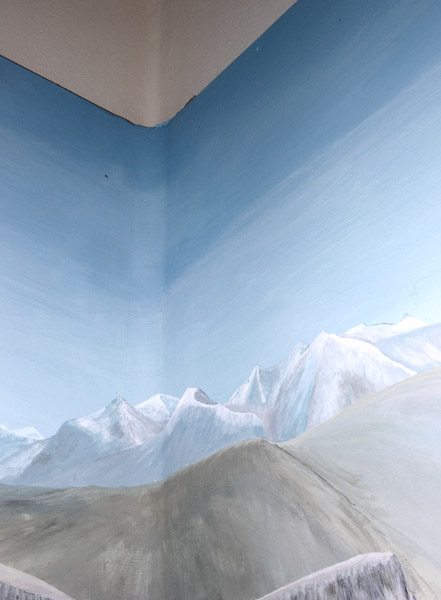
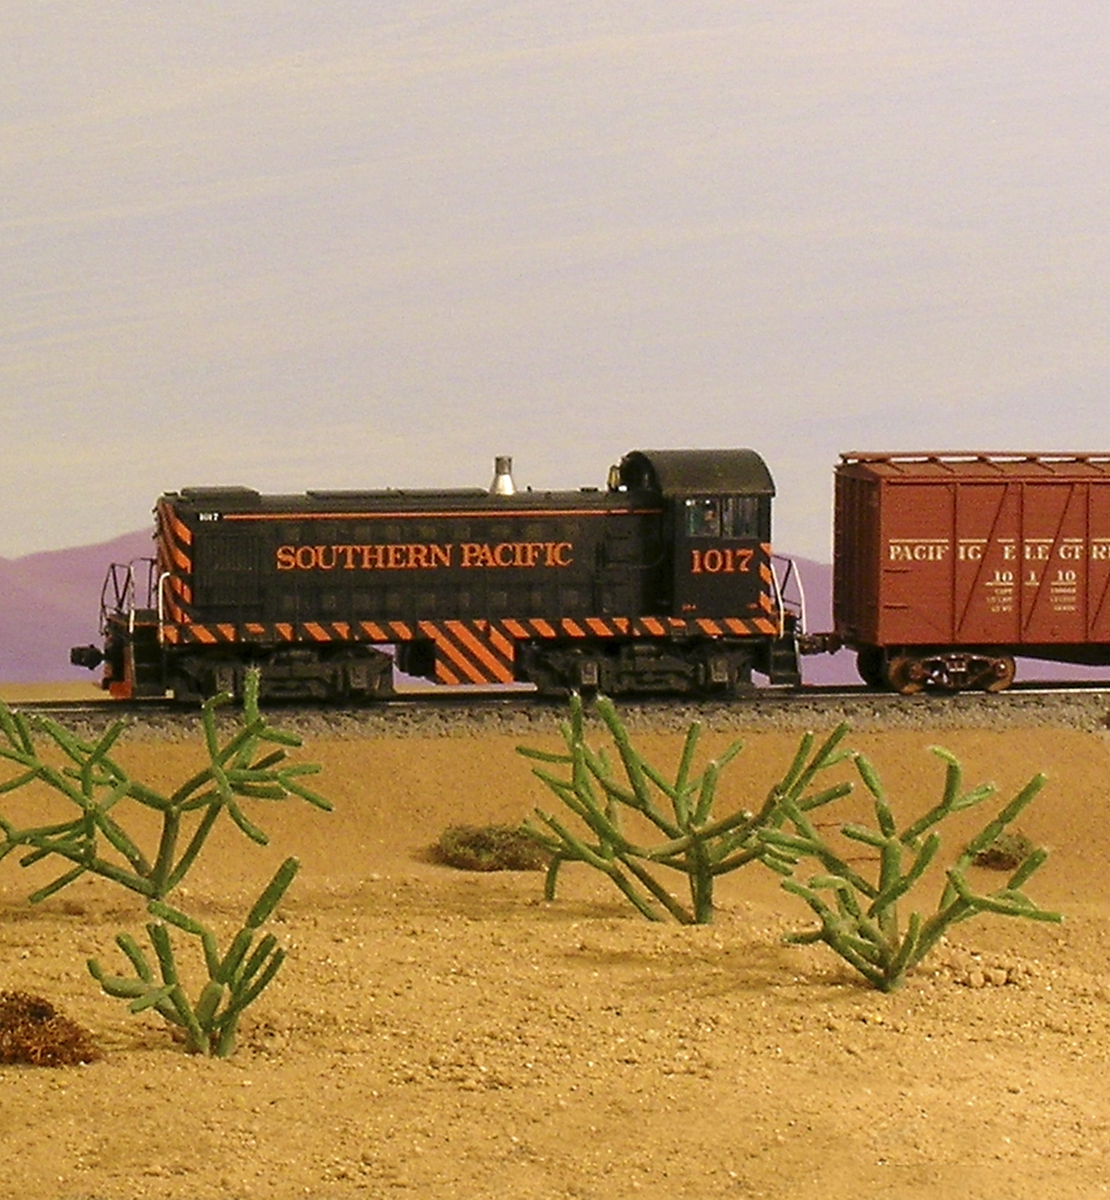
Good lighting helps Flemming Örneholm hide the compact covered corner in his background.
Coved corners help to reinforce the feeling of great distance that’s produced by a good backdrop. Large layouts with plenty of real estate often use wide, gently curved panels to make these inside corners disappear. But modelers with small layouts can’t afford this luxury, as space is at a premium, and the layout corners are needed for track and structures.
I experimented with several sizes of coved corners and became convinced that small layouts don’t have to end up with square corners. On my former diorama-style layout [see “Wide open spaces in a small room” in the October 2006 Model Railroader. – Ed.] I built coved corners with 2″ radius curves. With the top and bottom of the cove concealed by a valance and scenery, this tight curve did a fine job of blending the corner into a smooth-flowing scene.
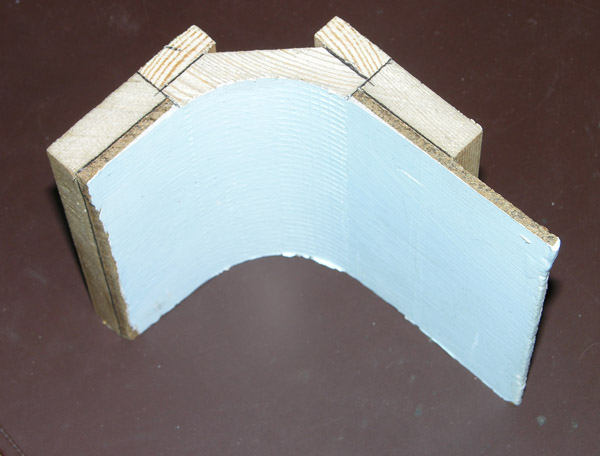
Flemming used a wide, softwood, cove molding in the corner that supported by trim strips so it matches the thickness of the backdrop.
I constructed the coved corner from pieces of commercial, milled softwood moldings obtained from a building supply center. The curved center piece is a cove molding supported with trim strips to match the thickness of my tempered hardboard backgrounds. Then I blended the edges with joint compound and sanded the surface smooth.


Another easy solution is to use metal ducting, cut in quarters, and it can be recessed into your drywall without having to frame or fur around (just score the depth of the pipe material into the drywall and attach, patch, and paint, or adhere the backdrop to it). Also, the bigger the diameter the better. I prefer 4″ and it does not remove much more usable space than the 2″ mentioned above.
A material you could use is: https://www.homedepot.com/p/4-in-x-5-ft-Round-Metal-Duct-Pipe-CP4X60/100196725
Great idea! I’m thinking it might work for convex curves as well.
Terrific, it has also given me the idea of creating a lightweight corner, using the coving as a Jig for a laminated cardboard corner, for my layout, [which has to be very lightweight to be portable].
To George D Tompkins [above], you might buy 2 covings and slice one dowwn the middle, or buy one and use my idea.
This is a fantastic idea! It will help me complete the tight corner for my backdrop on my Z scale layout. Thanks!
great tip. I too am starting my backdrop this week and will use this tip. My first thought was to just round 1/8" masonite around the corner but this will allow more room for the foreground.
Great solution to give strength on the corner. I will try and use it since that is what my next task is about.
GREAT INFORMATION AND IDEAS.will be a great help as I start constructing my backdrops,,
I have been held up doing my background because I could not figure out how to round the corners of my room without losing so much space. Great tip!
I found this just as I was about to start my backdrop. GOOD FIND THANKS.
Just the information I'll need when I start backdrop construction. Thanks!
I am in the planning stage and this may come in handy, very good idea.
I ran into a similar situation on my layout. You have to work the back drop before starting to lay your track. I learned this from my own mistakes. Will know better on my next one. I enjoyed your article.
l'm about ready to build a shelf layout. This will be much better and easier than bending my backdrop around tight, inside corners. Great idea. Thanks.
I was reconciled to a squared corner on my HO layout, and decided to add a very short, operating N Scale branch line high up on a mountain in that corner to give it better depth perspective. With very little space available, your idea with a slightly larger radius will improve depth perception even more. My removable backdrops go all the way to the ceiling with mountains and sky above all the way to the horizon. I think it will look quite good when finished. Thanks!
This will help a lot as I am at that stage now. Thanks
Good ideal. but try my up-coming problem. I have a wall ( corner) which gos from straight to 45 to 45 to a 90 back to straight. Wish I could draw it here but you get the ideal.
I was looking at this issue on my HO layout only this week. I have one very square corner where this will make things look great.
Very timely article
Great timimng, in the process of framing the basement, the train room is 16' x 24' and will undo my square corners this weekend for curved corners!
It is a great idea, I have used this myself, but with a larger molding. This looks better! Thanks!
Excellent idea ! Just what I needed for my layout.
This article will come in handy with the construction of my new layout.
I just purchased my backdrop and was going to square it …just came across this and it looks a lot better…Thanks for the tip.
Good idea!
Article just in time for my new layout. Many thanks.
Great article and just in time for my own attempt at building a backscene. Excellent photo to back up the text describing the construction method. Many thanks for the tip!