


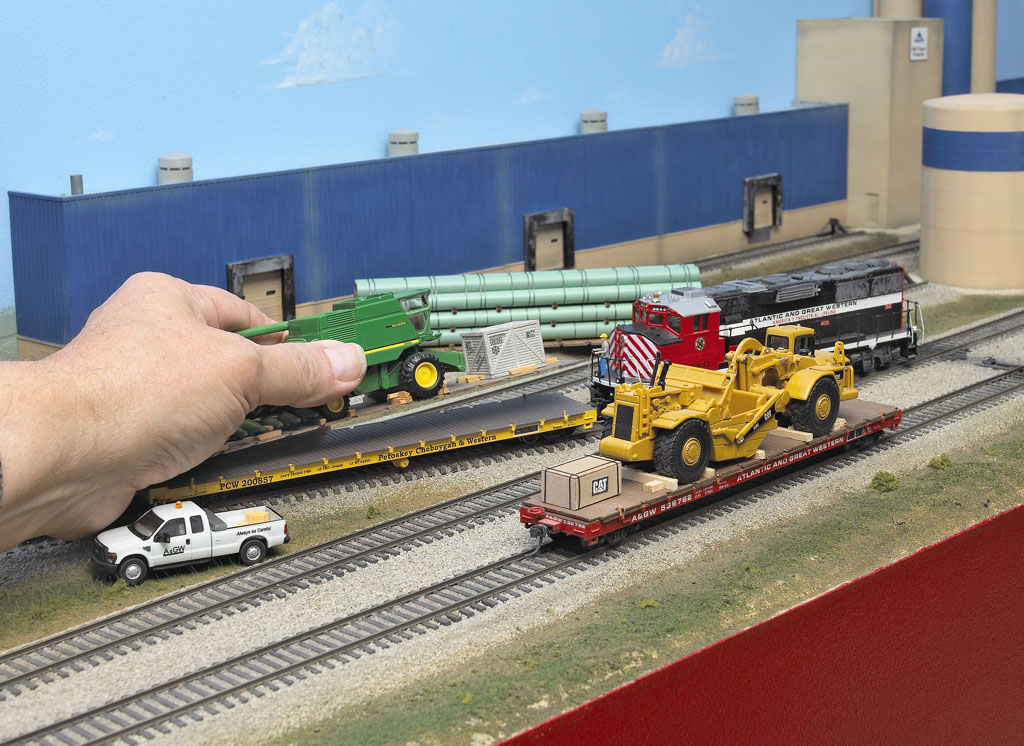
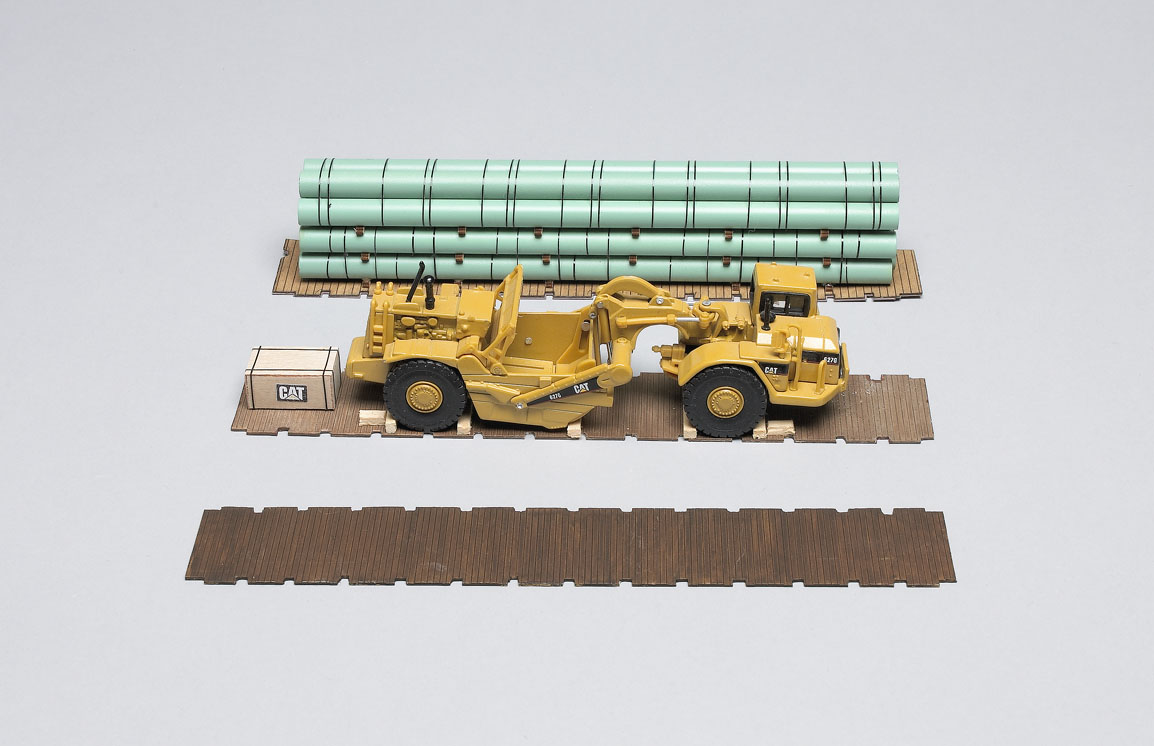
Simulating the movement of loaded and empty cars is one of the reasons I’ve been building cars with removable loads. Enclosed cars can travel as empties or loads since there’s no way to argue the point. However, there’s no question about an open-top car as a quick glance indicates a car’s loaded or empty status.
I tried using magnets that would “grab” the car’s steel weight. But vibration still made the loads slide off. Hiding a good-size magnet was also difficult in many loads. Using pins in the load seemed like they had potential, but I didn’t like the idea of a flatcar deck that looked like a pin cushion. I wound up gluing all my loads to the flatcars. Meanwhile, I passed up a lot of interesting loads since any new load required the purchase of another flatcar to haul it.
I’m a member of the National Model Railroad Association’s Layout Operation Special Interest Group, so I asked the SIG’s Internet discussion group (opsig .org) for ideas. An easy solution to my problem came from my friend Bruce Brantner, who lives only 60 miles away from me.
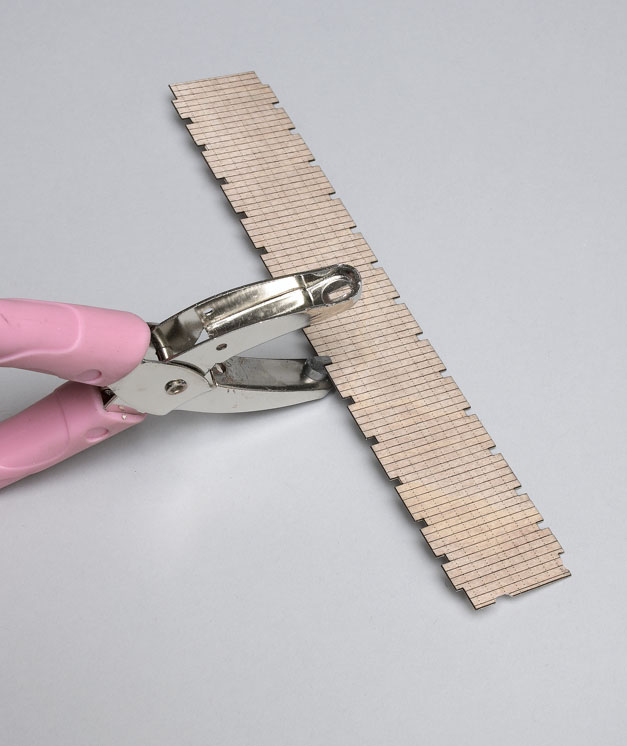
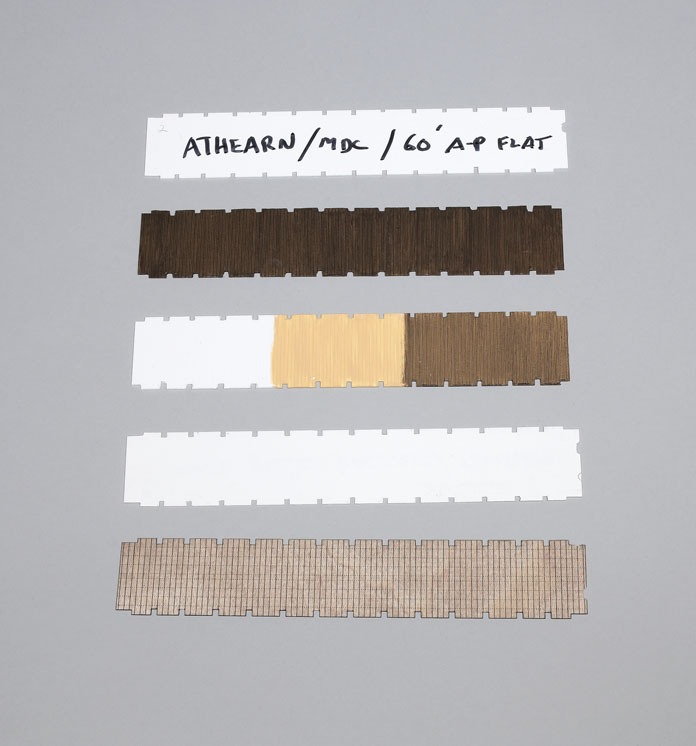
I took Bruce’s idea and ran with it. I obtained Evergreen no. 12040 styrene siding that matched the decking on my 60-foot all-purpose flatcars. The boards run across the 6″ x 12″ sheet, so I could make floors up to 12″ long.
I purchased my rectangular paper punch at Hobby Lobby, and it’s an exact match to the width of the AMB stake pocket openings. I also cut a notch in the end of each floor for the brake wheel.
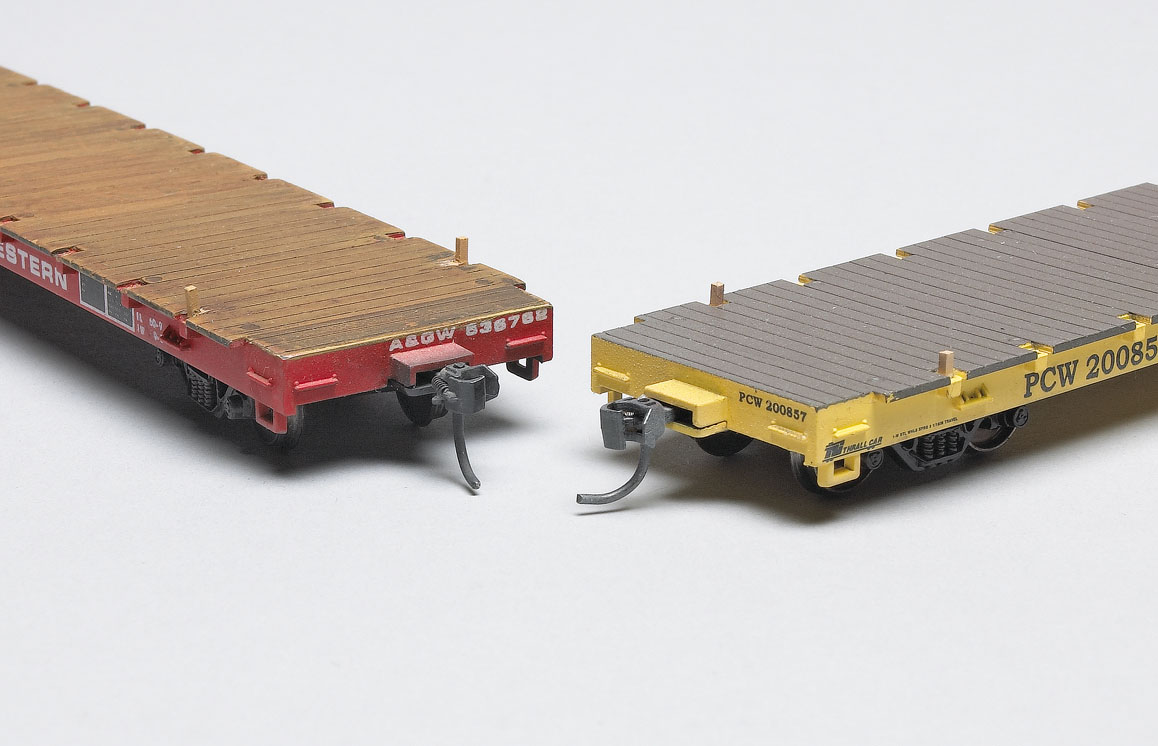
On my 60-foot flats, I put four small 4 x 4 stakes in the end stake pockets to secure the loads on the cars. Other cars, like the original Athearn 40 and 50-foot plastic flatcars, may require adjustments if the stake pockets are outside the deck. The stakes would keep the load from shifting side to side, but not end to end. In this case an extra stake or pin might be needed at the car end so the load won’t shift forward or back.
Thanks to Bruce for energizing my search for more potential flatcar loads. All it takes is a little imagination to add new flatcar loads that may turn out to be some of the most interesting cars on your layout


Roger and Jim,
Great idea! I’ve been trying off and on to find a hole punch that will work for this. Looked at Hobby Lobby, but all these are way too big. It looks to me like I only need a 3/32″ square hole.
Not much luck online either. Already have the appropriate sheet styrene and some flatcars. Just need the punch. Any help would be appreciated!
Eric Carlson
Crooks, SD
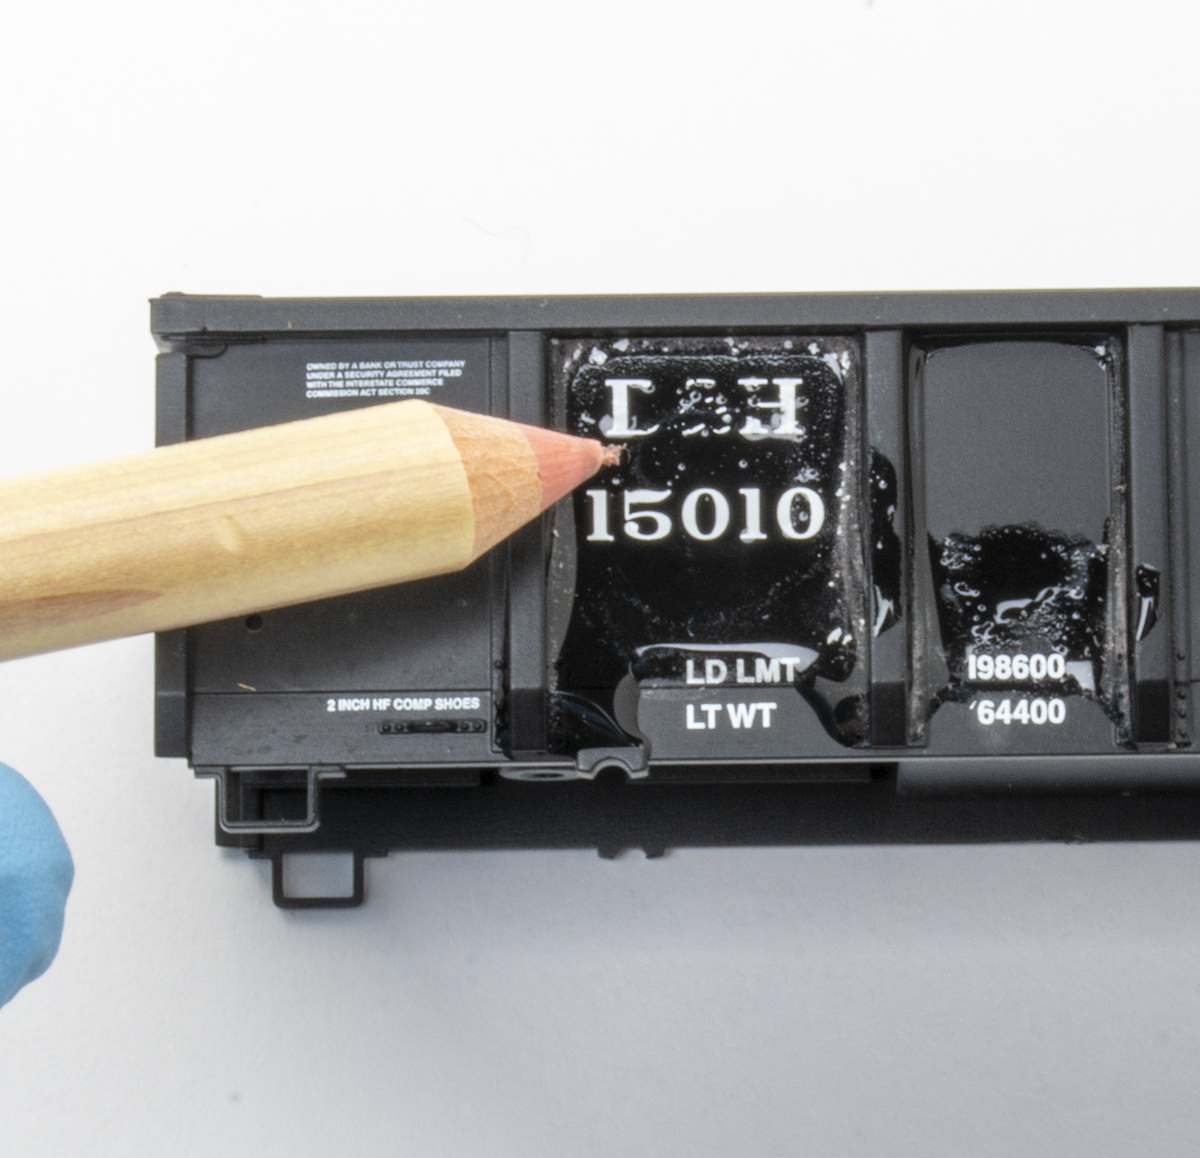
Sorry but I don’t see any tie downs. Just does’n look right.