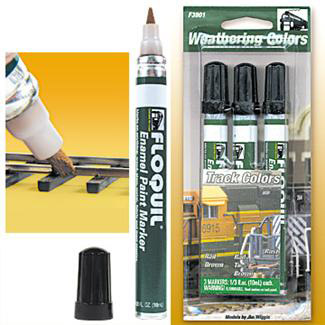
About three months ago, I pulled up some track that was laid too closely on our club layout many years back. I re-spaced the tracks so passenger and other newer and longer equipment could pass without hitting each other. I then airbrushed the new track with a mix of Rail Tie Brown, Rust, and Grimy Black. The color looked great for the ties, but the rail looked too dull for my liking; enter the Floquil Paint Marker.
After a few moments of shaking the marker and priming the tip, the paint was flowing evenly and covered really well on the first pass. I hit all the rail with one coat. I waited about 10 minutes and applied the second coat just to make sure I had complete coverage. The lighting in the area I painted is pretty bright, so the Rust color gets washed out a bit, but when equipment rides by, the rail stands out nicely and looks much more like the prototype than I thought it would. I will say though, that if you have quite a bit of track to cover, you’ll want to have a few of these markers at the ready. They do seem to get used up pretty fast. They aren’t cheap, but they aren’t too expensive either. They run about $7 per three-pack.
The biggest thing is the convenience with virtually no clean up. I’m all about avoiding a bunch of clean-up, when I can. All I did was hit the top of the rails with a Bright Boy to clean up any that I may have gotten on the top of the rail.
So if you are looking for a fast and easy way to paint some rail, try the Floquil Paint Markers. I think you’ll find them to perform well and save some time in the painting process and avoid a lot of clean-up too!