Although our family had a wind-up Marx set when I was very young, my real interest in Marx trains began when I received a Marx Allstate set for Christmas about 1961 when I was 10. My father bought it at the Sears surplus store on North Main St. in High Point, N.C. for, I think, $10.00. It was quite simple with a 490 steam engine and 4-wheel plastic cars, but to my amazement it included 12 telephone poles, 12 signs, and 3 non-powered signals.
I already had a low-end Lionel set, so now I could begin to compare manufacturing and molding differences of the two companies. I’ve always liked to study the details of plastic bodies and this would eventually lead to repairing them. Although Marx trains are generally not as realistic as Lionel; they are quite interesting and collectible. I’ve also found their motors to be very reliable.
For many years I focused on Lionel, Kusan, O scale, and even N gauge. Over time, I realized I had overlooked learning about the trains produced by Louis Marx & Company. They manufactured three categories of tinplate cars and three of the plastic ones. I particularly like plastic, so I’m going to talk about repairs that I’ve done on some of these cars.
Types of Marx plastic cars
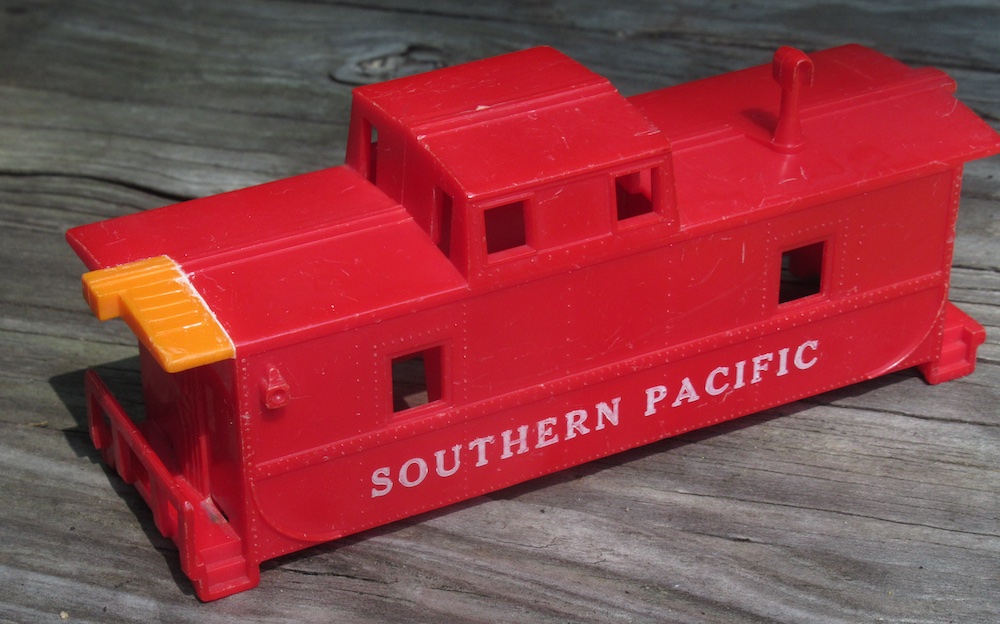
The three types of Marx plastic cars are four-wheel or lightweight (as some call them), eight-wheel, and what are often called “deluxe.” The four-wheel and eight-wheel cars are the smaller ones and are from the same molds.
On the four-wheel versions there is the addition of molded on simulated truck sides, and some include molded on coupler support bars. Deluxe cars are the larger, more elaborate cars that have additions like sliding doors or metal ladders and handrails, as on the tank cars.
The four-wheel cars are the most likely to be broken since they came from inexpensive sets that children played with. The truck sides and coupler support bars are the most-often broken sections. In the Fall 2024 issue of CTT (Tips & Tricks), I outlined how I’ve made repairs to these.
I sometimes paint and decal cars and have hand-lettered some. If a car is in original condition I try to avoid painting it, but if there’s plastic missing and I have to make a repair then I don’t worry so much about changing it to another scheme, unless it’s a rare item.
Painting and decaling plastic cars
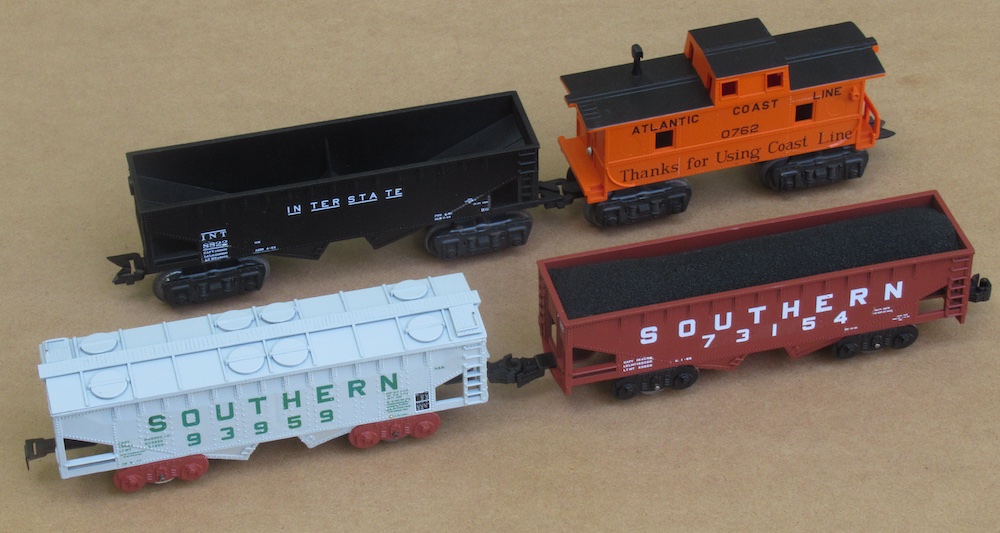
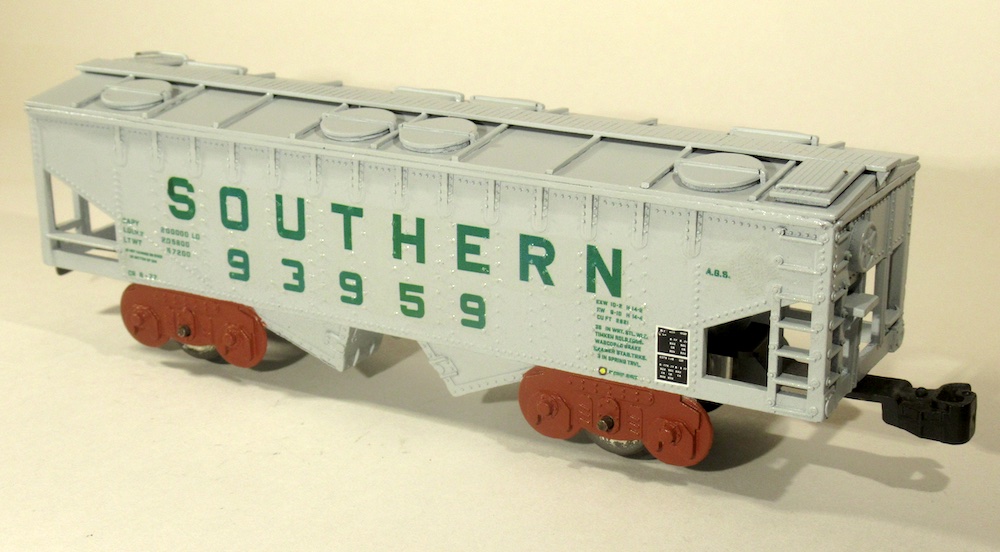
I recently painted and decaled four cars. I had three of these planned for a long time and looking for decals. A friend introduced me to K4 Decals and they had what I needed in the appropriate size. (Since Marx 027 is close to S scale size I went with these.)
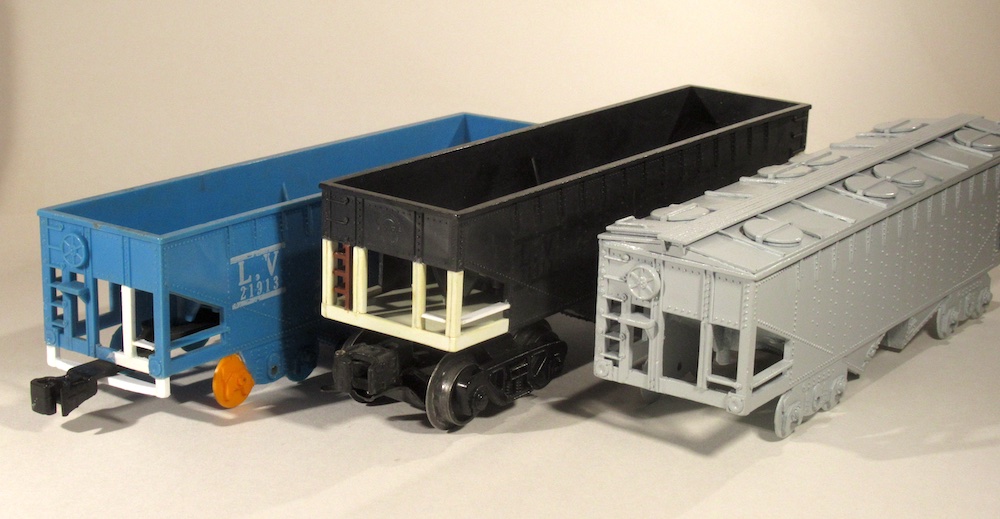
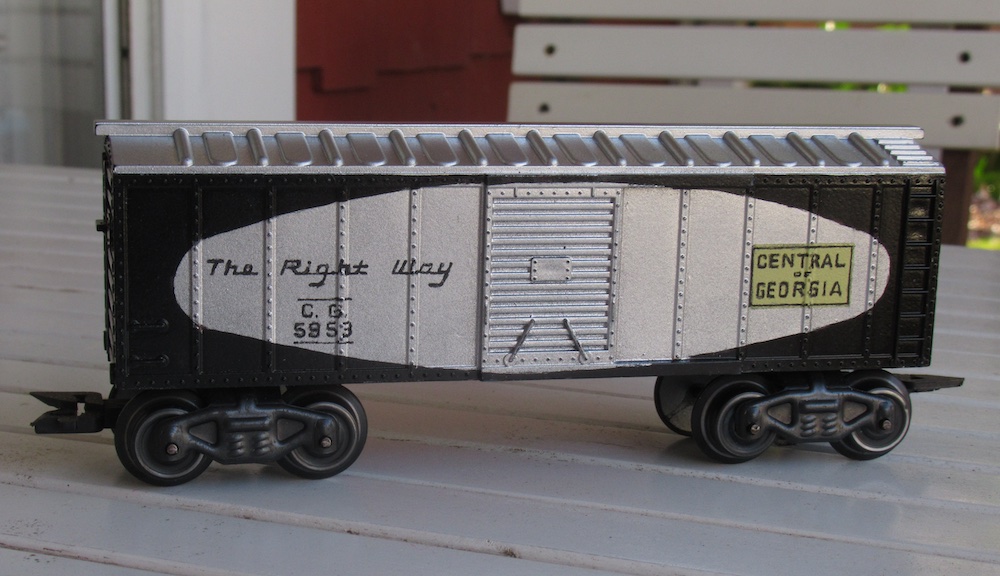
I started with the two hoppers. The hoppers tend to have broken framework on the ends. I keep sheet styrene or polystyrene on hand such as that made by Evergreen Scale Models. Sizes such as .040” .060”, and .080” are useful for repairs. I’ve replaced quite a few beams and grab rails on these hoppers using this material. One hopper had nearly everything missing or removed out of the ends so I fabricated all new parts. I removed the molded-on truck sides and added .080” styrene plates on the bottom with pins to fit into trucks.
For one hopper I fabricated a roof from styrene (I came up with this idea. Marx did not make any covered hoppers). For the round roof hatches, I hand cut pieces as round as possible, then filed them the rest of the way.
On some of the last four-wheel plastic cars that Marx made, the truck sides were painted black. On one of my rebuilds I did black sides and on another reddish-brown.
My fourth car, a caboose, had a piece broken off of one corner of the roof. This was a tricky fix, but I cut a piece out of another junk caboose to repair the damage.
I like the simplicity of using spray paint, but color choices can be limited. I’ve been using formulas that are a paint and primer in one, following the instructions on the can.
Note: Use a paint booth or spray outdoors and be sure to have adequate ventilation. I do mine outside (but not if it’s too wet or windy).
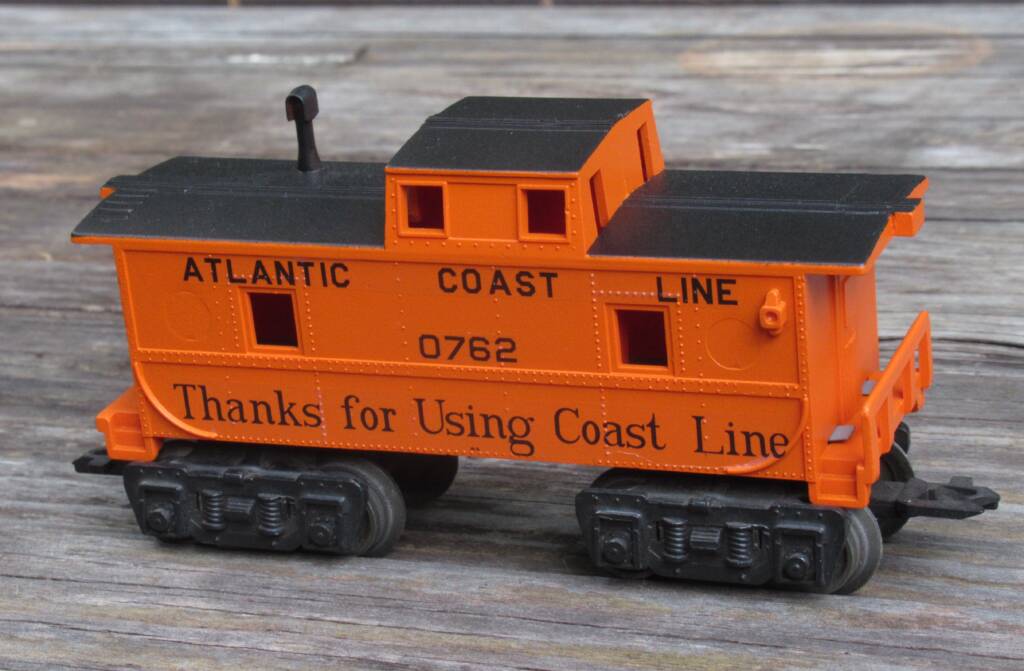
I have not had a problem with a paint and primer formula attacking plastic, but you may want to test first in an inconspicuous place or on a scrap. In the past I’ve had paint (without primer) attack plastic, but if I used a coat of primer first, had good results. I generally prefer satin finish paint.
Instructions usually state to wait 48 hours between coats. I might have to do three coats to cover things well, and this will add up to a span of several days to complete the job.
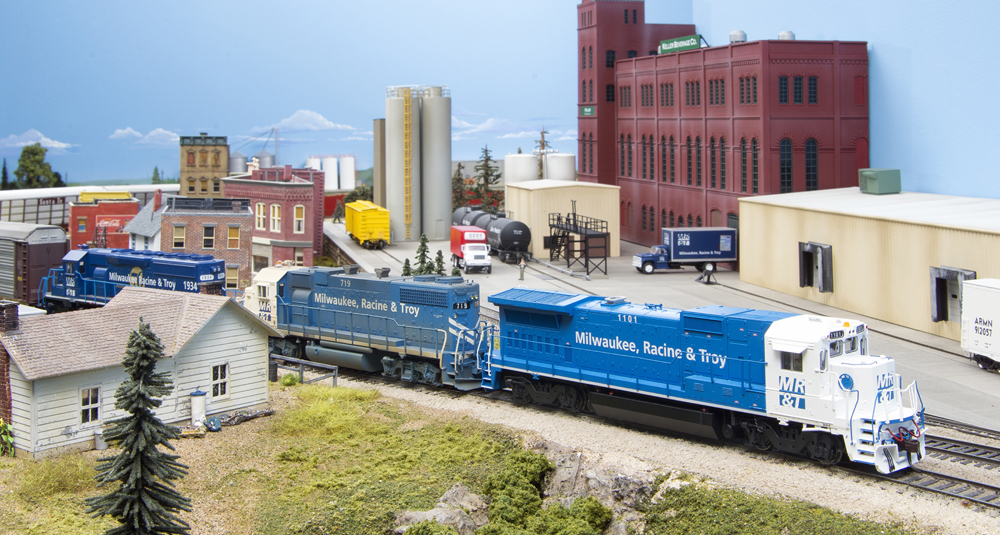
I collect and operate a mix of Lionel and Marx equipment. I try to give the Marx cars somewhat equal time with the others. Mixing things up in train operation can bring a lot of enjoyment!
Supply list
Sheet styrene, such as Evergreen Scale Models .040”, .060”, and .080”
Utility knife (or hobby knife)
Sanding stick or small files
Testor’s Cement for Plastic Models
Testor’s Contour Putty
3/4” masking tape
Spray paint + primer (or separate primer and paint)
Tweezers