It’s not hard to give a postwar Lionel GP7 a new lease on life. Unless they’ve really been abused, these workhorses can be returned to service with some cleaning, adjustment, and maybe a little lubrication.
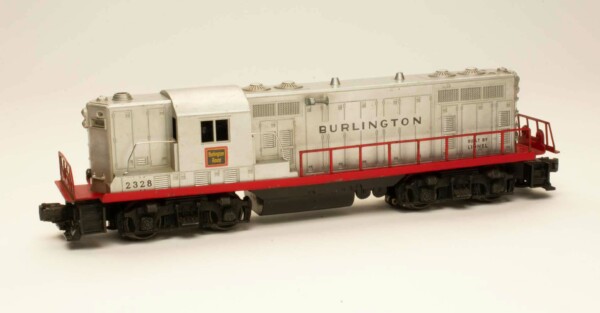
This particular model had been stored for years in a dry climate. Additionally, the previous owner had removed the D-cell battery for the horn before putting it away, avoiding corrosion damage to the frame.
Initial inspection indicated wear to the paint on the body and frame. The unit ran OK but consumed a lot of current – a little over 4 amps. Plus, even with a new battery, the horn didn’t work. There was also a layer of dust and funk on it.
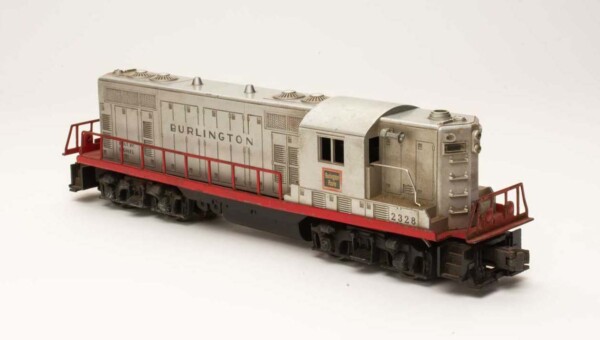
Time to get to work.
Postwar Lionel GP7 rehab
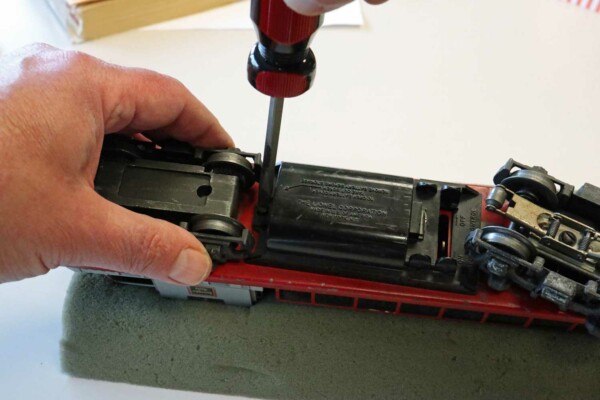
I wanted to attack the mechanical and electrical issues first. I put the unit in a foam cradle and unscrewed the battery cover on the bottom. There’s a catch at the other end of the cover that holds it on; just slide it back to release.
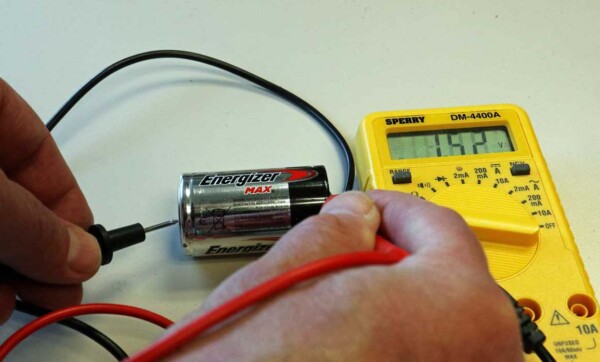
I took the battery out to make sure it was good. A quick test with a multimeter showed 1.5V, so that wasn’t the problem.
How the horn works: The locomotive runs on alternating current (A.C.). When the horn button is pressed, direct current (D.C.) is superimposed on the rail, energizing the electromagnet in the horn relay and closing the contacts, allowing the onboard battery to power the horn. When the transformer horn button is released, the contacts part and the sound stops.
Find out what your Lionel trains are worth.
Going inside
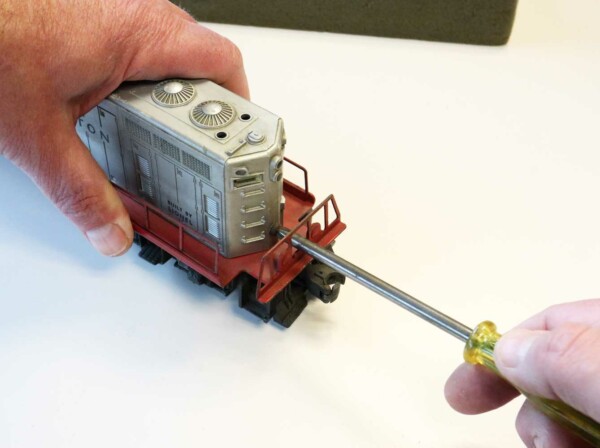
I removed the body shell. Inside, you find the headlights, motor, horn relay, and the horn itself. Other than some dust, everything looked fine. Just to see if the horn worked at all, I hooked up a 9-volt battery to a pair of alligator clips. I attached the wire connected to the negative terminal to the frame in a spot where there was no paint. I took the wire attached to the positive terminal and briefly touched it to the bracket that holds the horn relay.
Briefly is the key here; 9V left on the relay for too long can burn it out. In this instance, the contacts closed and the horn worked, so that was good news.
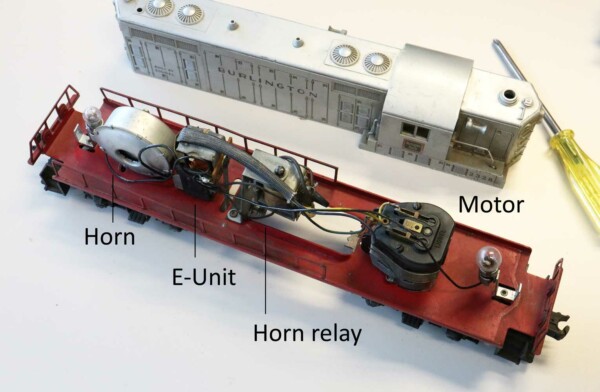
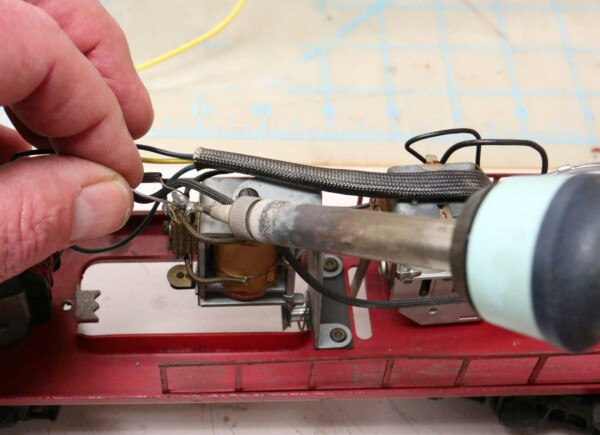
I checked the wiring and found a loose one on the relay. I resoldered it and tested the horn on the track. Still no luck, that wasn’t the issue. Then I took a fine emery board, slid it between the contacts, and polished them.
I noticed on this model the armature for the relay was slightly magnetized and the contact plate would stick sometimes. I cut a small square of clear packing tape and stuck it using some tweezers to the bottom of metal slug. It doesn’t interfere with the magnetic pull and is just enough to allow the pieces to release as they should.
The greatest resource for Lionel postwar repair and parts information.
Sounds better to me
For good measure, I put some lighter fluid containing naphtha on a cotton swab and cleaned the contacts. The naphtha evaporates quickly. I put the battery back in and manually touched the contacts together. The horn worked, though intermittently. I took a pair of needle nose pliers and adjusted the contact just slightly to get consistent sound.
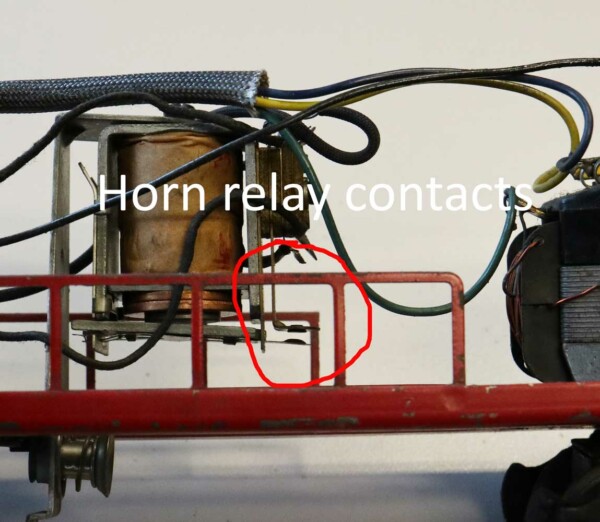
If you can turn your locomotive over with the battery installed and the horn sounds, you know the relay is properly adjusted.
In poking around inside I also found one of the wires attached to the motor had broken off, so I stripped the end and resoldered it. I also added a few drops of oil where it says to on top. There’s a wick under the metal tab and it doesn’t take much.
To the wash rack
Finding no more loose wires, I turned my attention to cleaning. I first removed the handrails from the body shell by straightening the bit that goes through the body. They don’t have to be completely straight, just enough to get the wires out of the holes.
Then I filled a basin with warm water and a squirt of Dawn dishwashing soap. I took an old towel and scrubbed very gently to get the dust off. The silver paint on these Chicago, Burlington & Quincy engines is notoriously fragile; I do not recommend using a toothbrush to scrub it, no matter how soft the bristles are. There’s a good chance you’ll take the paint off.
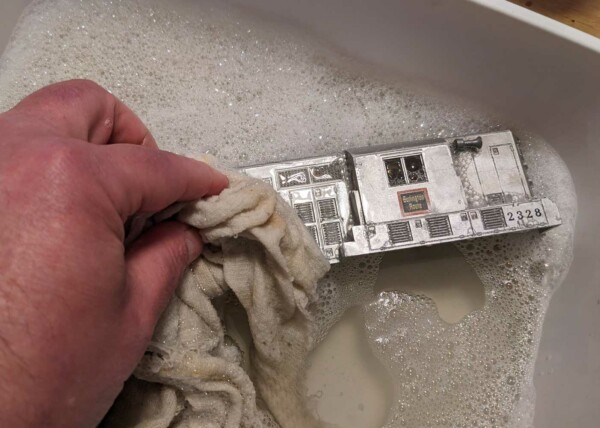
An old washcloth or a microfiber towel works well and does minimal damage.
Learn more about troubleshooting Lionel locomotives.
Get underneath, too
The same items work well to clean the frame, too. Except I used a 1:1 mix of Simple Green cleaner and water. Dampen the cloth; don’t soak it! Wipe the dust and dirt from the frame. Use cotton swabs to get into the corners and areas too tight for a finger.
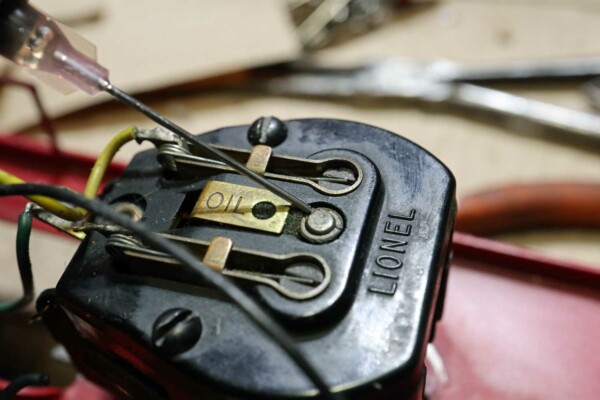
Also get the stepwells and the tops of the trucks with the cotton swabs; there’s usually dust there too. I recommend getting some surgical-grade swabs from a beauty supply store or Amazon.com. They have pointed tips to get into tight spaces and don’t leave fibers.
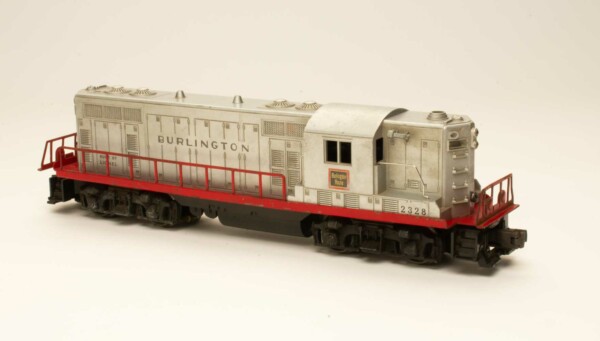
Once the shell is dry, tuck the wires in and put the shell back on. Secure with the front and rear screws. Then flip the engine over in the cradle, replace the battery, and put the cover back on. It requires a little finesse but eventually you’ll get it.
Back on track
The last thing the locomotive needs is a good wheel and pickup roller cleaning. I use cotton swabs and 90-percent isopropyl alcohol. Wearing nitrile gloves is recommended.
I put the locomotive back on the track and ran it. I noticed it used about a half-amp less current and the horn worked consistently. Now maybe it needs a set of No. 2430 or 2440 passenger cars to pull!


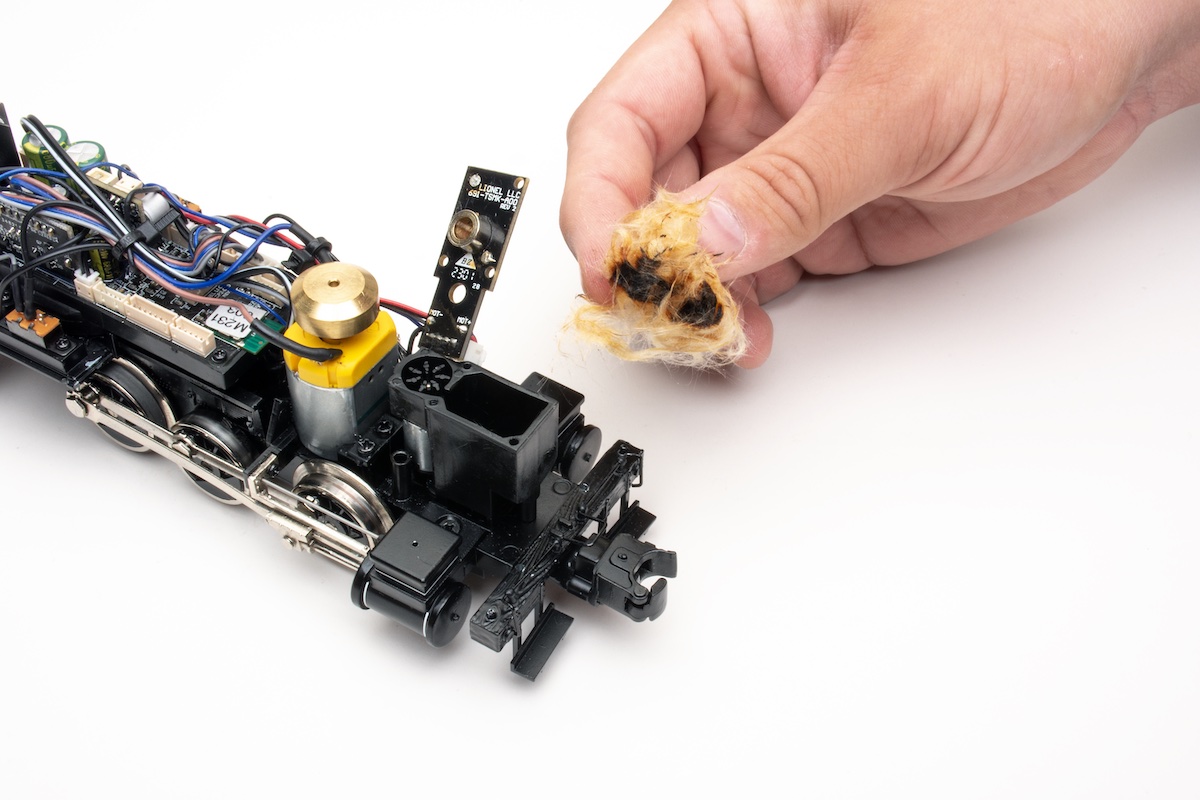


I have 3 of these type engines, Thanks for the tips!