Not every hobbyist has a spare room in which to build a layout. You may have limited space for a layout or need to share a room that’s used for other purposes (like a family room). That was my situation, so I decided to build a multi-level shelf layout.
Benefits of a shelf layout
- You can build it to fit the available space.
- Multiple levels can showcase different products/themes or eras.
- It’s portable, so you can move it to another location. If you include casters with wheels during construction, it makes moving much easier.
Construction materials
2 x 4 for framework
¾” birch plywood
6 flat metal brackets
16 floor pads (optional, vibration barriers)
2 90 degree wall brackets
12 gauge red/black stranded wire
22 gauge red/black stranded wire
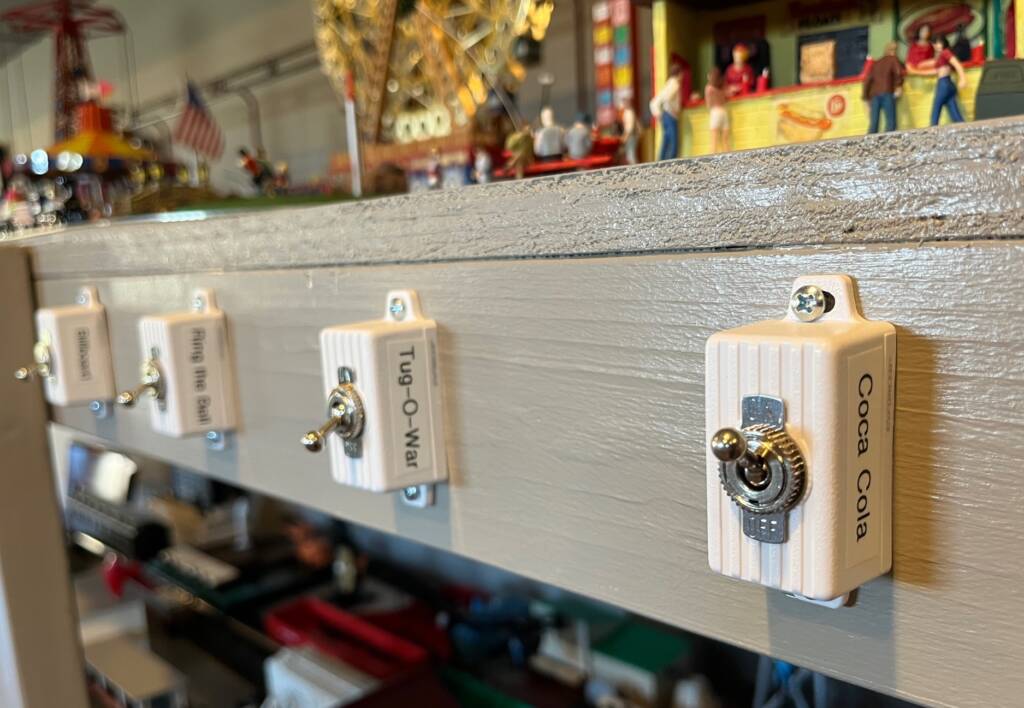
single-pole toggle switches, some with remote control
24 ½” wood dowels with ½” copper end caps
LED strip lighting
Paint of your choice for finishing
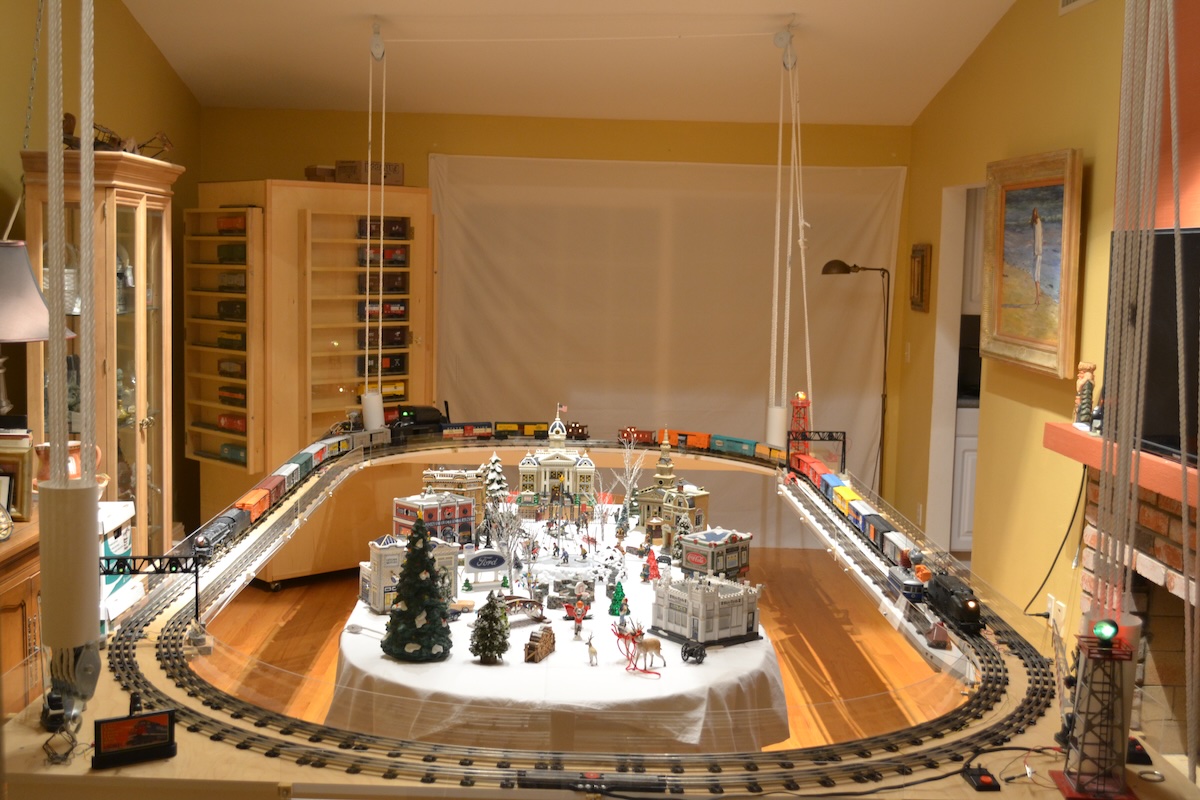
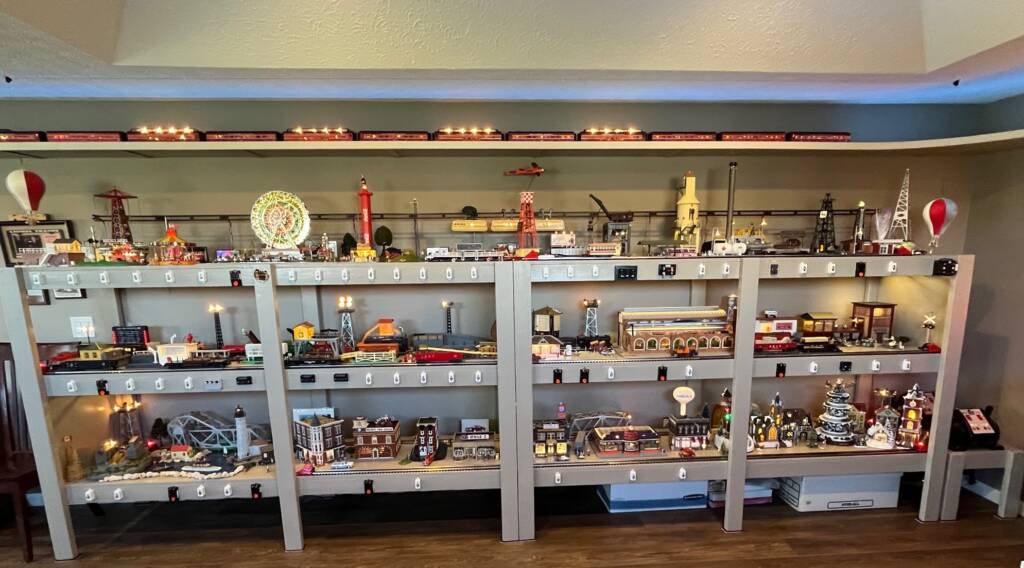
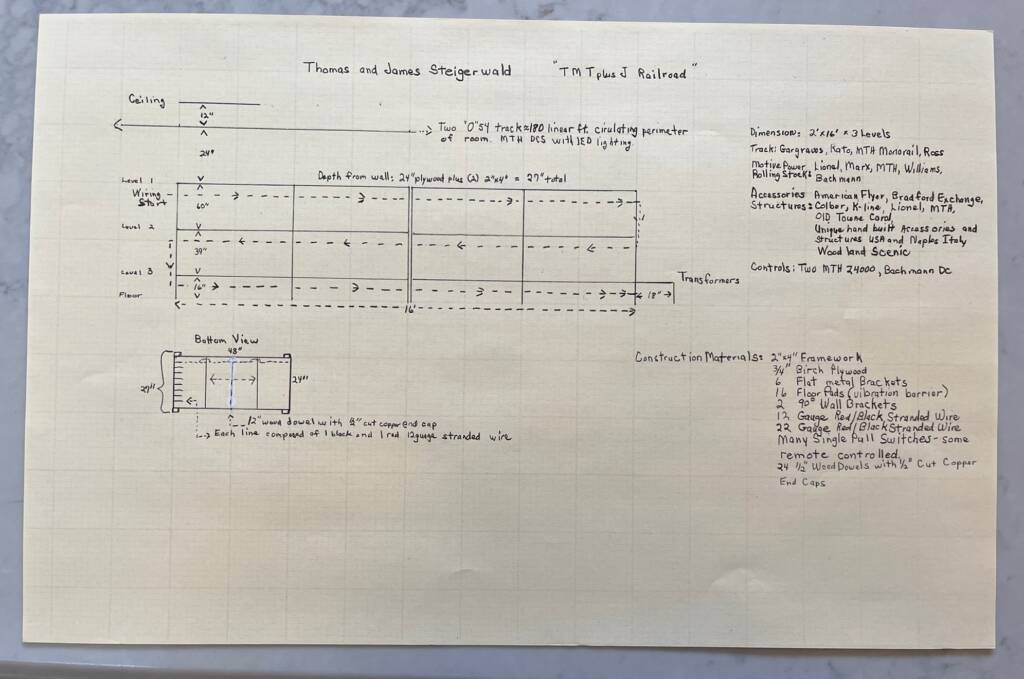
Using 2″ x 4″s and 3/4″ birch plywood, I made two identical units with three shelves measuring 8′ long by 27″ wide and 60″ high. With both units side by side, the floor footprint is 16′ long by 27″ wide. These units are free standing, so they can be easily removed from the room with sliders and the help of a friend. You could also add casters with wheels to make moving easier.
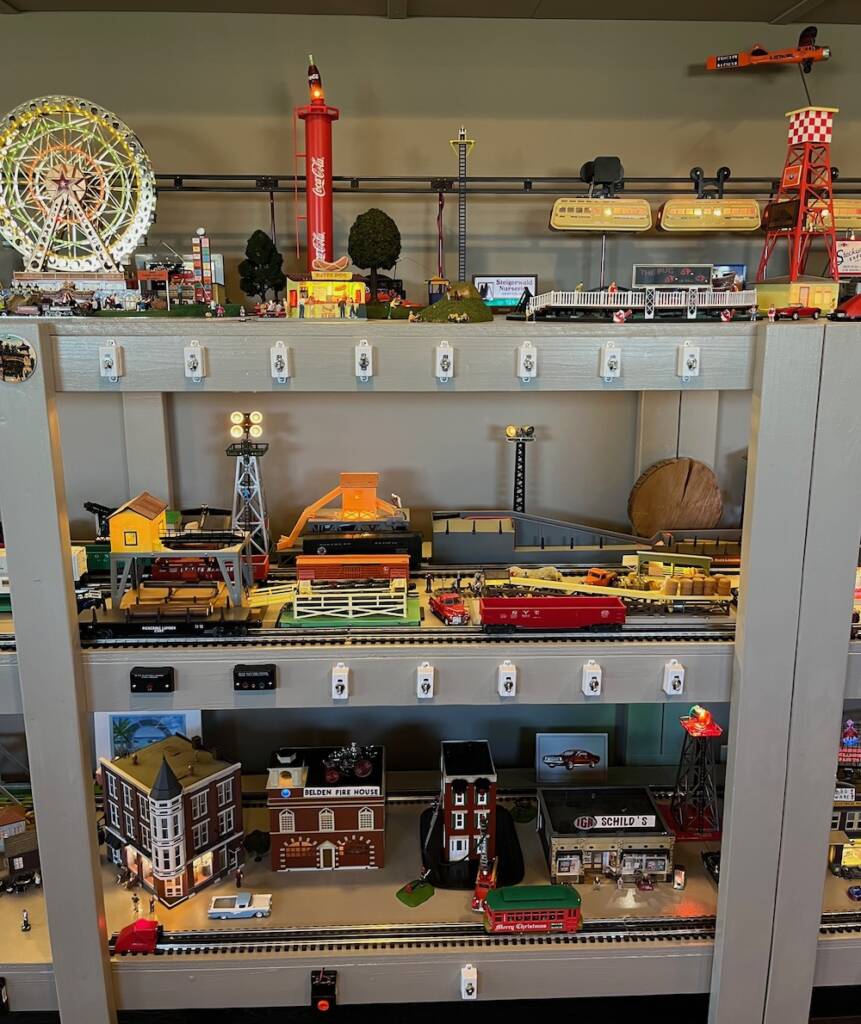
The 24″ wide shelves allow me to operate approximately 70 train accessories, with individual switches mounted to the front facing 2 x 4s. When your friends come over to operate your trains and accessories, they can choose to run one, a few, or all.
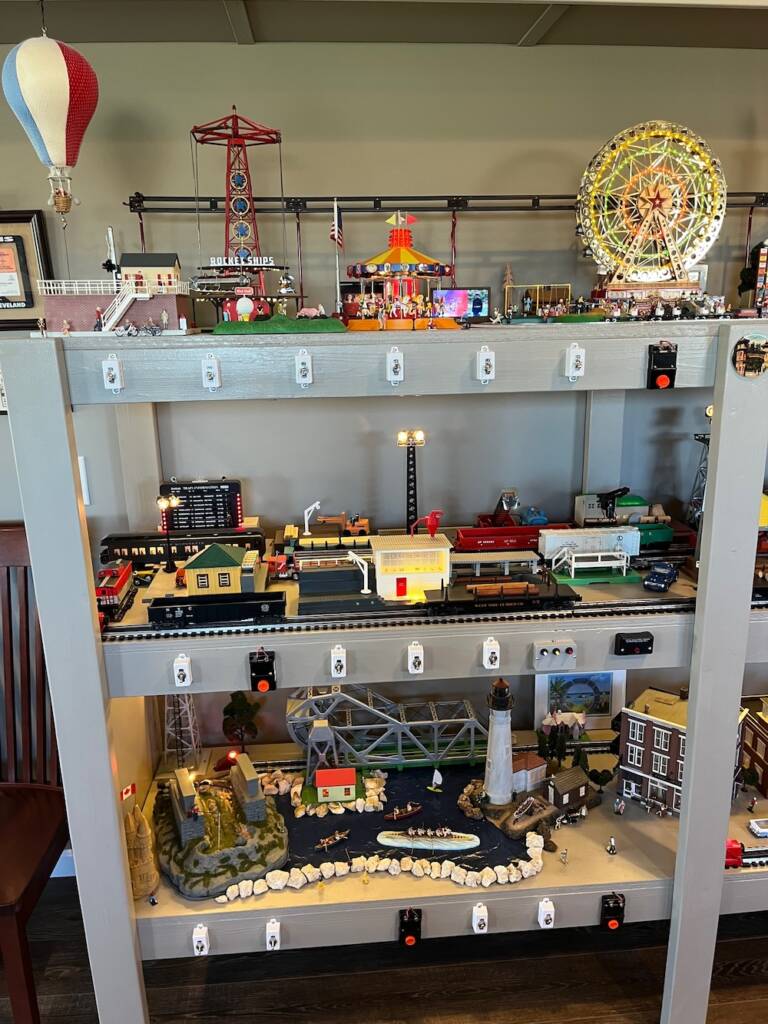
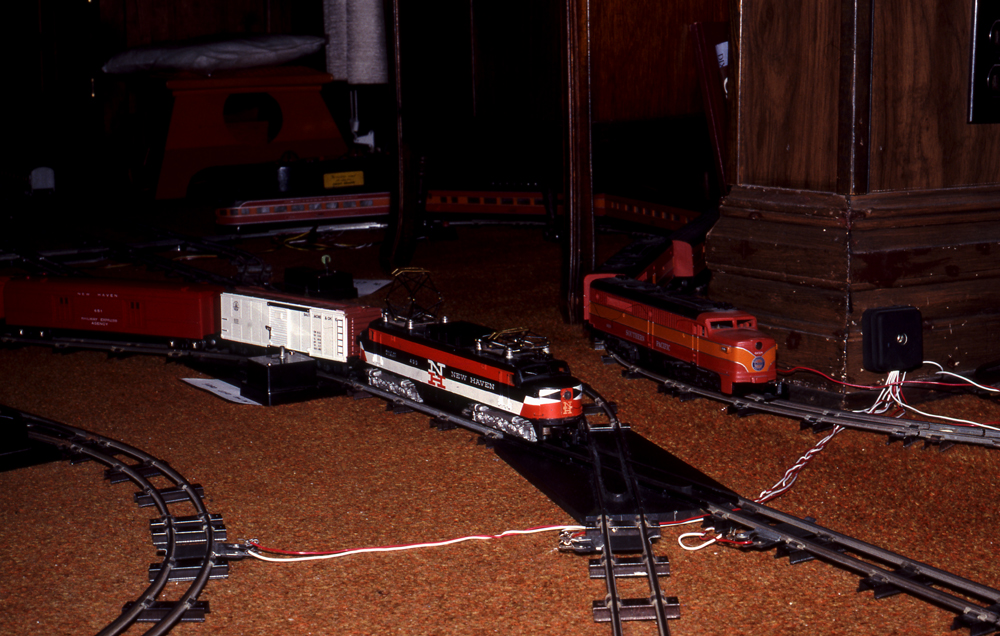
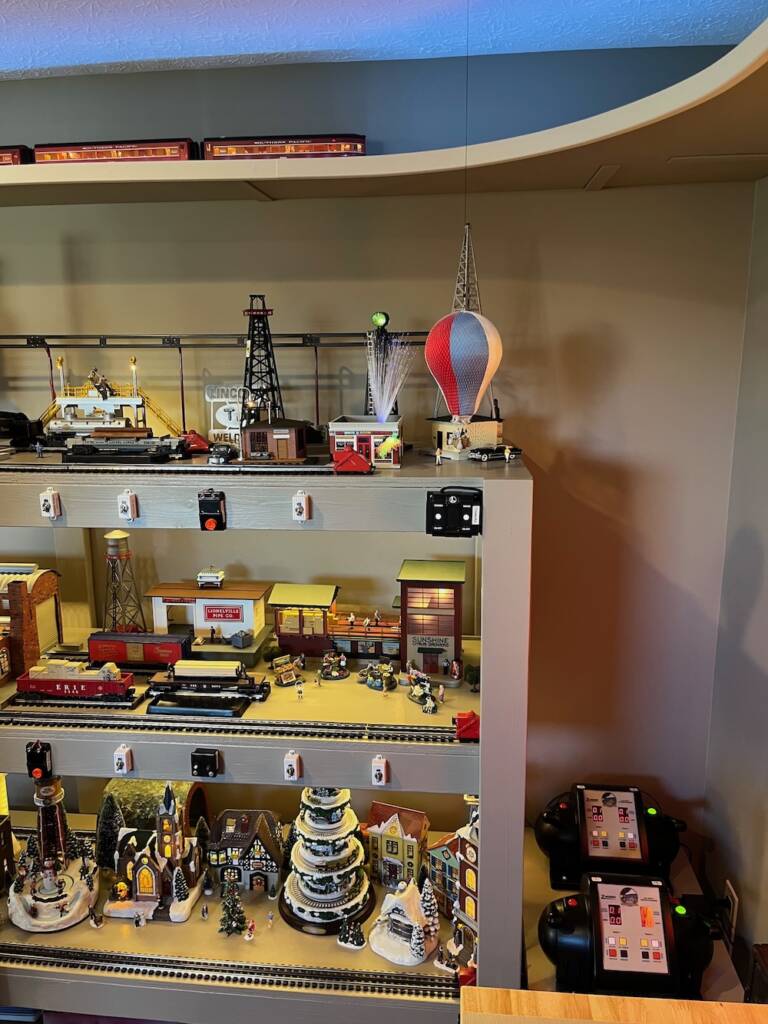
You’ll also see an MTH Monorail, a N-gauge train in the amusement park, four O gauge trolleys/gang cars, and Marx steam engine No. 999 coming down a side track heading toward the Lionel Back Shop with working machines and a forge for repairs.
Everything is powered using two Z-4000 MTH transformers and 1 DC transformer. This includes the LED strip lighting inside the shelves.
In addition to these vertical units, I added a shelf suspended from the ceiling, with two lines of track. Either train can be operated conventionally or digitally using the MTH app.
I hope my setup will inspire you to try a shelf layout. In a small space, I have a lot of variety for operation and can entertain family and friends.