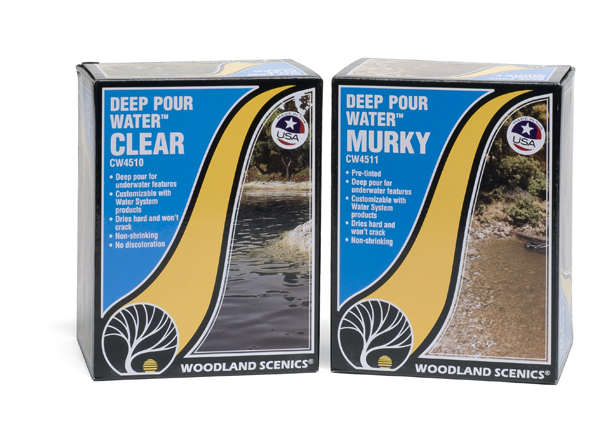
Price: $29.99 each (nos. CW4510 clear water/ CW4511 murky water) Features: One bottle of water base, one bottle of activator, two measuring cups, two pairs of plastic gloves, two stir sticks, instruction booklet.
Water is something Woodland Scenics has helped to make easier to model. For years, it has marketed a line of products for modeling water and water effects. As you’ve seen on many layouts featured in Classic Toy Trains, ripples, waves, and waterfalls look better when realistically replicated instead of going with my own favorite method – just using cobalt blue paint!
We received a box from Woodland Scenics, and it contained two versions of the Deep Water Pour kit: nos. CW4510 Clear, and CW4511 Murky, for $29.99 each set. You can also buy coloring pigments to give water depth and texture, colors to represent bottom silt, as well as liquids for waves and ripples.
What prompted my a review was the 32-page manual. What?! Even considering pages 12 through 31 were foreign language instructions, I thought it looked mighty complex. SPOILER ALERT: It isn’t.
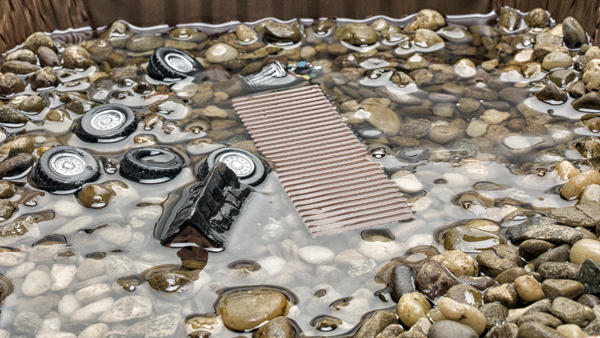
I went to a grocery store and bought a foil cake pan. Next, I got some aquarium gravel. I figured I’d make a small, rocky spot where the currents of the shore or perhaps a river, cause junk to wash up. I poured in the gravel, and added junk styrene, old vehicle tires, and the roof of a broken wishing well.
Getting started
You need to prepare. Seal the water cavity so the liquid won’t flow through. This can be done with anything from plaster cloth to aluminum foil. Unless you want to buy this product by the case, I recommend modeling shallow and not very deep water, unless you are filling the bottom with rocks, stones, and debris. You can use pigmentations if you want the water to look deep.
The box comes with all you need (except for a bowl or container for real water), from measuring cups and stir sticks to plastic gloves (be sure to use these, stirring may get messy).
The basics
Determine the quantity of liquid you will need (the manual has guidance on this). You will need to mix the water liquid with an activator. The ratio is 2 parts water to 1 part activator. There is a table showing what you need by milliliter (for example, if you need 180 ml, you’ll pour 120 ml water base and 60 ml of the activator).
Put the bottles of water base and activator in the air-tight bag included. Place them in a container of hot (not scalding) water for 10 minutes. Remove the bottles from the bag, and slowly tilt the bottles back and forth for 5 minutes.
Measure the base and activator in each of the two cups provided. Pour one into the other and gently stir for 5 minutes. If you use water pigments, you’ll need to add them about 1 minute into the stirring.
Woodland Scenics states you have about 20 minutes to pour the concoction. It advises waiting about four hours before adding another layer of water base to enable the two layers to better bond.
The outcome
My project turned out fairly well. If I had planned better, I would have made a cup or barrier to more tightly contain the solution (and use less).
The water was crystal clear and looked wet. The white color in the photo is from the photo studio’s lighting.
he highest compliment I can give it is that after letting the water sit, it still looked clear and fluid. I was pleased that it was rock solid when I tilted it to the side. The Woodland Scenics water solution is a relatively easy way to make your water effects.


