Whether you’re building on a hillside or on the flatlands, terracing your railway may scale down some problems while increasing interest. If you’re starting with either a boring, flat yard or an unstable slope that’s fit only for goats, we’ll look at some grading methods that allow better access to trains, ease of maintenance, conservation of natural resources, and a creative way to get your miniature world closer to eye level.
Measure twice, cut once
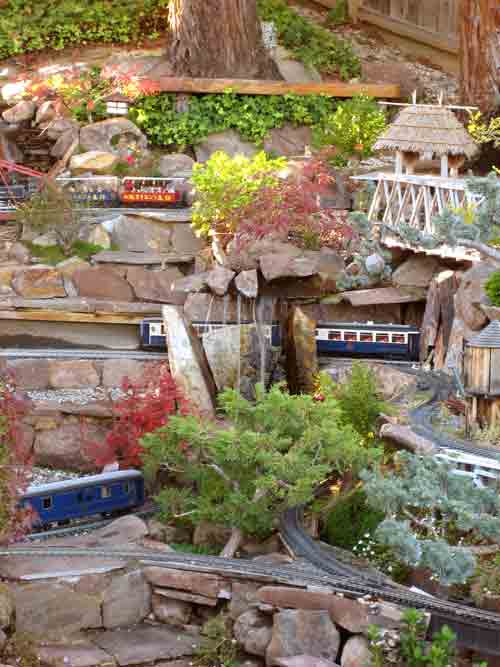
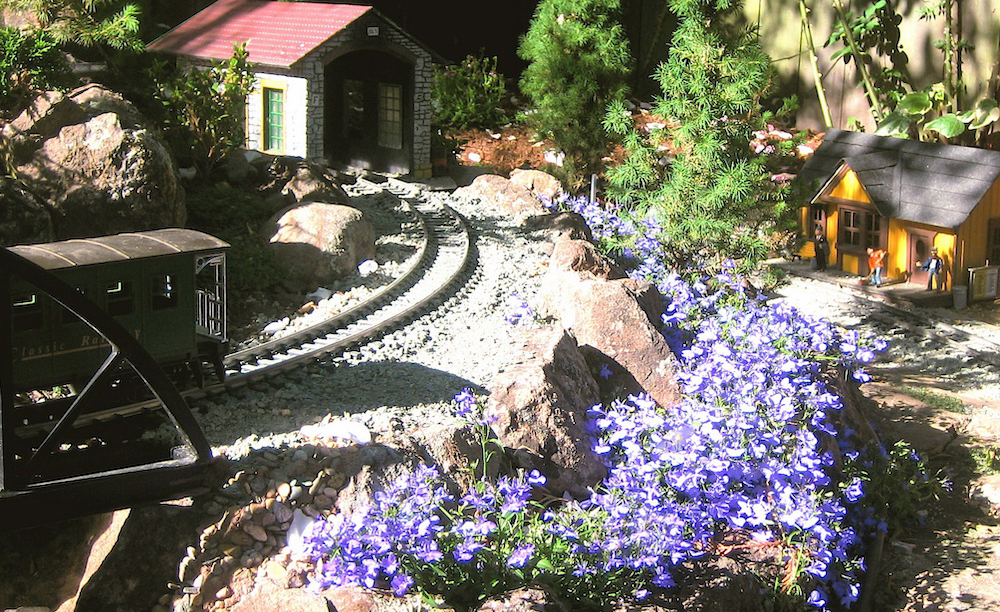
A staircase with several landings, blending beautifully into the surrounding, very steep landscape in photo 1, is necessary to easily reach this railroad. By dividing the total elevation into manageable, equal, full-scale steps, we avoided stumble steps. We installed lighting, disguised as rocks and pagodas, to get us there safely at night. All three rail lines must pass over these steps at different heights. The topmost line’s step carries water underneath it via a pipe from the water feature at top-left. The pipe spills water over the middle set of tracks into a stream, which meanders under two bridges serving the lowest line. This took a little planning!
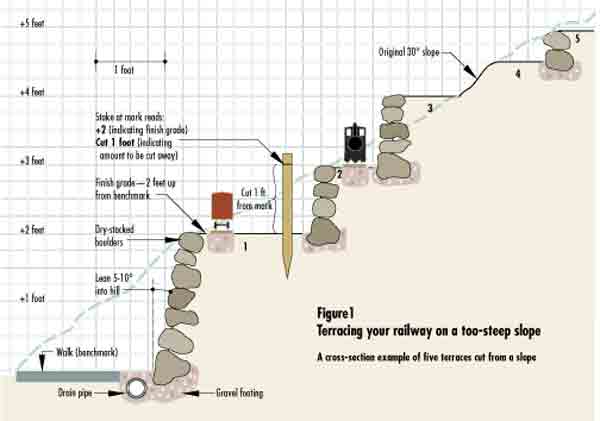
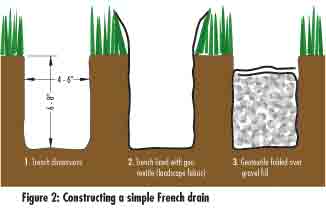
Carving a railway into the side of a hill or stepping it up from the ground in a terraced “planter box” presents a magnificent, more complex panorama than a flat one. Designing it might seem daunting, because we need to maintain it all and your locomotive must be able to make the grade. Simple arithmetic and a cross-sectional sketch of your slope on graph paper is the place to start. Measure a known height (benchmark) on the hill with two levels, one held horizontally and one vertically, then transfer several points to your paper and cut away some terraces to see how they fit (figure 1).
The formula “Gradient (%) = Rise ÷ Run” allows us to compute the feasible elevation change given a known length of track (or vice versa). Figure 1 shows a boxcar on level 1 that will need to climb a gradient of 2%, if given 50 feet of track, to get to the point above it on terrace 2 (or a 4% gradient to climb one foot in a 25-foot run). Setting up a test track on boards to run your engine up the intended grade (before digging), especially if curves or turnouts are involved. If you don’t have a digital level or surveying equipment, know that splitting the bubble equally with one of the hairlines on any level equals about a 2% grade (2″ rise over a 100″ run). Keeping an eye on the aerial-view plan, I like to drive stakes every few feet into the future roadbed (or stream bed) and shoot a laser level (or long level) along the stakes, marking each stake with the desired finish grade in relation to a benchmark (figure 1). Those marks are sacred until the track is laid!
Anchors = deadmen
Civil engineers have an interesting sense of humor. Take “deadmen.” Who came up with that term for a way to stabilize terraces? If you’ve had the fun of building cribbing, you know the crib will slide down the slippery slope without horizontal timbers, or deadmen, sticking into the hillside, which are attached perpendicular to the cribbing at regular intervals. Retaining walls require similar measures because water plus gravity will erode your walls in a hurry without precautions.
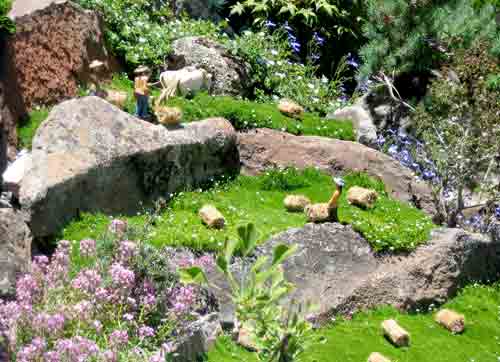
In “Greening your railway” in the June 2008 issue, I showed you how to build retaining walls from stone, which last longer than timber cribs and never require chemical treatment. Each technique requires anchoring and we always start at the bottom terrace and build up. For example, in photo 2, vertical stones retain terraced rice paddies; all stones are anchored (buried) several inches into the ground, resting on a gravel bed and leaning slightly into the hill. This too-steep hill was divided into mini-gardens, which slow the velocity of draining irrigation or rainwater. Heavy, impenetrable soils require a drainage ditch or buried drainpipe at the bottom, and maybe also on top, of the slope.
The look of love
It’s a good idea to keep it simple by limiting construction types to create a theme. Look at your yard to find ways to complement and contrast its features.
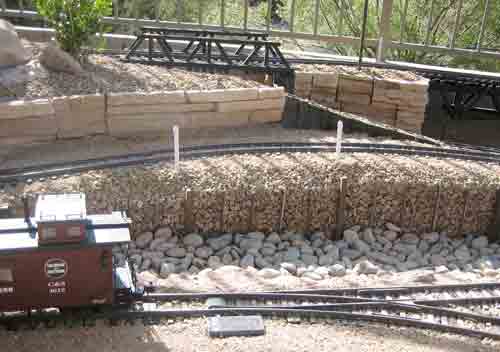
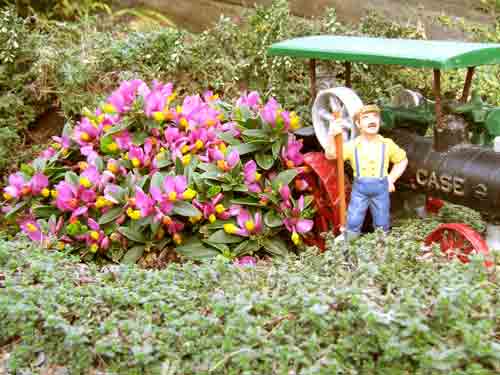
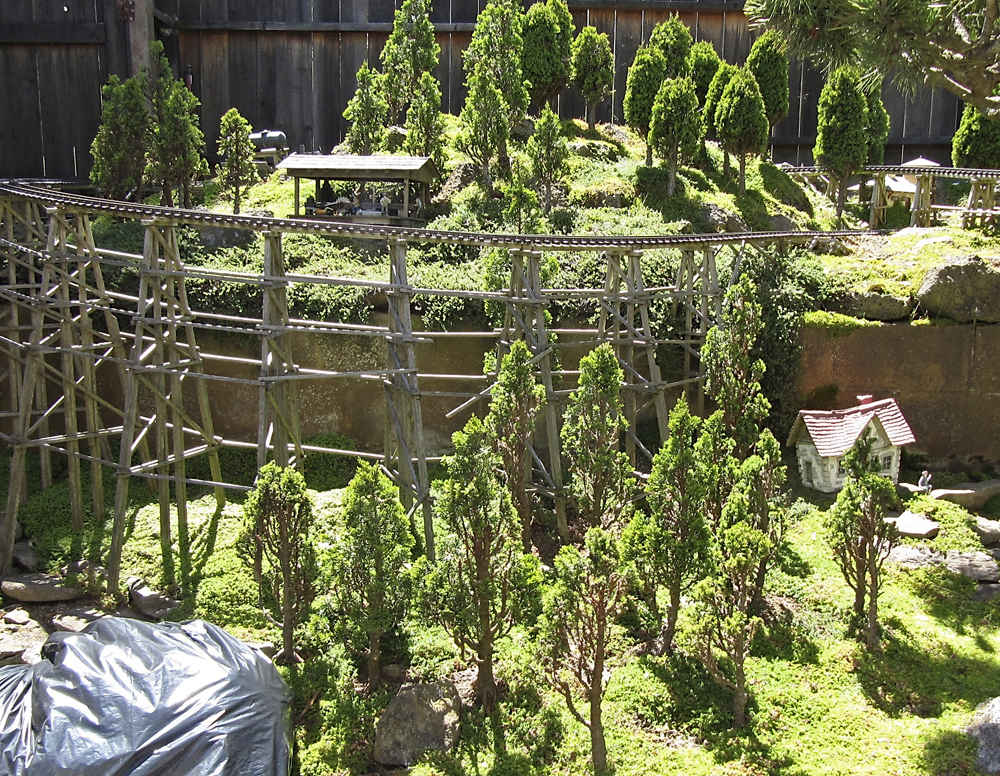
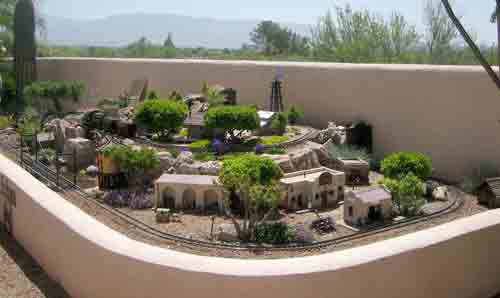
Both natural and commercial materials work for terracing raised-bed planters and hills-each with a different look. Cement products create smooth stucco walls, as in photo 3, or easy-stacking blocks and tricky-sculpted cliffs. I also like the combination of wood cribbing and retaining walls of artistic pebbles behind wire fencing next to the mosaic look of veneered rock walls in photo 4. Necessity, being the mother of invention, often inspires me to use the nearest materials at hand to gain elevation, provide a level playing field for trains, and create that little special something that reveals itself to me when I pay attention.
Hardscaping methods aside, remember to garden! Plant green things among the rocks. Leave plenty of pockets for mini-gardens between structures. Fibrous-rooted plants hold the soil nicely, but tap-rooted (usually deciduous) trees can break up your wall. It’s easy to get overly focused on the physics, so stand back and get the overall feel of the aesthetics. Visualize what you want!


