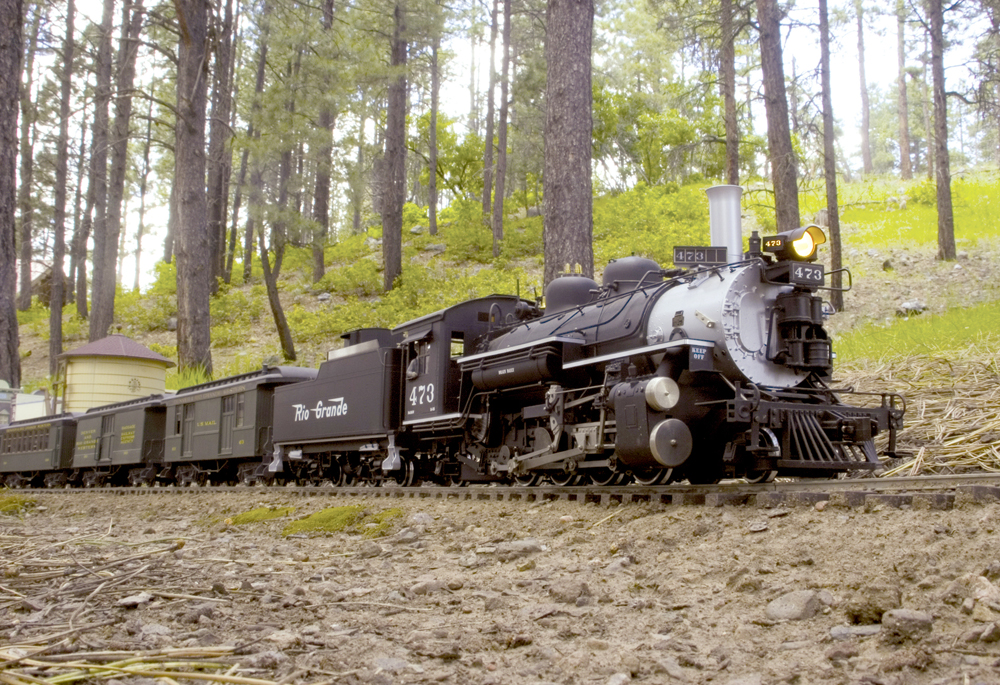
I dabbled a great deal in narrow gauge modeling over the years, but found U.S. main line Class I railroads more to my taste. I like the operation potential of main lines, with many categories of trains from the peddler to the fast freight, the suburban local to the limiteds. A friend (Chris Ludlow, an ex chairman of the Gauge One Model Railroad Association) and I agree that structures tend to say France, America, Germany, Switzerland, or England, or wherever you are based. We avoided structures and signals for many years.
I have softened somewhat and decided that one half of my pike will be Pennsylvania RR circa 1930-1957, and the other half will be the French Nord Railway from roughly the same period (the transition era).
I also like running long trains–a feature of American railroading different from continental railways, mainly because of the early adoption in the US of the Janney (knuckle) coupler. (Ours use an inch diameter screw between the links or the hook, thus limiting train length.)
My pike tends to have a similar character as Jens Bang’s Snake River Railroad. However, due to live steam demands, I cannot have the line run through beautiful but inaccessible scenery like Jens has done, alas.
But similarly to Jens, I have built the track on a solid base (his is steel, mine is concrete), large radii, solid wiring with feeders to every 10 to 12 meters, and bonding of every rail joint (mine are soldered). I use track power, with Revolution Train Engineer, to both main lines. All is analog; after having experimented with MTH DCS for a couple of years, which was quite finicky to operate. There are other motivations for choosing analog; the main being that digital takes a lot of current. I also have no knowledge of electronics to troubleshoot and fix things when they go wrong.
I have been running live steam since 1976, and it’s the reason for choosing 1:32 scale. Most of the line is either at elbow height or at about 2 feet elevation with only one short stretch at ground level.
I find that large radius curves have advantages: Much better looking, less drag on engines, and more reliable operation; it also helps when installing turnouts for a station with diverging lines.
Because I didn’t want to uproot a beautiful rose bush, I extended the railroad an extra 20 meters. I can still manage the maintenance, but when I sit on one end and look at a train at the other end it seems a lot smaller!
Pennsylvania RR section
I made the entire railroad level with no grades. The left side of the pike, from the tunnel to the high bridge, represents the Pennsylvania RR. Moving clockwise, it starts in the midst of a 7-meter radius curve (about the same size as Horseshoe Curve) and slowly rises out of the ground level to table-top height. It has four tracks, also like Horseshoe Curve. It leads to a 12-meter-long brick bridge patterned after Rockville Bridge and continues with four tracks.
At the end of the bridge and the four tracks are high speed turnouts (I built No. 10 turnouts to represent what on the prototype would be No. 20 turnouts) except for one instance near the tunnel, where I needed to place three turnouts in a row and had to use three No. 8 turnouts due to limited space. One goes to the steaming bay and turntable; one leads to the north leg of the wye toward the indoor terminus, and one for the fourth track.
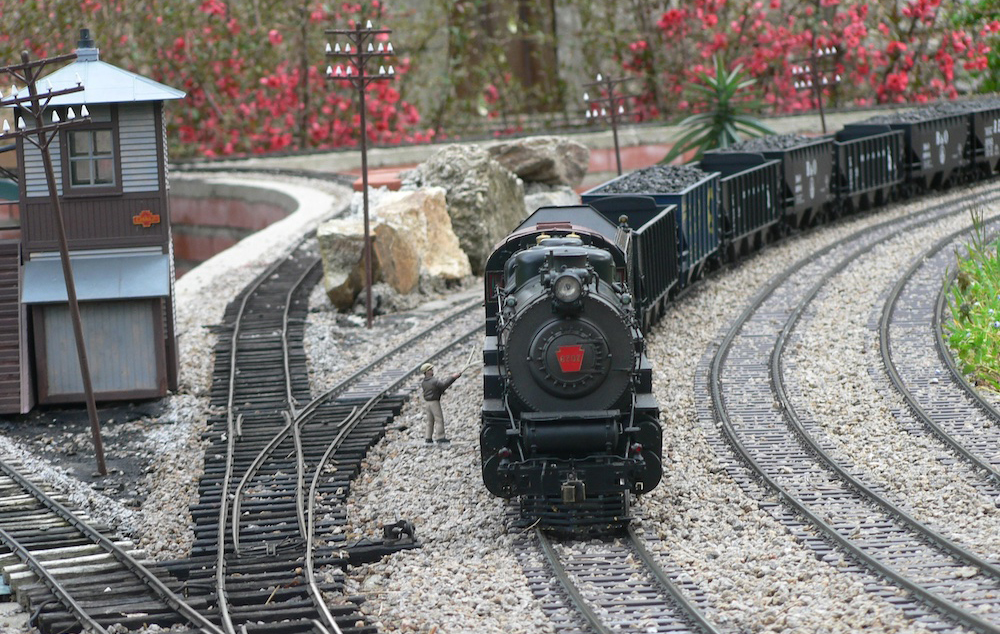
I installed a modified Pola interlocking tower, converted to 1:32 scale, to hide the small knife switch which controls the current on the wye (similar problem to a reversing loop). This four-track section acts as a long passing siding, and where I can put a 54-car train in the hole.
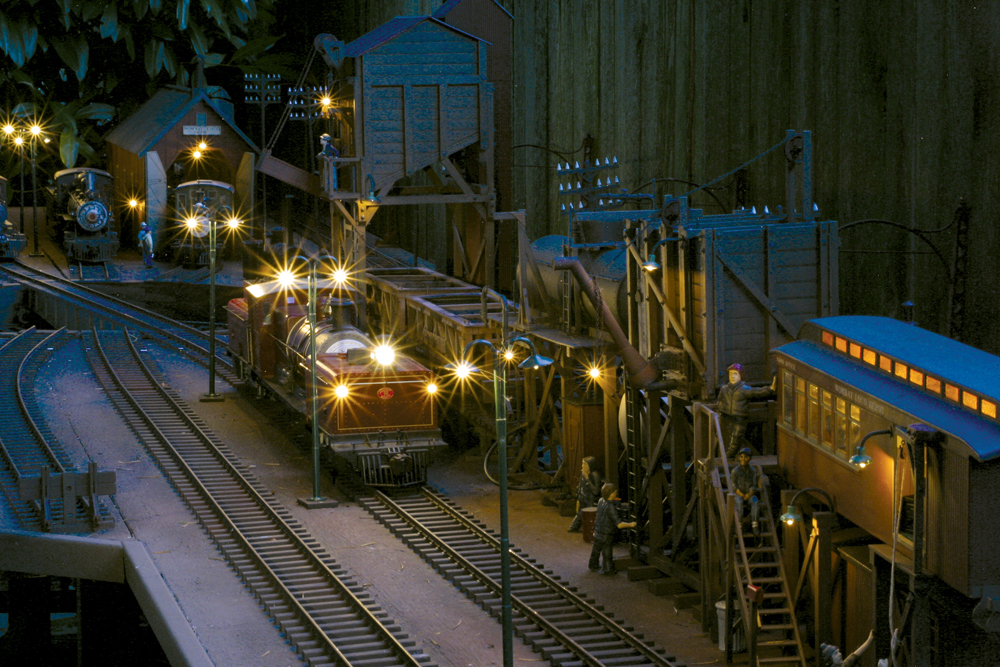
As there is space beyond the four tracks, I placed a Pola kit of the D&RGW water tank (converted to 1:32 scale) and close to some used by the PRR.
Before the Rockville Bridge, the other leg of the wye to the indoor terminus reaches one of the tracks on a No. 8 turnout. The line kinks toward the south, as I had to respect my neighbor’s property. I placed a crossover on the 2-meter straightaway between both counter curves. This is also where the line rises. I used the dirt from our house foundation excavation to make a path around the line which permits operators to follow their train at a more convenient height.
As we reach the apex of the curve, I made an aluminum bridge over the pathway that leads to the far end of our garden. You can see the trains run over you. This bridge was a long project with more than 1,500 holes drilled and tapped for screwing the gussets to each member of the structure (I also epoxied them). It is patterned after one of the PRR Panhandle Division in Pittsburgh over the Monongahela River, although it is placed at a much higher elevation on my line. I built a through curved chord Warren truss bridge, as it catches any derailment that could occur (as we are at a 6-foot elevation here).
Nord Railway of France section
Beyond the bridge we are now on the Nord Railway of France (predecessor to the SNCF Nord region) with its brilliant roster of steam engines designed by some of Europe’s best engineers (Jules Petiet, Gaston du Bousquet, Marc De Caso, and Andre Chapelon). The line continues the curve on double track then reaches a point where there are two tracks that diverge outward and create two passing sidings each more than 12 meters long.
This is where a large French station will be situated; it will represent one of the nice Nord stations like the one at Orry la Ville, on the main Nord trunk line before they split at Creil. I chose this because that is where all the great steam era photographers would get off, eat lunch at a little café, and then hike to the Viaduc de la Reine Blanche to take those fantastic historical photos of the Nord cavalry that we cherish today.
I made No. 8 turnouts for the two diverging tracks and modified some Hübner crossings in order to curve them somewhat to follow the main line curve. This station can only be entered by trains at a restricted speed: 30 km/hour or 15 mph. Wiring the crossing turned out to be a headache, as I didn’t want to install electronics outdoors.
I settled on Chinese four-way knife switches, which have a hefty copper knife and contacts, and have built a French Nord Saxby interlocking tower to hide one of the switches when not in use. This structure was built from styrene. There is a small siding at this point which can help when making an engine change or as a lead to a freight station. I plan to build this station in extruded PVC and make the windows and shutters from styrene. I made concrete platforms on all four tracks. I plan to install mechanical signals in the future.
Continuing this curve, it reaches a short Eiffel type bridge typical of French railway bridges (that are disappearing). These steel structures existed in the U.S. before the turn of the century. They were replaced with heavier ones allowing 35 tons per axle, whereas France only allows 20 tons. As this is a short straight between two counter curves, there is a crossover too. This allows trains coming from the wye and indoor terminus to cross over to the inner track also vice versa. The double track line then enters the same 7-meter radius curve near the house and plunges into a tunnel, which is a bridge to permit the lawnmower to reach the inside of the pike.
On the other side of the tunnel is a wye with a 4-meter 50 radius curve leading to the indoor terminus. A similar curve leads to the turntable and engine steaming bay. Alongside the curve are short steaming tracks to prepare and service a locomotive without blocking the access to the turntable. This engine terminal has an emergency exit, which leads to the straight leg of the wye. It crosses the wye at an almost 90° crossing. It too is equipped with a steaming track alongside it. Beyond the turntable are four storage tracks, useful to allow steam engines to cool down after a run.
The indoor terminus started out with parts of my former layout ‘s indoor terminus, but features a new yard on the other side. On my previous layout, I had to mix French and American trains due to lack of space. Now I can separate the equipment, which never met in real life (Actually there were 1,000 or so Mikados that did ride U.S. rails for delivery after WWII).
I recently added storage tracks toward the outdoor side of each yard. This is more of a staging yard, but it could be used as a couple of real small branch terminals.
I was fortunate to find this house with a large and fairly level garden which permitted me to design such a dream railroad. As the G1MRA information leaflet when I joined in 1976 said, “One of the advantages of the garden is space! But to find such a garden with a 13-meter-long vaulted goat pen directly oriented toward the layout and with a slot in the stone walls just wide enough for gauge one engines to pass is not just luck, it’s a sign from above.”
The only disadvantage is when I take a train out, I must stop once the train has left the indoor terminus, walk to the garden on a circuitous path through the basement, patio etc, then resume running on the main line. This has not proven to be a big problem. My U.S. yard is luxurious at 13 meters, yet it limits train length to around 20 cars.
In typical PRR fashion, at least after dieselization, trains are doubled up: The road engine leaves with the first half of the train, then backs up once clear of the yard throat to pick up the rear of the train. The only thing I didn’t reproduce is the caboose track on a grade. Brakemen would loosen the brakes on the cabin car and coast to couple up to the starting trains.
Equipment roster
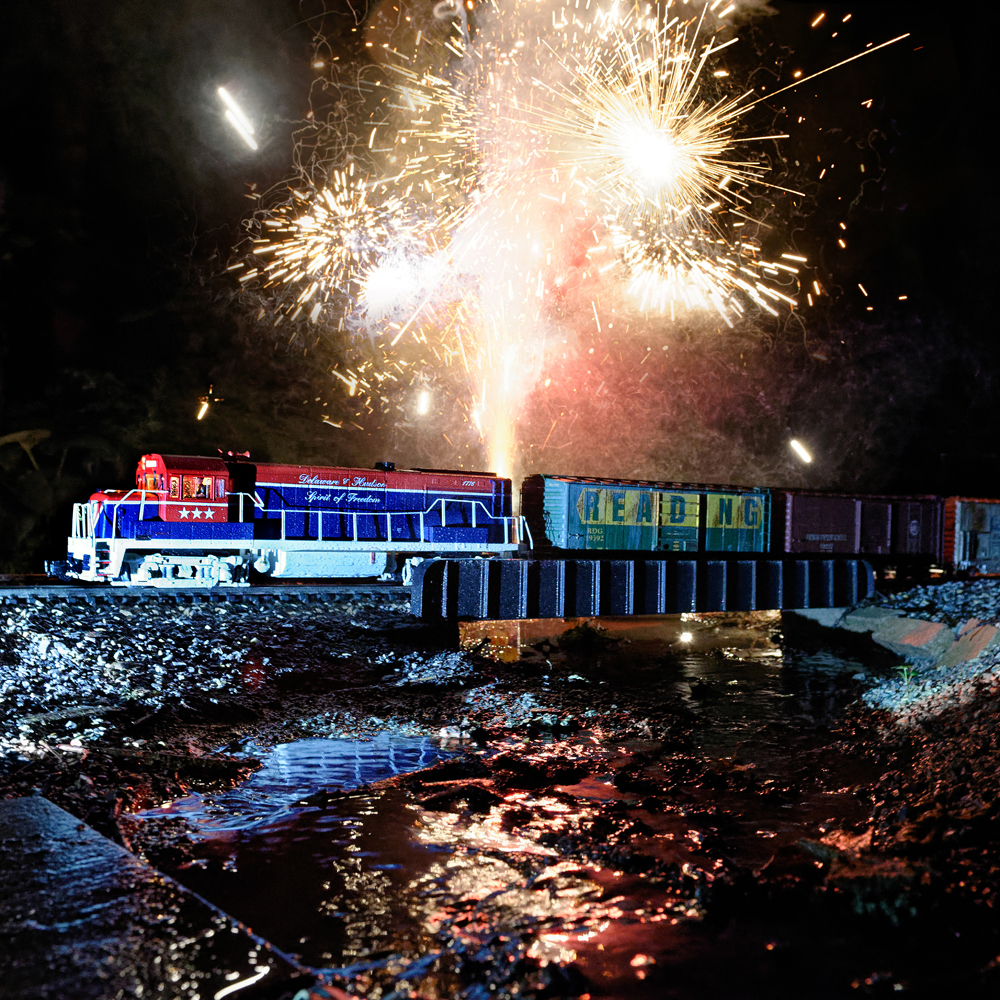
My roster is made up of an Aster PRR K4, an Accucraft T1, and an E6 Atlantic. I was lucky to find a PRR M1a mountain in passenger livery in a Paris hobby shop. I have a heavily modified MTH GG1, a VO1000, as well as a PA1 A-B-A set.
I’m superdetailing an MTH phase II F3 A-B-A set into a more accurate model with side grills between the portholes, new passenger pilots, and streamlined number boards. It will be repainted in Dark Green Locomotive Enamel and buff stripe and lettering. I also recently built a PRR B1 shifter using 3-D printing and a scratchbuilt brass frame and pantograph.
I was fortunate to obtain PRR diagram lightweight passenger cars from David Leech Architects just before he stopped producing them, and a bit later a consist of J&M heavyweight Pullmans. I built a B60 baggage and a D78 diner, the construction of which was featured in Steam in the Garden. I recently repaired a FAM RPO which had problems and is now running. The freight stock is primarily made up of Piko, Accucraft, and MTH hoppers, Accucraft boxcars and reefers, and MTH piggyback flats. I scratchbuilt my N5 cabin car and was able to obtain a PRR N6 cabin from Aster. I also scratchbuilt two PRR gondolas.