While traveling, I came upon an operating large scale layout that was a circle of track attached to the top of a whiskey barrel planter that had been cut in half. I thought that it would be fun to build something like that for our front porch, but wanted something a little larger and less rustic.
After shopping around, I found a 40-gallon capacity, black plastic oval stock watering tank at Tractor Supply Co. that fit the bill. The 40” x 27” x 13” dimensions seemed about right. The approximately $50 price of the tank was even better.
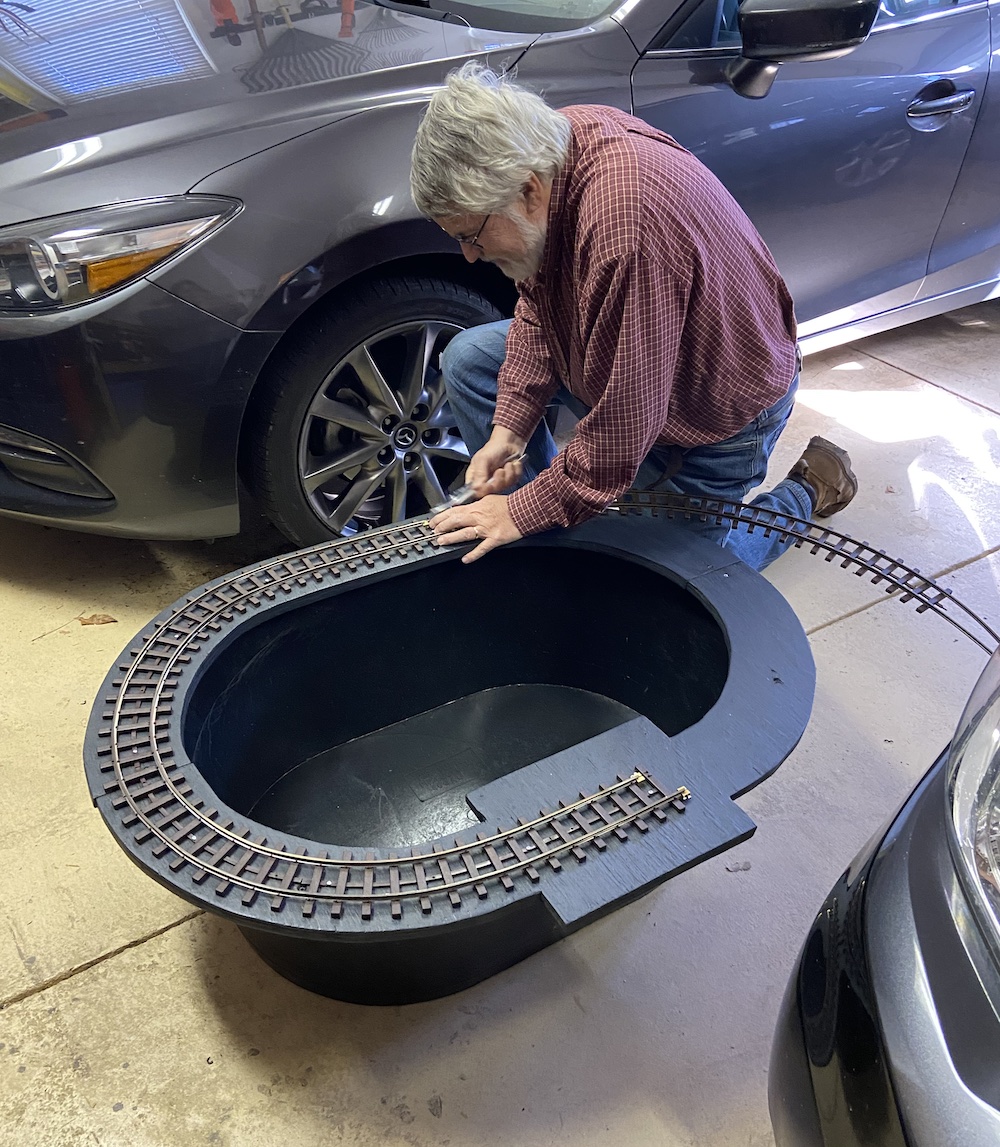
For the roadbed, I used ½” exterior plywood, which I cut to mirror the size of the tank. The tank has a ½” lip around circumference that was perfect for attaching the plywood using machine bolts. The picture below shows the plywood attached to the tank with a partial loop of track test fit. Before permanently attaching the track, I coated the plywood with black exterior solid color stain to further weatherproof it.
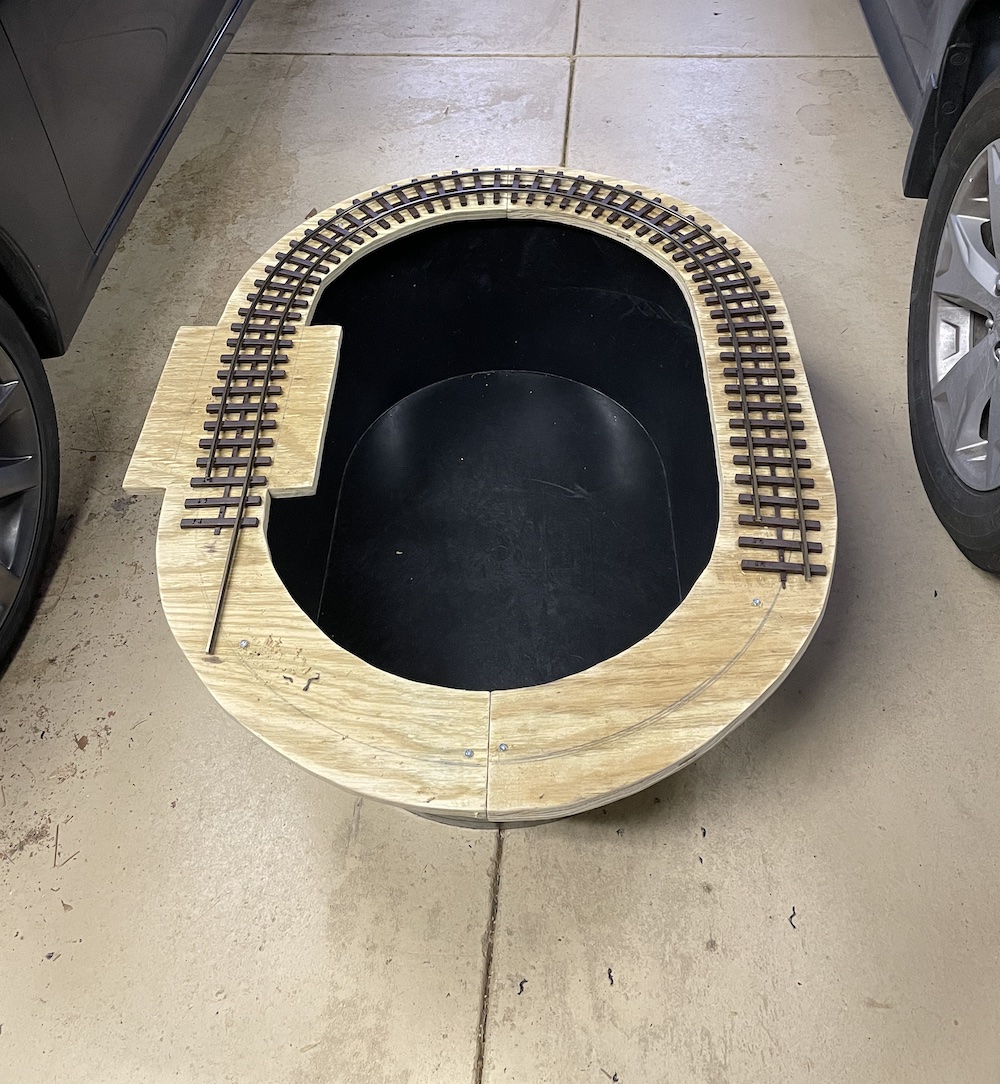
I purchased track components from Sunset Valley Railroad. The ties are the company’s narrow-gauge, one-foot tie strips. The wider tie spacing and center joining strip would work better for the sharp curves that I would need. I also purchased its brass code 332, six-foot rail.
Before inserting the track into the ties, I bent the rail. In hindsight, I should have borrowed a friend’s rail bender as the homemade jig I built was difficult to use. There’s a place on one curve where some of my short-wheelbase locomotives bind ever so slightly.
I ballasted the track with Woodland Scenics O scale ballast, using the same methods commonly turned to by those with indoor layouts in smaller scales. I first wet the granules with 70% isopropyl alcohol to help break the surface tension. Then I adhered the ballast with a 50-50 mixture of exterior Titebond wood glue and water applied with a pipette.
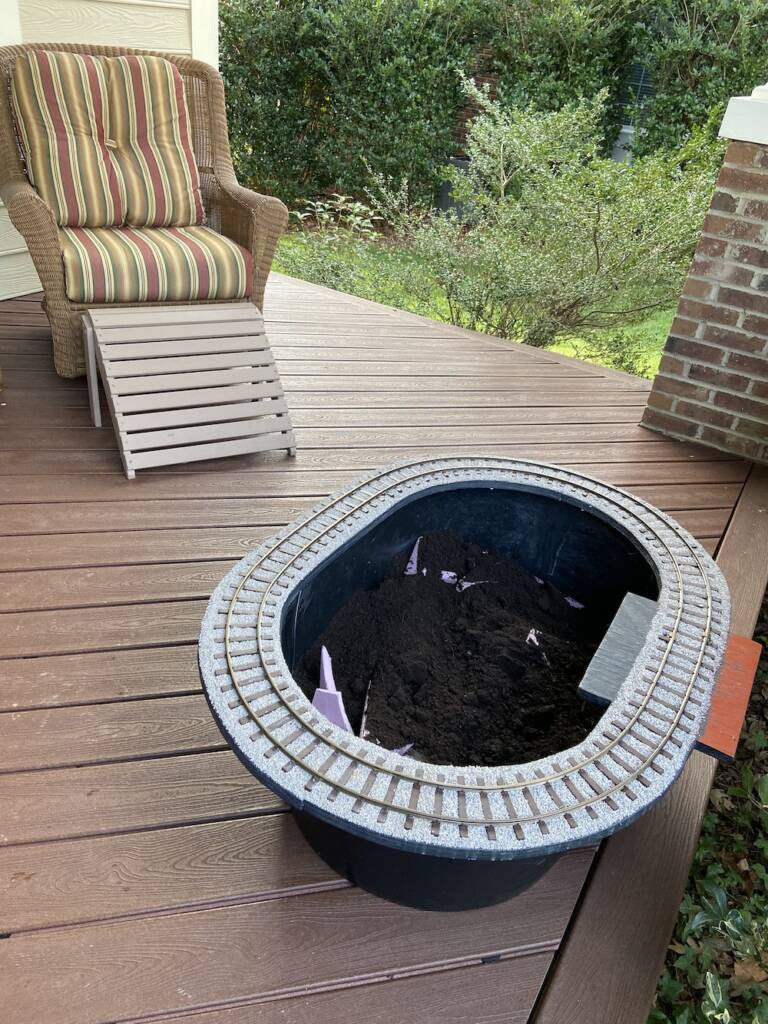
Before adding potting soil, I placed scrap pieces of extruded-foam insulation board and some gravel in the bottom. There are no drain holes, but I don’t water heavily. [If you plan to keep the planter outdoors for extended periods, we recommend adding drainage holes. — Ed.]
The wood extension to the roadbed on the right side is for a small scratchbuilt engine shed.
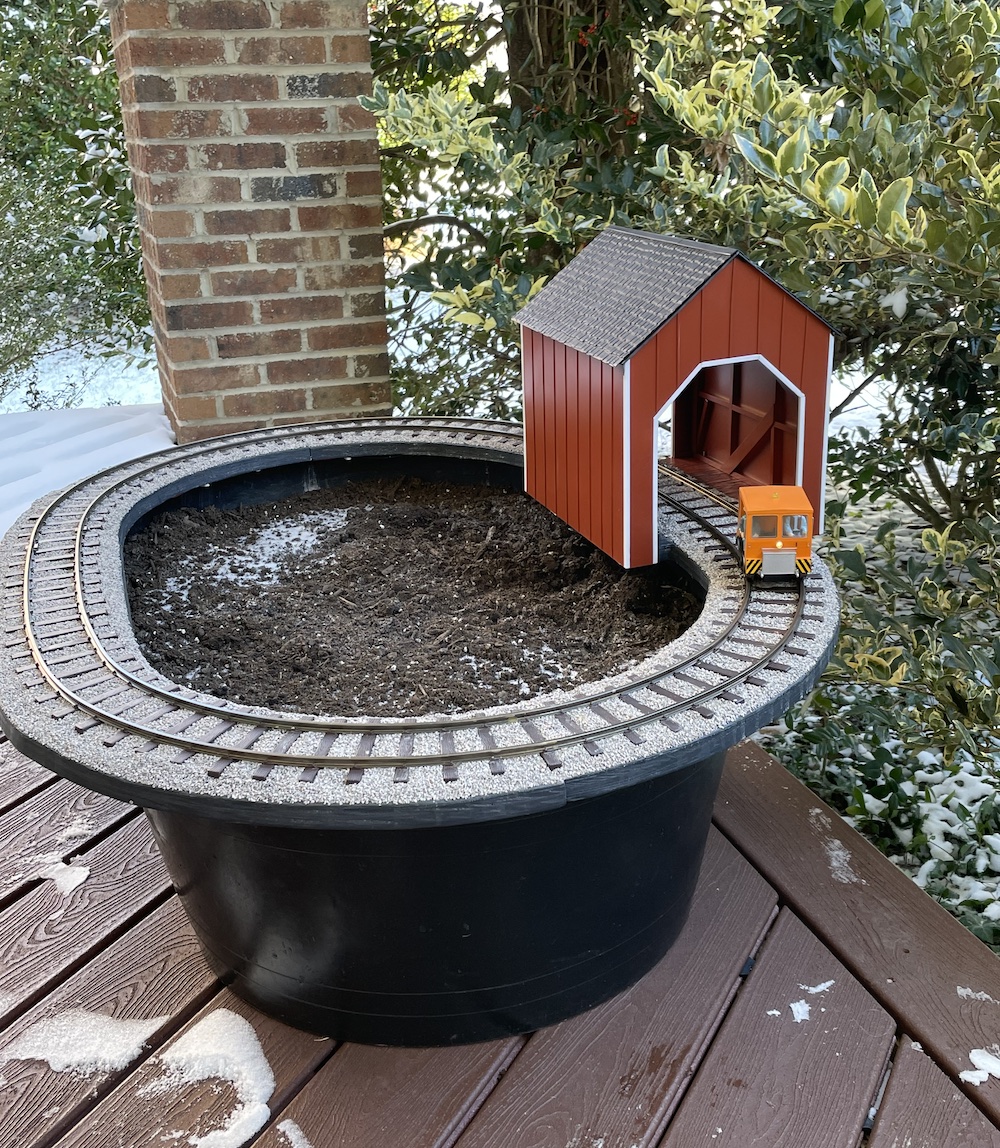
The picture shows the completed planter with the engine shed I built using sheet and strip styrene from Evergreen Scale Models. The framework was similar to interior house framing using ¼” square strips. The siding is plain sheet with thinner strips attached to it to simulate board-and-batten. I made a door for each end out of sheet plastic cut to size that’s attached with magnets. I painted the enginehouse with Rust-Oleum Painter’s Touch 2X Ultra Cover spray paint.
The control system is simple. A 1 amp, 12 volt AC-to-DC wall wart is plugged into a sheltered outlet on our front porch. A pair of standard landscaping wires runs from there, under the porch deck, and up through the planter to a small plastic control box attached to the underside of the track base on the outside front of the planter. I used Split-Jaw rail clamps to not only join the rails but to screw the track feeder wires to the track after they were soldered to a small metal loop. The box has a double-pole toggle switch wired as a reversing switch, and an appropriately rated potentiometer motor control purchased from Amazon to vary the speed.
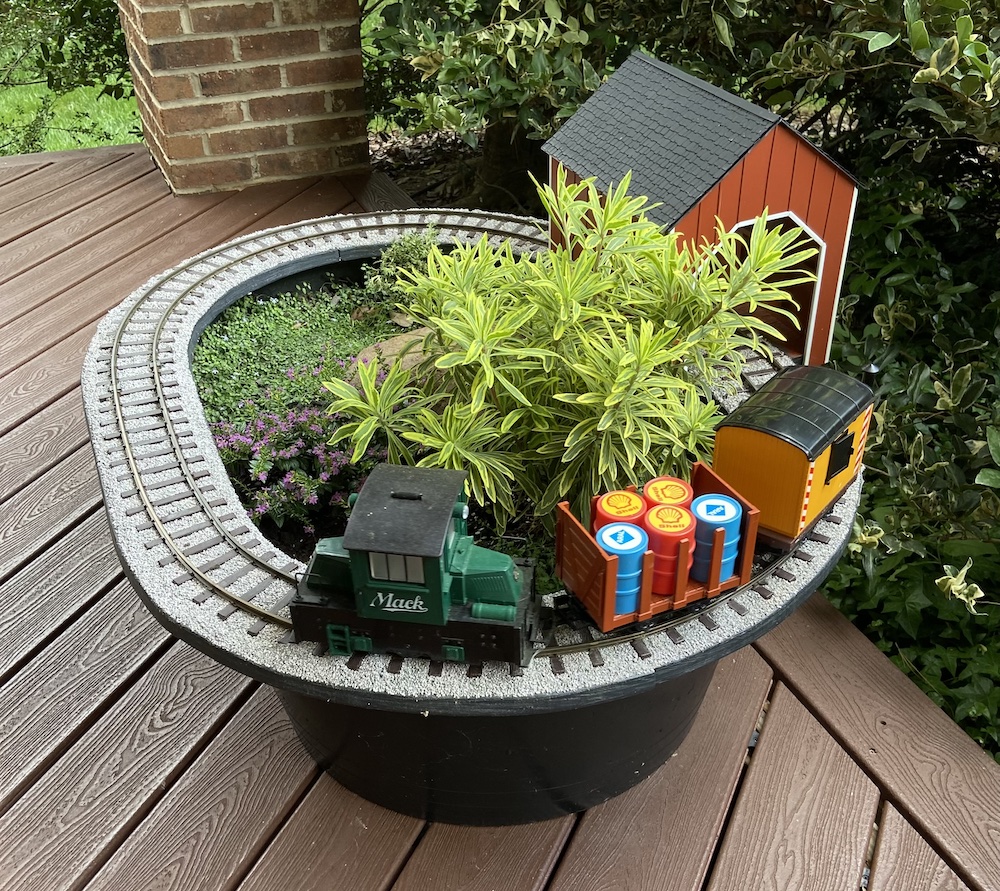
I can run short two-axle LGB freight cars, pulled by either an LGB 0-4-0 Porter or a Hartland “Mighty Mack.” I also run a Bachmann speeder. Since the planter is on our north-facing, sheltered front porch, plantings have been confined to low shady area ground covers (such as little star creeper, Pratia pendunculata), Ascot Rainbow spurge (Euphorbia x martinii ‘Ascot Rainbow’,) or small impatiens (impatiens sp.).
This was a fun project that amazes visitors. If I had it to do over again, I would have added a couple of inches to the track radius by overhanging the roadbed more on the edge of the planter. And I would definitely recommend using a rail bender.


