

I could have built the gondola entirely from scratch. However, I made mine starting with another car, using its deck and all its running gear and trucks, and simply built up the gondola sides and ends. You could use an old flatcar, boxcar, refrigerator car, or stock car-whatever you may have on hand.
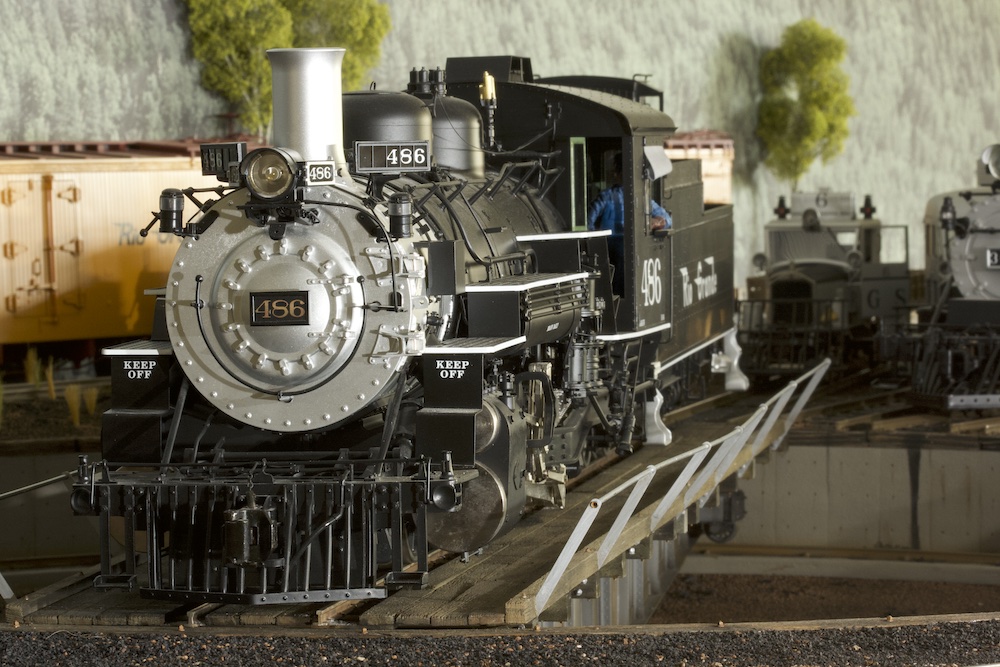
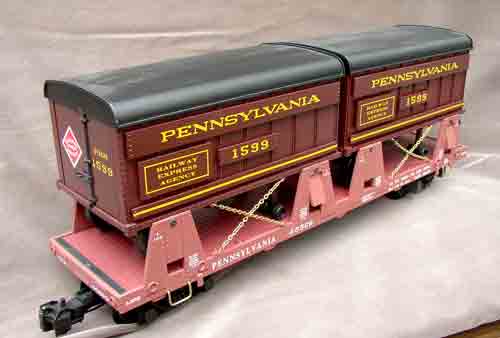
I started with a flatcar that had two piggyback trailers on it, just because I happened to have it on hand and did not plan to use it as is (photo 1 shows the same type car but in a different road name). My gondola model was based on the excellent drawings of the actual car by Robert L. Hundman in Mainline Modeler. Rivet counters beware: since this is built on a regular 1:29-scale car, it will not be a rivet-for-rivet accurate scale model. It will just be a good-looking addition to my model railroad without too much work. One advantage of running a freelance model railroad is that I do not have to follow any particular prototype.
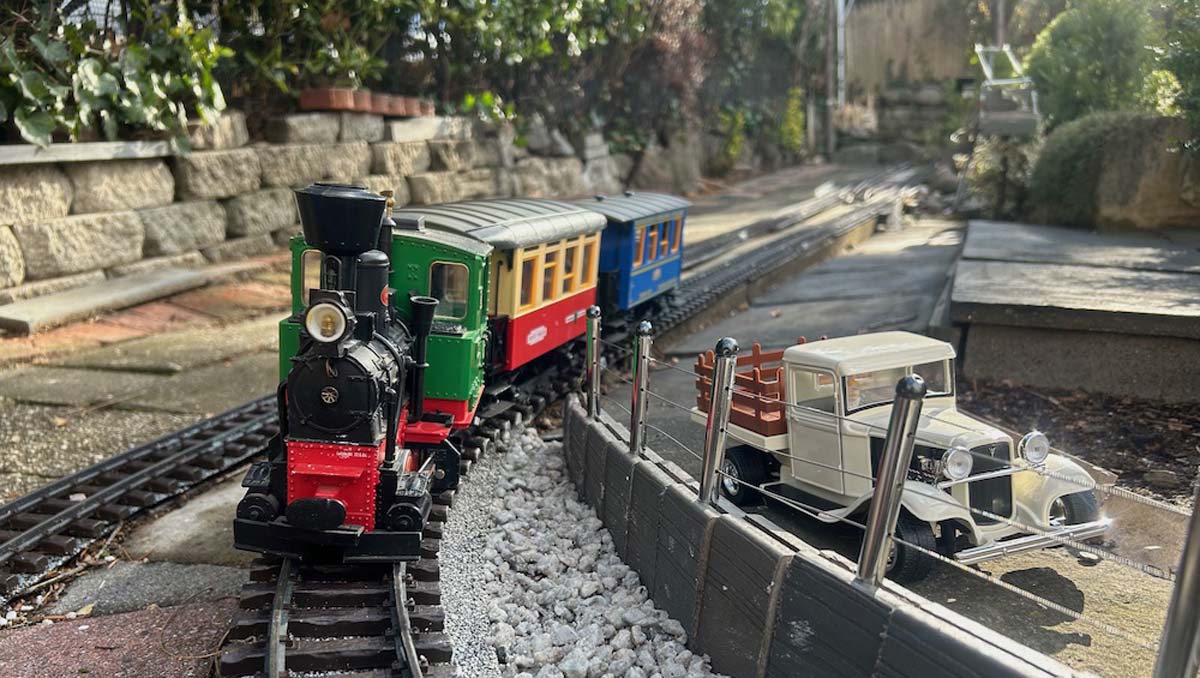
A pair of needle-nose pliers quickly loosened the brass chains holding the trailers, and a small Phillips screwdriver loosened the screws in order to remove the trailers, both sides, and both ends of the car. This left a nice base frame and chassis to work with (photo 2). The trailers will be weathered a little and put at the REA facility on my indoor layout. I saved the chain for a future project. The deck, with underbody and trucks, was used for this project, as was the brake wheel. The rest was discarded.
The sides
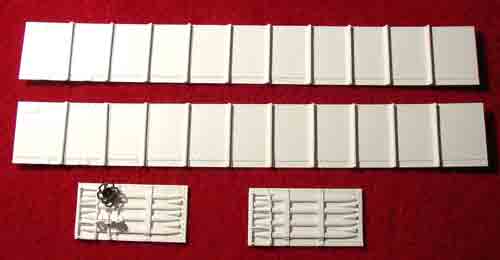
I cut two outer sides from .030″-thick styrene sheet, 21/4″ high, and slightly longer than the car deck (so as to overlap the ends a bit). The length can vary depending on the car you start with, so I have not given a dimension. This I covered with another piece of styrene, .020″ thick, 2″ high, and the same length as the first side piece, flush at the top, leaving the extra 1/4″ at the bottom. If you intend to show rivets, that piece to form the inner wall should have rivets all along the top and bottom edges. The car will look good with or without rivets, but you should make that decision early in the project.
Two ways to replicate rivets are to punch them from behind (emboss them) or to drill holes at each rivet location and insert either a piece of plastic rod or ready-made metal or plastic rivets, which are available from several model suppliers. If you use the plastic rod, bring a small soldering iron close to, but not touching, each one to melt the rod and make it mushroom back into a rivet head.
I have used both methods on other models. For this project I chose to punch the rivets from behind, being careful not to punch rivet heads where the side ribs will be. I used a NWSL
Sensipress but the job can be done by laying out the rivet locations on the back side of the piece, then punching each rivet with a pointed tool over a soft surface. This produces a “bump” or scale rivet head at each location. It sounds hard but you will soon get the hang of it and it goes quite fast. It would not hurt to practice on a piece of scrap styrene before you do the car sides.
I then marked the position of the vertical ribs on the outside, 11/2″ apart. If this spacing does not work for you, the extra width should be divided between the first and last rib and their ends: those panels on full-size cars were often a bit larger than the others.
I made the ribs by using a piece of .020″ x .250″ (Evergreen #129) styrene strips for the back plate and a piece of .100″ x .125″ (Evergreen #176) styrene strip for the rib. The rib should have one of its narrow sides glued to the plate, down the center, and the other (outer) side rounded by sanding. The plate pieces will need rivet heads, if you are showing them, before the rib piece is glued on. The bottom of each rib should be cut off at an angle (see the photos). A faster way would be to make one rib, make a rubber mold of it, then cast all the required ribs in resin. I choose to fabricate all the ribs to keep the project as basic as possible. I left the inside detail for later, after assembly.
The ends
The ends of the prototype cars were corrugated. If you started with a steel-boxcar model, you could cut out and use the lower sections from the boxcar ends and would not have to make the corrugations.
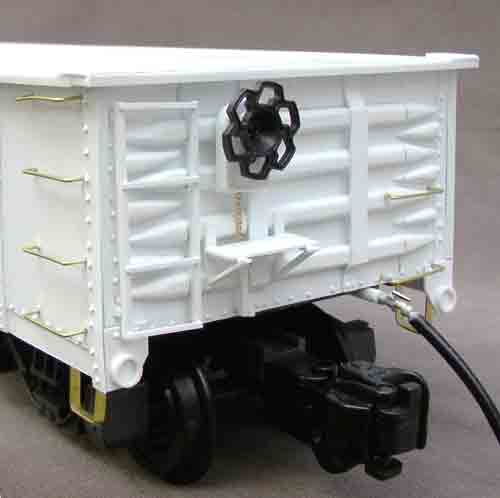
I cut the ends for my car from .030″-thick sheet styrene and carved some heavy styrene strips to represent the corrugations. All sorts of patterns were used for these corrugations so I chose something simple. I embossed the rivets, then built up straps and ladders from styrene strips. One end has a block of styrene shaped with a rounded top; the saved brake wheel was attached to it. It had a bit if chain leading down to a brake lever and a small platform, again built up from styrene strips. Photo 3 shows the sides and ends at this point.
Assembling the body
The ends were glued to the floor ends of the original model, then the sides were glued in place, being careful to keep the tops of the sides flush with the tops of the ends. I used overlays of .020″-thick sheet styrene with rivets embossed inside the car to match all rivets showing on the outside. On the ends, I cut out sections of the styrene overlays to represent the inner sides of the corrugations.
The top sills were added, made of .080″ x .250″ styrene strips (Evergreen #169), with little .020″-thick styrene-sheet corner covers. These are flush with the inside of the car. Poling pockets have back plates cut from .030″-thick styrene, with a thin section of 9/32″-diameter styrene tubing (Evergreen #229) glued in place to represent the pocket. The last styrene pieces added were .020″-thick styrene strips, with rivets embossed, to cover the corners between sides and ends.
Final details
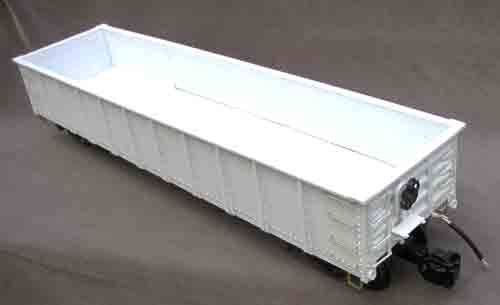
The four steps were bent from flat brass stock and attached with epoxy. All grab irons were bent from brass rod and glued into holes that were drilled for them. I did add two commercial parts. These were Ozark Miniatures #0041 air-brake hoses, one added to each end of the car. The car was then ready to paint. Photos 4 shows the car at that point.
Painting
In real life, these gondolas were workhorses and usually did not look shiny and new. If you are not interested in weathering the car, skip this part and simply paint the car your chosen color
and apply decals. My intention was to represent a car that had been used for a while, but was not a rust bucket.
I first sprayed the entire car a dark-rust color. I wanted a black gondola, so I sprayed the outside of the car, including the underframe, trucks, etc., black. Since the inside of a real car would have had all the paint worn off, I left it rust colored.
When that was dry I sprayed the car with a two coats of clear gloss in preparation for decals. Decals always adhere better to a glossy surface. When that dried, I applied my own water-slide decals using Micro Set to make sure they snuggled down. I did not need Micro Sol, but in some cases you might need it to really seat the decals into the surface detail. Again, I waited for that to dry completely, then the gave the whole car two coats of clear flat. Photo 5 shows the car at that point. This is what your car should look like if you don’t weather it.
Caution: Go easy on the weathering. You can always add more but it’s very difficult to remove weathering that has already been applied. I mixed some tan paint with a touch of black to make a sort of dusty color, then added a lot of thinner. I sprayed a very light coat of paint down through each panel, avoiding the ribs. This alone made the car begin to look old and weathered.
My next weathering coat was a very thin mixture of black, with a touch of white and lots of thinner. That mixture should be very weak, almost clear-just enough paint to dirty the decals a bit to make them look old and weathered. As you apply coats to the entire car, you will see the decals start to fade. If you keep applying more thin coats, you can fade the lettering out completely. You will most likely need two coats or so of this thin mixture, depending on how old and worn you want the car to look.
Next, I airbrushed some earth color on the trucks and underbody, and a bit up the sides, to simulate dust kicked up from the rails. The last thing I did was to airbrush rust color onto the trucks and some lower grab irons and steps. I sprayed the truck springs and couplers fairly heavily-it seems like couplers always look rusty.
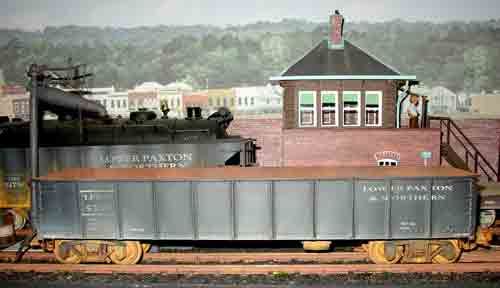
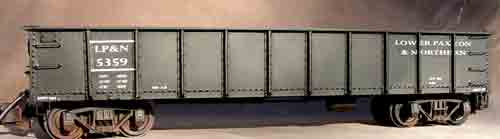
I like to add a small amount of rust in and around details, such as the rivet heads, the air-hose valves, trucks, etc., by using a small brush and applying it to those areas by hand. You can used thinned rust-colored paint or products such as Rust-All, Dr. Ben’s Rust, or Rust fx. These are all basically rust-colored paint, or powder dissolved in alcohol. That finishes the car, but a light, overall dusting with one of the many rust-colored weathering powders will look good. I used two shades of rust inside and a little rust and light gray outside. The lead photo shows the final results. This is a fairly simple-and-quick way to add a car not normally available to your roster.