I confess to being something of a track fanatic. I love track. To me, the railway is the track. Track can make or break a line. No matter how beautiful or well thought out the rest of the railroad is, poor trackwork can ruin it. On the other hand, really good trackwork can make a railway a joy to operate.
Because of the limitations of sectional track, Rod and I decided to use LGB flextrack for the Colorado & Pacific. This track, like other large-scale flextrack, is supplied with the rails and plastic tie strips separate. You must slide the tie strips onto the rails to complete a section.
However, before you can do that, the rails must be bent to their proper curvature. The term “flextrack” is something of a misnomer, especially in the larger rail sizes like the code-332 rail we are using. The track is, in fact, not very flexible at all. In the small scales-HO for instance-you can take a stick of flextrack and bend it into place as you lay it. Not so in the larger scales. If you try it, the track, in its contrary way, will spend all of its time trying to unbend and will eventually succeed. To counteract this problem, we prebend the rails.
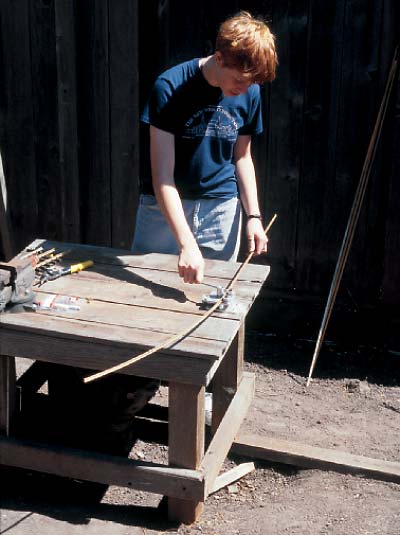
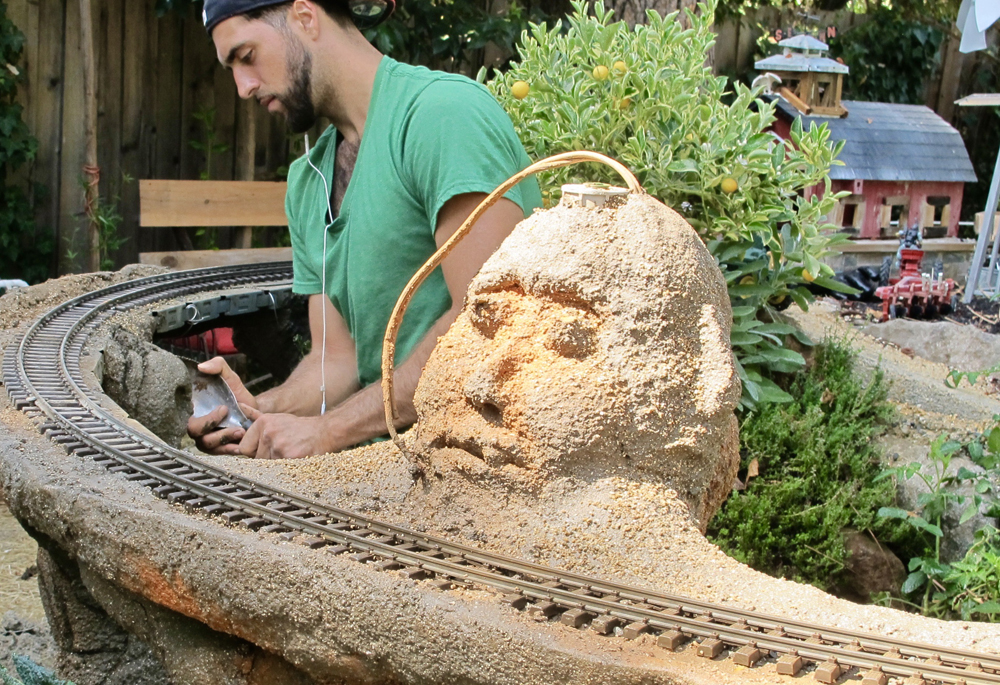
To bend a rail smoothly and accurately, a rail bender can’t be beat. These are available from people who make track or from aftermarket suppliers. We mounted our rail bender to an old workbench we’d set up near the railway. Since we were basically just using two different radii (not counting the very broad radius on one side), we made some cardboard templates to those radii, against which we could match the bent rail.
A rail bender has three wheels that bear against the rail-two on one side and one on the other. The position of the single wheel is adjustable, usually by a screw, and it is this adjustment that allows you to vary the curvature of the rail. Bending rail accurately takes a little bit of practice, but you soon get the hang of it. The beauty of it all is that if you bend it too far (and who hasn’t?), you can turn the rail around and unbend it. In fact, you can perfectly straighten it out again.
We purchased the switches (turnouts) that our plan called for and placed them out on our chalk-line railway. They didn’t match the printed lines exactly, but that was OK. They gave us some solid benchmarks to work towards, and we would just adjust the track to fit properly as we went along.
We began making up the track. I bent the rails and Rod assembled the track sections. The bent rails did not have to be spot on, but they had to be close to the correct curvature. Small corrections could be made later by hand. When making a section of curved track, the ends of the inner rail will stick out farther than those of the outer. We trimmed these with a hacksaw, cleaning up the rough cut with a flat file. Then rail joiners were added so the track could be joined to its neighbor, making a continuous line.
When each section of track was finished, we put it in place on our chalk line. It was fun seeing the actual railway finally coming together like this. Slight adjustments were made as we went along. Since we knew that the chalk line was pretty accurate, we adhered to it as well as we could. We found that it was not difficult to stick closely to the line.
The tricky part came when it was time to close the loop. The last piece of track would be a non-standard length. We had to measure and cut it carefully to ensure a good fit. Also, we had to follow the same procedure to get the straight passing siding to fit properly.
Once all the track was in place we were able to stand back, admire our work, and congratulate one another on our good sense and aesthetic taste, before moving on to the next hard job-ballasting.


