


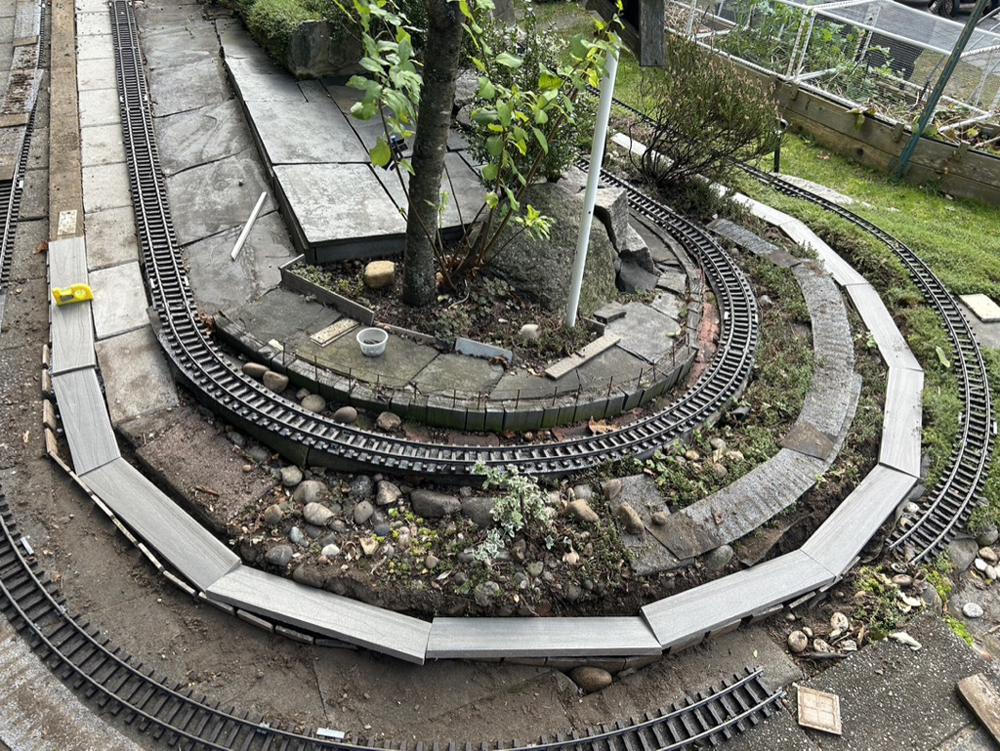
In my January 3, 2022, Garden Railways article, I detailed how I used landscaping timbers as the roadbed for my garden railway. The railway was built in the summer of 2013. Now, 11 years later, after successfully operating trains without any track or roadbed problems, I’m ready to do a much-needed maintenance service of this roadbed.
I initially used landscaping timbers because their shape and heft provided stability. The pressure-treated wood provided longevity and the dimensions of the timbers made them handy to work with. The entire system turned out to be reliable, but the wood, even with the pressure treatment, began to give out in some sections. Ten years of wood-to-damp-ground contact has taken its toll on the timbers, and sections are soft and mushy.
While I was getting ready to buy a load of new landscaping timbers, a relative of mine rebuilt her deck using composite boards, which produced lots of leftover pieces. Eureka! The lightbulb went on as soon as I saw the pile of leftover boards.
Differences between landscaping timbers and the composite boards:
Landscaping timbers: water resistant, insect resistant, warp resistant. Dimensions: 3″ x 4″
Composite board: Waterproof, insect proof, warp proof. Dimenions: 1″ x 5.5″
By using the composite boards, I believe I am improving the roadbed immensely. The only issue I need to address is the difference in size.
I’m trimming the width of the boards to 3-½” so I can use the existing footprint in the railway. I’m adding a couple of inches of new gravel to compensate for the thinner boards so the track can sit at the same height as with the timbers. In some parts, the timbers are still in good shape; for now, I’m leaving those pieces in place.
I’m trimming the width of the boards to 3-½” so I can use the existing footprint in the railway. I’m adding a couple of inches of new gravel to compensate for the thinner boards so the track can sit at the same height as with the timbers. In some parts, the timbers are still in good shape; for now, I’m leaving those pieces in place.
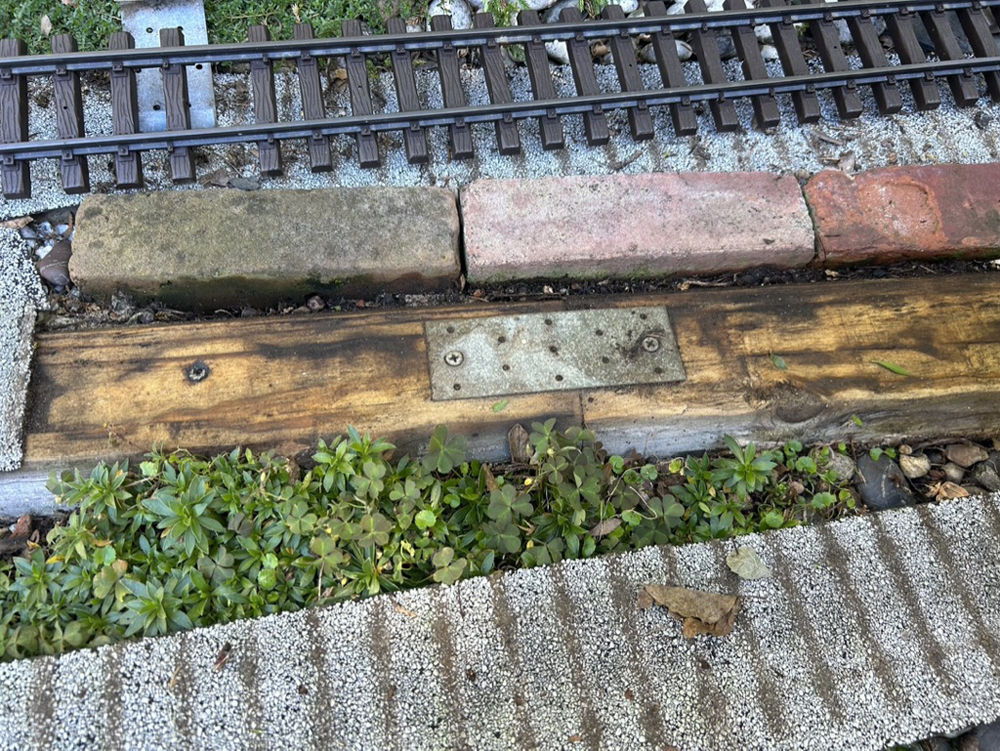
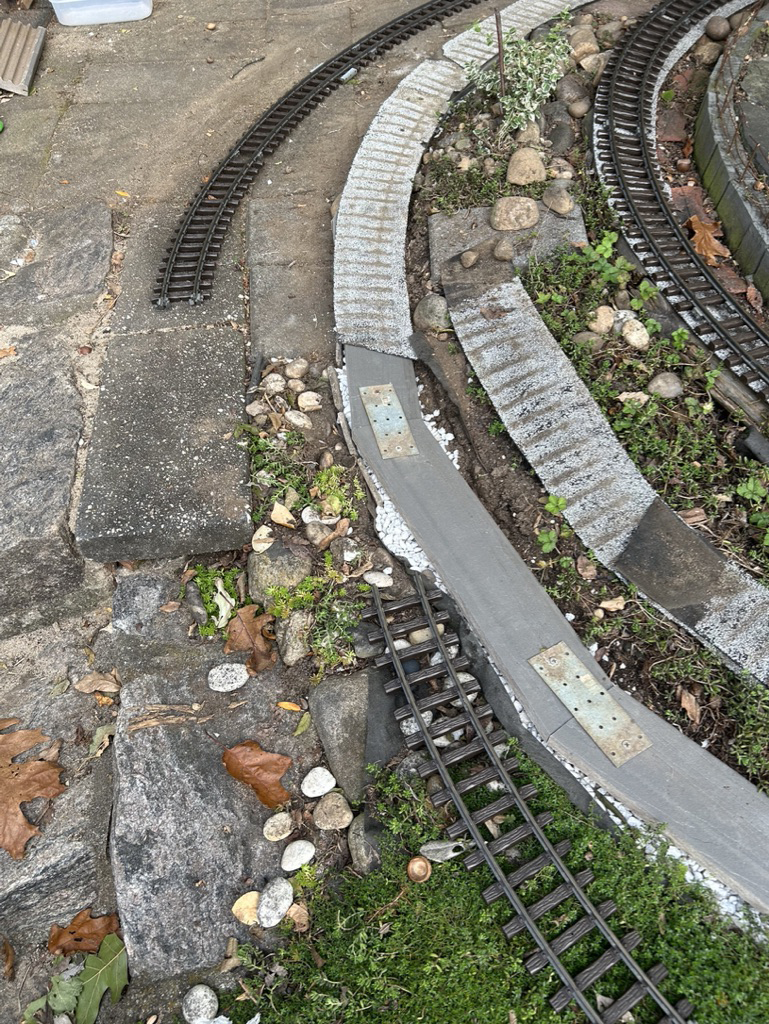
I am reusing the same hardware I used to join the timbers together. The metal plates with screws will do the same job of linking the composite boards together, and the metal brackets will maintain the track centered on the boards, while the track “floats” freely during temperature changes.
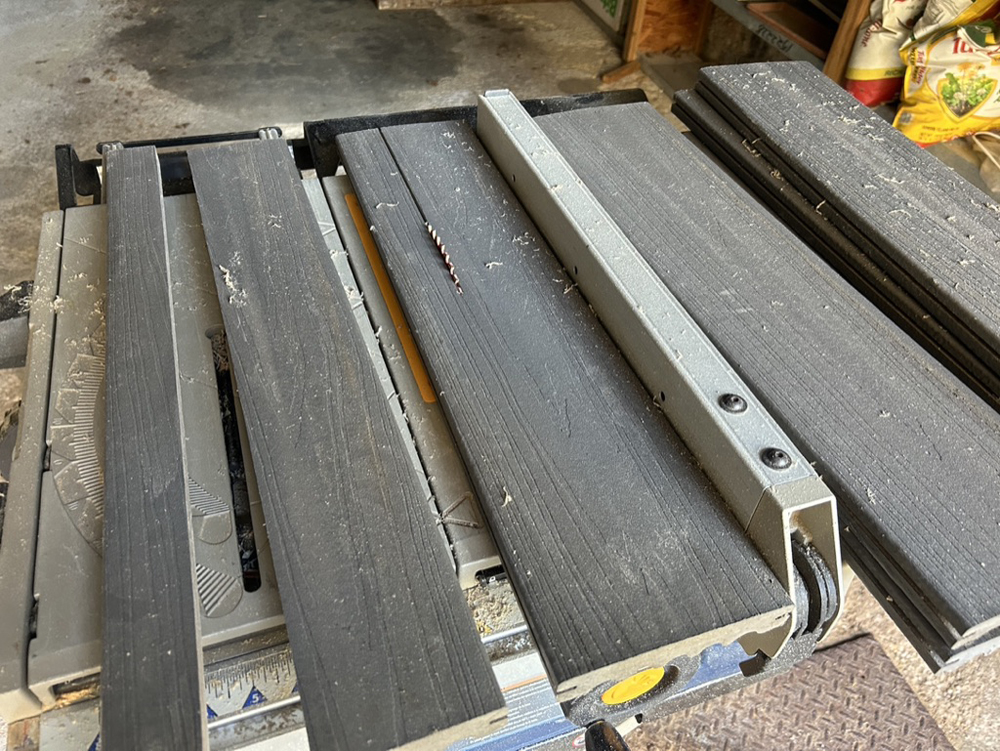
The hardest tasks were ripping the boards to the 3-½” width needed and filling back the right of way with additional gravel to reach the required level.
I trimmed the ends of boards, following the same dimensions as for the timbers. For the 15000 LGB track series, I cut the ends of the pieces at a 13° angle. For the 16000 LGB track series, I cut the ends of the pieces at a 10° angle. All pieces are 17” long.
Documenting the process
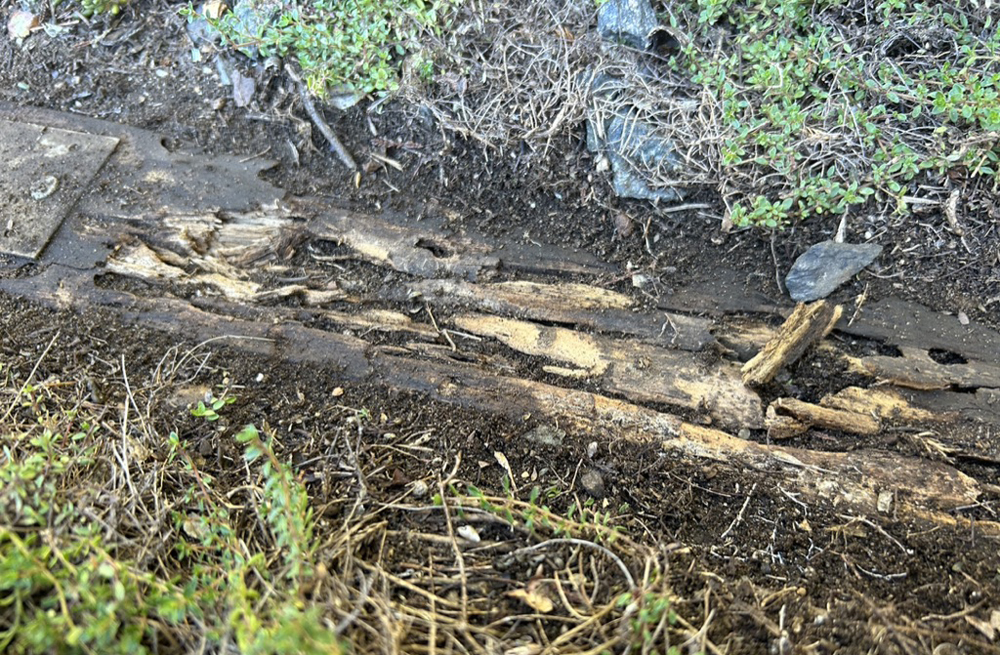
Once I removed the rotting pieces of timber, I sifted the soil from the right-of-way to remove leftover wood bits, and put the sifted soil back in the channel.
I tamped the soil to even it up, making sure it was level.

I put a layer of coarse gravel (1” to 1-½”deep). I tamped that layer flat and began adding the fine gravel in thin layers until I reached the required level. I tamped and checked the level after each layer of gravel.

Once the layers of gravel were tamped and leveled, I temporarily installed the boards to check their placement and height.
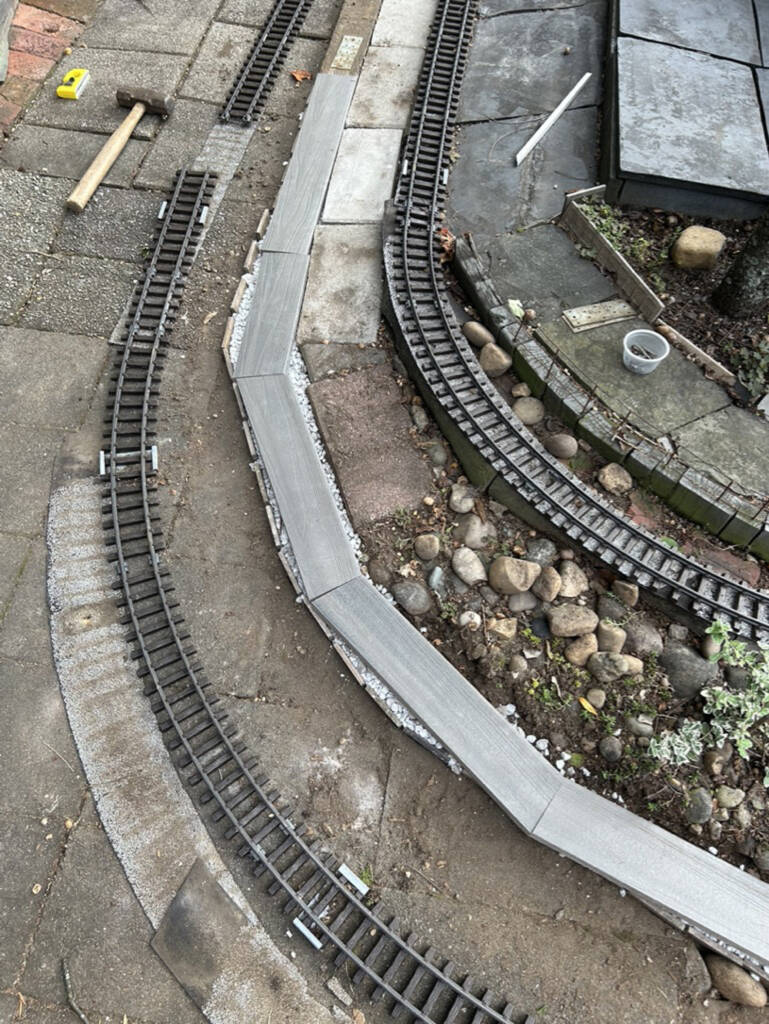
Once all the boards were in place, I began attaching them to each other with the metal plates and the screws and replacing the “ballast” (long strips from roofing material) back on the boards.
I followed this same process for other portions of the railway where the timbers had also failed.
Before securing the track to the boards, I made needed final minor adjustments to position the track just right.
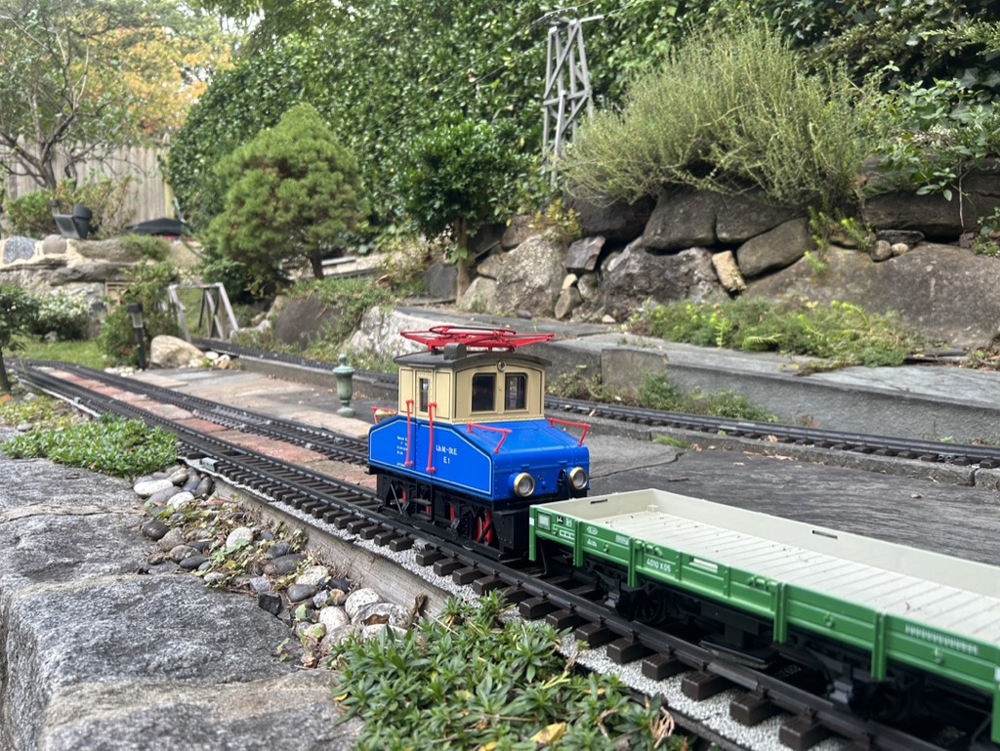
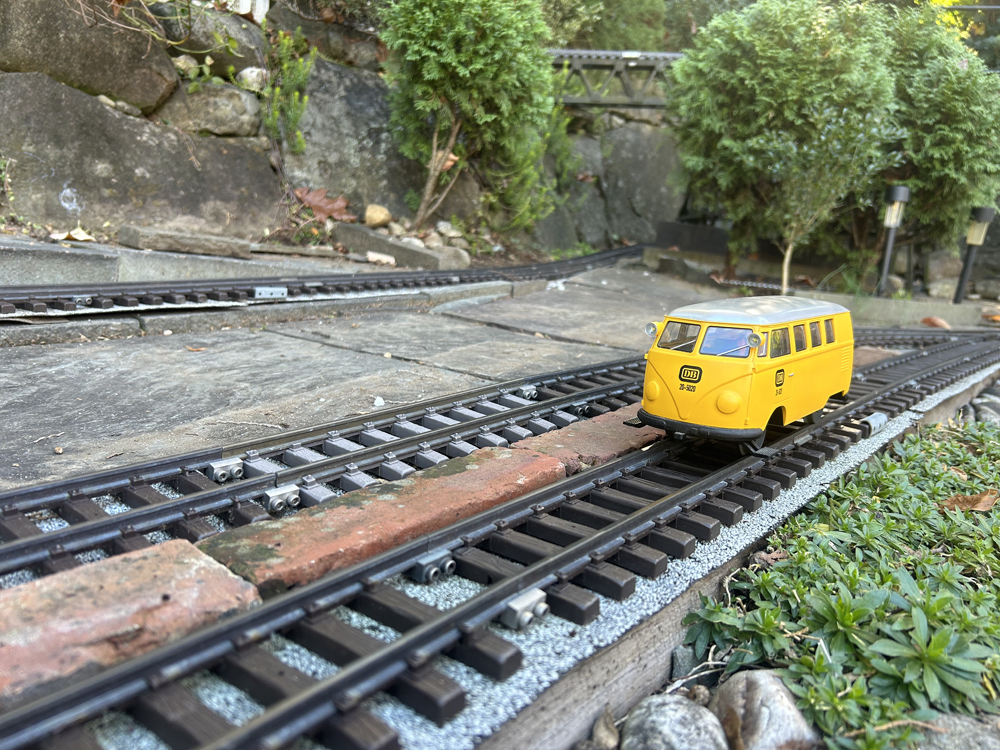
Since the proof is in the pudding, the Railway Inspector took the inspection van for a couple of test runs, and declared the right of way open for business.
I’m ready to forget about roadbed maintenance for another 11 years!


It does not matter so much what you use, Composite material, treated or pressure treated material, it will all last longer if installed correctly.
If you
1) Dig a shallow trench 1 1/2″ – 2″ deep and 2″ wider than you sub-roadbed and pack down:
2) Install about 1 1/2″-2″ of limestone screening over the well packed soil, than level and tamp, checking for grading and flattening as you go:
3) Install your sub-roadbed, centered and check for level or grade, depending on the need and once satisfied, do your final install, fasten together as needed with connecting plates, and ramp more screening along the side.
This allows for proper drainage preventing the sub -roadbed from “floating” in water, just like our full size cousins have been doing for years. Using sreening also allows for flattening or grading quickly and easily.
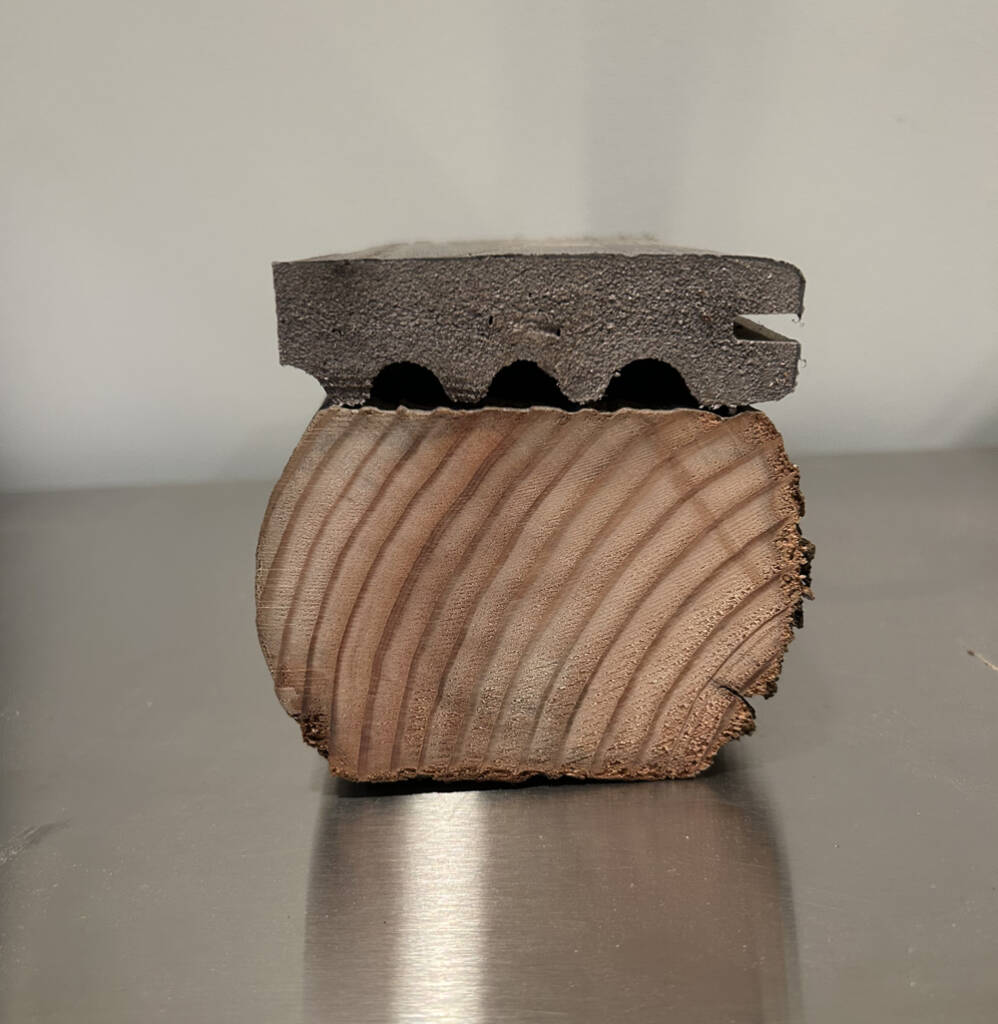
Looking at the end view of the decking you used, it is made from sawdust or rice hulls in a binder material with a plastic exterior skin.
These boards are not made to be in ground contact and absorb moisture, swell up, and eventually fail. I had a deck made of this material which only lasted about 12 years or so.
This does look like a good system, but be sure the decking material is 100% plastic and it should last virtually forever.
Sadly, so-called “landscaping timbers” are not pressure-treated, much less ground-rated. They are generally cut from the heartwood, the softest part of the trunk, and they are soaked in treatment, not pressure-treated.
If you had used ground-rated 2/6s, your RR would have been find for another decade or two.
That said, your composite should last a very long time. . . Best of luck – Paul Race, FamilyGardenTrains