Easily add weight to flatcar
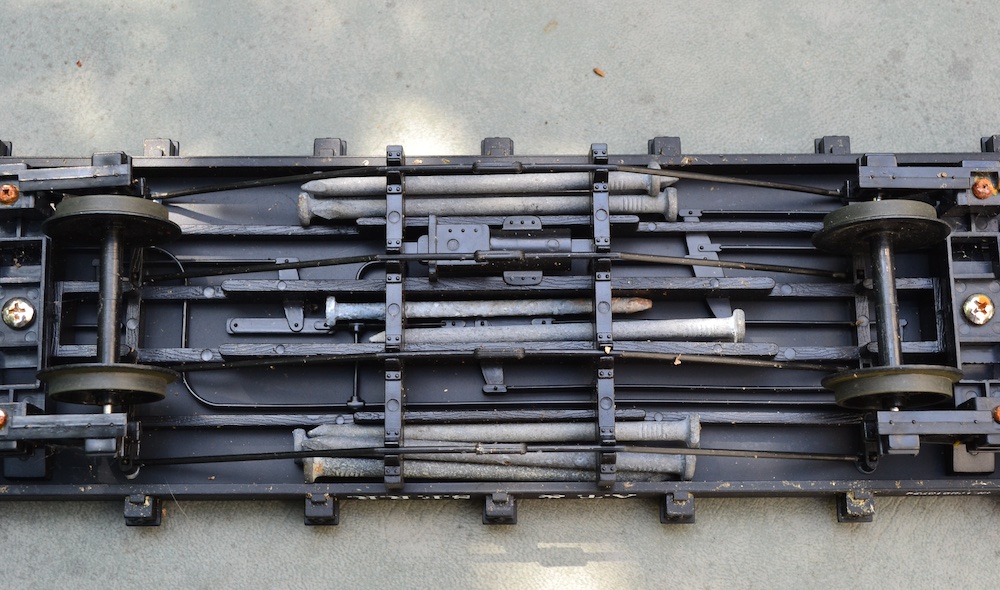
I have a basic flatcar that was giving me problems. The trouble with flatcars is they don’t weigh that much and derail easier than other cars. One solution is to install metal wheels, but I didn’t want the expense plus by leaving the car outdoors I was worried about rust. Another fix is to add a permanent load to the car, but I didn’t want to do that either. To easily and quickly add weight to the flatcar I wedged several 20D nails into the frame on the underside of the car. The nails are not visible from the sides, and they added the needed weight low on the frame to prevent derailments.
Easy touch ups
The other day I had masked off a short boxcar to add my custom paint job to it by using a can of spray paint. I sprayed the paint and then when I removed the masking I found the paint had leaked under in a few spots and ruined my work, and I would need to start from scratch. Or maybe not?
Since I had also painted the base color I was able to save my custom job by spraying some of the base paint into a small cup until it puddled at the bottom. I then used a small brush to touch up the areas where the top coat had bled. The touch up was good enough for me and saved me from having to start over.
This also works if your custom paint job gets a chip on it and you don’t want to repaint the whole model.
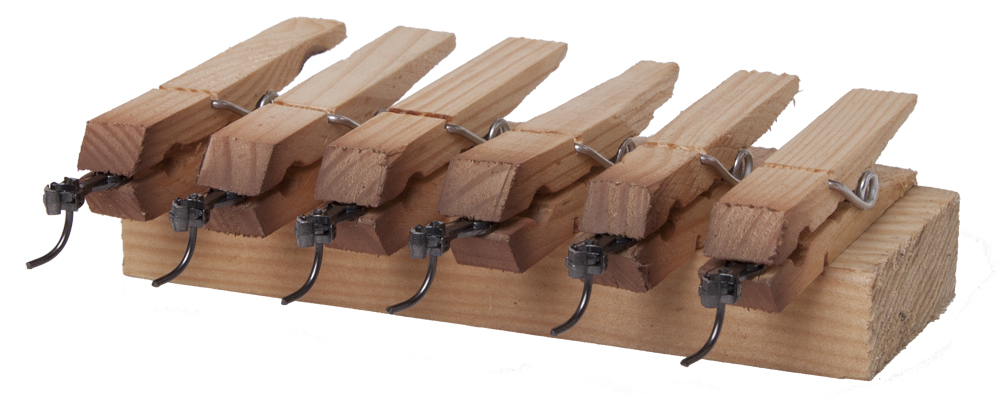
Painting block or jig
Whenever I have many small pieces to paint either by hand or by spraying I find that it is handy to place the pieces in what I call a painting block. To make your block, simply drill a series of different size holes in a piece of 2×4 wood. The length of the wood depends on how many pieces you want to paint. You can also use nails or sticks dropped into the holes to prop up your pieces for painting. The block is also a handy way to move your drying pieces around your shop or spray outside, then bring it in to dry.
Get more ideas of household items you can use for modeling projects.


