The evolution of model railroad scenery products has been fun to watch. In prior generations, molded-Styrofoam mountains and scenery mats with dyed green sawdust were considered the norm. Today, we’re blessed with a variety of tools and products that make our layouts look more like what we see when we’re standing trackside. In this article, I’ll highlight 10 scenery products you should know about.
Of course, there are many great scenery products beyond the 10 in my list. Do you have a go-to scenery tool or product? Or do you have a different way of using one of the items mentioned here? Let us know about it in the comments field below.
Scuff pads
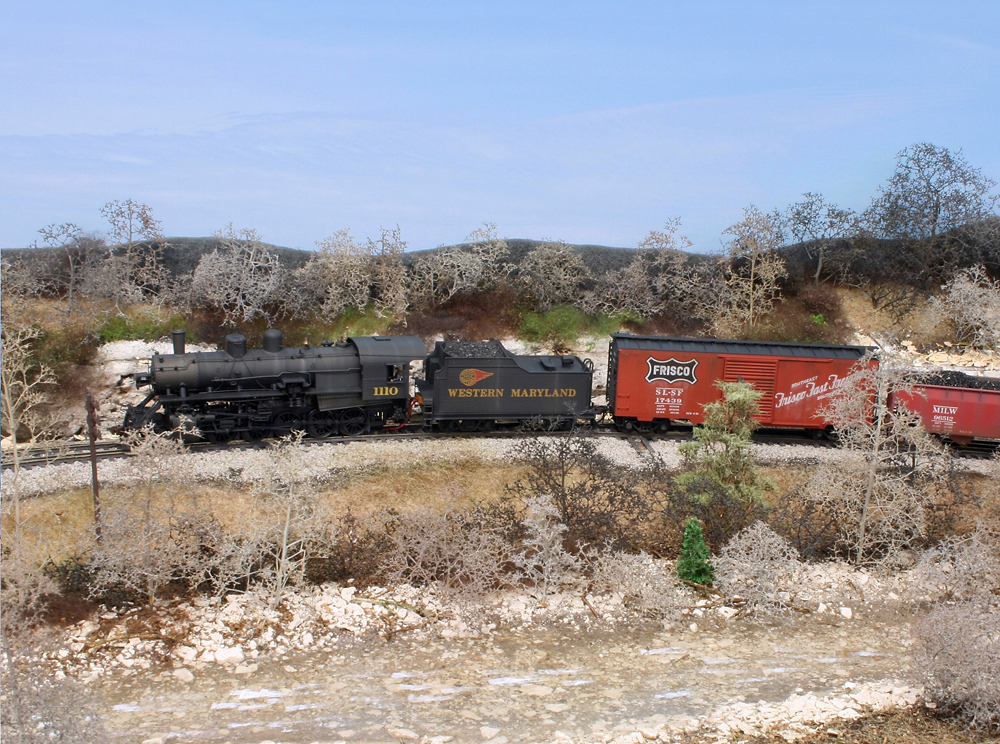
Blending the edge of the layout into the backdrop can be tricky. Lance Mindheim, owner of The Shelf Layouts Co., discovered a quick and easy way to hide that seam and simulate a distant tree line using scuff pads.
For the project, covered in the August 2009 issue of Model Railroader, Lance used a Mirka Mirlon No. 18-573-448 dark gray scuff pad that he purchased from Beaver Industrial Supply. The 33-foot long by 4”-wide roll provides more than enough material for most layouts.
Lance cut the scuff pad into 4-foot sections. Then he made a wavy, lengthwise cut down the middle of each strip. You can either leave the edges smooth as shown in the image above, or you can tear the edge by hand to give it ragged look.
The scuff pad can be installed on toothpicks pressed into the scenery base on 8” to 12” intervals, or it can be secured to the backdrop with hot glue. Lance concealed the bottom edge of the scuff pad with static grass tufts and small trees.
Packing peanuts
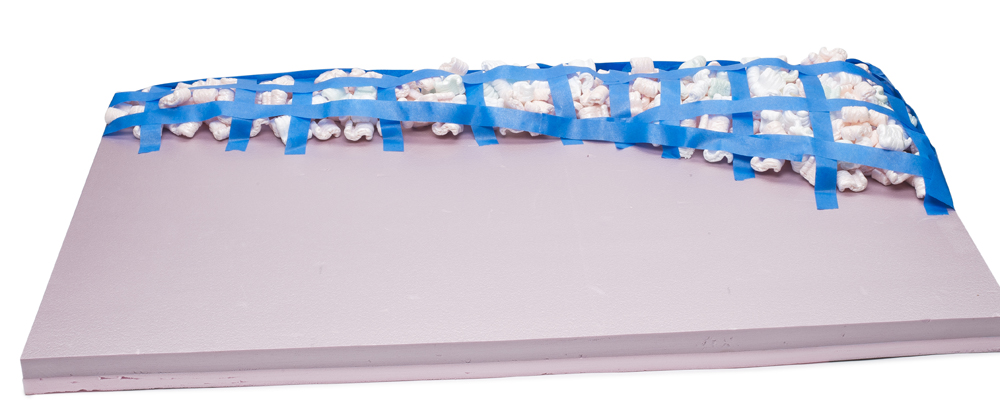
Though not as common as they once were, packing peanuts are still used to protect items from damage during shipment. Instead of throwing those peanuts into the trash, use them to make hills. Just one word of caution. Only use extruded-foam peanuts, which are usually S-shaped, for this process. Biodegradable packing peanuts, made from organic starch and similar to a white cheese puff in appearance, will dissolve in water and leave your hills looking like a collapsed souffle.
Here’s how the process works. Spread the peanuts in layers on your layout surface. Once satisfied with the height of the hills, apply a web of masking tape over the top of the peanuts as shown in the photo above. Then cover the peanuts and tape with plaster-impregnated gauze, paint, and scenery products as outlined my October 2017 article “Make a hill from foam peanuts.”
Deep Pour Water
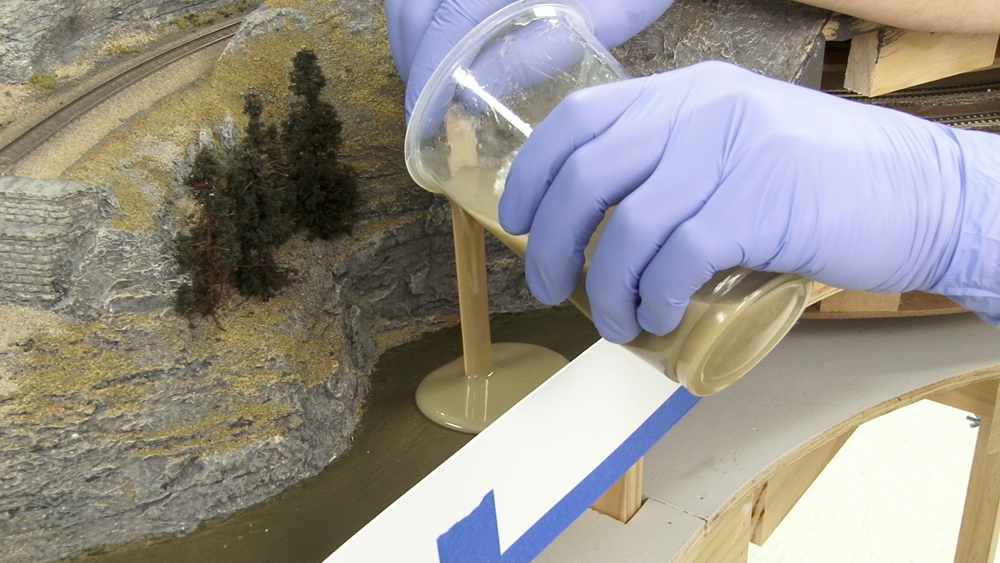
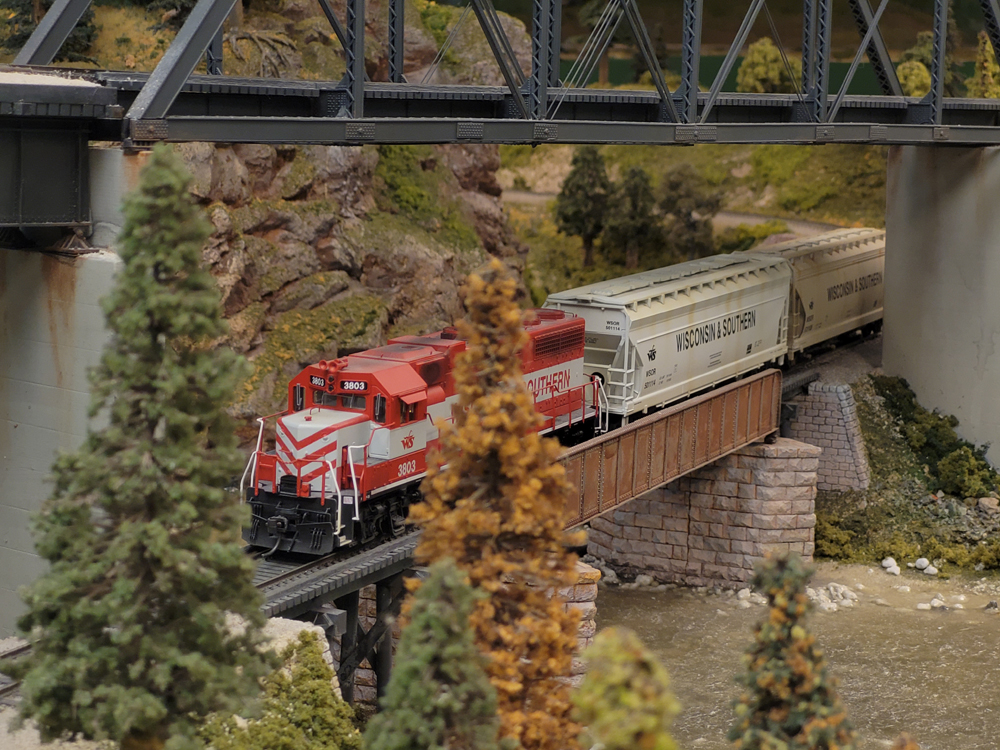
Woodland Scenics is no stranger to producing water products. The scenery manufacturer has long offered E-Z Water and Realistic Water. When the firm came out with its two-part resin Deep Pour Water line, Trains.com Director David Popp decided to give it a try when pouring the Fraser River on our N scale Canadian Canyons layout.
David selected the Murky version of the Deep Pour Water (a clear version is also available). When mixed, it’s a translucent brown. He then added a couple of drops of Yellow Silt Water Tint to better match the water he saw in prototype photos. This turned the resin opaque, which was OK for our project.
You can read more about Deep Pour Water in the March 2019 issue of MR or check out the video on Trains.com.
Rubber Rocks
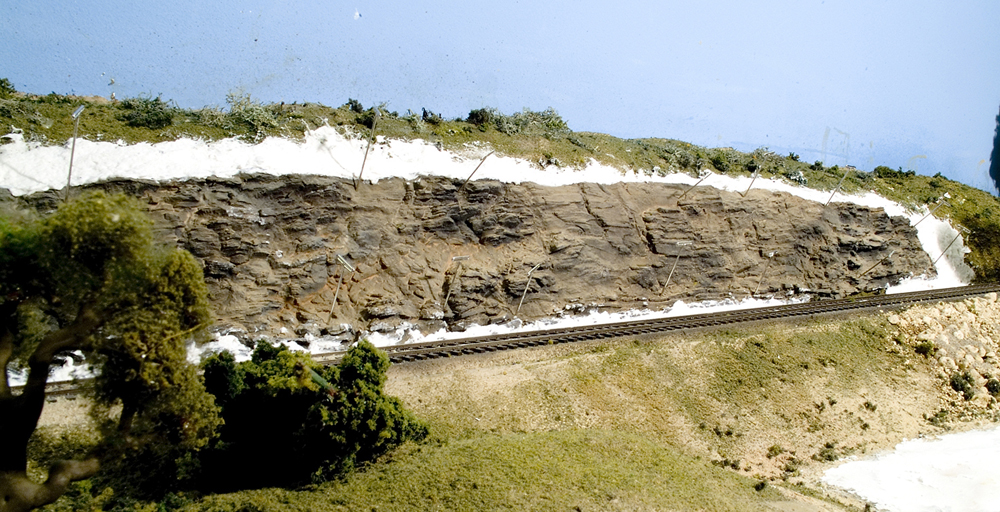
When you look through the advertisements in MR, you’ve probably seen the one that says, “Great looking rocks…in less than a million years.” The ad is for the Rubber Rocks line from Cripplebush Valley Models.
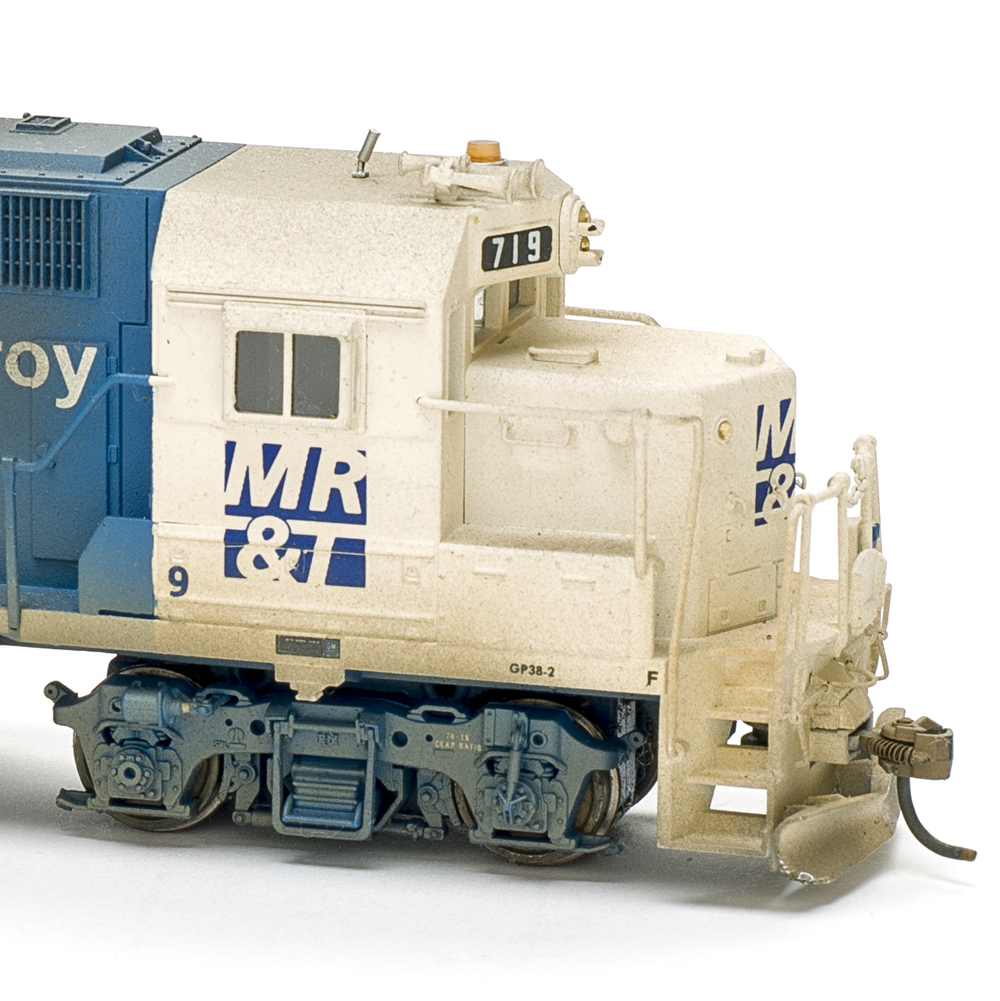
We’ve had the opportunity to use Rubber Rocks for various projects, including the renovation of Lake Beulah on our HO scale Milwaukee, Racine & Troy staff layout. As part of the project, David Popp replaced the tired plaster rock castings hugging the right-of-way with Rubber Rocks.
The Cripplebush rocks can be used as-is or cut with scissors; David did the latter for the Lake Beulah scene. He installed the flexible casting with latex caulk, using T-pins to hold it in place while the adhesive dried. Then David feathered the casting into the adjacent scenery with Sculptamold. He repainted the Rubber Rocks using an assortment of acrylic paints and washes.
See the February 2007 issue of MR to learn more about the Lake Beulah makeover.
LEGO bricks
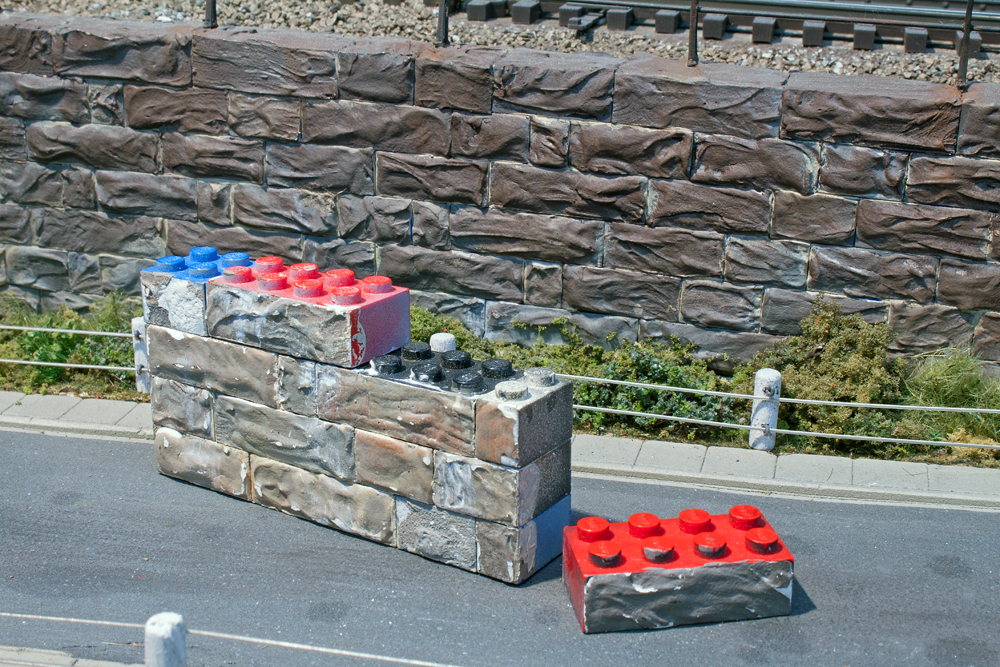
You may not think of LEGO when working on model railroad scenery, but I’ve been pleasantly surprised at the creative ways modelers in various scales have put the plastic bricks to use on their layouts.
One example is John Sethian. His O scale Pennsylvania RR Nassau Division layout was published in the November 2017 MR. In the article, John shared some of his techniques for incorporating LEGO bricks into his layout.
In the photo above, he used an assortment of bricks to model the Pennsy’s signature cut-stone walls. After coating the plastic bricks with joint compound, he painted and weathered them acrylic craft paint. But John didn’t stop there. He also used LEGO bricks to construct bridge abutments and tunnel portals.
Check out my article “Five model railroad uses for LEGO” to get even more ideas on how to use the popular line of products on your layout.
Craft cutters
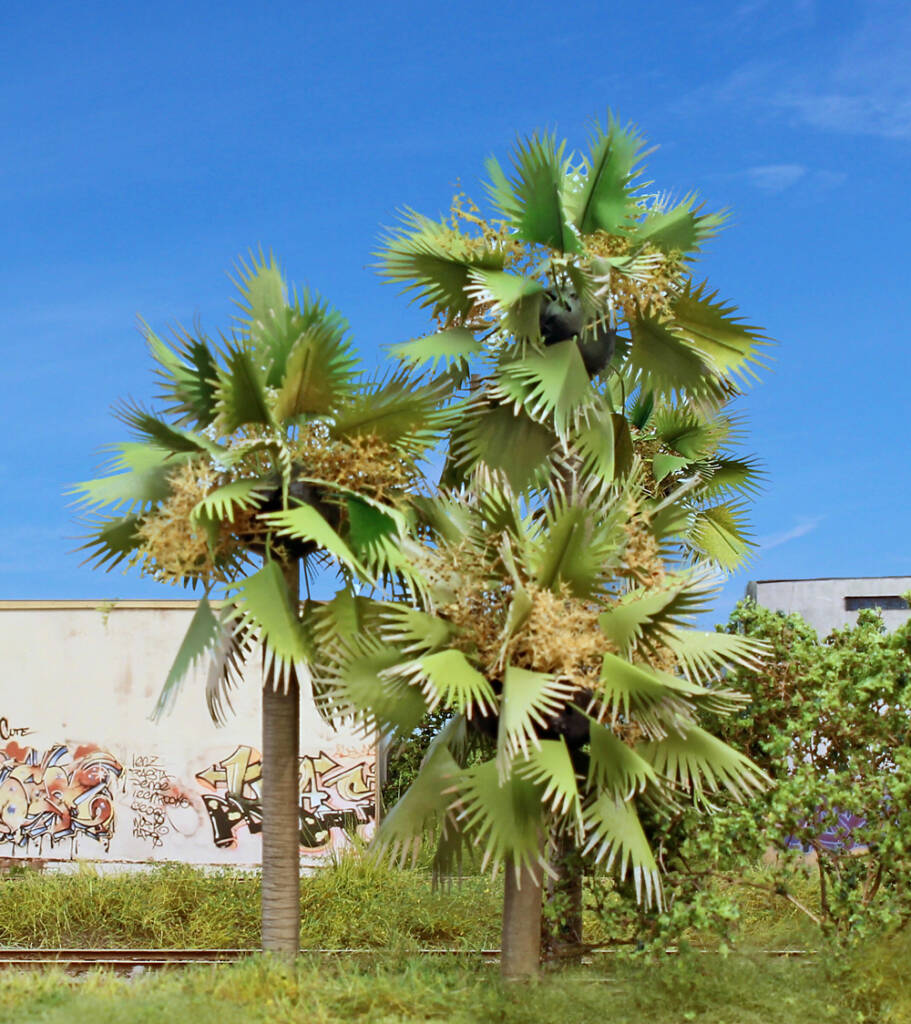
I’m married to a primary grade teacher, so I routinely visit stores like Hobby Lobby, Joann Fabrics, and Michaels. In recent years, I’ve noticed an uptick in the number of craft cutters sold at these businesses. I’ve long thought these products have great modeling potential, and the always innovative Lance Mindheim illustrated one way to use them in the January 2024 issue of Model Railroader.
For his article “Modeling palm trees” Lance used a craft cutter to make fronds for his trees. He used Sure Cuts A Lot software for his project, but other programs are available. Though Lance’s trees were in HO scale, the fronds can be made larger or smaller for other modeling scales.
If you’re looking for more inspiration, watch how Trains.com Video Producer Ben Lake used a craft cutter to make custom doors for an HO scale structure project.
Static grass mats
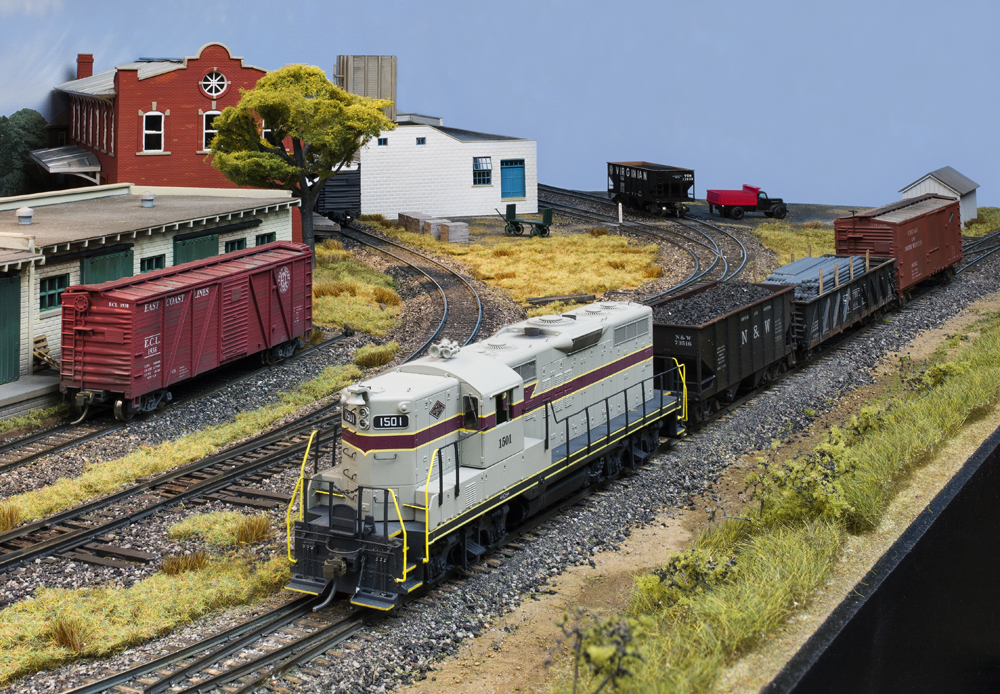
Static grass has been a real game changer for model railroad scenery. In addition to the loose fibers you can apply with a static grass applicator (keep reading for more about those), some firms also offer mats that make it easy to simulate tall grass, weeds, and other areas of overgrowth.
When David Popp was working on the HO scale Winston-Salem Southbound layout, he turned to static grass mats from Busch and Heki. Faller, Scenic Express, and Wm. K. Walthers Inc. are among other firms that offer similar products. As he reported in his February 2017 article “How to model tall grass easily,” the static grass mats were easy to work with and quick to install.
In addition to the article, David hosted a video demonstrating how he installed the grass mats on the Winston-Salem Southbound.
Static grass applicators
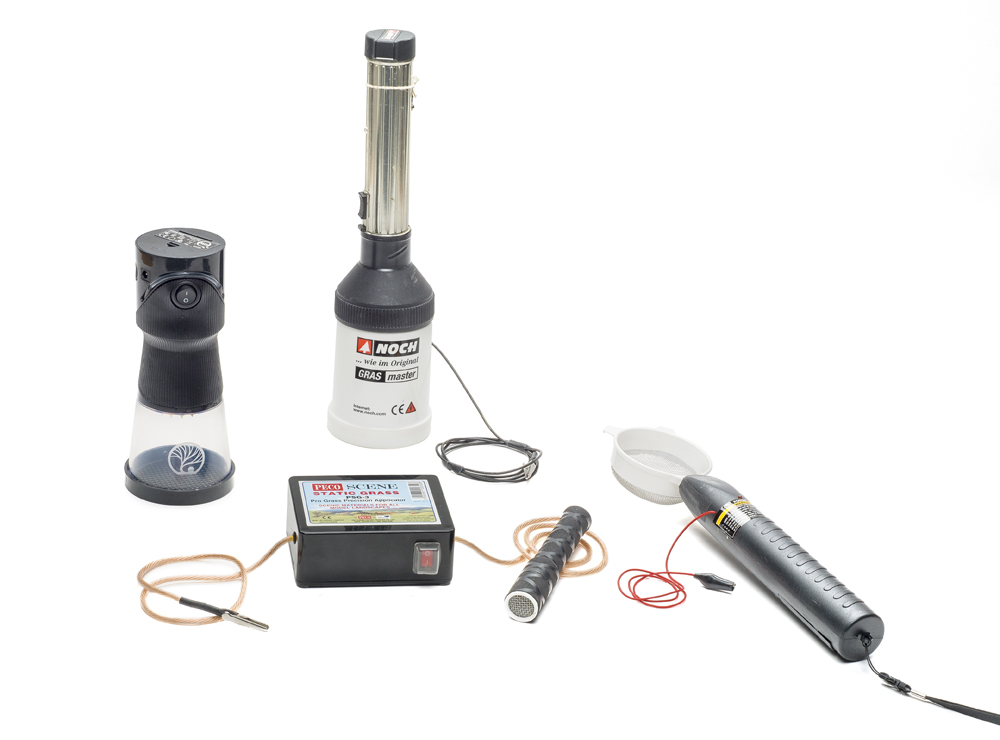
Continuing on the static grass theme, we’ll next look at static grass applicators. These devices give the rayon-based fibers a charge so they stand vertically. The applicators are typically powered by a 9V battery or wall-wart-type adapter. Some also include screw-on screens for working with different lengths of fiber.
As the image above shows, static grass applicators are not a one-size-fits-all tool. Some, like the Woodland Scenics Static King and Noch Gras-Master, are designed for working with larger amounts of static grass and covering large areas. The GrassTech USA GrassTech I has a bowl-shaped sieve, which proves handy when adding static grass to ditches. The Peco Pro Grass Precision Applicator is handy for areas around buildings and other hard-to-reach spots.
Woodland Scenics Smooth-It
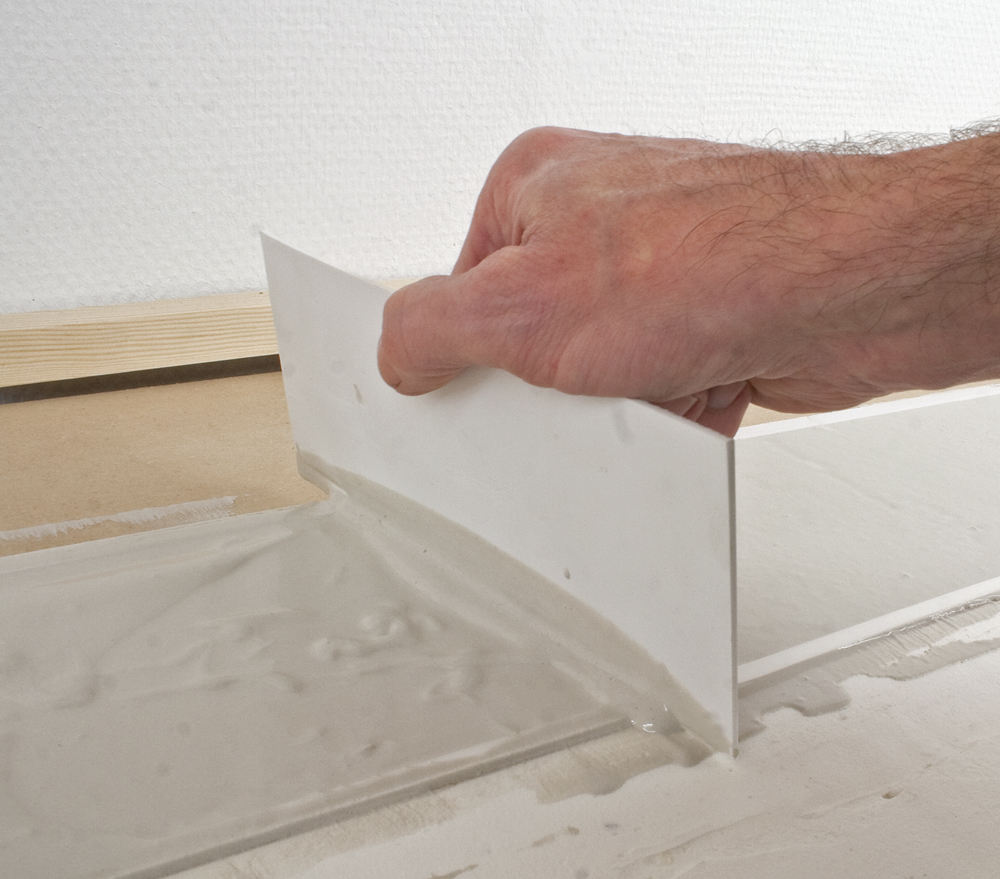
There are a variety of ways to model streets and highways, including styrene, peel-and-stick foam, and even decals. Another option, often used by Model Railroader Contributing Editor Pelle Søeborg, is Woodland Scenics Smooth-It.
Before applying the Smooth-It, Pelle puts down some of the same company’s Paving Tape. This acts like a dam along the edges of the street or highway. He then mixes (not too vigorously, though, to avoid air bubbles) the Smooth-It in a bowl until there are no lumps and pours it inside the tape. Pelle uses a piece of .080” plain styrene as a screed to level the wet Smooth-It.
After sanding the dried material and patching any holes or rough spots, Pelle brush-paints the Smooth-It with enamel paint, keeping the edge of the brush parallel to the road. After applying pavement markings, he weathers the road with pastels and an airbrush and applies patched cracks with a brush and thinned paint. The entire process is shown in the October 2012 issue.
Scenic Express SuperTrees
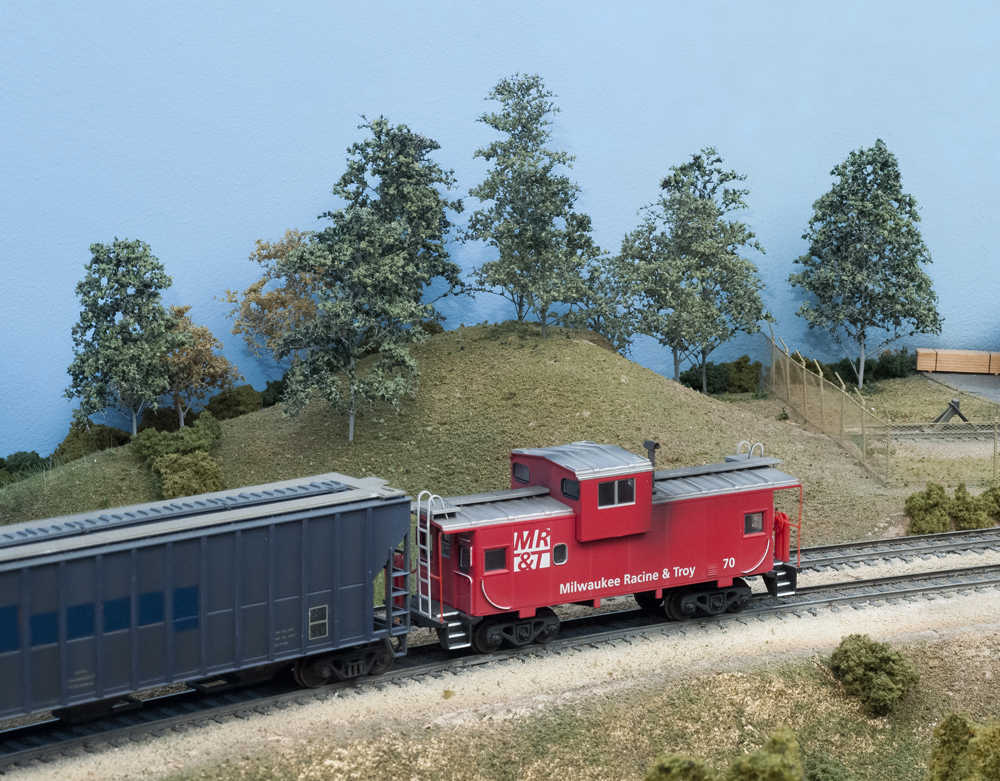
We’ll wrap up our list of 10 scenery products you should know about with Scenic Express SuperTrees. These have been featured in many MR articles during the past two-plus decades.
SuperTrees are a dried plant material sourced from the Arctic tundra of Scandinavia, similar to western sagebrush.
Working with SuperTrees is definitely a hands-on experience. The leaves need to be removed from the stems, the armatures need to be soaked in matte medium (to make them flexible and less attractive to bugs and other things that want to eat them), the soaked armatures need to be put on a line to dry, the armatures have to be painted, and foliage needs to be added. Read my article “How to make trees from a natural kit” in the October 2015 MR to see the process from start to finish.
If you have a large area to populate, check out MR Contributing Editor Tony Koester’s article “Trees in 60 seconds” in the May 2014 issue. In the story, you’ll learn Tony’s time-saving techniques, allowing you to crank out a tree per minute.


