Q: Can you help me decide how high to place a layout backdrop? I am a long time modeler and have used backdrops on a prior double-deck HO layout. I’m now faced with planning backdrops for a single-deck N scale layout with rolling hills. How do I handle a scene that drops on a 2% gradient into a river bottom, then climbs up again? The scene I am working on covers about 15 linear feet. – Bill Barger
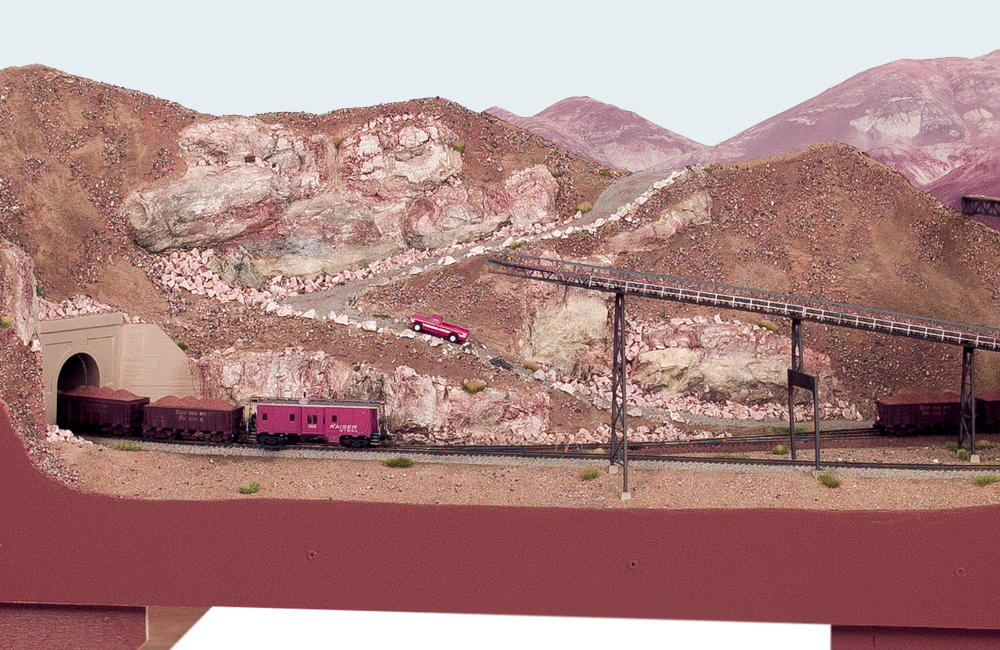
A: When you’re planning how high to place a layout backdrop, even if the terrain in your foreground may rise and fall, the horizon shouldn’t. The placement of the horizon is dependent on the height of the viewer’s eyeball, not the terrain in front of it. Distant mountains and valleys may provide some deviation above and below this line, but the imaginary line between earth and sky is fixed. So while you should see trees, rivers, and fields behind your low-altitude scenery, behind your taller hills should be nothing but sky.
The only reason your horizon line should rise or fall is if the elevation changes on your layout don’t represent altitude changes in the terrain. For example, a “nolix” model railroad – a multi-deck layout that climbs as it goes around the walls, with no helix – would probably have a horizon that climbs with the track. Otherwise, the high end of the layout would have nothing but sky behind it, and the lowest part would have no sky at all, just foothills. A layout that’s divided into individual scenes could have a different horizon line for each vignette, depending on the altitude being modeled.
But if that’s not the case with your layout, your horizon should be flat. Note the highest and lowest track elevations on your layout, then choose an area in between. Place your horizon line where it looks natural in that scene. If you’re mainly going to be viewing the layout when operating it, the horizon should probably be a few inches below your standing eye level; if it’s more important that your backdrops look right when photographing the layout from track height, put the horizon lower. Once you’ve settled on a horizon height, extend a line around your backdrop at this level; a laser level can greatly simplify this task. Then paint your backdrops, or apply your photo backdrops, so the horizon is at that level all the way around the layout.
If the track goes through a backdrop or tunnel to a new, separate area, you can choose a new horizon line for that section. If low areas end up having a lot of foreground and high ones have nothing but sky behind the ridge line, that’s OK; that’s what the real thing looks like. That visual effect will subtly clue your layout’s viewers in as to the altitude of the area.
For more on crafting a convincing backdrop for your model railroad, check out our Information Station PDF download, “Building and painting backdrops.”
Send us your questions
Have a question about modeling, operation, or prototype railroads? Send it to us at AskTrains@Trains.com. Be sure to put “Ask MR” in the subject.


