


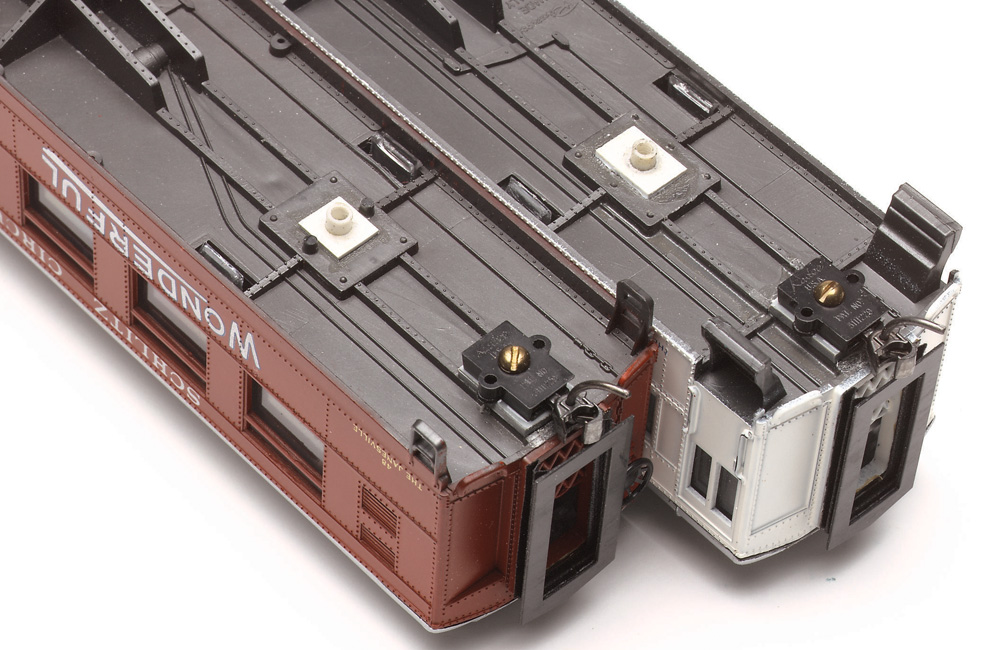
Q: I was recently given some older HO scale hopper cars that apparently had snap-on trucks. What method do you recommend to fill in the hole so I can replace snap-on trucks with the screw-on type? I gather I would use 2-56 screws? – Artie Krass
A: What you use to fill in those holes in the underframe that the pins used to snap into depends on what the underframe is made of. If it’s plastic, it’s probably styrene or ABS. Drill out the hole using a 1/8” drill bit. Then glue a piece of 1/8” tubing into the hole using a glue that works on many different kinds of plastics, like Plastruct Plastic Weld. (Important note: The stronger a solvent cement is, the more toxic it tends to be. Wear gloves, wear a respirator mask, and work in a very well ventilated area, not a basement.)
Once the glue has cured, snip off the end and sand it flush with the bolster’s center plate. (Make sure you don’t sand down the bearing surface of the center plate itself, or you’ll end up lowering the car, possibly causing problems with uncoupling and derailing.) According to styrene tube maker Evergreen Scale Models, the inside diameter of their 1/8” tubing is .069”, which is slightly smaller than the clearance diameter of a 2-56 screw. Then tap it with a no. 50 tap, drilling it out with a no. 43 bit (0.089”) first if necessary to make the tap go in easier. You can then replace the snap-on trucks with new ones attached with 2-56 screws.
(If you’ve never used a drill and tap set before, check out Cody Grivno’s helpful how-to video on our website.)
If the hole the plastic pins snapped into is already larger than 1/8”, you’ll have to do the same sort of thing, but in two steps. Drill the hole out with a 3/16” bit, glue in a piece of 3/16” tubing, then glue a piece of 1/8” tubing inside of that. Then, drill and tap as before.
A more quick-and-dirty solution is to heat the middle of a bit of styrene sprue over the tip of a soldering iron until it softens, then pull the ends apart slightly to stretch it. Let it cool, then snip the middle to give you a tapered rod. Push it into the hole until it fits snugly, then glue it in place, snip, sand, drill, and tap. Finally, replace the snap-on trucks. It might be difficult to find and drill out the exact center of the plug, though.
If the underframe of your car is metal, though, you have a couple options. You can drill out and fill the hole with styrene tube as before, but you’ll have to use gap-filling CA or epoxy cement to secure it. The other option is to melt some solder into the hole and let it solidify. If it’s not possible to temporarily remove or otherwise shield nearby plastic detail parts from the soldering iron’s heat, take the first route.
Send us your questions
Have a question about modeling, operation, or prototype railroads? Send it to us at AskTrains@Trains.com. Be sure to put “Ask MR” in the subject.


Nice Article Thanks it will come in handy
Mike’s Deep Run RR