On Model Railroader’s Beer Line project layout, which was set in 1947 Milwaukee, I ballasted the track on the entire layout using a favorite technique.
I used a 50:50 blend of Highball Products Light Gray and Dark Gray limestone ballast, which looks similar to ballast used by the Milwaukee Road [Highball Products ballast is no longer in production. Similar ballast is available from Arizona Rock & Mineral, Scenic Express, and Woodland Scenics, among other companies. – Ed.] I mixed the ballast in a half-gallon ice cream bucket (after I’d eaten the ice cream), which was more than enough for our 4 x 12-foot layout.
However, I didn’t stop with the gray ballast. I used Highball Products cinders on some sidings and along the edge of the right-of-way.
I ballasted between the rails first. I used a 1⁄2“-wide paintbrush to spread the granules, 1. Then I dragged the brush back and forth until there was no ballast on the tops of the ties.
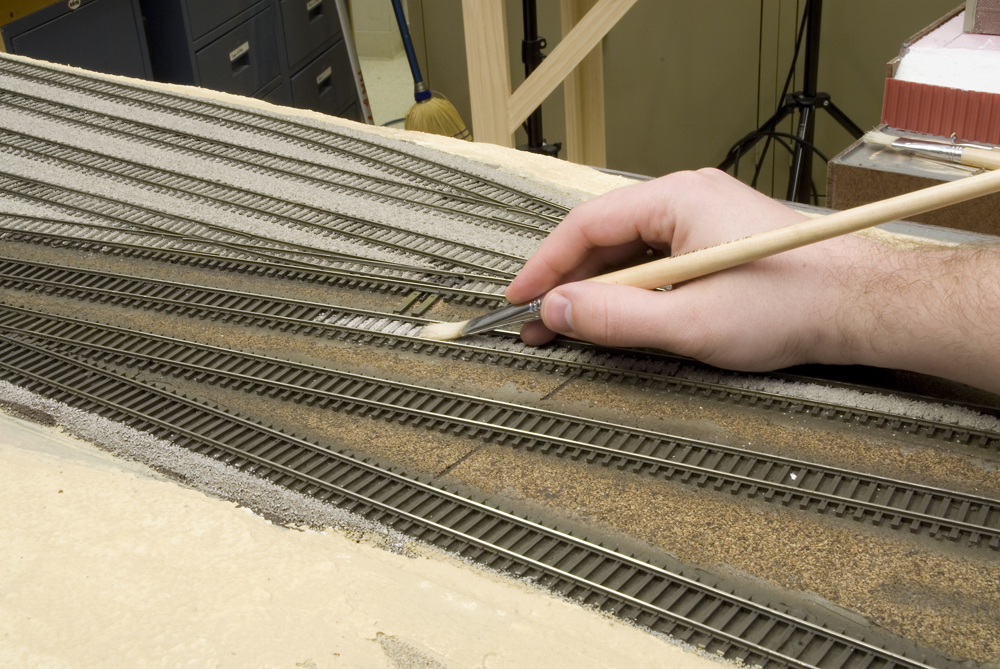
I wet the ballast with 70 percent isopropyl alcohol, 2. The alcohol makes it easier for the Woodland Scenics Scenic Cement to wick between the granules by breaking the surface tension of the water-based glue.
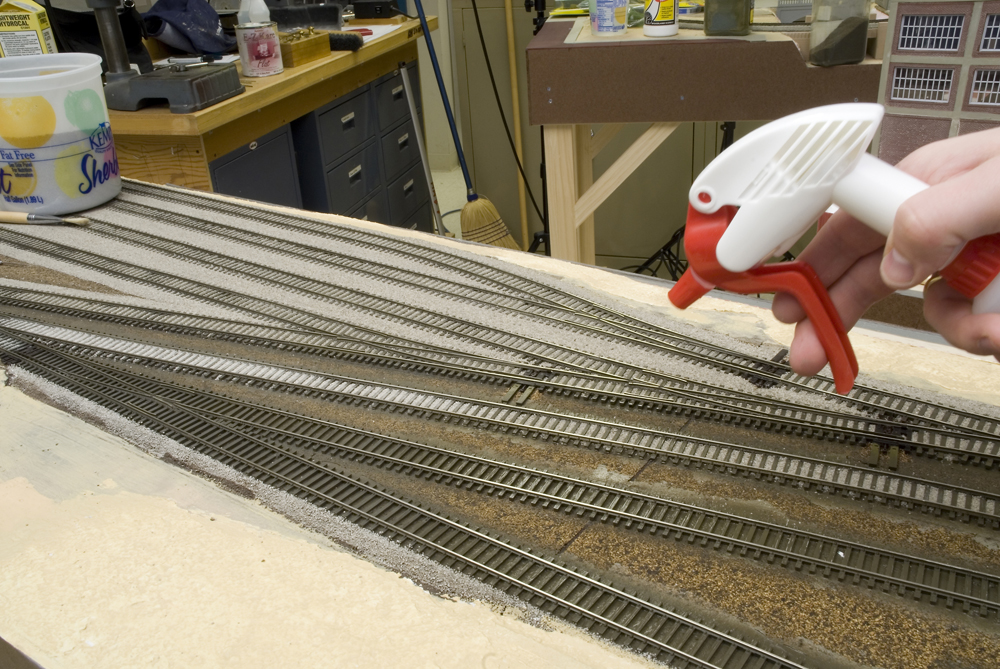
I let the alcohol soak in for a minute and then applied Scenic Cement with a pipette, 3. To prevent the granules from washing out between the ties, I applied gentle pressure to the pipette.
![Applying Woodland Scenics Scenic Cement with pipette.]](https://www.trains.com/wp-content/uploads/2021/03/MRR_Scenic_Cement_with_pipette_04.jpg)
I let the ballast dry overnight and began work on the shoulders. I mixed some thinned white glue (80 percent glue, 20 percent water). I used a second 1⁄2“-wide paintbrush to spread the glue along the shoulder of the roadbed, keeping an even edge along the base.
I sprinkled a layer of ballast into the wet glue. Once the glue had dried, I cleaned up the loose granules with a vacuum. Then, I used a spoon to apply a second coat of ballast. I shaped the ballast along the beveled edge of the cork roadbed with a 1″-wide foam brush. I used the same technique to apply the cinders along the edge of the ballast.
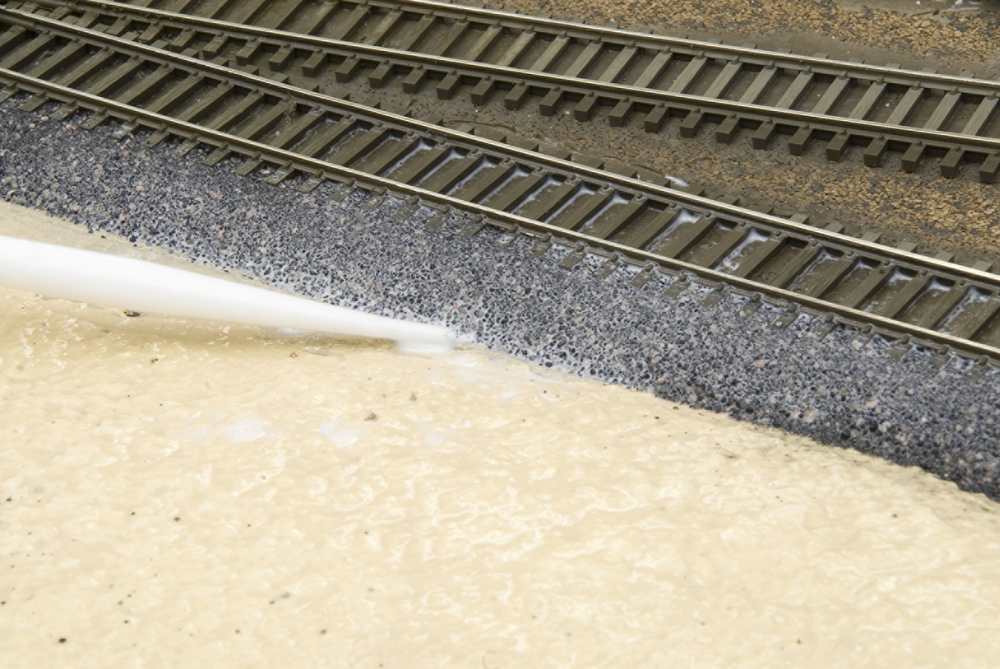
With the ballast shaped, I sprayed the granules with 70 percent isopropyl alcohol and let it soak in. Then I applied Scenic Cement in two steps. I first placed a pipette against the outside web of the rail and let the cement trickle down. Next, I dragged the pipette along the bottom edge of the ballast and let the cement wick up, 4. When I could see Scenic Cement between the granules, the ballast was thoroughly saturated.




Cody,
As you are describing working on the shoulders you said, “I used the same technique to apply the cinders along the edge of the ballast.” I can interpret that three ways:
1. After you spread the ballast you then add a few “cinders” (presumably from steam engine coal clinkers) using the same foam brush technique and THEN glue it all in place.
2. You simply use cinders instead of ballast sometimes (for steam engine track).
3. Similar to #1, you spread the ballast, glue it THEN add a few cinders (or a lot) and then glue that down.
I’d really like to better understand what you meant.
How is the application of ballast different in a yard or where the track appears to be laid flat on the surface?
There are devices sold to spread ballast. Do these have any applications in your process?
Very nice article, but how about ballasting around switch points?
I always find that rather difficult.
Regards, Herbert M. Troelstra, Netherlands
Herbert, a couple of tricke I use ….. stop balasting a few ties from the throwout bar but with a small pile of ballast. Slowly and with care brush the ballast up to the space between the pair of ties on either side of the throwout bar. I then use a can of Electronics Duster (canned air) with the spray tube close to the opening of the throwout bar to blow out any particles of ballast which may have gotten to that area errantly.
When gluing, try to keep any glue away from the throwout bar. As the glue is drying, be sure to operate the throwout bar to [try to] prevent the point rails from getting glued to the ties. Still, you will have to carefully break the point rails loose. Last, I spray some silicone (using its spray tube) into the throwout bar area only.