10 tips for beginning layout builders: Trains.com has thousands of articles, images, and videos. Here, we’ve collected ten links to some of the best stories for people just starting on their layout-building adventure.
1. Learning to use a track template
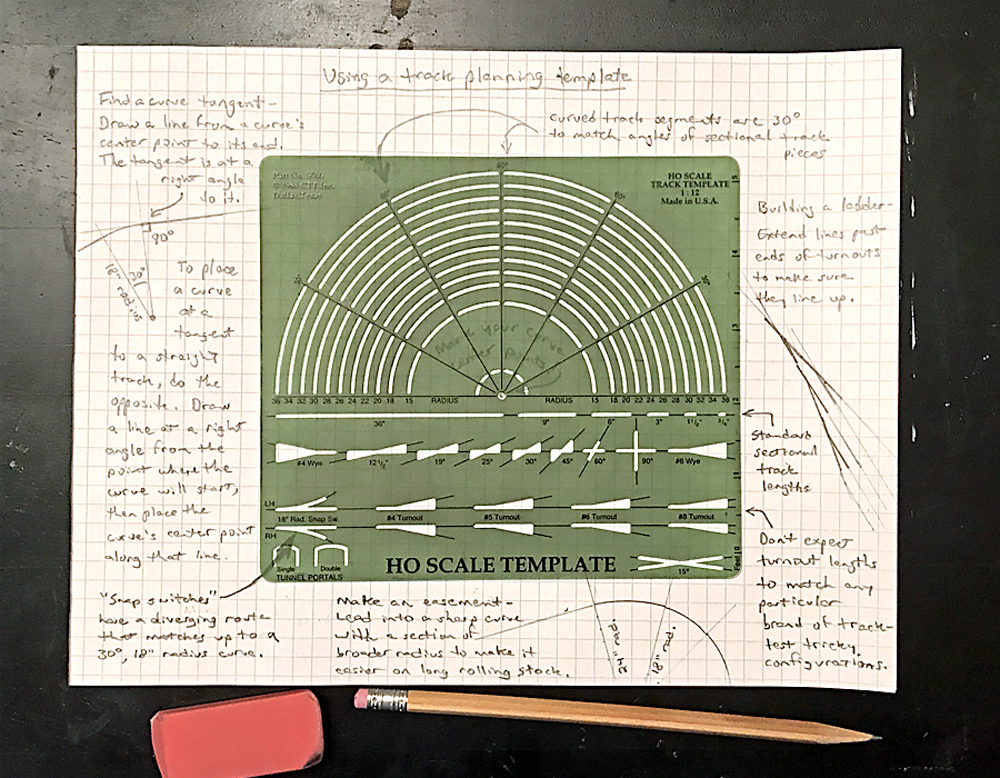
Track planning is an essential step in the construction of a model railroad layout. After all, you wouldn’t build a house without a blueprint, so why would you build a model railroad without a track plan? A track planning template, like the green HO scale one in the photo above, helps you transform your sketchy ideas into a buildable track plan. Read more about track plan templates and how to use them here!
2. How to transfer a track plan from paper to model railroad benchwork
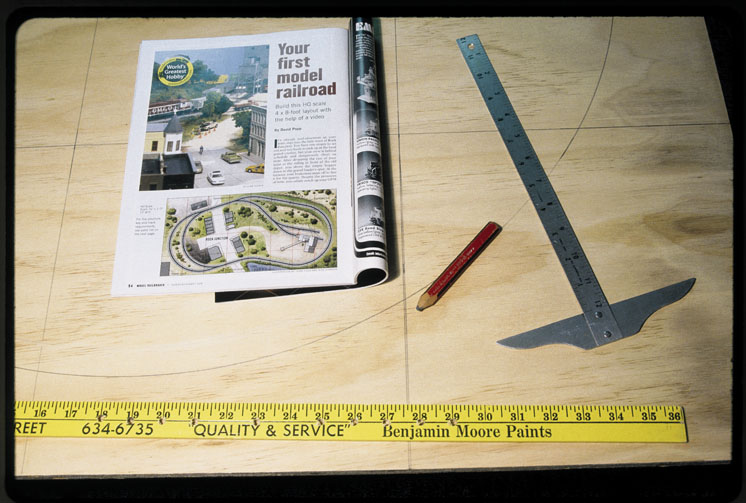
While track planning in an indisputably essential step in the construction process of your model railroad, it’s another thing entirely to translate your track plan from paper to reality. If you’ve never done this before, the first thing you’ll probably learn is that – regardless of how carefully you’ve measured – track will almost always take up more room on the layout than it did on paper. It is important to take your time and be precise, as any miscalculation will hinder tracklaying. Learn more here!
3. Model railroad bench tops made easy with foam
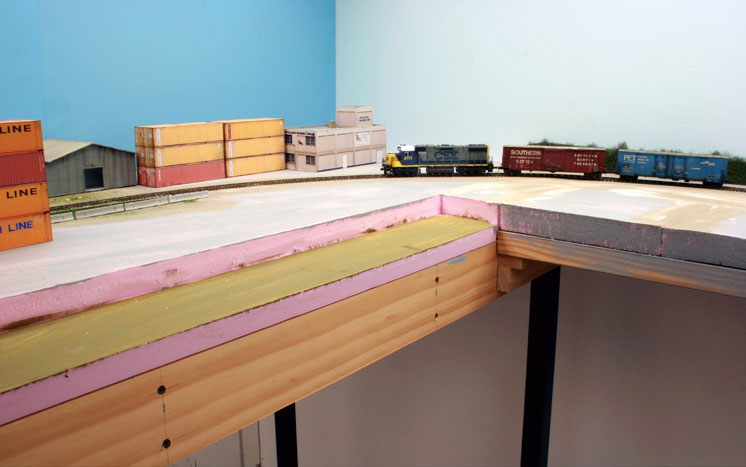
While plywood may be the default in model railroad bench top material, there are many situations in which extruded-foam insulation board is a viable alternative for bench tops built on either flat surfaces or open grids. In fact, with proper support, the rigid foam can easily hold anything a modeler may want on a layout. Click here to learn more about how to work with extruded-foam insulation board for your model railroad bench top!
4. Tracklaying: adhesives, nails, or spikes?
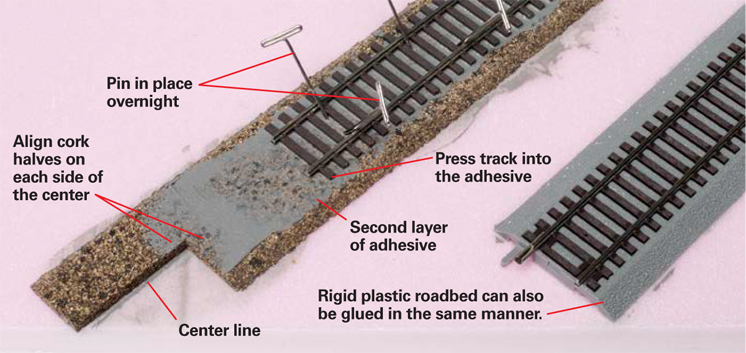
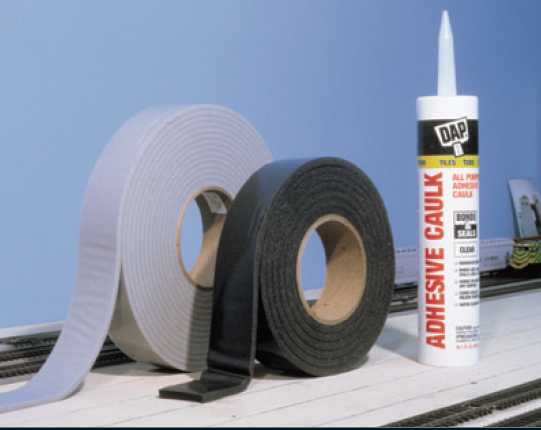
Well-laid track and smooth model railroad operations go hand-in-hand, so it’s best to ensure best practices when selecting your tracklaying materials. Track and roadbed can be fastened to foam insulation board with construction adhesives made for use with the foamboard. Click here to ensure you’re using the right materials!
5. How to cut and fit sectional and flextrack
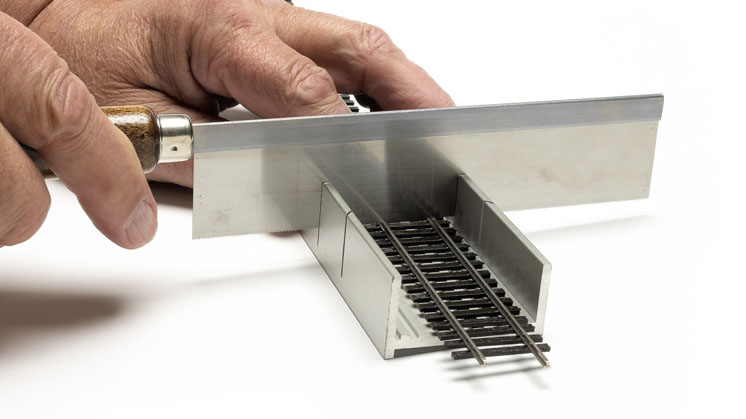
Cutting rail is a common activity that quickly becomes important once work begins on the construction of your model railroad. Small layouts built with sectional track generally fit together pretty well, but when flextrack is used, it’s often necessary to trim the rail ends to fit. Click here to learn how!
6. Quick and easy Flextrack
Gluing flextrack to plywood or other surfaces is nothing new; but laying track with DAP’s All Purpose Adhesive Caulk is – and in my opinion, this technique is far superior to traditional tracklaying methods. Click here to see why!
7. Banish derailments on your model railroad for good
No one likes a derailment. There’s nothing in the hobby which disrupts an operating session like a derailment in an inopportune location. But what steps must be taken to prevent these inconvenient interruptions? For starters, every rail joint must be carefully aligned, properly fitted, and level. Click here to learn what else must be done to prevent derailements!
8. Give your turnouts a tune-up
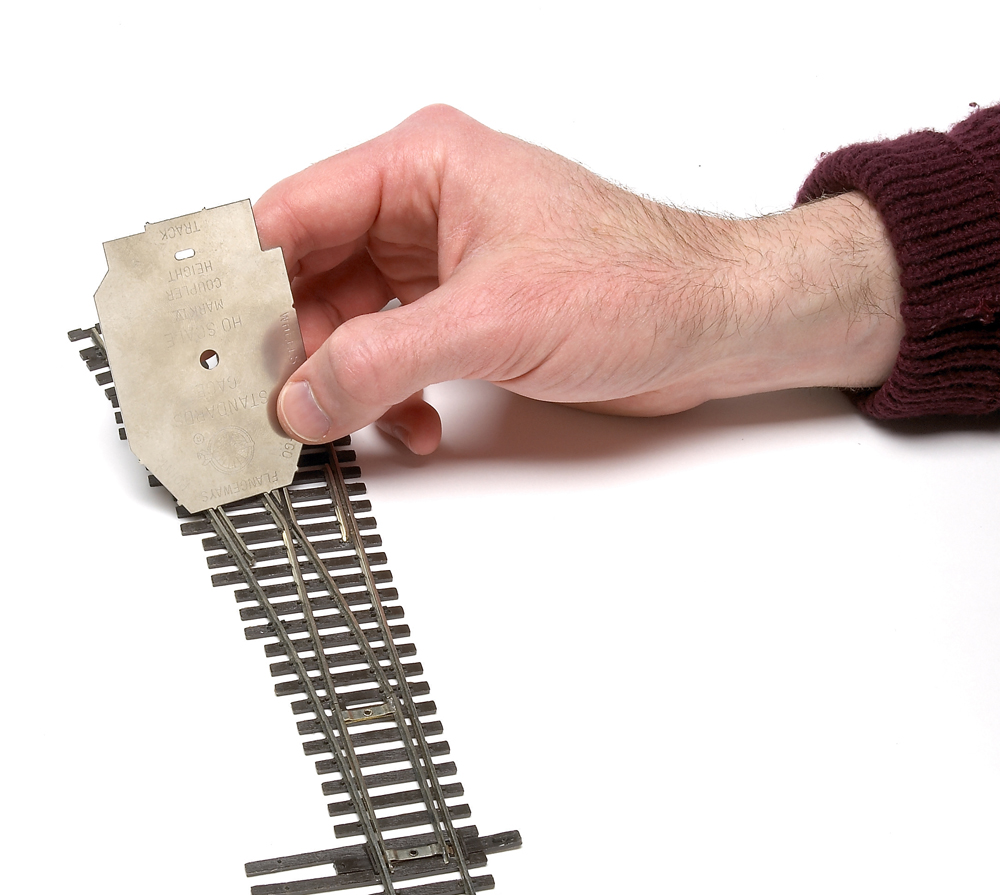
Many modelers build their layouts with commercial turnouts with the expectation that these components are ready to install. However, building my HO Ohio Southern layout has convinced me that most commercial turnouts are really “ready to finish.” They may need a little tune-up to ensure smooth performance and reliable operation. Click here to see how to get your commercial turnouts operations-ready!
9. How to wire a layout for two-train operation
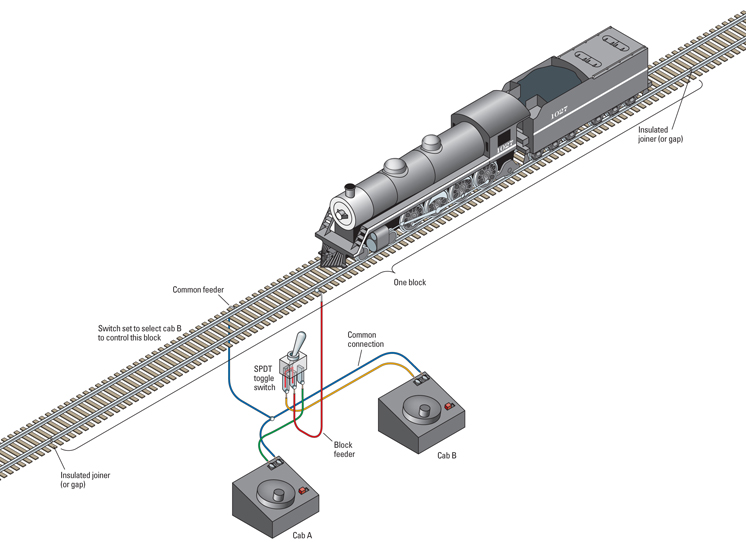
The initial goal of many new model railroaders flush with locomotives, track, and rolling stock is to operate two trains on their layout at the same time, each with independent speed and direction control. This milepost can be reached with cab-control wiring. With two direct- current power packs, single-pole double-throw toggle switches, and hardware-store wire, you can divide any layout into electrical blocks that will allow two trains to be operated independently. See more here!
10. An introduction to track wiring basics
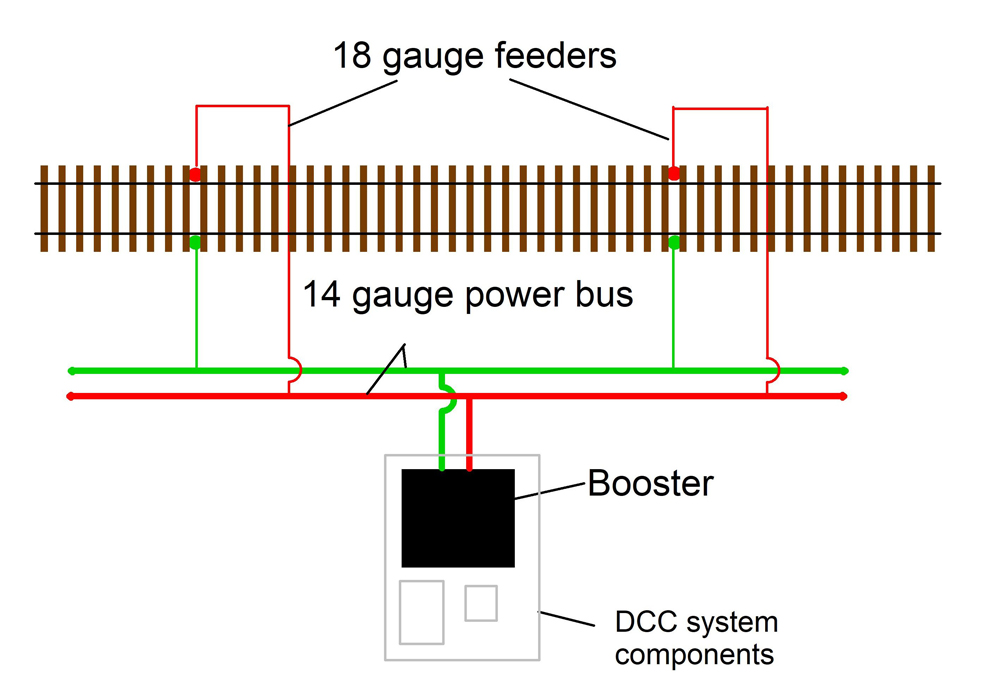
There is probably no other aspect of our hobby that creates more anxiety and confusion for newcomers than wiring. When you’re starting at absolute ground zero on the learning curve it can be daunting at times. However, at the most basic level, what we’re trying to do is get electricity from a power source to the rails so our trains will run. See here to learn more about track wiring basics!







This would be a very helpful collection, but it needs a final edit. The article link for #10 “Introduction to Track Wiring Basics,” is incorrect; it also leads to the article from #9. I am guessing that it should be to a Lance Mindheim article. Also, the captions for #3, “How to Transfer a Track Plan,” appear to be for the wrong photos.