Build an HO scale weed sprayer
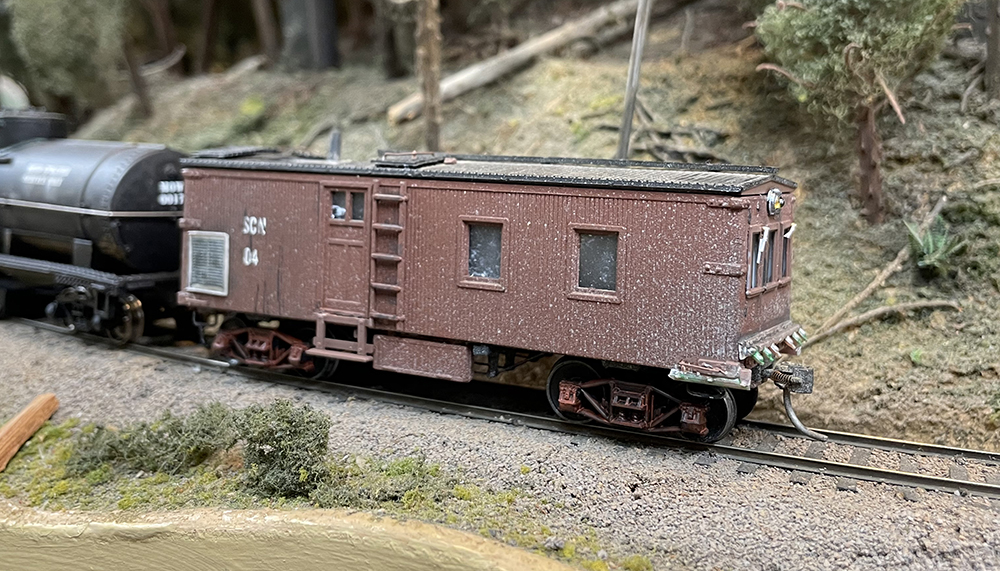
Building an HO scale weed sprayer car was not just enjoyable; it was downright fun!
It all started when my friend Paul Weiss declared that he was going to run a weed sprayer maintenance-of-way train at an upcoming operating session on his Central Vermont Ry. (www.cvrailroad.com). Five days before the session, Paul handed me two Bachmann boxes. Inside were tank cars with factory track cleaning pads attached. The tanks were labeled “weed sprayer service only.” Paul asked me to run them through a standards check, and I agreed. (I’m a freight car guy!) I asked him where the where the weed sprayer was that should accompany the tank cars. Paul, to his credit, just looked at me dead-pan. I was on my own.
That was ok because I quickly got an idea for building one – it would likely be an old house car, operators’ windows across the front, a horizontal pipe with nozzles for spraying herbicide along the bottom of the end, and booms tucked in along the sides that could be swung out over the right of way.
Later that evening, after scrounging my home hobby shelves, I located my quarry – a very old Roundhouse truss rod, side door caboose. A relic of the early days of my HO scale Santa Cruz Northern, it was retired years ago for newer “cabeese” that better fit my early 1970s railroad. Its cupola was missing, and I had salvaged its Fox style trucks for another project. At least it still had its Kadee No. 5 couplers. It was just the sort of castoff that my SCN shops might repurpose for MOW work!
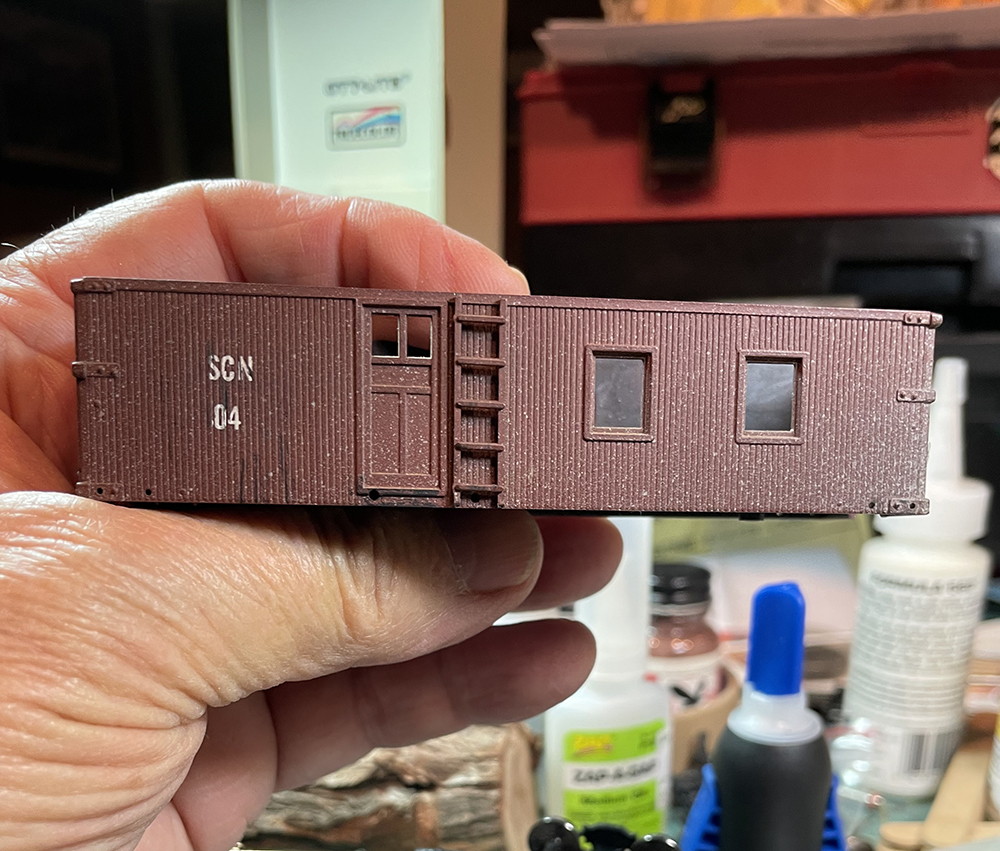
After more scrounging, I located a pair of plastic arch bar trucks painted boxcar red with Kadee wheel sets already installed (Kadee wheels are standard on Paul’s CV layout). I attached them to the car body and put it on the test track – luckily the couplers were still at the correct height.
Next, I discovered that three Tichy Train Group work car windows (no. 8068) could span the end of the car body opposite the hole in the roof from the missing cupola. I drew cut lines on the model, then drilled a 3/16” pilot hole inside them, followed by a ¼” hole. A bit of work with a #11 blade enlarged this hole enough to insert a circuit board nibbler (Micro-Mark part no. 81477). Nibblers are excellent tools for making holes for doors and windows in plastic, and they make good square corners. I nibbled away the plastic, checking my progress with a window as I went.
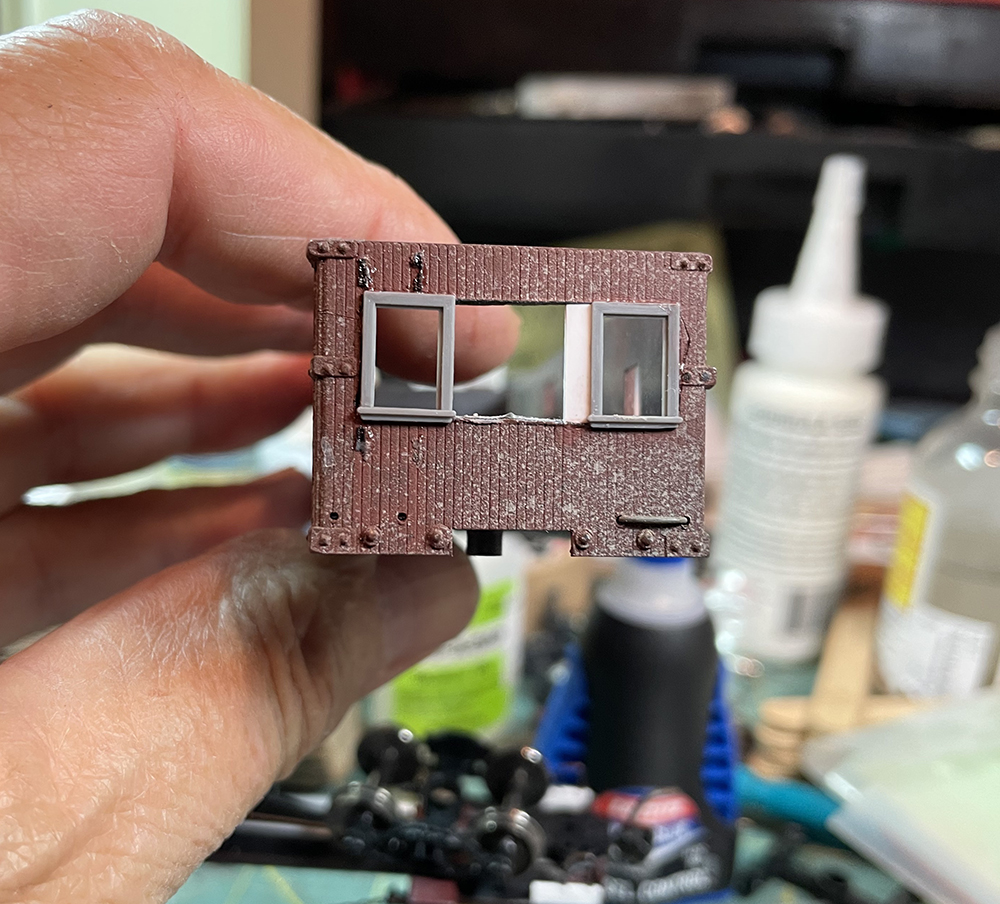
I used Flexi-File styrene glue to cement the Tichy windows in place. I spaced them apart with lengths of Evergreen Scale Models HO scale 4 x 12 styrene strip (no. 8212). I liberated the steps from a pair of Tichy work car doors (no. 8231) and glued them to the car body below the side doors in place of the missing steps.
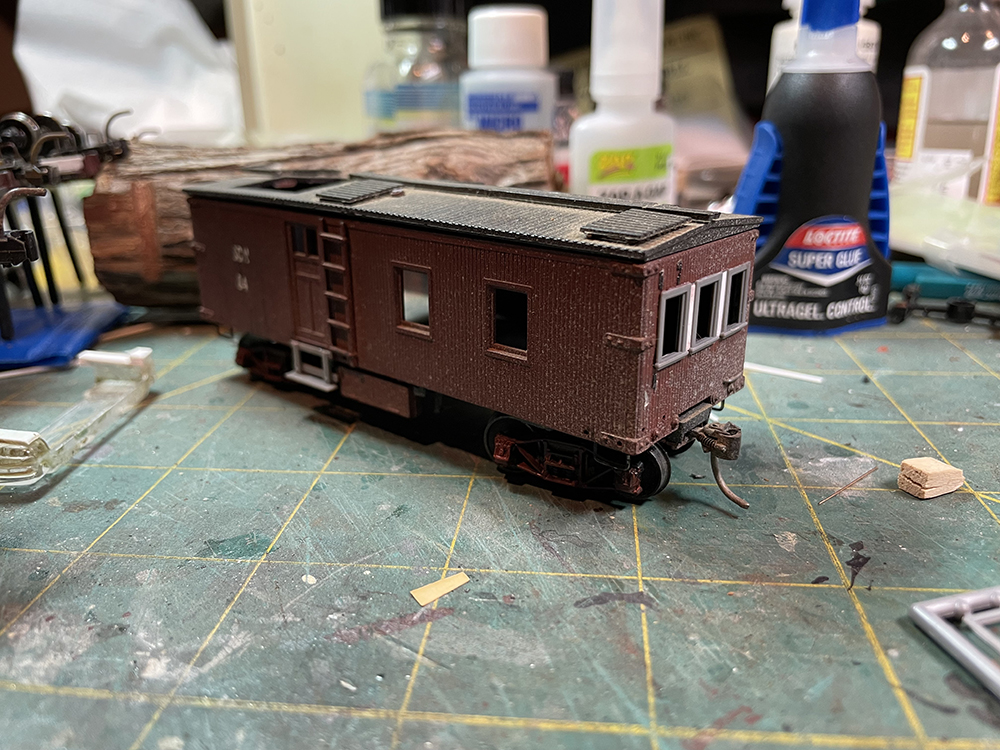
I reasoned the shop forces would put a small diesel engine powering a pump, compressor, and electric generator in the back half of the former caboose. It made sense (and was a quick and dirty solution) that they would install a metal roof above this new equipment space, which was the hole left by the missing cupola. I cut a rectangle of Evergreen corrugated siding (no. 4527) to fit and glued it in place. I added a length of Evergreen 3/32” tube (no. 223) as an exhaust stack.
I completed work on the roof by relocating the corner platforms to match the side ladders’ locations.
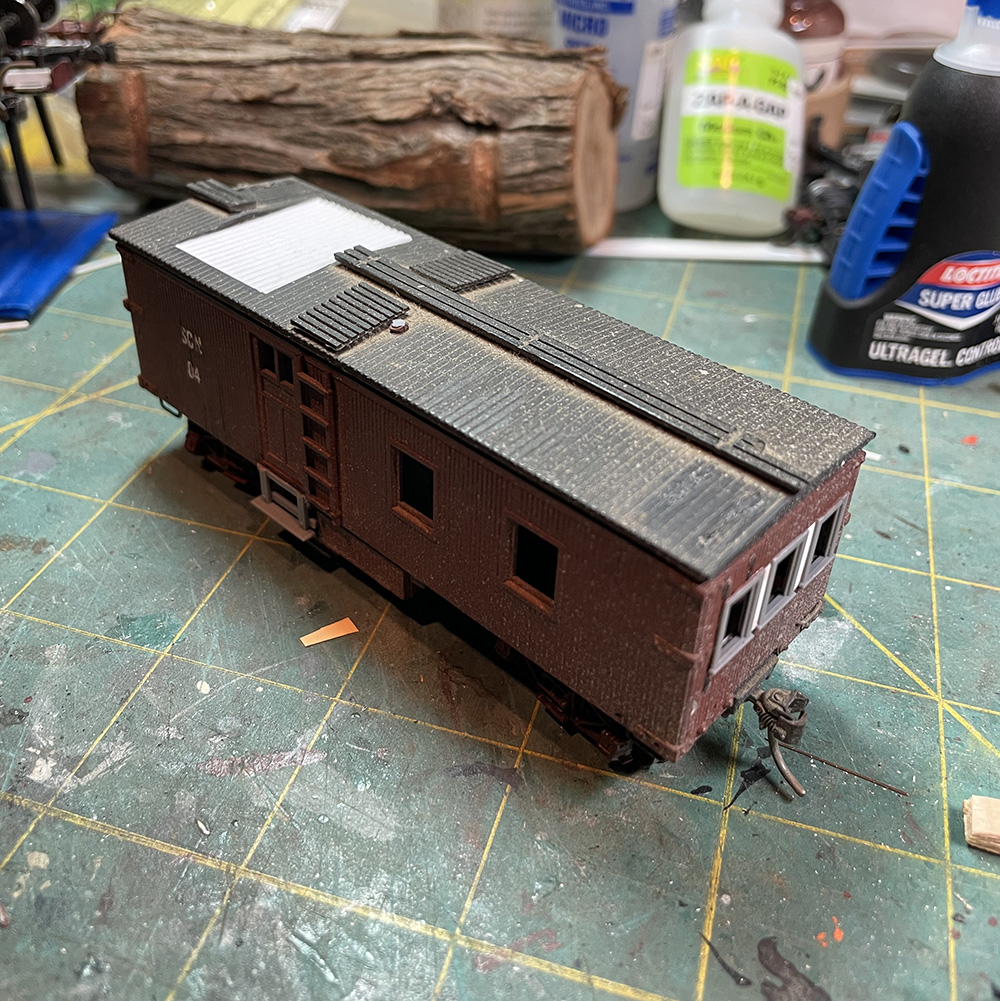
While the glue dried, I went looking for suitable piping and nozzles. I figured that plastic sprue of the “right” size would work. Looking through my detail parts, I found a set of freight car ladders attached to sprues that looked right. The sprues scaled out to 3” in diameter.
Clipping the ladders off with a sprue cutter left a pipe I could trim to span the width of the car. I made sure the nubs, representing nozzles, lined up in the right places. The second ladder sprue became the side booms. They are a little shorter than I would have liked, but such was the nature of this project.
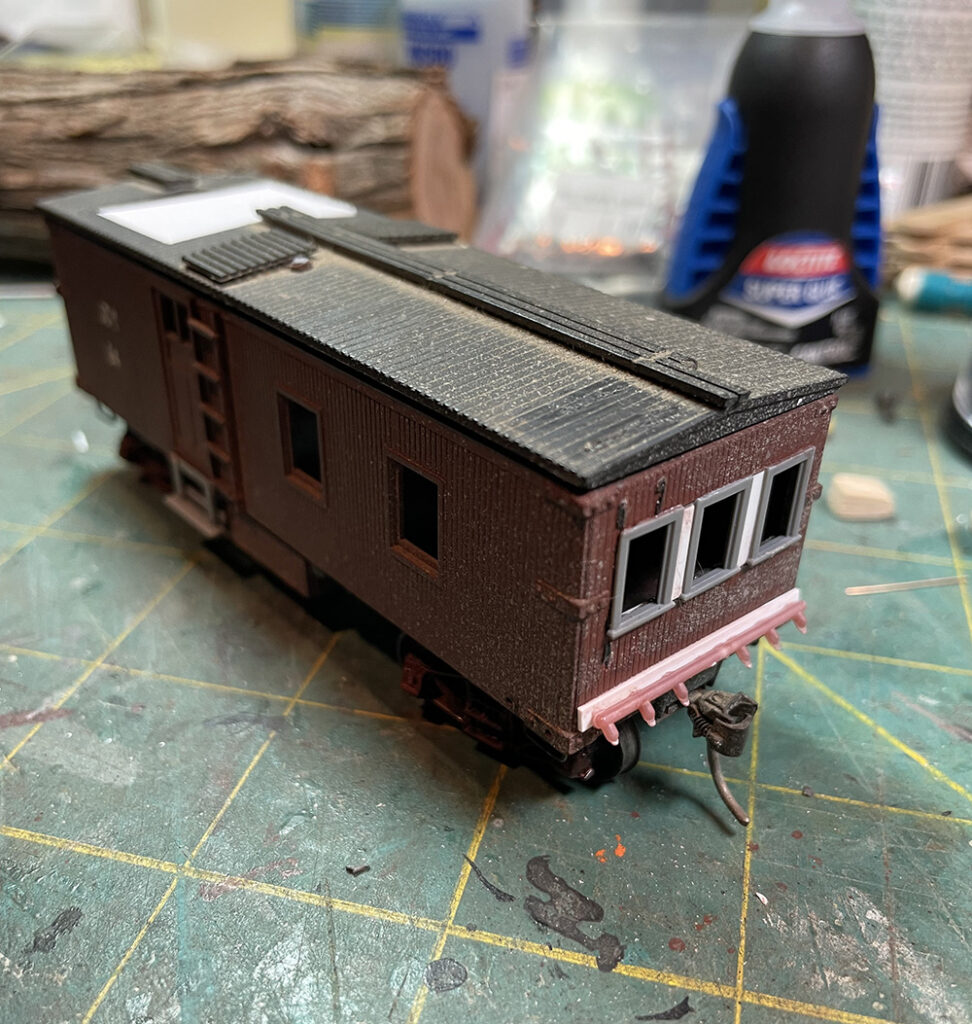
I resized Tichy 18” grab irons (no. 302) to replace ones that had gone missing. I added a Cal Scale power brake wheel assembly (no. 190-351) to the B end of the car in place of the missing vertical brake staff and wheel.
I painted the new windows, brake gear and grab irons with some boxcar red acrylic paint; the new roof panel and the sprayer piping got a coat of silver. I then painted the exhaust stack grimy black and, diluting some, used it to weather the new roof section and the window frames. The weed sprayer piping (and areas on Paul’s pair of Bachmann track-cleaning tank cars) received Citadel Miniatures fluorescent green wash which added an appropriate nasty chemical look to them.
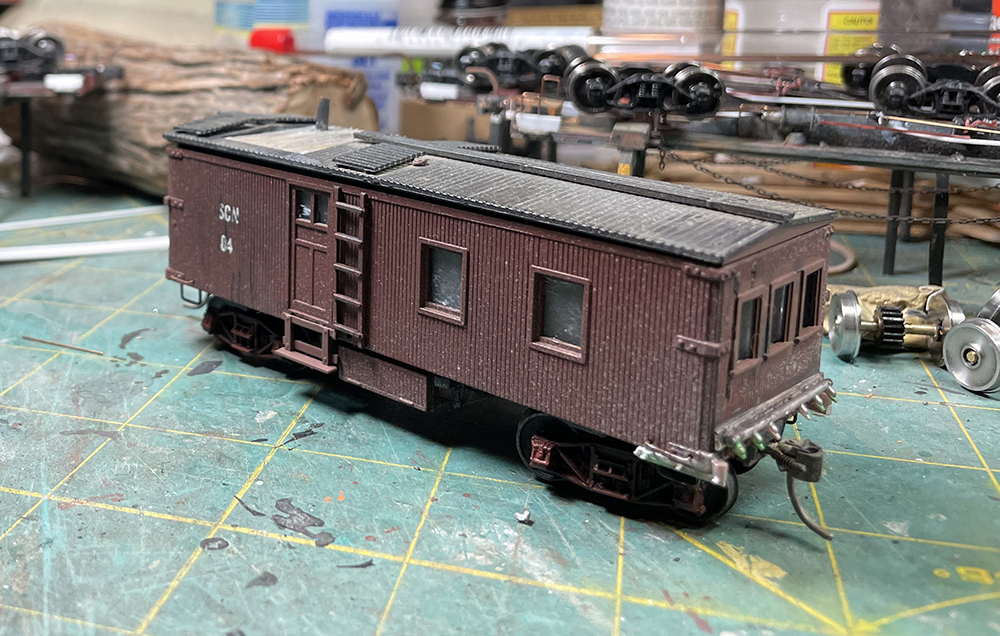
The weed sprayer and tank cars went into service in time for Paul’s op session, but the model clearly needed a few more details.
Back in the shops the following week I added a Detail Associates dual headlight (no. LT1009) with MV Products LS 19 lenses, A-Line windshield wipers (no. 29201) and three Tichy roof corner grab irons (no. 3028). I built up a brake platform from Evergreen Styrene 2 x 12 strip and added it below the power brake. Lastly, I applied some Archer resin decal louvers (no. 88038) onto a piece of .010” Evergreen Styrene measuring 2.5 x 3 scale feet. I edged the styrene with a 1 x 2 Evergreen styrene strip and glued the resulting vent to the rear of the right side of the car.
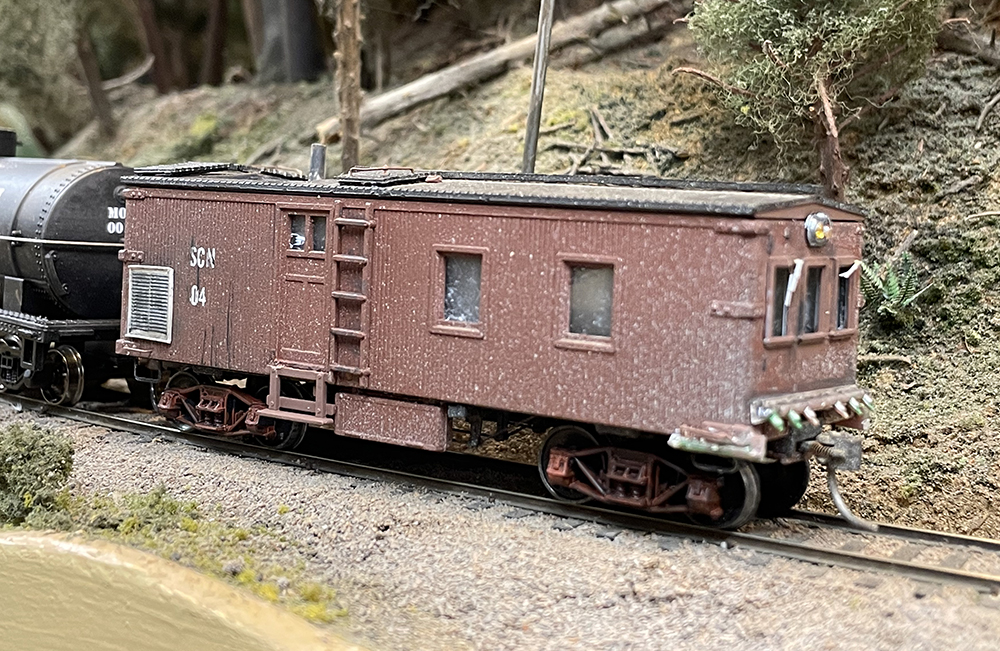
After painting the new parts, the weed sprayer is ready for more work. Paul and I plan to share the MOW weed spray train for operating sessions on his Central Vermont and my Santa Cruz Northern layouts.
This project was just plain fun. Now those Bachmann tank cars, they could use some tweaking, and I’ll talk about that in another article on Trains.com.




Great idea and well executed 👍👍👍
Fun project, Jim! Thanks for the reminder that you can make great models just by raiding the parts laying around the workshop!