


Once you’ve decided you’re going to build a model railroad, it won’t take you long to realize there are a few tools you’ll need to get the job done. Some of the more common hand tools may already be knocking around your workshop. However, unless you do a lot of woodworking projects, you likely don’t own some of the key power tools needed to build a model railroad, particularly during benchwork construction.
Knowing what you will need and whether you should buy it or rent it is the biggest part of the battle when it comes to tool selection. Following is a list of power tools arranged by order of importance when it comes to layout construction. I’ve also included some basic information about average cost for a homeowner-grade version of each tool, as well as an idea of its usefulness to help you navigate the decision between owning one or renting it. Places such as Home Depot, Ace Hardware, Lowes, and other home centers offer tool rental options. I used Home Depot’s website in March of 2025 as a reference for the average rental and purchase costs in this article. Check stores in your area for the latest product information.
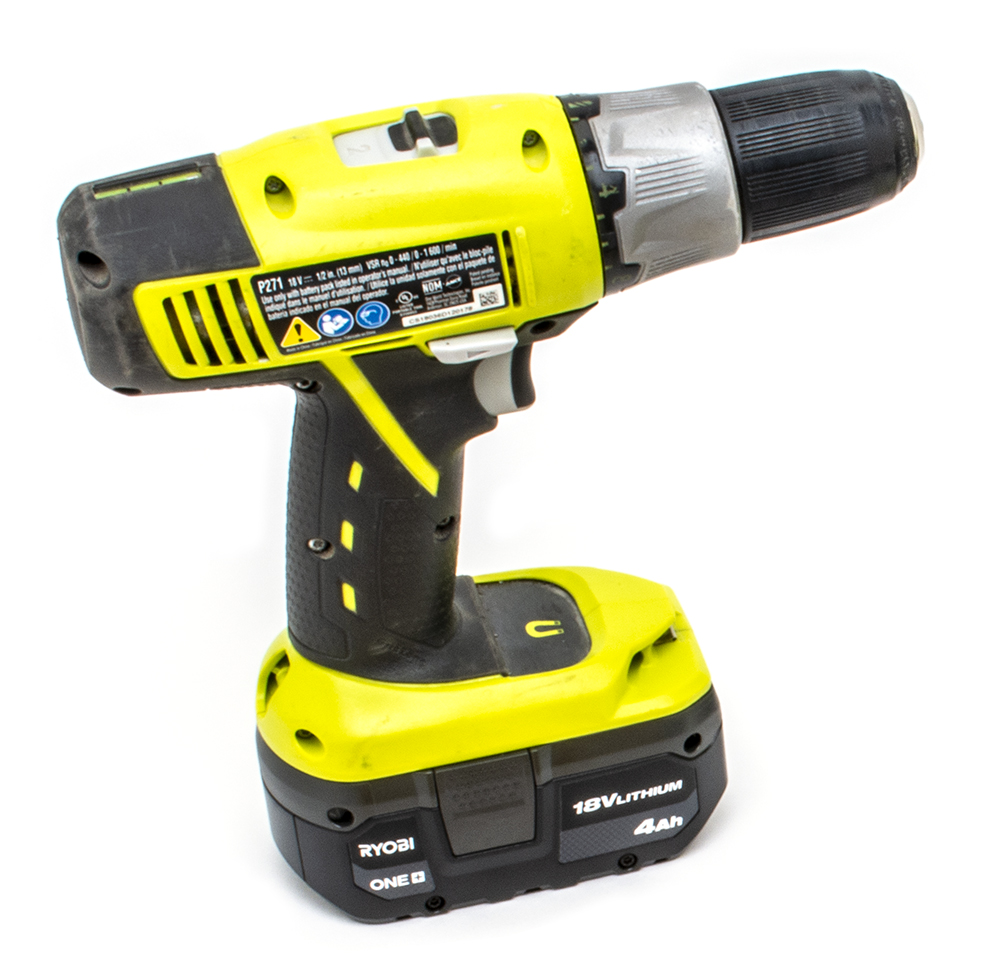
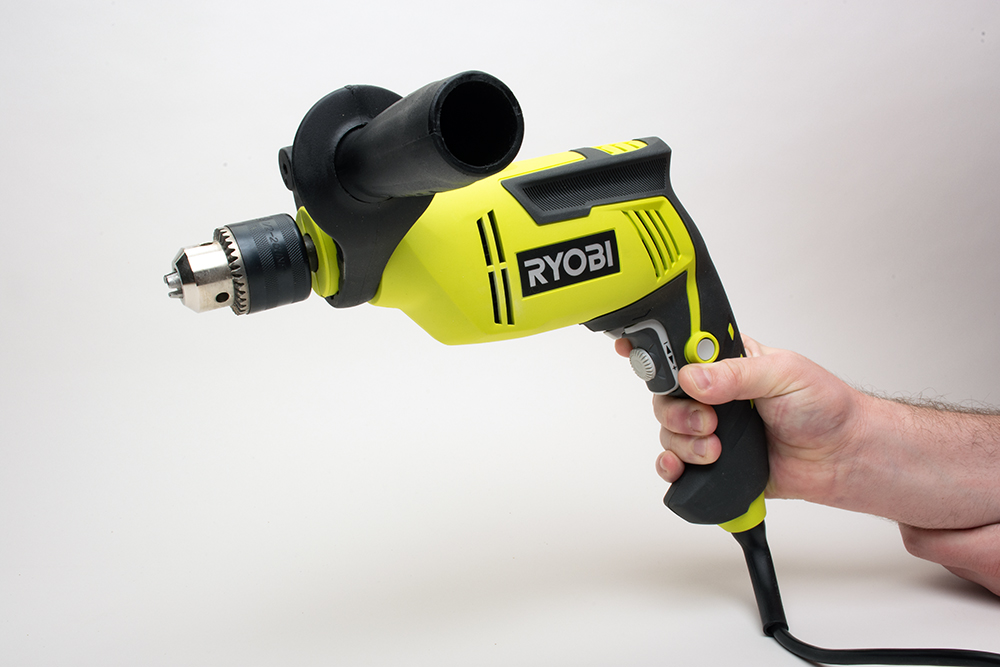
Power drill
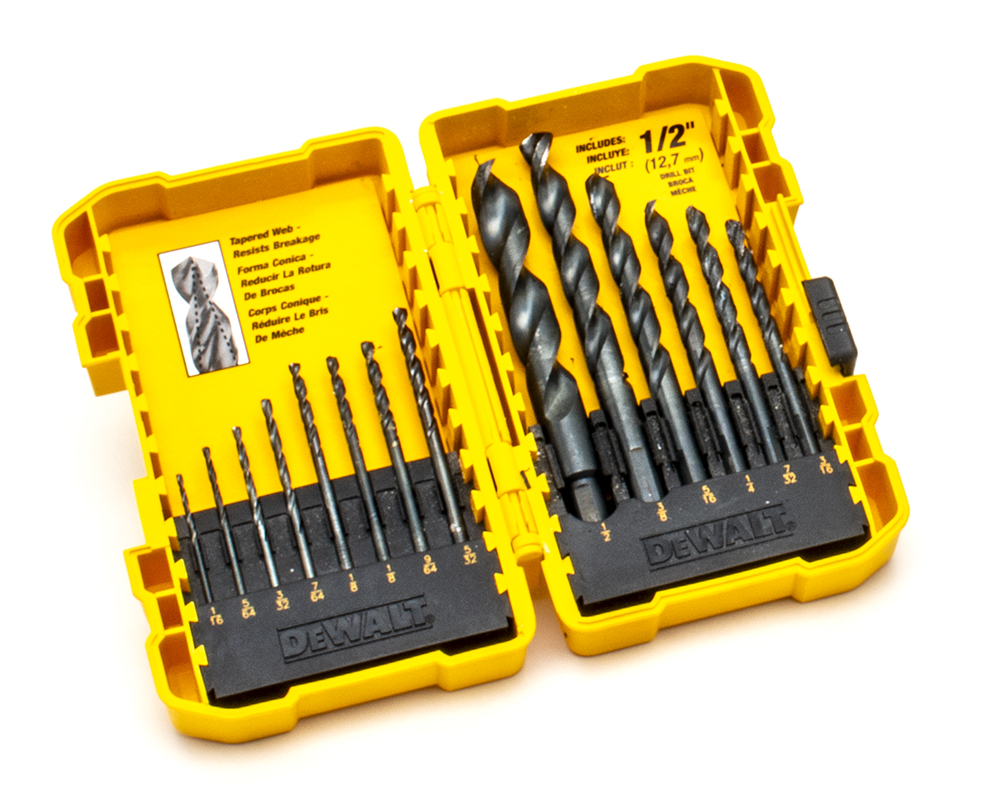
Best type: Cordless with a ½” hand-tightened chuck
Purchase cost: $60-120 (homeowner grade)
Rental cost: $25-30 per day
Layout Construction: Useful in all phases of layout construction, including benchwork, wiring, and scenery.
If you can buy just a couple of power tools for building a model railroad, an electric drill needs to be one of them. (The other is a jig saw, as shown below.) Drills come in a variety of sizes and motor power. The bigger the amp rating on a drill, the more torque it can handle without stalling. While corded drills usually provide the best torque and drilling power, the flexibility of a battery-powered drill (cordless) can’t be beat. Select a drill that has a ½” hand-tightened chuck. This will allow you to use a large variety of drill bits and be able to change them quickly. Also, don’t overlook the drill’s second equally important use – driving screws. With the addition of a magnetic socket and the appropriate driver bit, you can use a drill to install all manner of screws. Star- and Philips-head screws work the best, as they securely hold the bit in place while driving the screw, but there are a lot of other options besides. You will use your drill throughout the entire layout construction process, which is why I placed it as number one. Because of this, skip rental and go straight to purchase. If you buy a battery-powered drill, be sure to pick up a spare battery so you don’t have to wait for it to recharge. Many starter kits include the drill, charger, and two batteries.
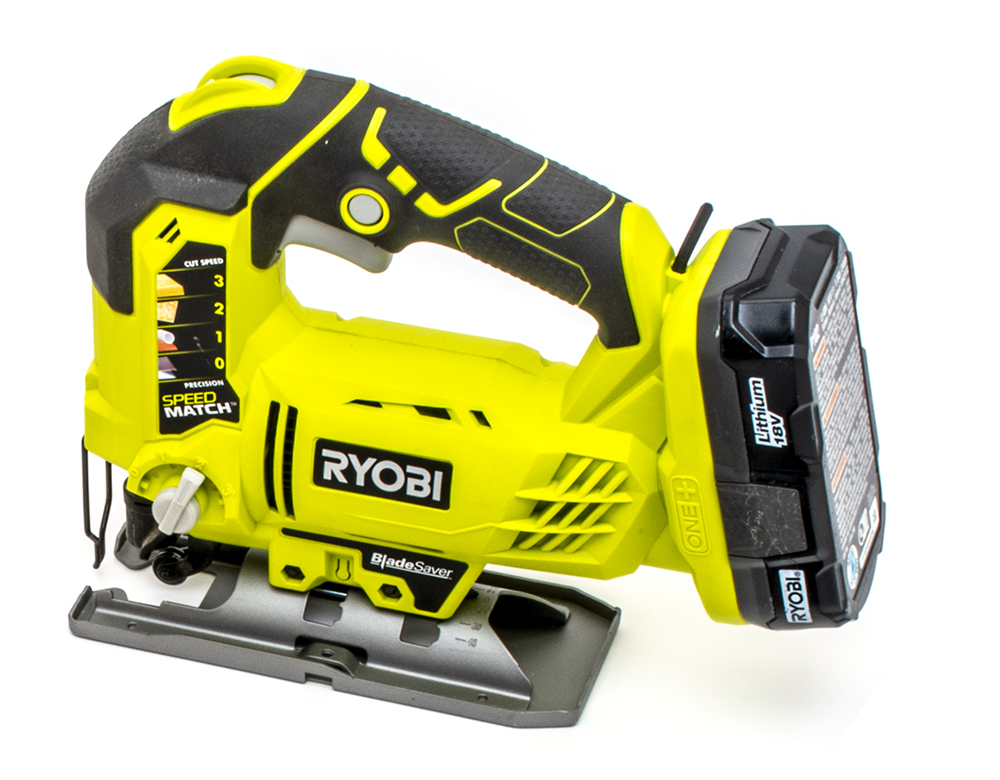
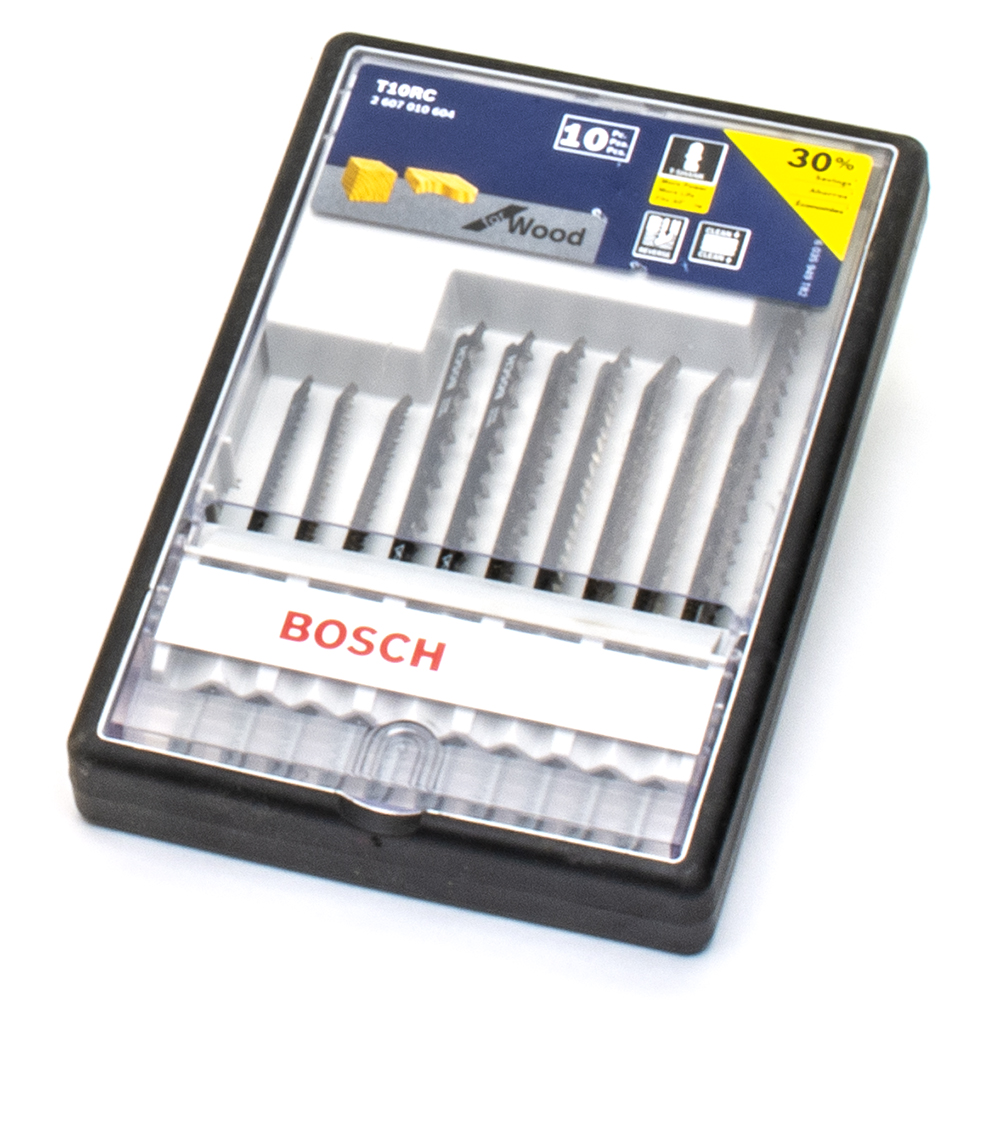
Jig saw
Best type: Any model with a variable-speed trigger
Purchase cost: $70-150 (homeowner grade)
Rental cost: $18-20 per day
Layout Construction: Used for cutting plywood and sheet goods. Can also be used to cut board stock and foamboard.
The jig saw can be used for most benchwork projects. The saw not only cuts plywood, but it can also be used to cut board stock for framing. By adding a narrow blade, a jig saw can make smooth contoured cuts, which is ideal for modelers using open-grid, cookie-cutter, and L-girder construction techniques. Because of its slow cutting speed and tendency to wander without using a guide, The jig saw is not great at ripping long sheets of plywood or tempered hardboard, but it will still get the job done. Battery-powered jig saws are just as useful as their corded counterparts, but tend to be more expensive, so if you’re looking to save a little money, the corded version is definitely an option. If at all possible, be sure to get one with a variable-speed trigger, which will make more precise starting cuts in the material. And always keep a supply of blades on hand. The thin, exposed blades fatigue over time and can snap easily.
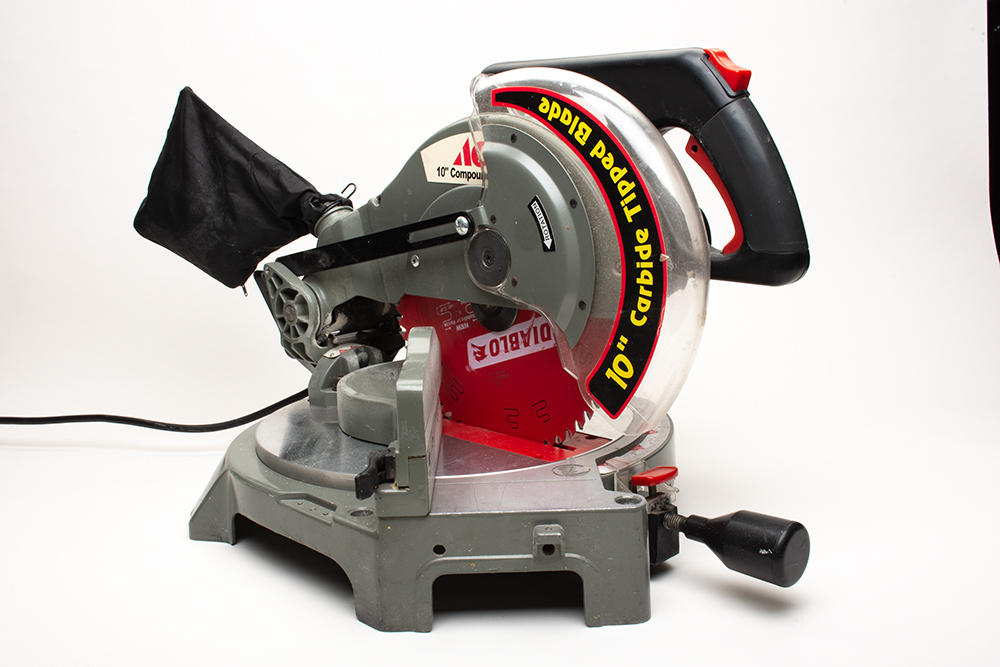
Miter saw (chop saw)
Best type: Corded standard miter saw
Purchase cost: $180-300 (homeowner grade)
Rental cost: $40-60 per day
Layout Construction: Most useful for cutting board stock while building legs, frames, braces, L-girders, and risers.
The miter saw, also sometimes referred to as a chop saw, is great for making quick straight cuts in board stock. It’s the second most useful power saw in layout construction, and it’s a good tool to consider purchasing if you’re planning on building a model railroad that has extensive benchwork. However, if you think you can make all of your cuts in one or two days, it may be worth renting the saw, particularly if you don’t think you’ll ever need it again. Most miter saws can cut an angle of up to 50 degrees or greater, providing many options for making layout components, particularly when cutting angled braces. The bigger the blade diameter, the deeper the cut and the wider the board the saw can handle. A 10” blade is a common size for this tool. Unless you are a contractor, there is no need to pay the extra money for a battery version. I’ve had my corded Mikita miter saw for more than 35 years, and I’ve used it to build many other things besides layouts. In addition to the standard miter saw, there are also compound miter and sliding compound miter saws. While these tools will allow you to make even more specialized types of cuts, they’re also more expensive and not necessary for building a model railroad.
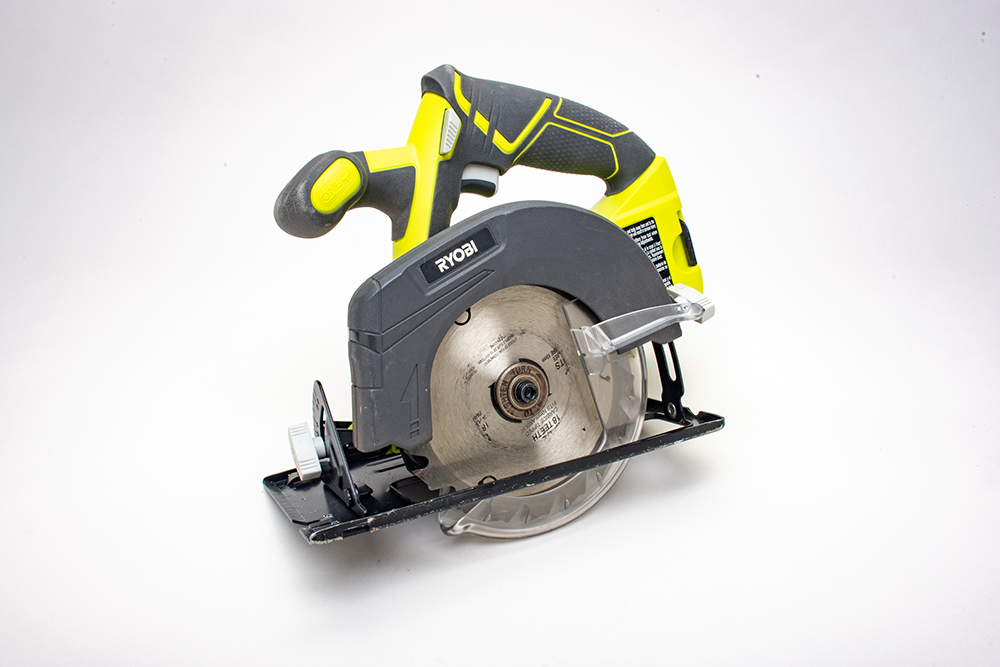
Circular saw
Best type: Either battery or corded
Purchase cost: $60-130 (homeowner grade)
Rental cost: $20-25 per day
Layout Construction: Can be used for making straight cuts in sheet goods and board stock.
The circular saw, while not as useful when building a layout as either the jig saw or miter saw, has its place. It is still the best tool for making straight, clean cuts in plywood and tempered hardboard, both of which are important when it comes to building items such as subroadbed, backdrops, and fascia. As with drills, the bigger the motor’s amperage, the better the saw will cut. Circular saws are another of those tools that it doesn’t really pay to rent – even battery versions are affordable. For years I’ve used a corded 7-1/4” 12-amp circular saw to build a variety of railroads, decks, houses, and other things. I’ve only recently switched to battery power because I received a free 5-1/2” circular saw when I bought another battery tool. Although I first regarded it as a toy, I eventually tried the saw: I was so impressed with it, It’s now my go-to circular saw. Perhaps its best attribute is that I don’t have to worry about where the cord is while I’m cutting. All too often I’ve seen homeowners and contractors alike cut right through a circular saw’s power cord because it had slipped under the work and into the path of the blade, which equals sparks and a trip to the store for a new cord.
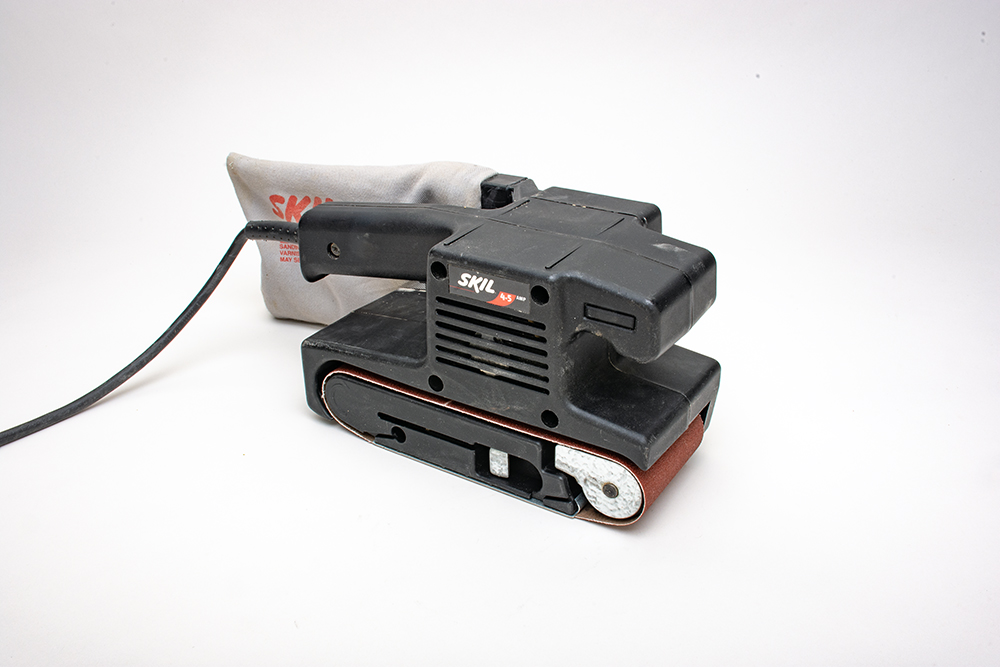
Belt sander
Best type: Corded with 3” x 21” belts
Purchase cost: $50-120 (homeowner grade)
Rental cost: $30-40 per day
Layout Construction: Useful for finetuning benchwork, plywood subroadbed, and cork roadbed.
The belt sander is one of those tools that you don’t really need for layout construction, but if you own one, you suddenly find a lot of uses for it. With a starting price of $50, it makes little sense to rent one. When I purchased mine several years ago, the standard belt size was 3” x 18”. However, that has changed recently to 3” x 21”, so look for those models as the smaller belts are getting harder to find. I use my belt sander to adjust the fit between framing sections and to smooth plywood edges to receive fascia or other flush-fitting material. The sander is also great for evening out the joints between pieces of plywood subroadbed. And a belt sander is the best tool I know of for grinding down cork roadbed where you need the track to transition from one height to the next. An example of this would be where the track leaves the elevated main line laid on cork to come down to ground level at an industrial spur. Belt sanders make a lot of dust, so only use one in a layout room that doesn’t have any finished scenery or models in it or you’ll be sorry. Some do have vacuum adaptors, allowing you to remove the dust bag and connect your shop vacuum to it. If you do this, you can contain 80% of the dust or more.
Hammer drill
Best type: Corded
Purchase cost: $80-200 (homeowner grade)
Rental cost: $40-45 per day
Layout Construction: Specialized work for layout construction that requires being anchored to concrete floors or walls.
This is another specialty power tool that you don’t really need except for specific circumstances. Hammer drills are designed for drilling into concrete using special tips called masonry bits. The average model railroader won’t ever need one of these tools unless they plan to anchor their layout to a concrete floor or wall. But if that’s you, then this drill is a must. In addition to rotating like an ordinary drill, the hammer drill also features a vibrating action that allows the bit to break up the small stones found in concrete, sort of like a jack hammer. If you’ve ever tried drilling concrete with a standard drill and a masonry bit, you’ll be amazed at how much faster a hammer drill will accomplish the same work. While you can get battery-powered hammer drills, I recommend going with a corded model, particularly if you have a lot of holes to drill. Corded versions cost less, and drilling concrete is punishing work for the tool, which means they will go through batteries quickly. Also, it’s always best to have one or more spare masonry bits on hand – they fatigue and eventually break.
Conclusion
Collecting tools is part of the fun of model railroading, whether it be something small, like a specialized hobby knife, or bigger, such as a belt sander. There are plenty of other power tools you can use for model railroad construction too, including planers, reciprocating demolition saws, routers, screw guns, palm sanders, drill presses, table saws, and more. While I own many of them, I use them from time to time simply because I have them as part of my woodworking shop. None of them are essential to building a layout, nor are they anywhere near as useful as the tools already mentioned above. (Although, I think a sliding compound miter saw is in my future, as those were not available when I bought my Mikita 35+ years ago.)
As a final thought, if you are considering purchasing battery-powered tools, select a brand and battery voltage, then stick with it by buying other tools from the same product line. It will allow you to use the same batteries for all of your tools, making it much easier for you to keep fresh batteries ready at all times. And if a tool should get damaged beyond repair, such as the drill I dropped off the roof of our gazebo onto the concrete patio last summer, at least you can use its battery for another tool.
That was a rare circumstance for me, however. Most of my power tools have served me well for many years and built many model railroads along the way. If you treat your tools as an investment and take good care of them, they will likely provide you with a lifetime of enjoyment.
Where to rent tools in the US
While there are likely many tool-rental places in your area, here’s a few places to start. All are national chains, and their various stores have rental options. When in doubt, simply Google “tool rental near me.”
The Home Depot: www.homedepot.com
Ace Hardware: www.acehardware.com
Lowes: www.lowes.com
True-Value: www.truevalue.com
And our own regional Midwestern lumberyard Menards: www.menards.com


Sorry to say, I wouldn’t get a Ryobi and wouldn’t use it even if ya paid me. There are much better ones out there. Personal preference.
Hi Mike. I realize my photos for the story are Ryobi heavy. That’s what I can afford, so that’s what I own. Considering that I’m not a full-time building contractor, but a hobbyist and homeowner, I’ve never had a problem with the tools. Regardless of which you purchase, the important thing is that the batteries work among all of them. So when you pick a brand, stick with that brand if you can. – David