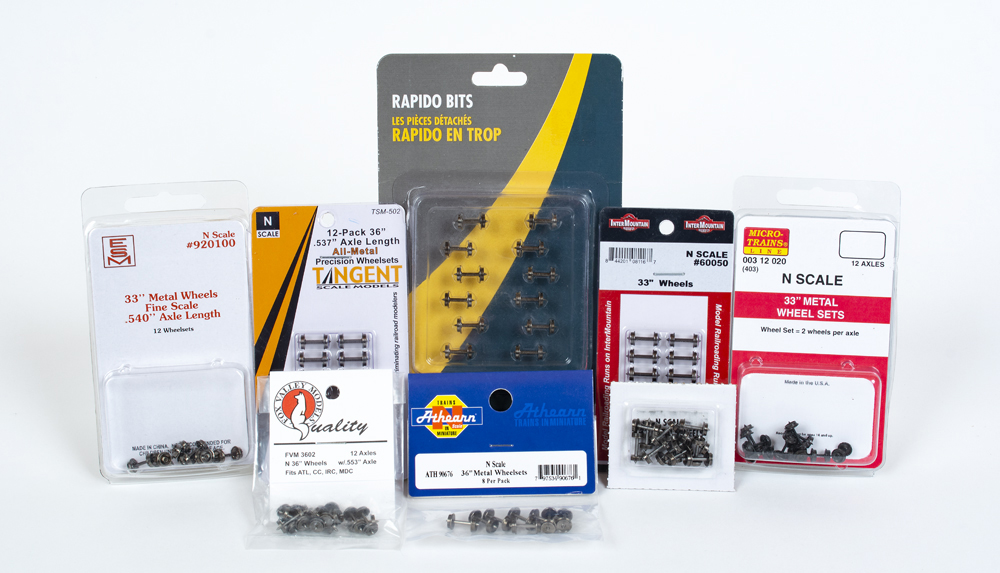
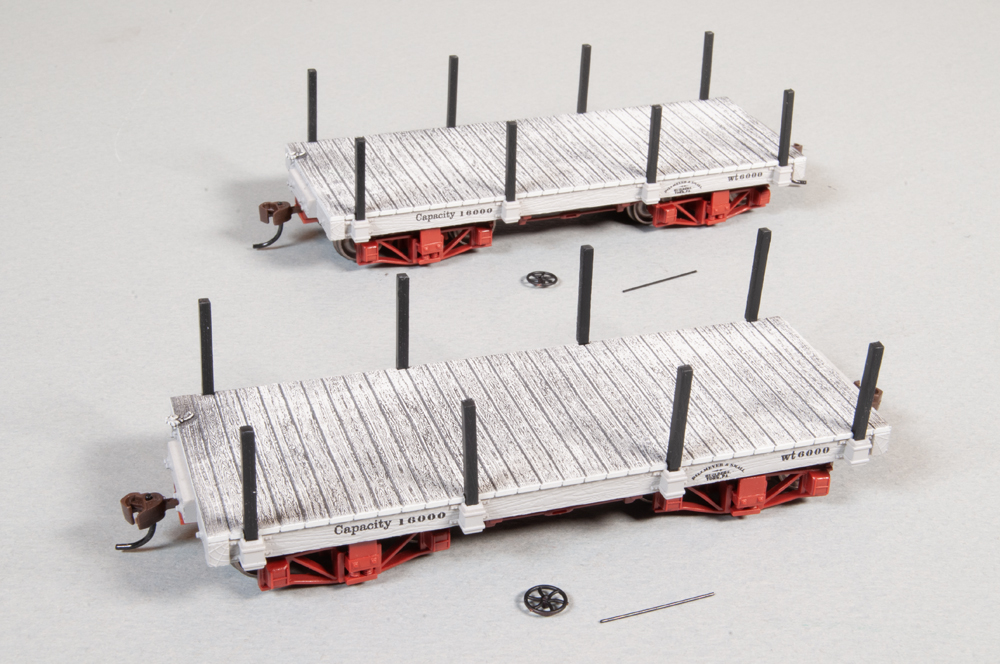
Our On30 Sandy River & Rangeley Lakes Railroad is a bit smaller than its prototype counterpart, running only from Kingfield to Strong, quite a few miles less than the 120 + miles covered by its full-scale counterpart. With this in mind, after seeing some Bachmann On30 18-foot boxcars on the internet, I decided that having a few of them on our railroad would take up less space than Bachmann’s 25-foot versions, thus allowing us more cars to move and spot during operating sessions. After phasing out four of the longer cars I painted and detailed six 18-foot Bachmann boxcars to replace them (two MOW versions are covered in the February ‘24 issue of Model Railroader – Ed.). The Railroad’s Superintendent (yours truly) eventually decided a couple 18-foot Bachmann flatcars could also be put to good use. A visit to eBay enabled management to purchase a box of two said flatcars (1). Once they arrived on railroad property, the shop crew went to work.
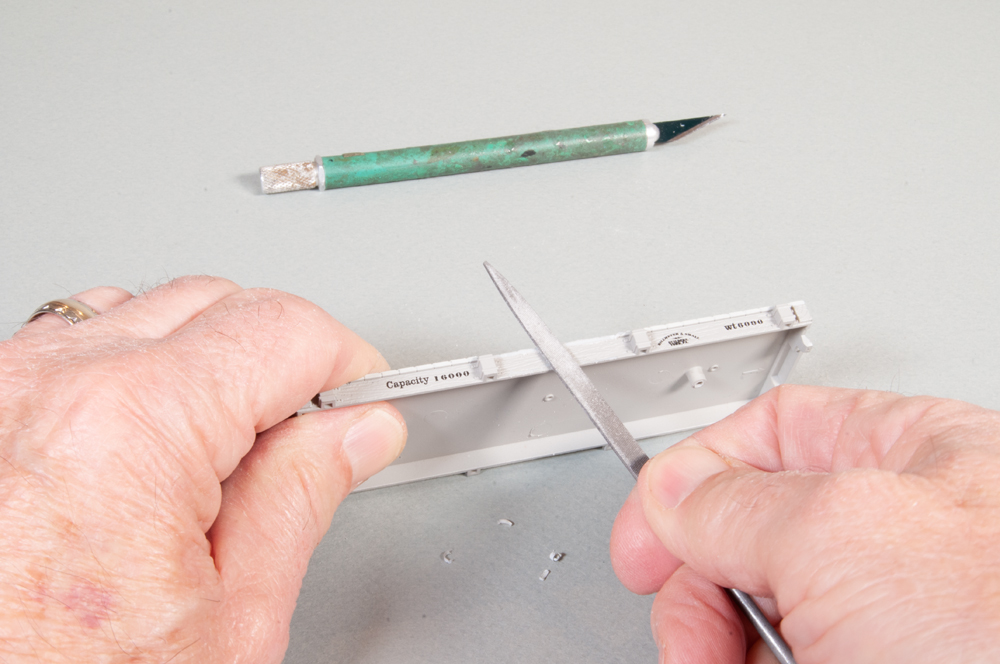
I decided to cover the plastic decking with Midwest Products .0208” by .125” by 11” basswood (No. 8006). Before applying the Basswood planks, I distressed their surface by drawing a razor saw across them (2) then staining them with 2 tablespoons of India Ink dissolved in a pint of 70% denatured alcohol (3).
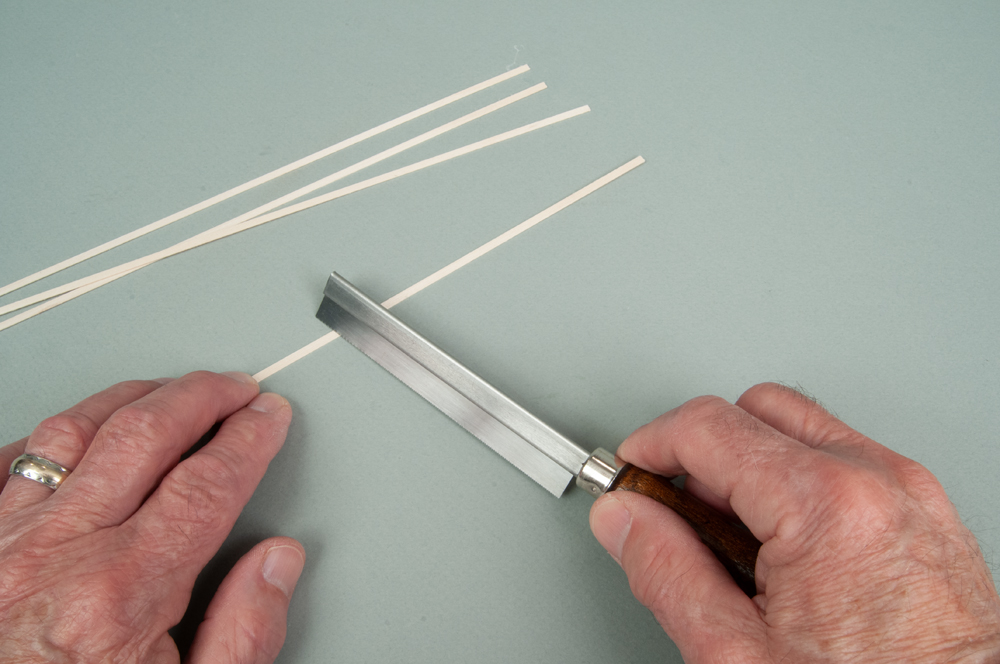
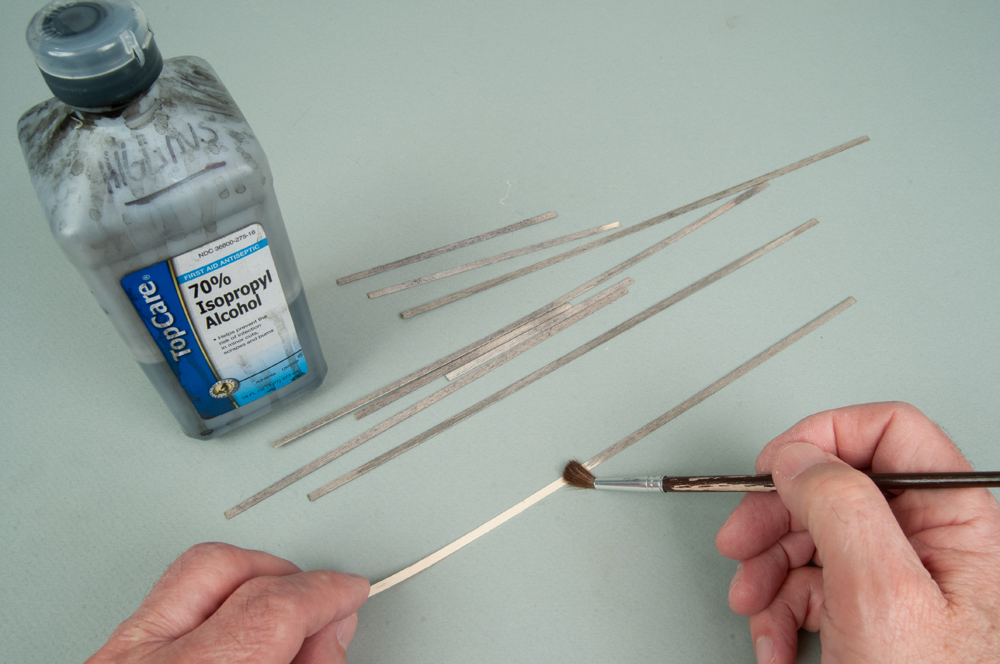
This gives the wood a grey weathered look. (I distress and stain both sides of the stripwood. This keeps the strips from warping as much as they would if only one side was distressed and stained.)
To eliminate seeing the end of the plastic deck planks under the wood planks on top of them, I removed the overhanging edges of the plastic planks and filed them flush with the car sides using a No. 11 hobby knife (4) and a flat needle file (5).

I also sanded down the top of the plastic decking, until there was just a hint of the voids between planks, by sliding the body of the car over No. 60 grit sandpaper (6).

This also removes the bottom of the cast on the brake wheel assembly. Since I now needed a new brake wheel base, I removed two brake wheel assemblies from a couple 25-foot Bachmann flatcars I had lying around. Unlike the “cast-on” lower brake mechanism on the 18-foot cars, the castings on the 25-foot-long flats are entirely separate.
After drilling two holes in each end of both cars with a No. 75 bit and adding coupler lift bars using 24″ wire and Taurus Products small eye bolts (kit No. 111), I turned to the challenge of adding weight to the cars. When dealing with a closed car it is quite easy to add auto wheel weights to the inside of the body as I did on the box cars. Adding weight is a bit more challenging when it comes to flat cars, especially those with light loads or no loads at all. Since I wanted the cars to be close to 4 ounces and out of the box the flats are around 2 ounces, I added two 1/4” x 5/8” x .078″ flat washers to the underbody at each truck mounting point (7).
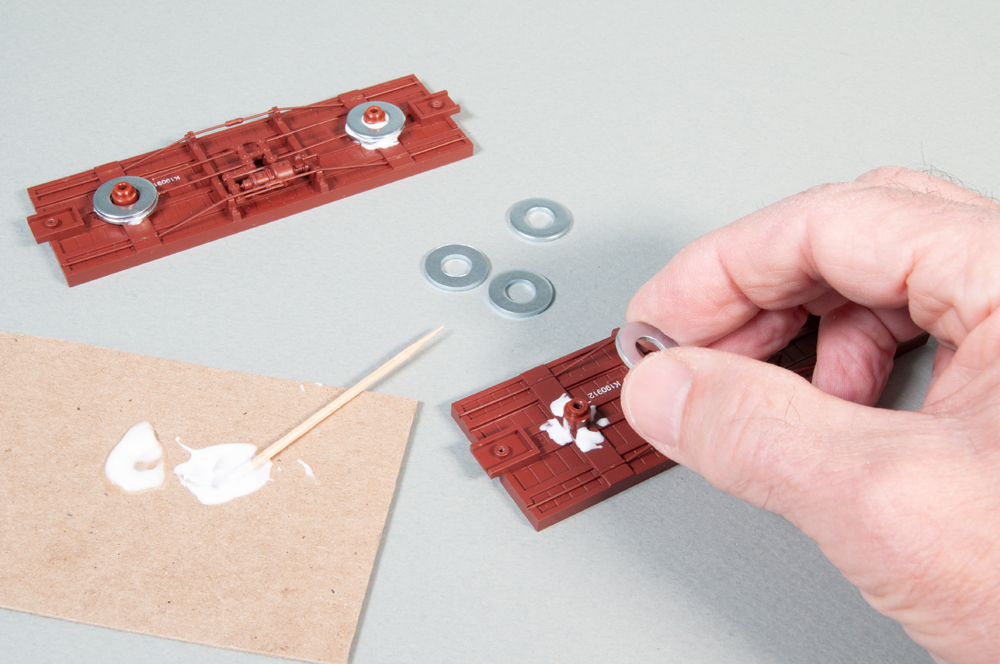
Although I didn’t reach my 4-ounce goal, the washers did manage to increase the car’s weight by about another 1/2 ounce.
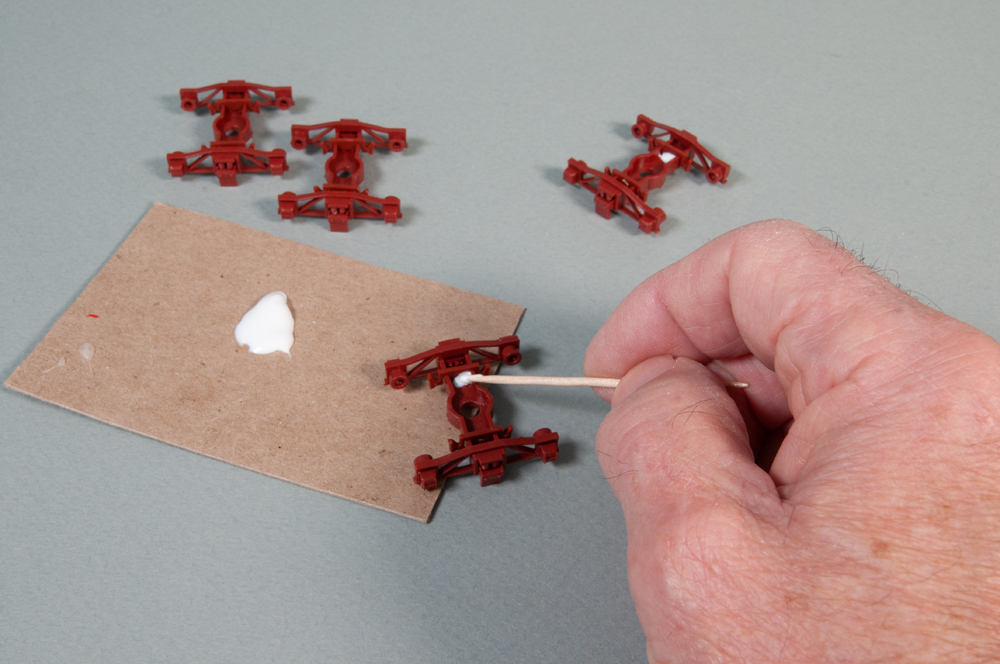
After applying a dab of Weldbond glue to the brake assemblies and truck frames on the opposite side (8), I trimmed away the mounting tabs for the brake assemblies on the top of the truck frames to clear the washers attached to the underframe of the car (9).

With the cars dismantled, I washed everything in warm soapy water (10).
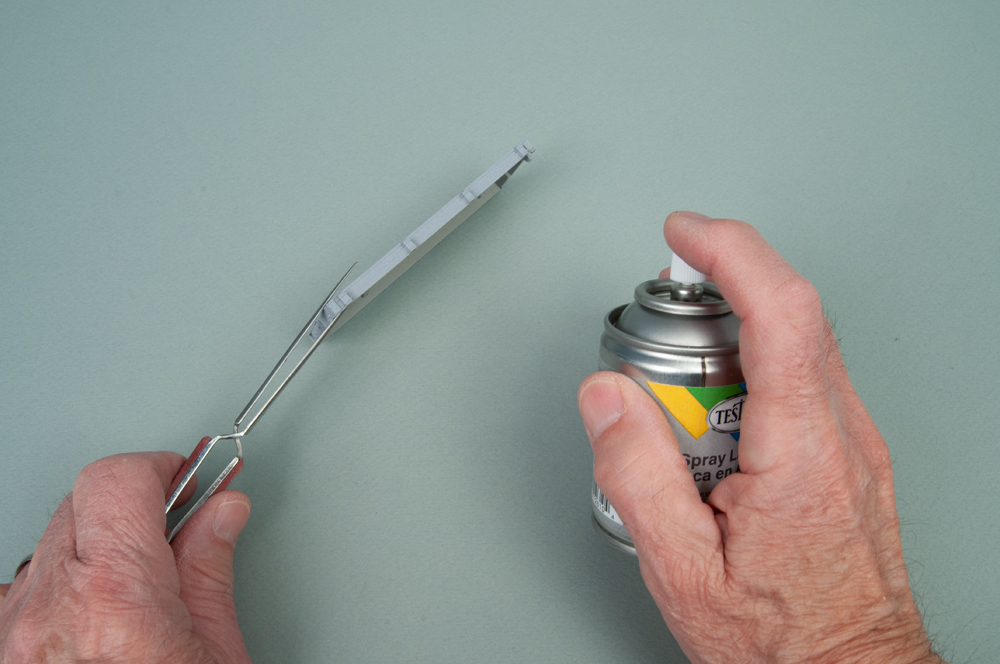
Once dry, I painted the bodies and underframes with aerosol grey primer (11).
I sprayed the car body sides with Glosscote prior to applying decals (12).
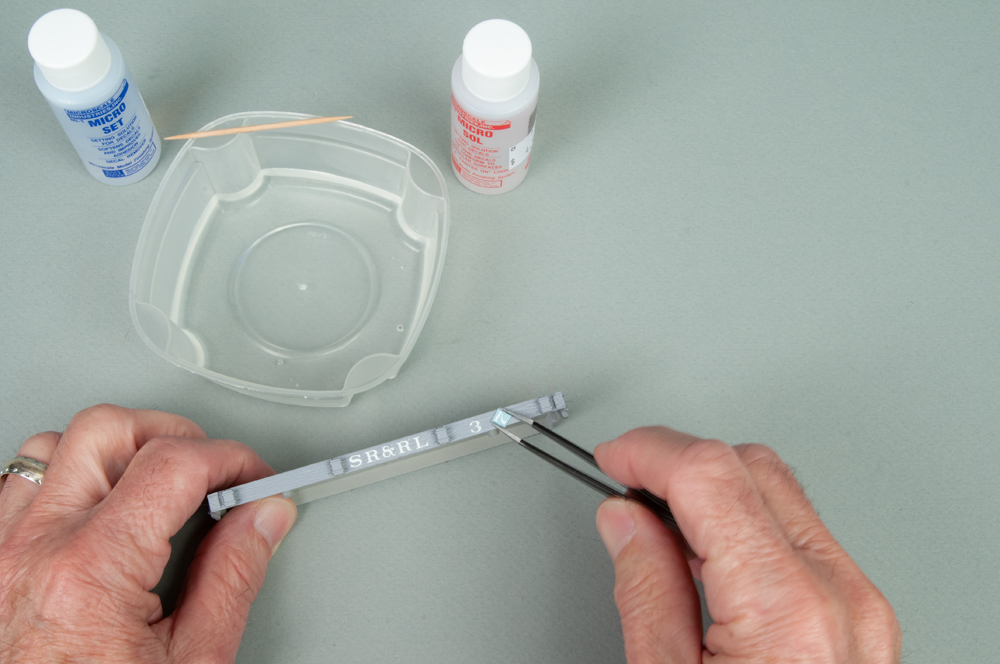
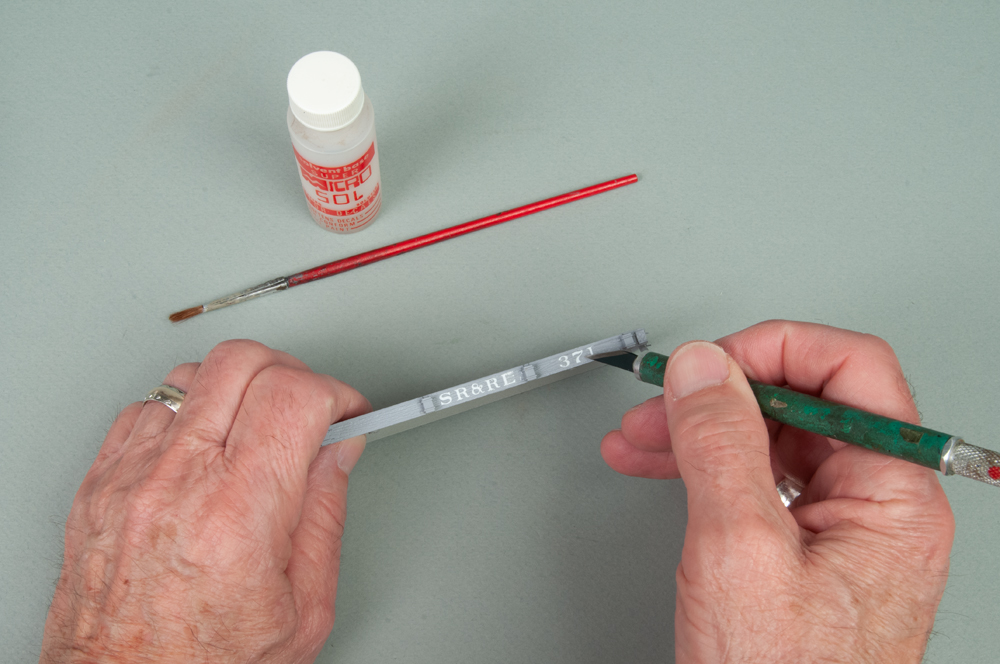
After allowing the Glosscote to dry overnight, I moistened the surface of the car with Microscale Industries Micro Set and, after dipping the decals individually into a cup of tap water for a moment, applied them to the car side using small tweezers (13).
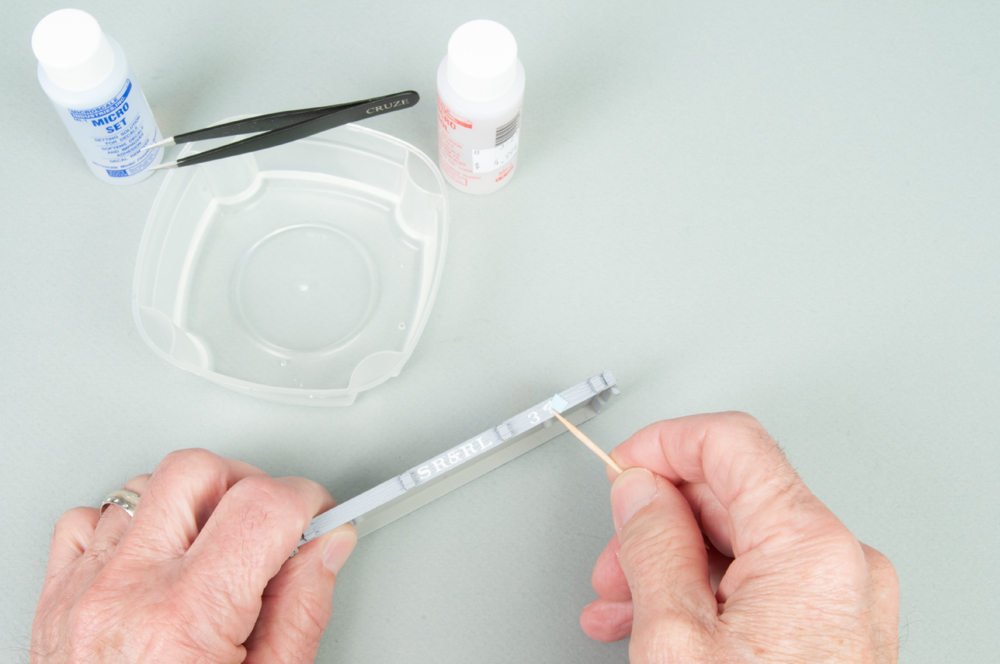
I then moved the decals into position with a round toothpick (14).
Once in place, I repeatedly wet them with Micro Sol. This dissolves the decal film from around the letters. As the Micro Sol dried, I pricked any air bubbles with a new No. 11 hobby blade (15) followed by more Micro Sol.
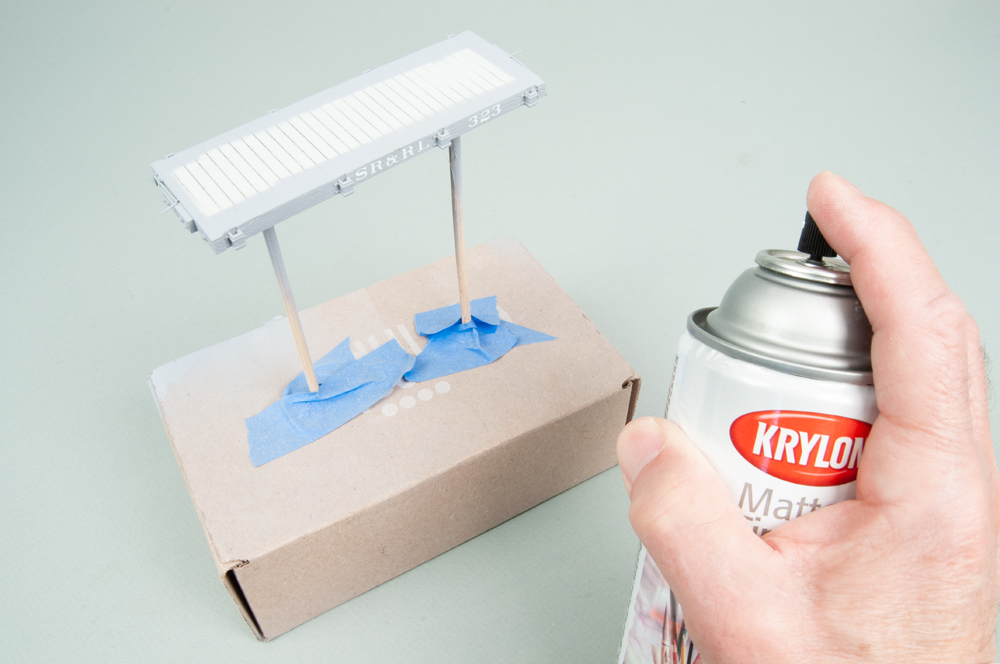
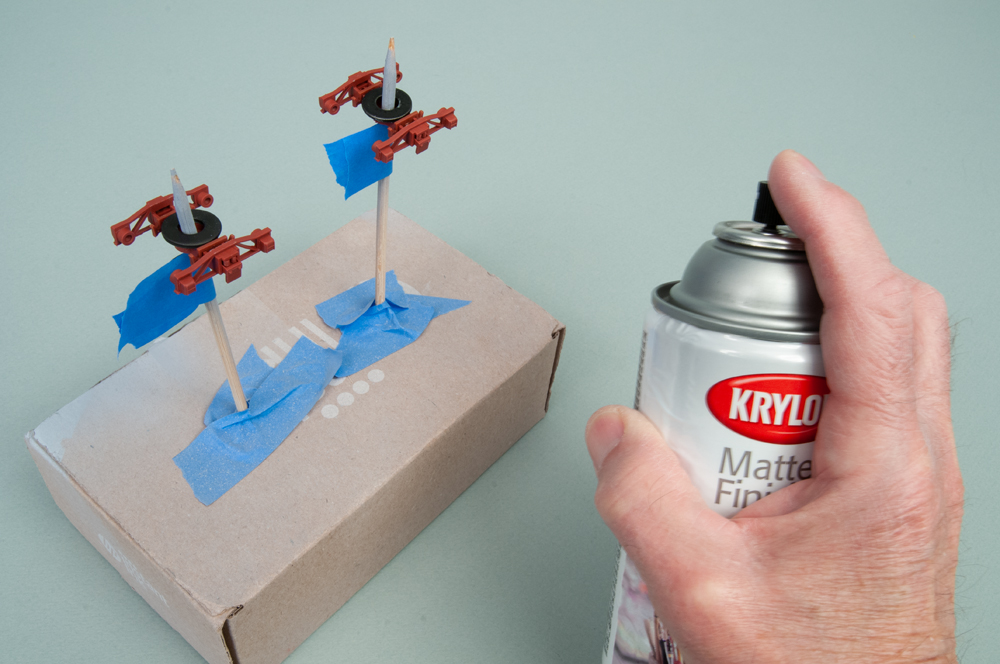
When I was satisfied that the decals had adhered to the surface and there were no air bubbles or voids to contend with, I sprayed the car with Krylon Matte Finish No. 1311 (16).
I have been using a new technique for weathering the railroad’s freight equipment that I picked up on YouTube. After applying a wash of India ink/alcohol to the underframe (17) l gave the car body a brushed-on wash of Model Master Engine Black thinned with tap water.
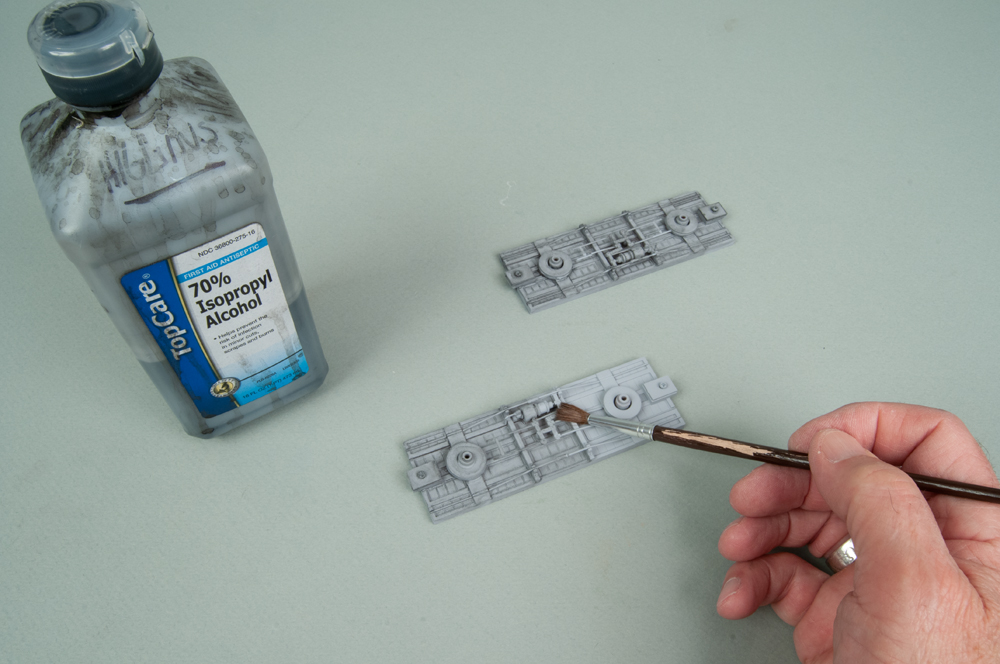
The wash ends up being about 1 part paint to 2 parts water. It’s not an exact mixture. I simply dip a soft bristle brush in full strength paint, then dip it into the water before finally applying it in downward strokes to the surface of the car (18).
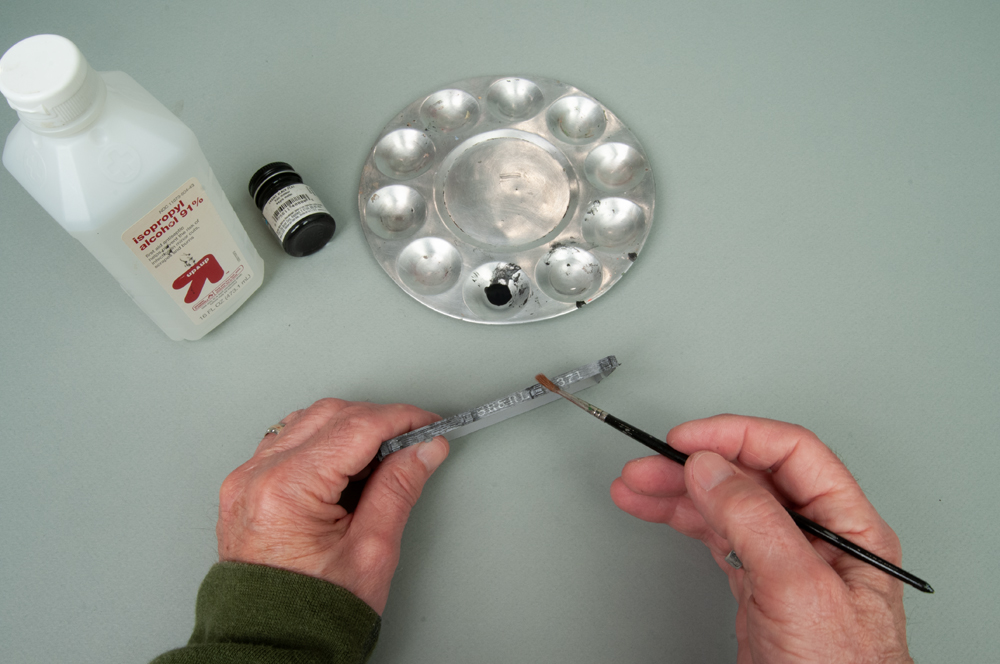
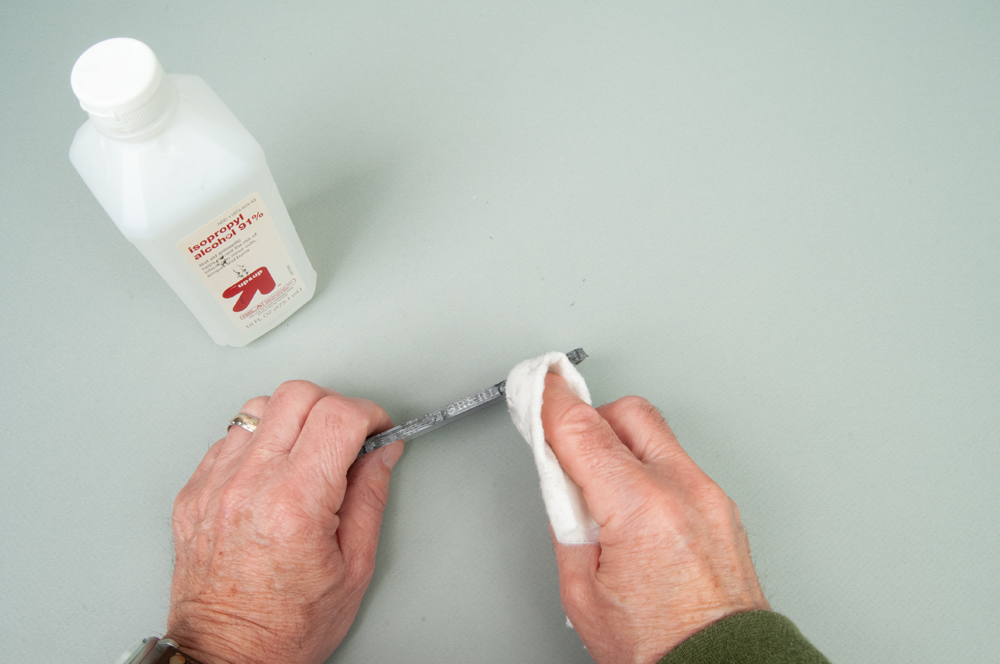
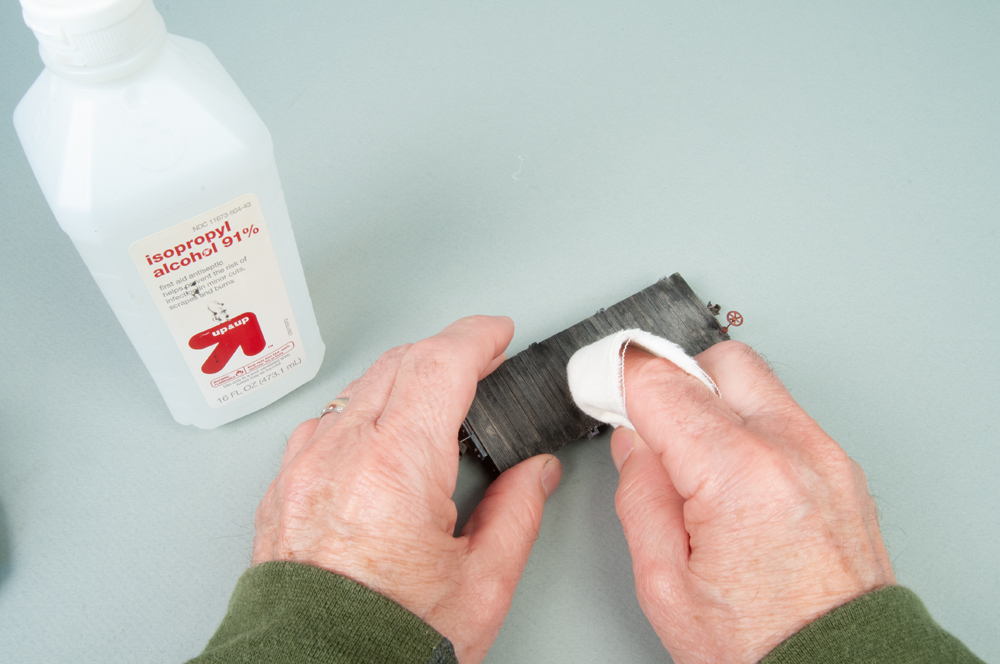
If it’s too dark I dip the brush just in water and brush over the previously applied mix. If it’s too light I do the opposite, dipping the brush in full strength paint and brushing it on. Once the mix dries, I remove the majority of it by wiping it off, again in a vertical or downward motion, with a flannel cloth dipped in 91% rubbing alcohol (19).
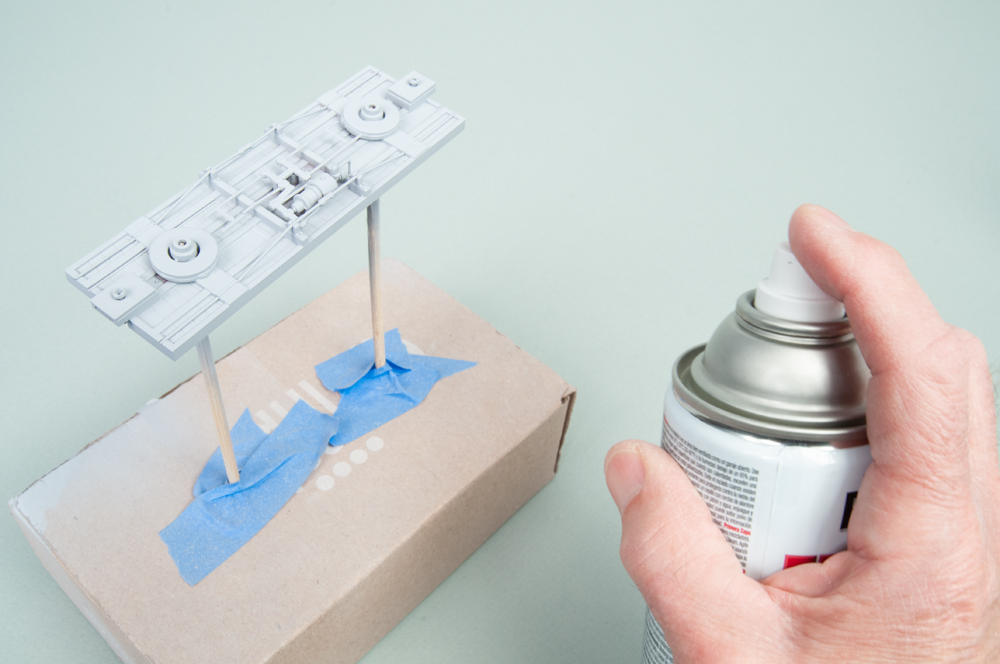
After painting two washers for the trucks flat black, I glued them to the underside of the truck frames. Then, with the wheel sets removed, the bolster/sideframe assemblies were sprayed with Krylon Matte Finish No. 1311 (20).
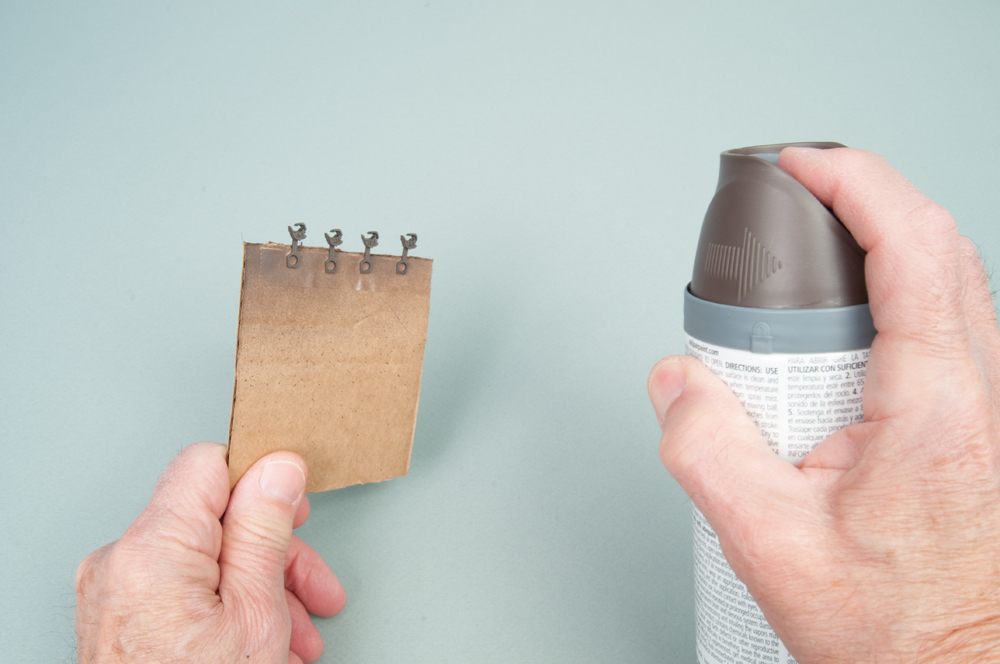
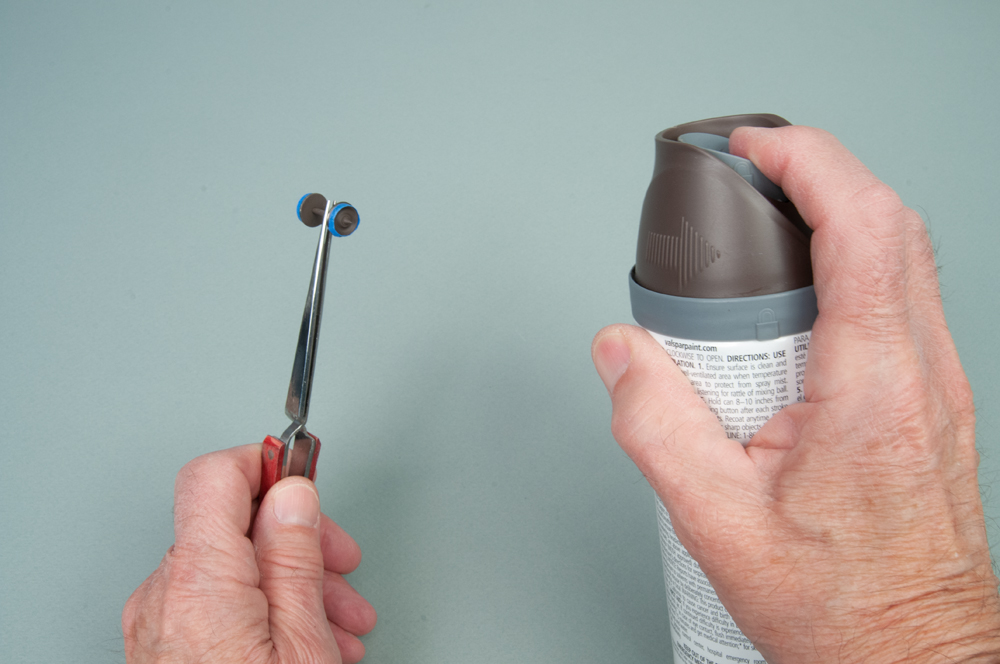
The Bachmann plastic couplers were replaced with Kadee No. 27s that had their glad hands nipped off, as I don’t use magnetic uncouplers. After a wash in warm soapy water, they were spray painted with Valspar Flat Labrador Brown (No. 85406), (21) as were the wheelsets once the tire treads were masked with blue painter’s tape (22).
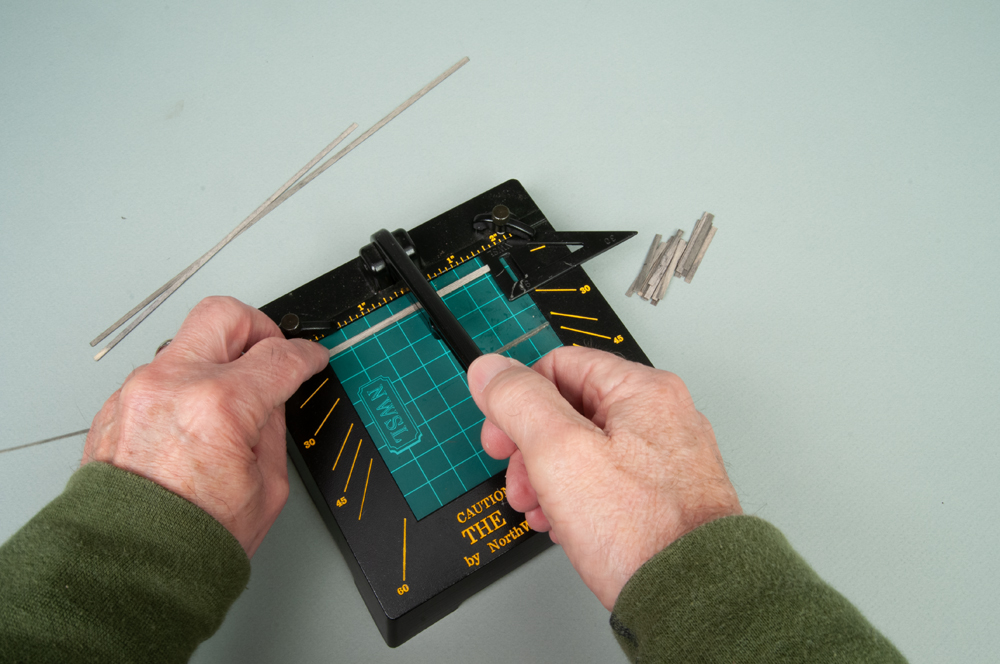
With the car body, underframe, and wheel assemblies painted, it was time to re-assemble the car, add the wood decking, and finish the weathering. After cutting the decking to length on a NorthWest Short Line Chopper (23), I applied the decking board by board, gluing each in place with WeldBond (24).
Using the remaining brake assembly details on the side of one end of the car as a reference, I drilled a No. 72 hole in the cast on mount at the end of the decking and attached the brake assembly.
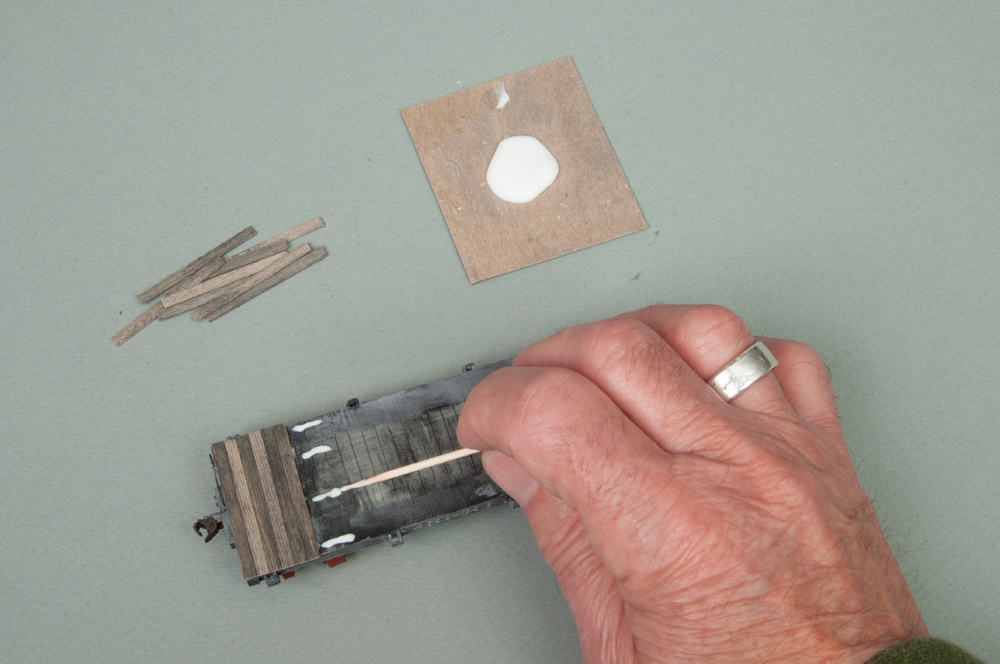
I wanted the decking to have a weathered, well-worn look, so I scraped black pigment sticks into powders with a grater. I placed some pigments along with a few drops of rubbing alcohol into two separate indentations in an artist palette. After dipping a semi-stiff bristle brush into the alcohol and removing a bit of it on a soft towel, I dipped the brush into the pigments. This results in a semi-dry-brush application which is quite controllable. Once dry, I wiped the surface of the deck with a soft flannel cloth dipped in alcohol (25).
As with the decking, I weathered the truck sideframes with the artists dry pigments, although this time I added red to the mix. I dry brushed the two colors onto the sideframes (26) until satisfied.

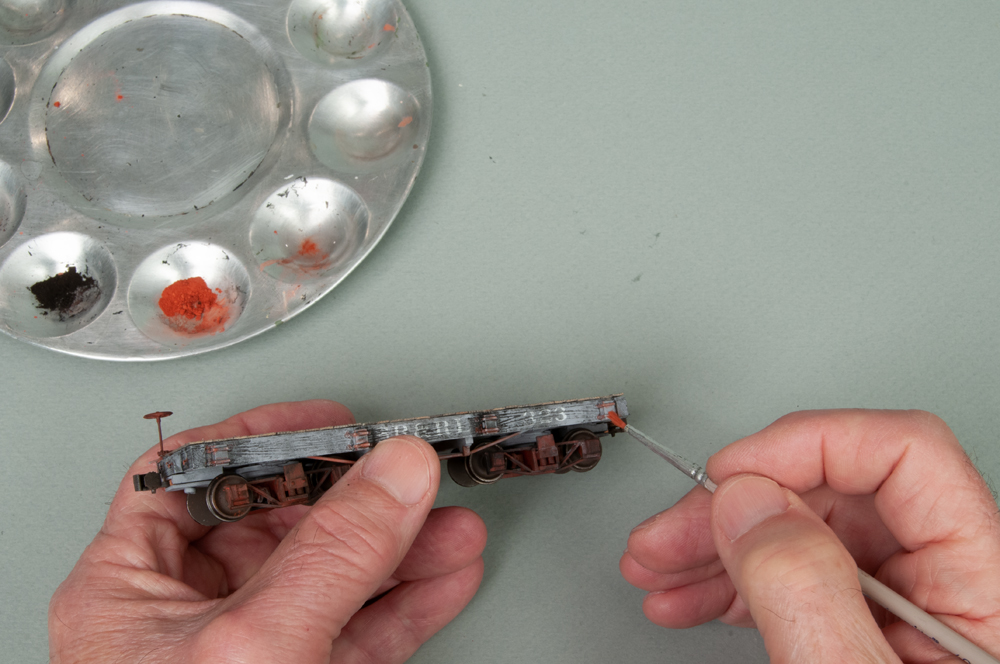
I also added rust to the metal parts of the car using the same technique, dipping a small brush into rubbing alcohol, then the red rust colored pigments, and carefully applying them to the metal parts (27).
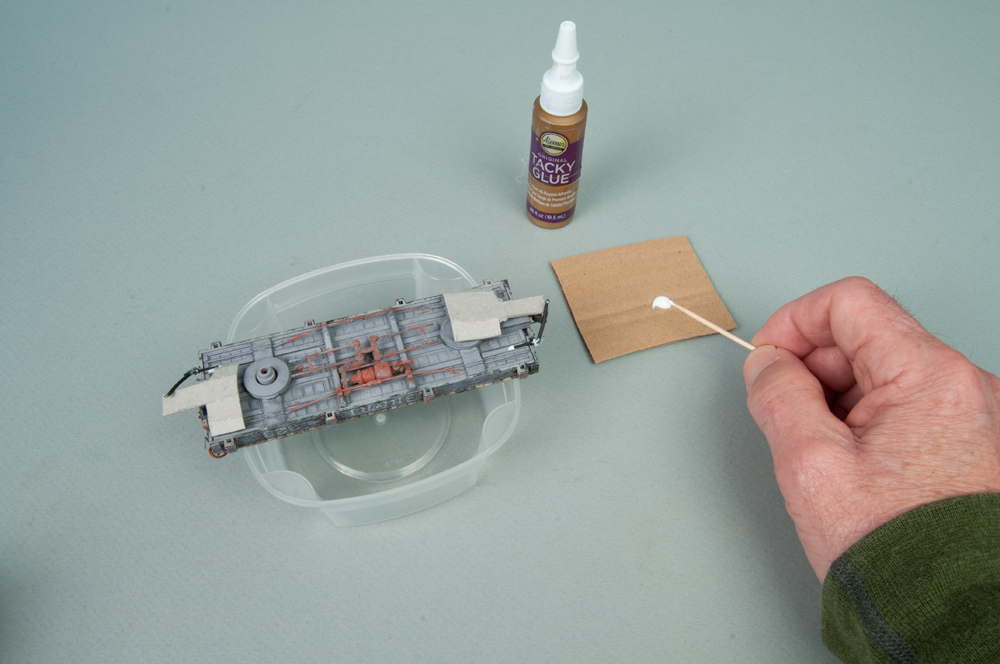
The final step was to add Hi-Tech Details No. 22 O scale air hoses (No. 7501) and attach them at a 60-degree angle to each end of the car. I use cardboard jigs that hold the hoses in position while I attach them. I then applied Aleen’s tacky glue to the underframe and pressed the hoses in place (28).
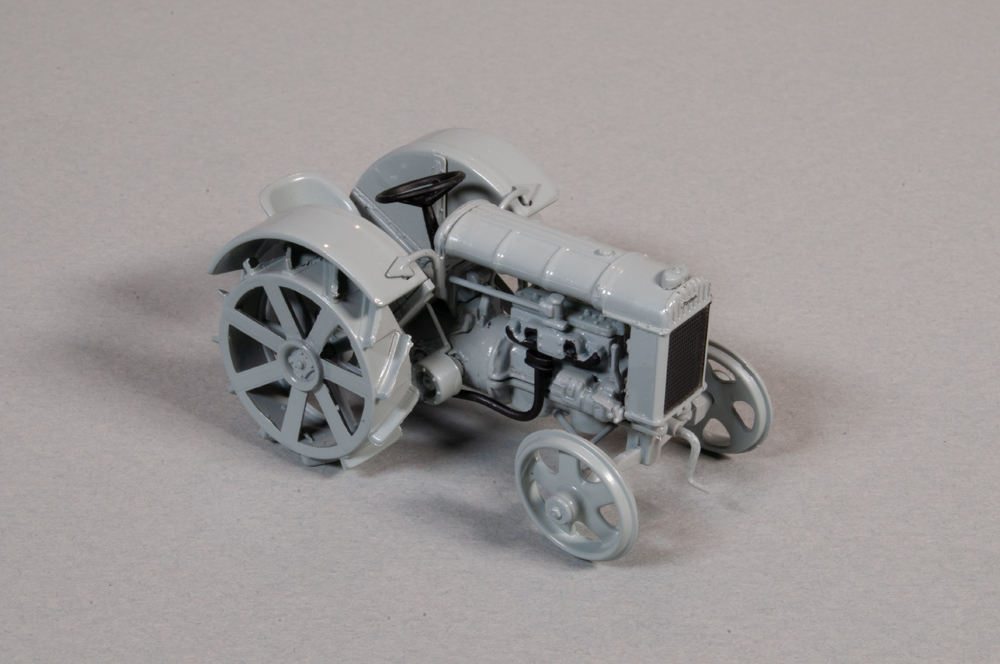
With the cars done, it was time to tackle the load one was to carry. In this case, I decided on a 1928 Ford (Fordson) tractor I purchased from Narrow Gauge Model Company (item No. NGM-V508) that I found in my parts box (29).
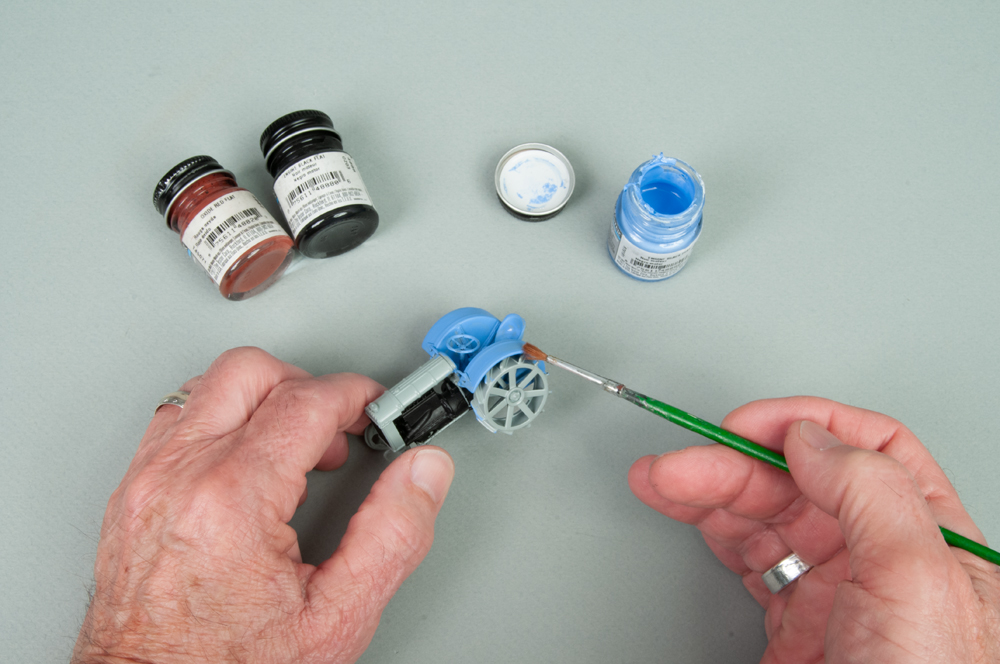
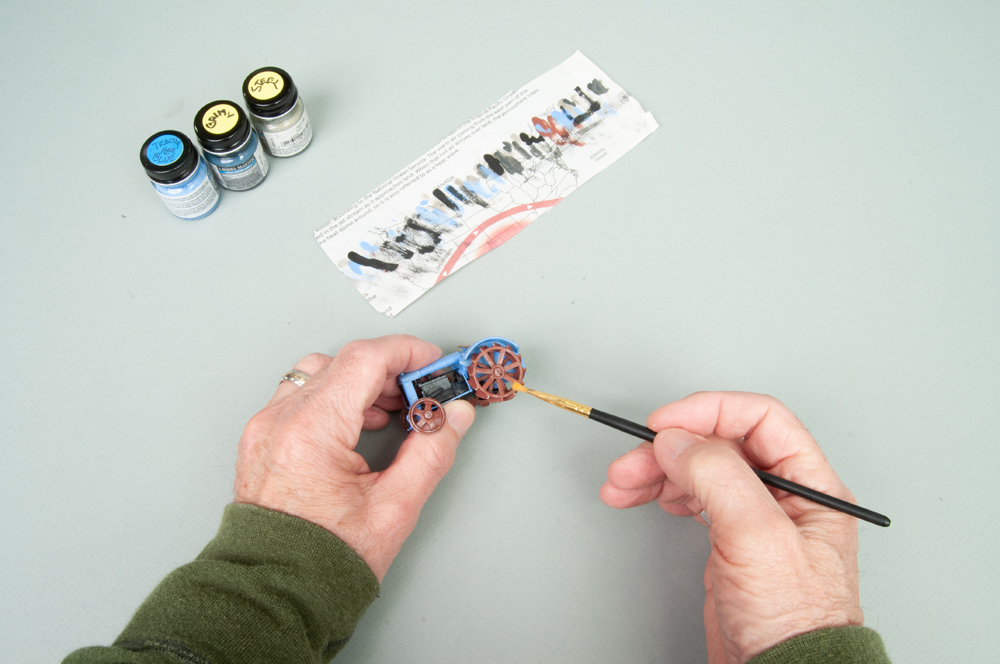
Since U.S. versions of the tractor I found images of on the internet were usually a sky blue color with red wheels and the model was entirely gray, it needed repainting. I began by painting the motor and transmission Model Master Engine Black. After mixing a batch of Fordson Blue paint from approximately 60% Model Master Reefer White to 40% Cobalt Blue, I painted the body, fenders, suspension, and seat the light blue mix (30).
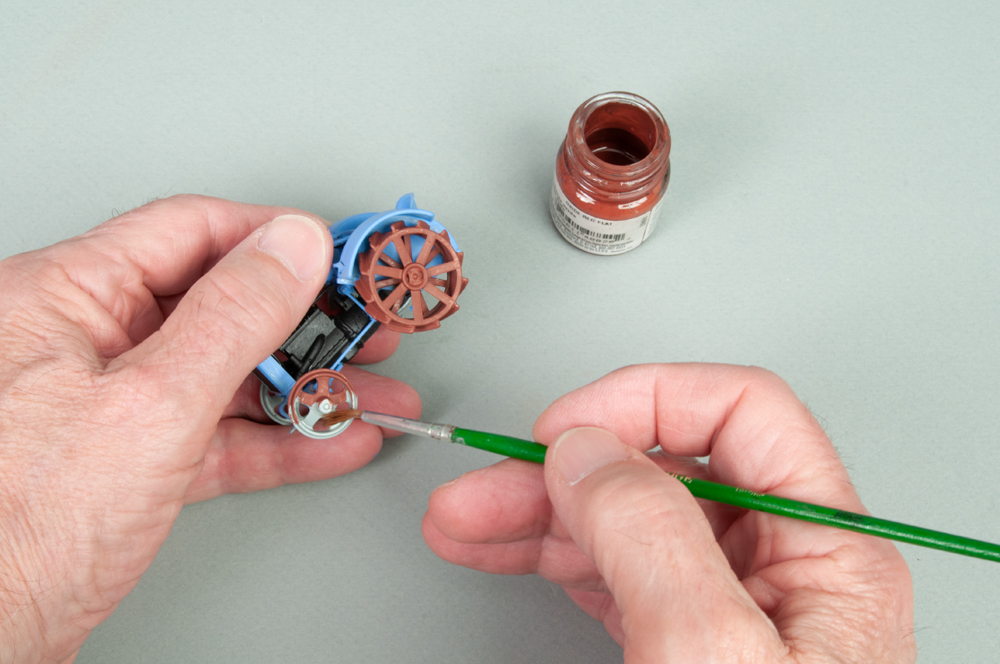
I finished with a coat of Model Master Oxide Red on the wheels (31) and earth on the steering wheel.
I drybrushed the body and wheels with Model Master Old Silver and the engine with grimy black using a small stiff bristle brush with most of the paint removed on an old newspaper before application (32).
I also lightly brushed on some dry black powdered pigments to tone down all the colors.
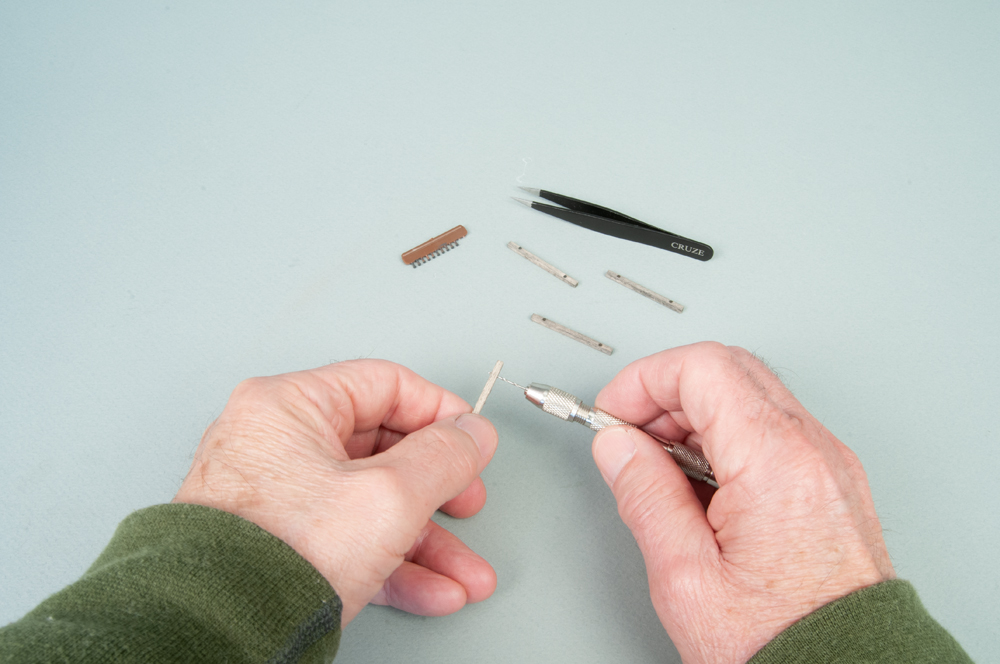
I mounted the tractor using a combination of Kappler scale 6” x 6” beams and chains. After pre-drilling No. 68 holes (33), I pressed two Tichy Train Group No. 8034 NBW castings into each beam.
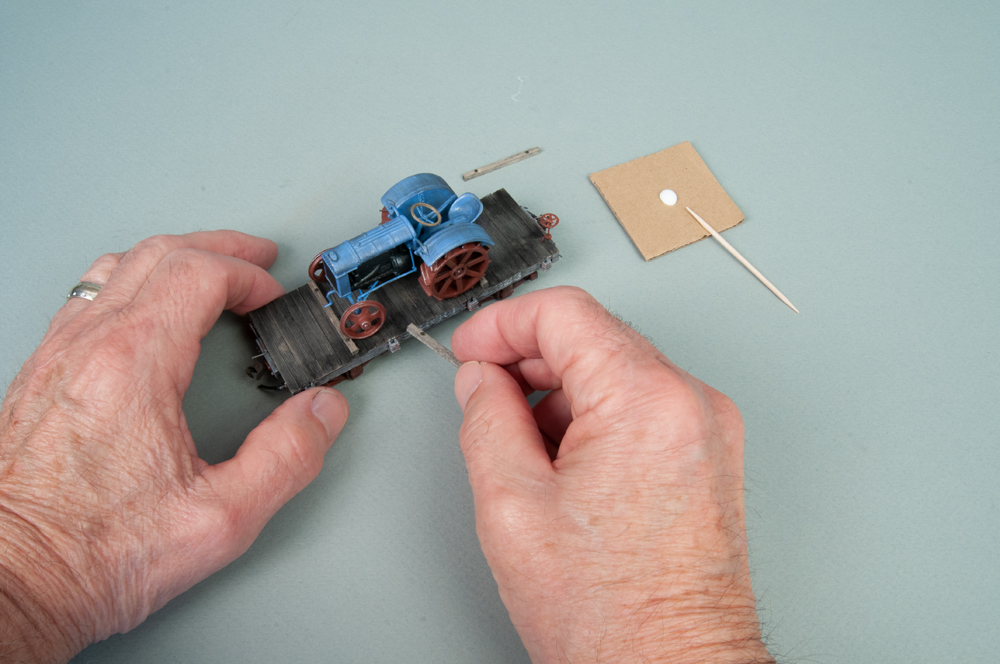
The beams were Weld Bonded to the car deck (34), the tractor placed into position, and two lengths of A-Line chain (No. 29220) passed through both the front and rear axles of the tractor and slipped through post brackets on each side of the car (35).
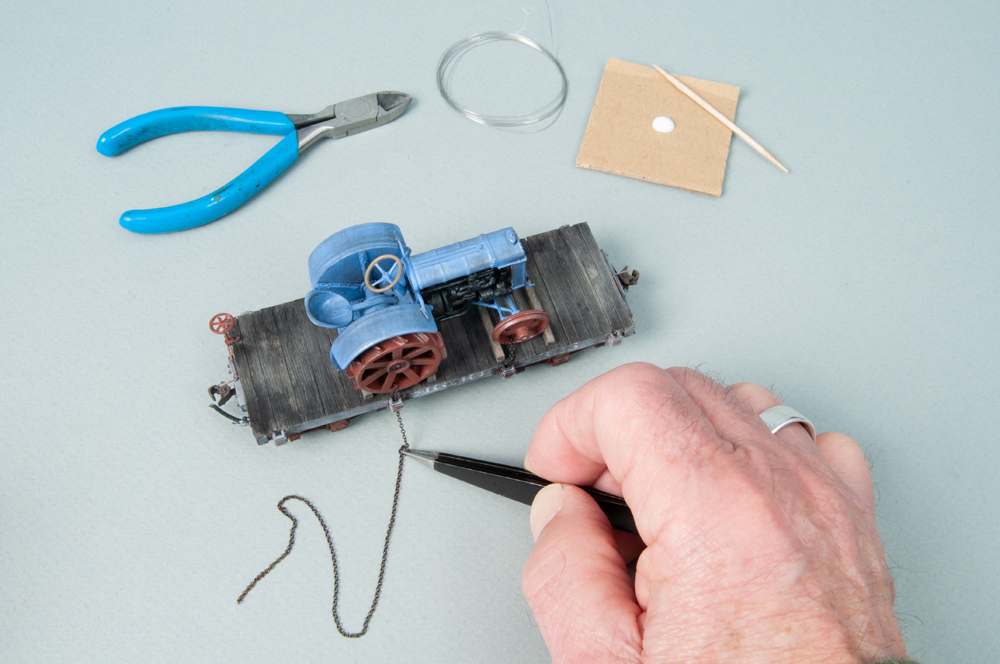
Rather than gluing the chains in place, I passed a short length of Woodland Scenics foam cutter wire (No. ST1436) through the first link on one end of each chain, then after running the chain through the pole brackets, slid a length of foam cutter wire through the opposite end link. I trimmed off the excess wire and chain with small cutter pliers and applied a dab of Weld Bond on each end link to hold everything in place.
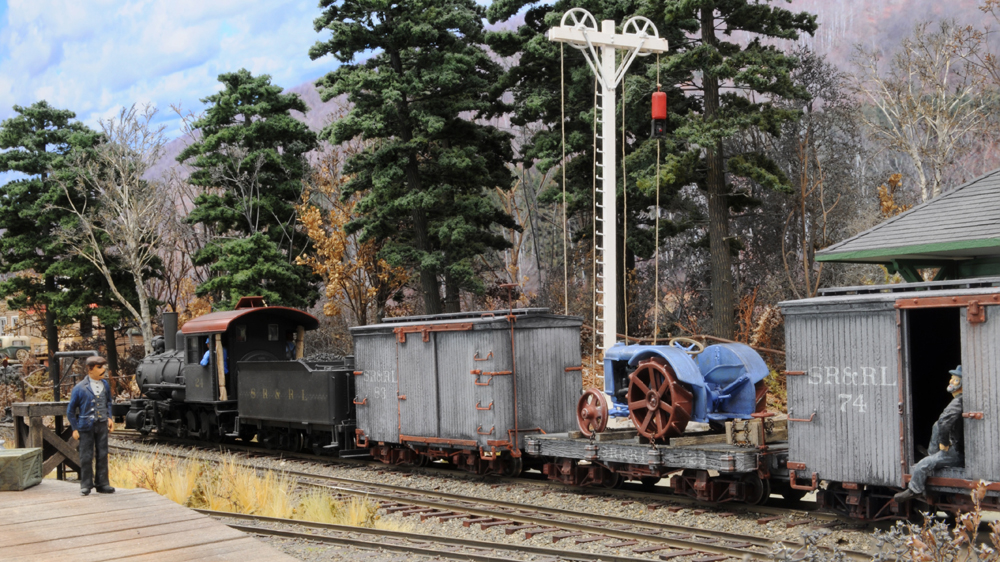
Once the tractor was secured to the deck, car No. 323 was added to the consist leaving Strong for Kingfield, while car No. 371 was spotted in the yard to await future assignment.