When building a model railroad, one feature you should consider is adjustable levelers at the foot of your benchwork’s legs. As the name suggests, these help level your layout when it’s standing on an uneven floor. Here’s how to install adjustable glides on benchwork legs.
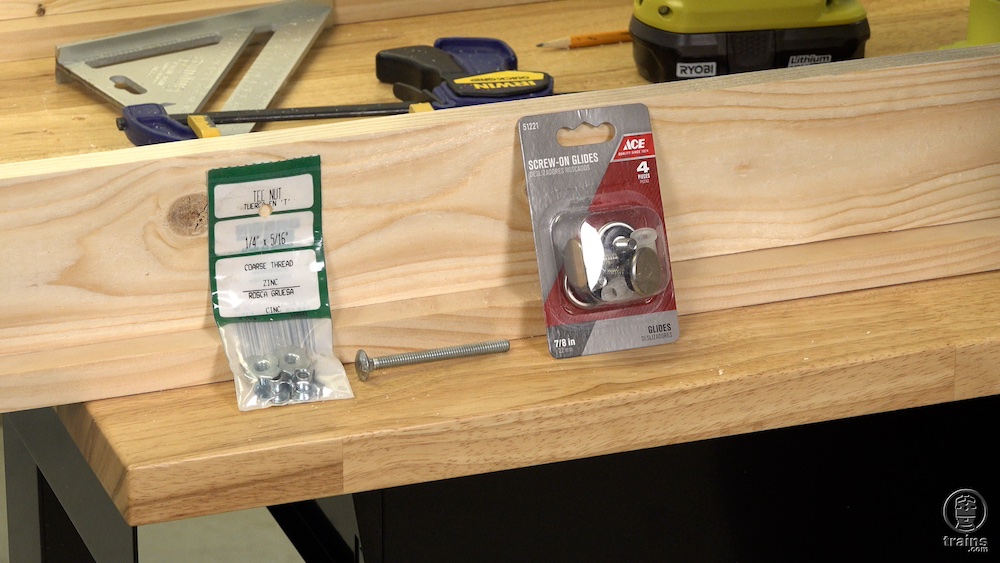
There are a couple of purchasing options for levelers. One is simply using tee nuts, which are fastened nuts with teeth that can be hammered into the bottom of the leg. An ordinary bolt can then be screwed in to serve as the leveler. The Model Railroader staff prefers screw-on glides, which are common levelers for furniture that are great on different floor surfaces, such as tiles and carpeting.
Step 1. Familiarizing yourself with the parts
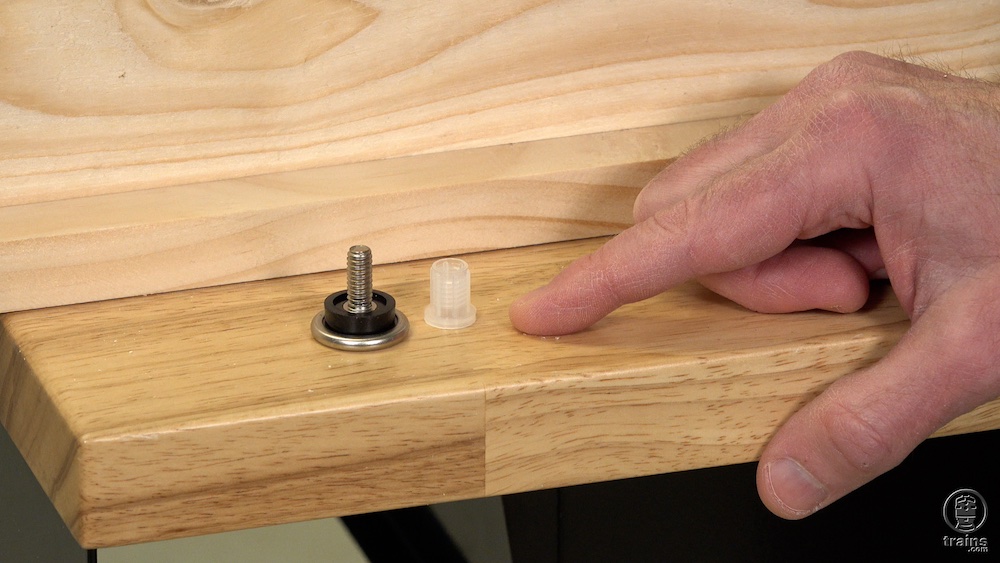
Each screw-on glide comes in two parts: a treaded nylon nut and the adjustable glide itself. The former will be installed at the bottom of the leg. Make sure to do this prior to attaching the legs to the benchwork.
Step 2. Eye Protection
Wearing safety glasses or any other eye protection is a must as you’ll be using a drill with multiple bit sizes. Always expect dust particles and other debris from the wood to fly in any direction.
Step 3: Drilling
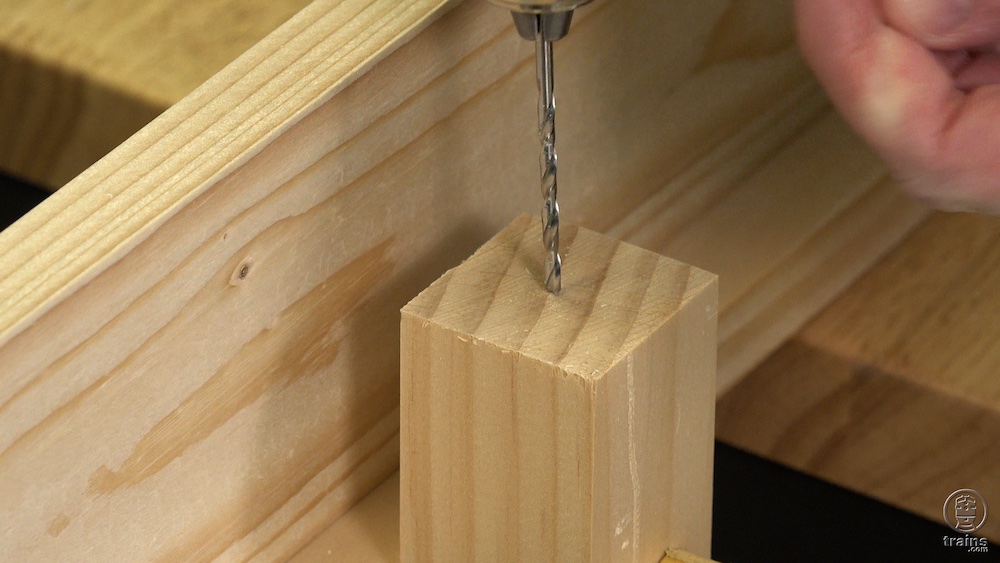
Before drilling the correct hole size for the nylon nut, use a smaller drill bit. This creates a recommended half-inch pilot hole that’ll prevent the larger drill bit from wandering. After the pilot hole has been drilled, it can then be widened with the correct drill bit size.
Step 4: Tapping in the nylon nut
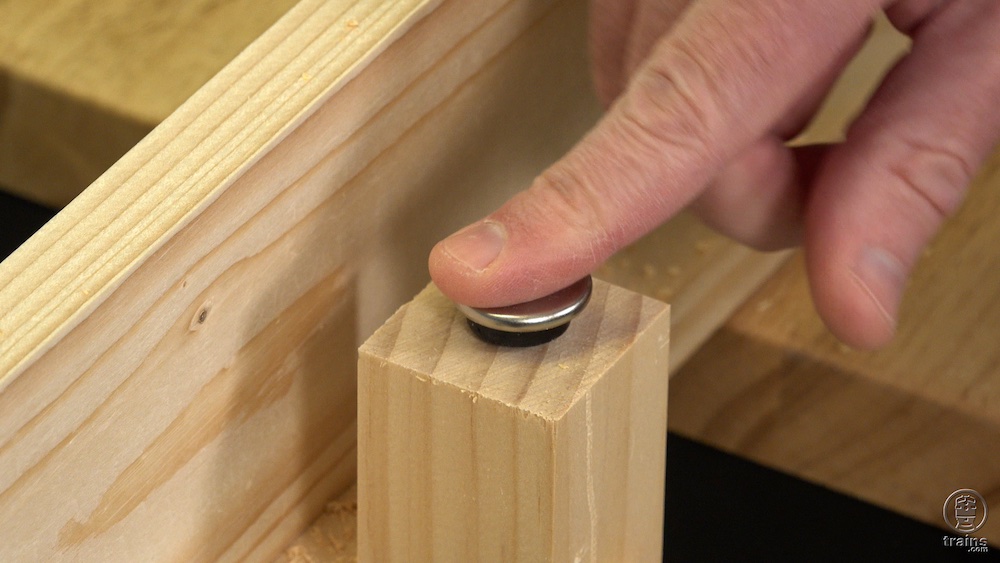
The threaded nylon nut can be placed within the opening of the hole for a friction fit. It can then be fully tapped in with a hammer.
Expect Tip: When making the first few taps, use needle-nose pliers to hold the nut and protect your fingers from the hammer.
Step 5: Install and adjust the glide
Take the screw-on glide and twist it all the way down through the nylon nut. You can make the needed adjustments, by unscrewing the glide, once the legs are attached to the benchwork and standing on the layout room floor.
Members can watch a demonstration on how to install adjustable glides on benchwork legs on Trains.com Video!