Today, model railroaders are blessed with a wide variety of commercial track in most popular scales. It wasn’t all that long ago that off-the-shelf track was largely one-size-fits all, with oversized rail, bulky ties, and little detail. Now, mass-produced track is available in different rail heights (called codes) with simulated wood or concrete ties, prototypical tie size and spacing, and tie plate and spike detail. In addition, there are a variety of standard and curved turnouts. Though modern track is much better in terms of scale fidelity, nickel silver rail and shiny plastic ties don’t look much like the prototype. But there are tried-and-true methods to make track look realistic.
Varying roadbed height
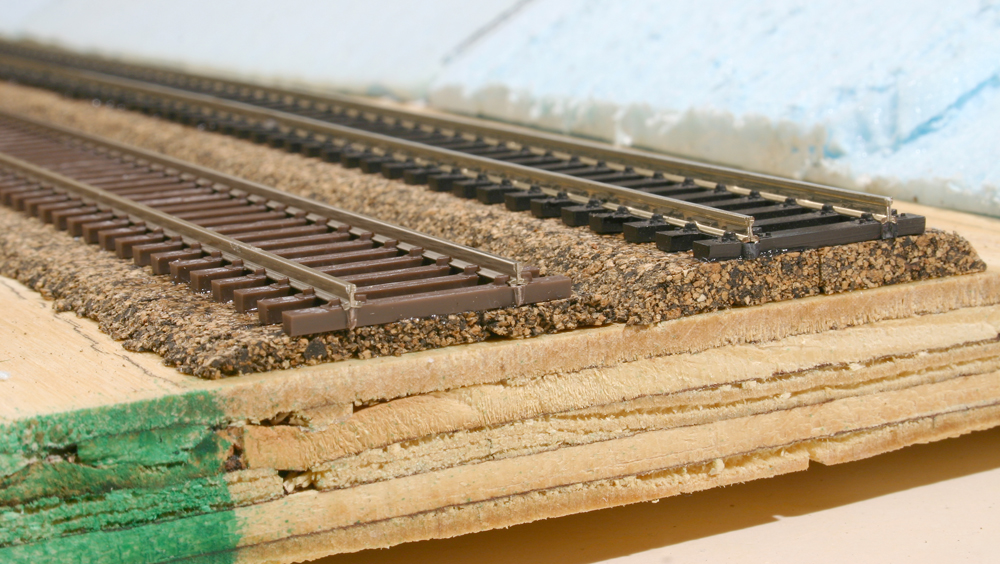
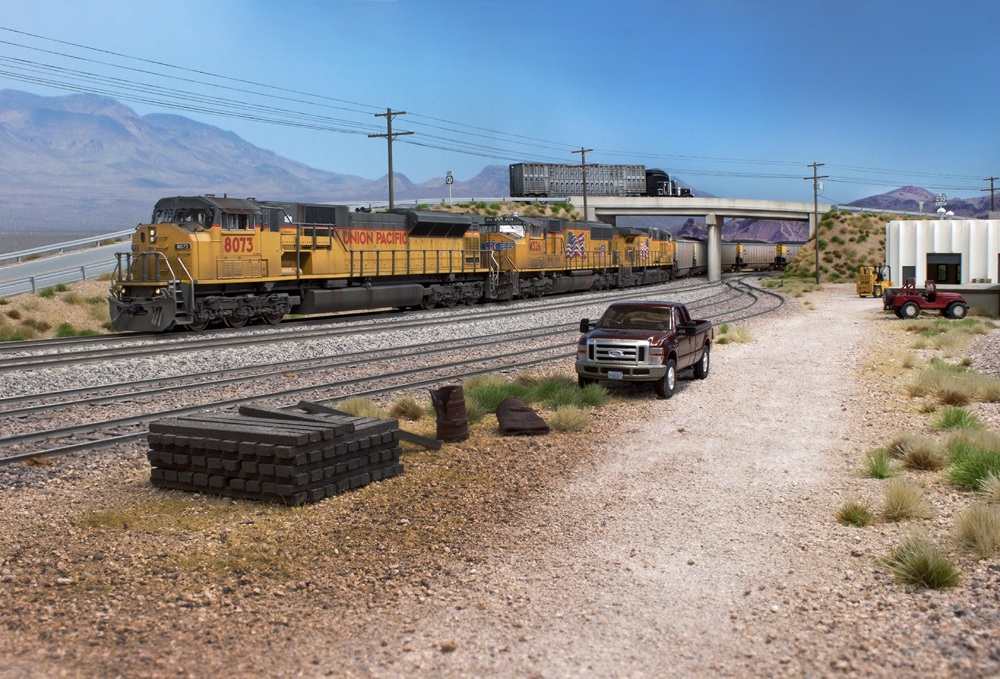
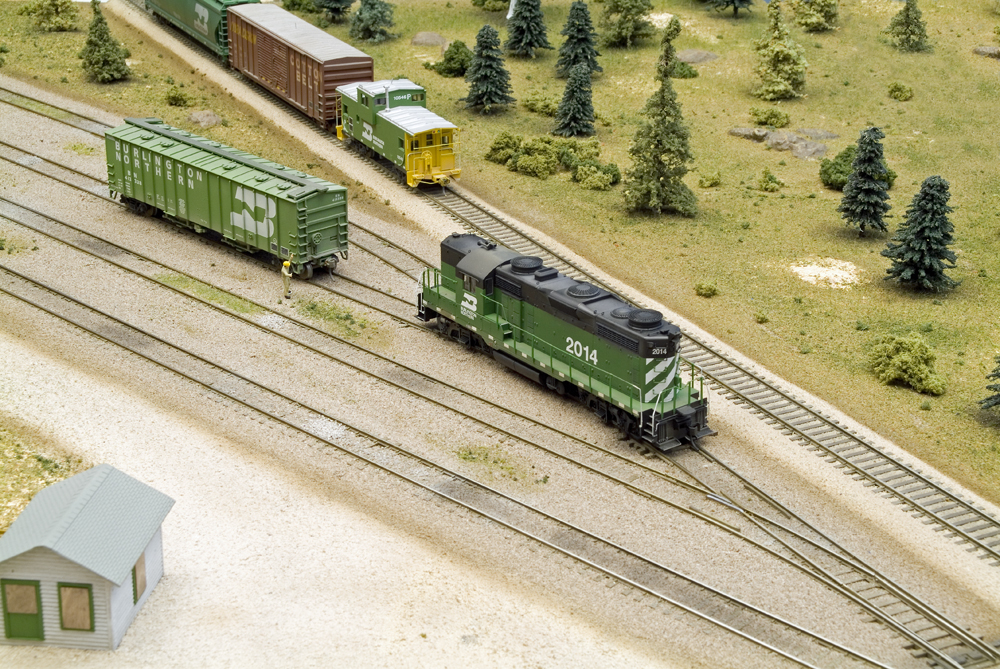
One of the first things that you’ll notice about prototype track and ballast is that the main line is higher than secondary lines, such as sidings. Industrial spurs and yard tracks are often at or near ground level.
For my diorama’s track I used cork roadbed to represent the height of the ballast pile. A layer of prototype ballast usually ranges between 12″ and 30″ with the largest amount of ballast reserved for main lines.
I used HO scale roadbed for the main line and N scale roadbed for the siding on my scene. This provides about a scale 7″ difference in height. I laid the track for the industrial spur [not shown] directly on the plywood subroadbed. — Paul J. Dolkos, from “Model different types of track” in the October 2008 Model Railroader
Realistic tie spacing
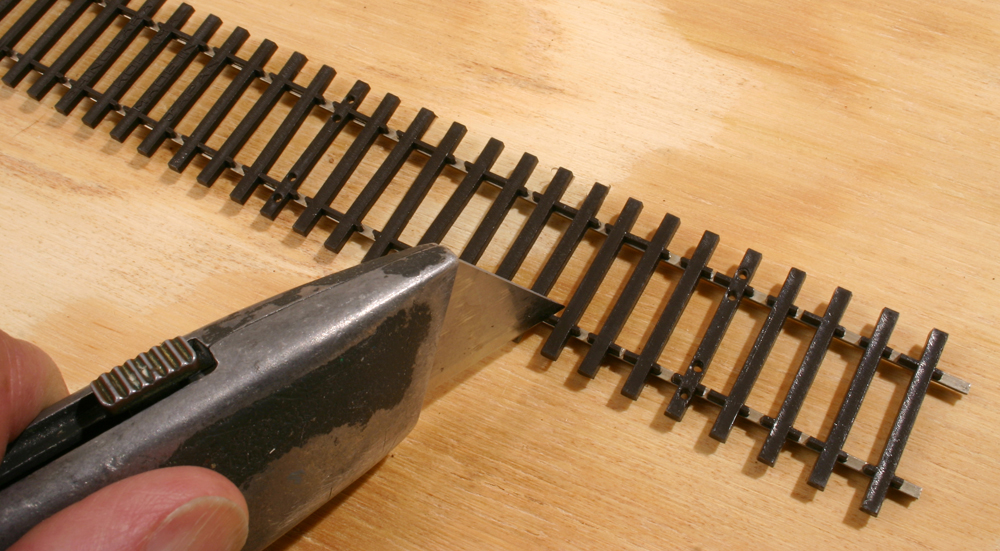
Tie spacing varied between main lines and secondary lines. Heavy-duty main lines typically required 24 ties per 39-foot rail section or a tie spacing of 11-1⁄2″ between tie edges. Sidings and spurs can have as few as 19 ties per each 39-foot section of rail, with ties spaced 16″ apart.
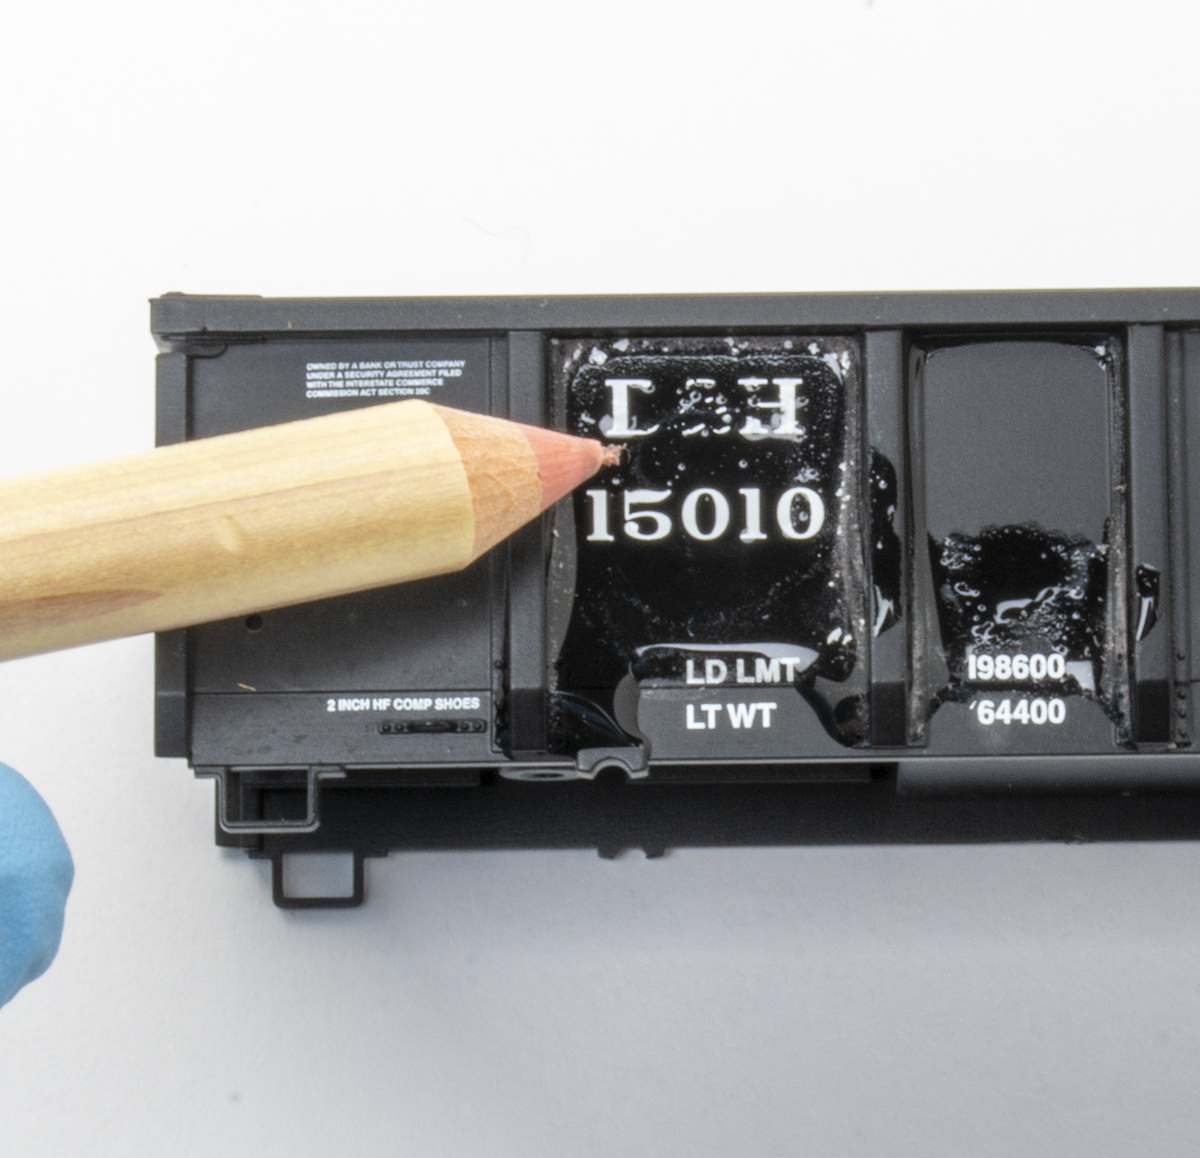
Most flextrack has ties spaced appropriately for a main line. For secondary tracks, I cut the plastic connecting links as shown above. Then I space the ties a few scale inches farther apart before laying the track. For industry spurs I’ll also skew several ties. — Paul J. Dolkos, from “Model different types of track” in the October 2008 Model Railroader
Painting and weathering
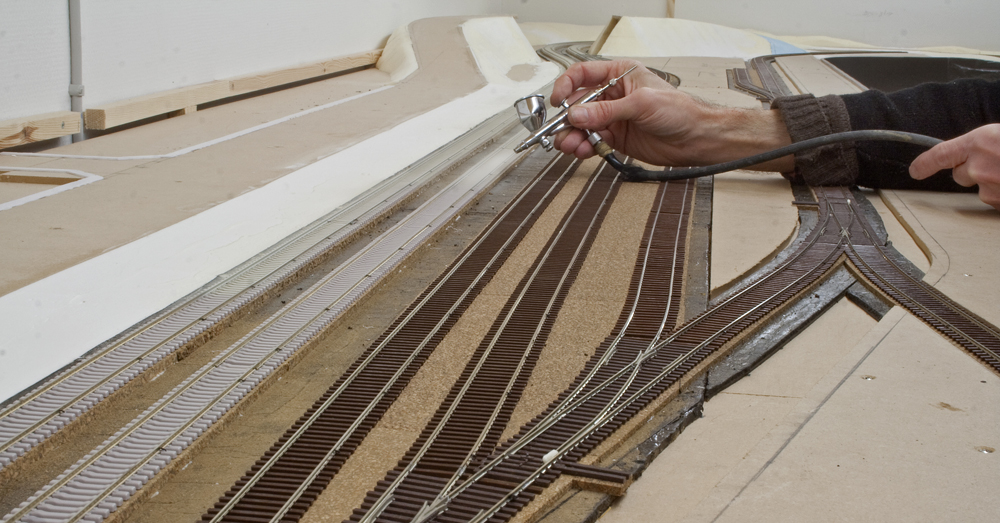
Simply using an airbrush to apply a brownish coat of paint can be an effective way to improve the appearance of your track. That’s all I did on my previous Daneville & Donner River layout. But when I added a few more painted effects on my new layout, the flextrack looked even more realistic.
On my layout, most of the mainline track has concrete ties. Here, I used an airbrush to apply a concrete color consisting of equal parts Model Master Gull Gray, Sand, and White [Testor Corp. discontinued the Model Master range. — Ed.] After allowing the paint to dry overnight, I used a brush to paint the rail and the clips holding the rail with a grimy grayish-brown color mixed from three parts Dark Drab, three parts Dark Skin, and one part Gull Gray.
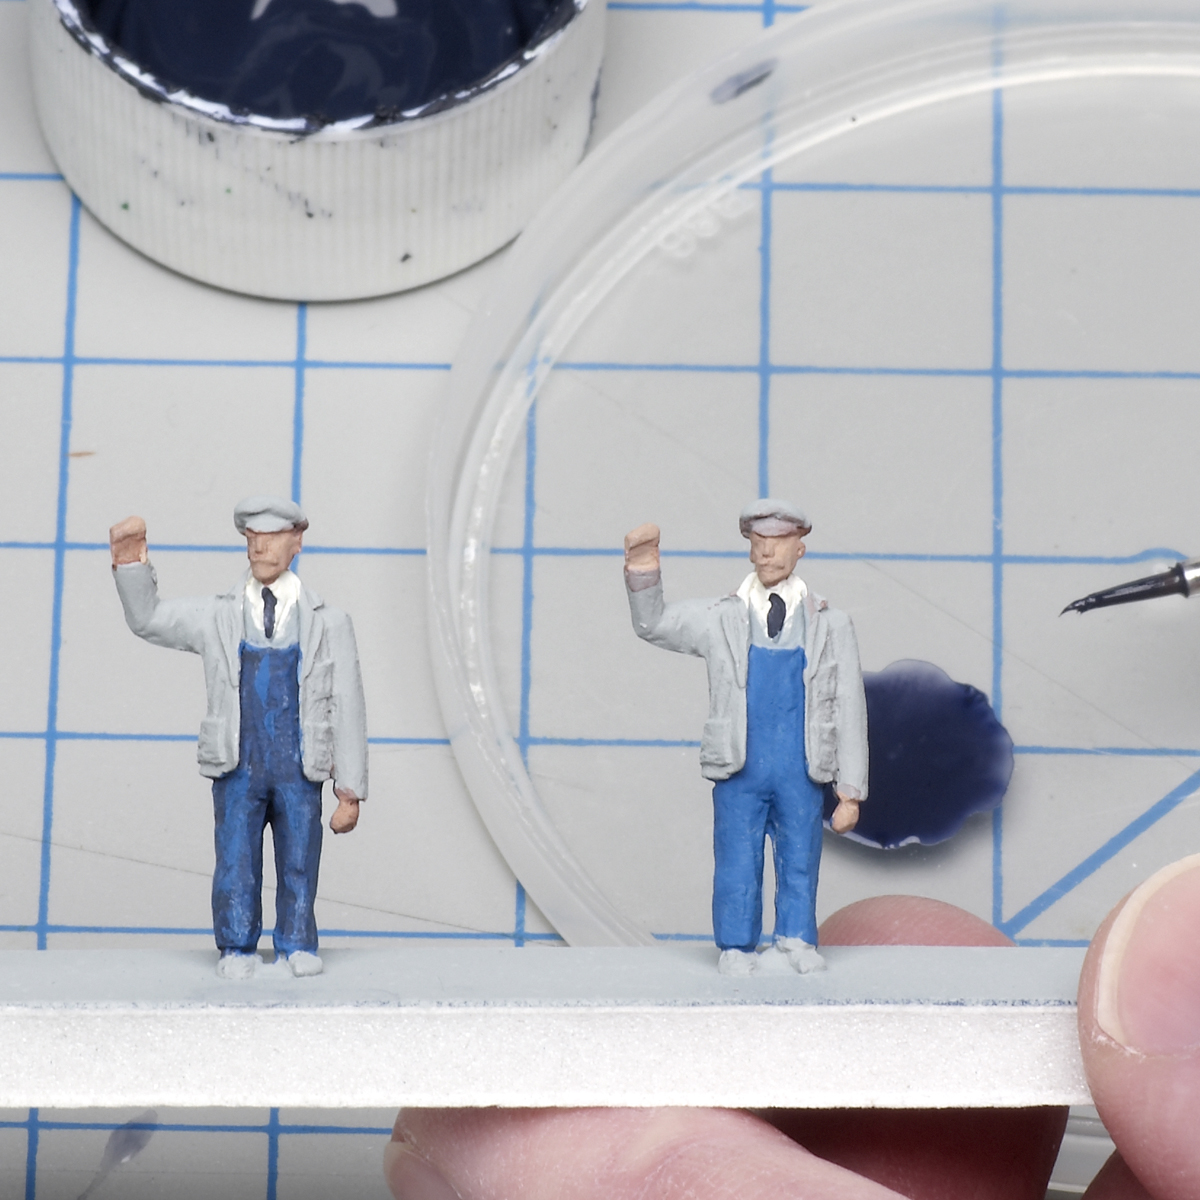
For tracks and turnouts with wood ties, I used my airbrush to apply a base coat of light gray. I made a tie color by mixing one part Vallejo Model Air Camouflage Black Brown with one part Gray Green. I used tap water and a few drops of isopropyl alcohol to thin the mix to a wash that I applied to the ties. I applied a single coat of this wash to the secondary track and sidings, while the mainline track received two coats.
Next, I used a brush to paint the rails on secondary track and sidings (over wood ties) with a grimy grayish-brown color mixed from two parts Model Master Dark Drab and one part Gull Gray. For the mainline rails over wood ties, I applied the same color mixture I used on track with concrete ties.
When working with flextrack, I found paint doesn’t always adhere well to slick, plastic ties. Be sure to allow the paint to dry thoroughly before adding ballast. When applying ballast, avoid brushing the ties too hard or you’ll risk accidentally scraping the paint right off them. — Pelle Søeborg, from “How to make track look realistic” in the July 2013 Model Railroader
Ballasting yard tracks
All railroad tracks are the same, right? Not by a long shot. The next time you’re trackside or looking through a railroad magazine or book, take a close look at the tracks. Main lines have heavy rail (measured in pounds per yard), even tie spacing, and well-groomed ballast with crisp edges. Yards, on the other hand, have light rail, irregular tie spacing, and unkempt ballast. But how do we transfer that gritty look of prototype railroad yards onto our layout?
With ballast, paints, an airbrush, and basic scenery materials, you can turn your yard from a run-of-the-mill place to switch cars to one of your layout’s scenic highlights. Subtle elements, such as oil drippings and sprouting grain, are just a few ways to suggest to operators they’re working in a real yard.
Many of us strive to operate our yards like the prototype. It seems only logical to take the next step and make our yards look like the real thing. By the time you’re through with the ballast, scenery, and weathering, the only thing missing will be the smell of creosote, the crashing of couplers, and the thunder of slack running out on a string of cars. — Cody Grivno, from “Ballast and scenic yard tracks” in How to Build Realistic Layouts: Freight Yards
Don’t forget the details
It can be a problem when cars sitting on sidings move on their own. On the prototype, an unattended creeping car can result in catastrophe if it rolls into the path of an oncoming train. Though the consequences are less dire on our model railroads, such an accident can result in damage to prized models.
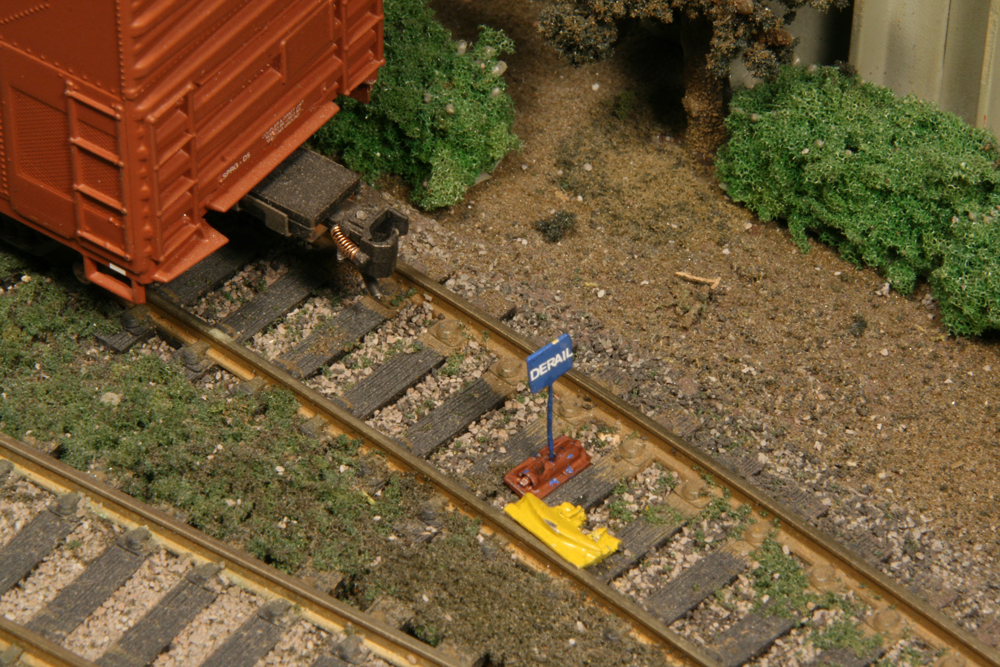
Prototype railroads stop a creeping car with a derail. Derails are track devices that shove the car’s wheels off the rail and stop it from moving farther, while causing minimal damage to the car and track. On industrial sidings that border mainline tracks or on tracks where unloading equipment has been attached to a car, hinged, manually operated derails are the most common protection.
Hinged derails are manufactured by a variety of rail equipment companies, including Hayes, Nolan, and Aldon. The fairly standard design consists of two main pieces: a base that’s mounted to the ties and a derailing block that’s placed on the rail, connected by a heavy-duty hinge. When in the derailing position, the block rests on the railhead, and in the non-derailing position, it’s out of the way between the rails.
Since rolling a car over a derail unintentionally will cause major issues for both the train crew and track department, derails are generally painted bright, highly visible colors. They are also often marked with signs mounted beside the track (common in older eras) or on a staff attached to the derail that folds down when the derail is in the off position. — M.R. Snell, from “Hinged derails: an operating accessory” in How to Build Realistic Reliable Track