How To Expert Tips Model railroad cellphone photography tips

Model railroad cellphone photography tips

By Mitch Horner | September 1, 2024

| Last updated on September 9, 2024


Improve your layout photos with these essential tips

Email Newsletter

Get the newest photos, videos, stories, and more from Trains.com brands. Sign-up for email today!

While reminiscing and revisiting my archive of photos of our dearly departed Milwaukee, Racine & Troy HO scale layout, I found myself admiring my own work. No, not my contributions to the MR&T, of which there were none, but rather my own photos, all of which were captured with my smartphone camera.

For better or worse, the smartphone has become an essential tool in our modern world. Many people now carry in their pockets what is in essence a digital Swiss army knife – a computer, a calculator, a word processor, and of course, a camera. And that camera on your smartphone may be more powerful than you might assume. 

Like any tool, the camera on your smartphone is most useful in experienced hands. The following tips are intended to help you better utilize your smartphone camera, and in turn improve your layout photography.


Mind your lenses

Depending on what model of smartphone you own, you might have multiple lenses at your disposal. If that’s the case, be sure you choose the right lens!

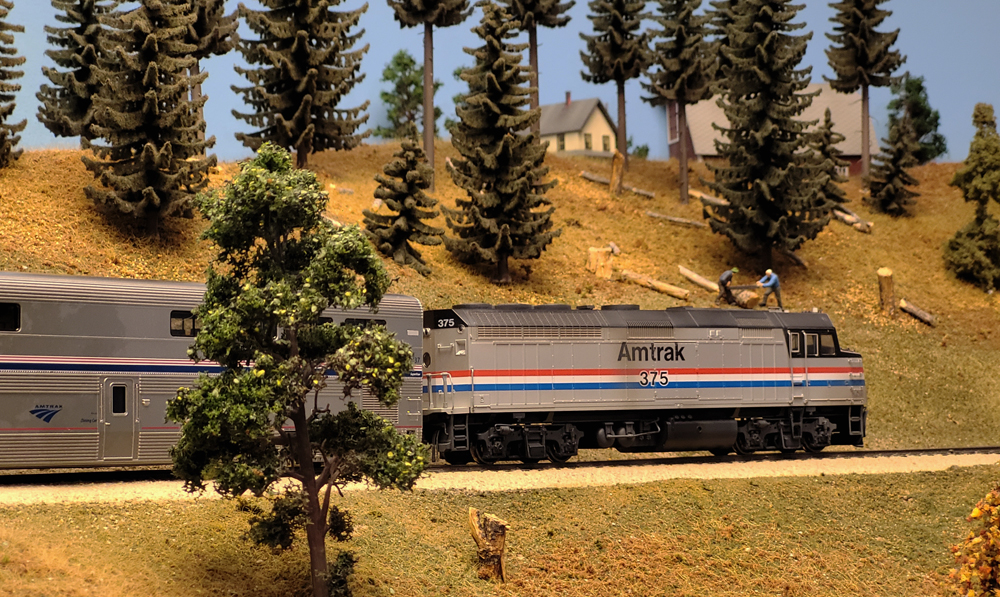
Model railroad cellphone photography tips: A model passenger train on a model railroad layout
The photos in this article were captured using my smartphone’s eight-megapixel sensor, f/2.0-aperture telephoto lens. Mitch Horner photo

The standard lens on your phone would be, in terms of scale relative to your layout, an almost impossibly wide-angle lens, capturing a larger frame than all but the most advanced film cameras – an IMAX or Cine-Rama camera, maybe – could produce. If your phone has multiple cameras, it’s likely that one of them is a telephoto lens, which is great for something like layout photography, as it compresses space differently than a standard aperture cellphone camera lens. If your phone doesn’t have multiple lenses, simply zoom in and you’ll find similar results. Additionally, zooming in or using a telephoto lens creates better depth-of-field, meaning the foreground and background of an image are more out of focus. This effect lends a cinematic quality to your images.

Model railroad cellphone photography tips: A figure on a model railroad layout approaches a passenger station.
Depth of field obscures the background of this photo, focusing the viewer’s attention on the figure in the foreground. Mitch Horner photo

Consider this scene from the MR&T: a man walking onto the platform at a rural passenger station, awaiting the next train. The background at this location is about a foot from the figure, but through using a telephoto lens, the background becomes obscured. This adds depth to the photo, making it seem as the background is further from the figure than it actually is. Additionally, the viewer’s focus is drawn to the figure, as details in the background are concealed.


Resist the urge to overcomplicate

Model railroad cellphone photography tips: A model tractor on a farm on a model railroad layout
The red tractor, the subject of this image, stands out in contrast against the yellow-green fields and light blue sky. Mitch Horner photo

The impulse to include as many details as possible in an image is easily understood – after all, you built the layout! You’re proud of your handiwork, and you want each image to capture as many details as possible to best convey your hard work. This understandable impulse, however, is a pitfall which leads to overcrowded, busy images. Pick your subject, and be considerate and intentional of everything in the frame. In layout photography, less is sometimes more.

A model figure in a blue coat raises his arm on a model railroad layout
Try to craft an imagined narrative in your head for specific scenes on your layout, and you may find yourself approaching your subject with a different perspective. Mitch Horner photo

Similarly, showcase the fruits of your layout-building efforts by actually showcasing them! Take pictures of more than just your trains on your layout, even if only to practice your photographic techniques. Not every photo will turn out quite how you want, but in photography, a mistake is just an opportunity to learn and improve your technical skills.


Use scenery to your advantage

A tank car is seen through the end of a tunnel on a model railroad layout.
By placing the camera at one end of a short covered unloading bay or tunnel and the subject at the other, a frame-within-a-frame is created. A slightly canted angle, as seen here, can add a touch of realism. Mitch Horner photo

Use your scenery and your structures to your advantage. You can create depth-of-field by foregrounding structures or scenery and placing your subject in the background, like in the above photo. This lends a sense of scale to your photos, enhancing their verisimilitude.

A photograph of a scale model car entering a tunnel on a model railroad layout
The trees in the foreground add depth and scale to the image. Mitch Horner photo

The above image, captured on Model Railroader‘s N scale Canadian Canyons layout, demonstrates depth-of-field. The camera’s focus is on the illuminated rock face on the left of the image. The automobile and tunnel in the background are out of focus, as are the trees in the foreground.


An exercise: study the masters

While photographing your layout, try to recreate identifiable styles of prominent photographers such as O. Winston Link or specific photographs that may fit your layout.  This will help you to better understand the technical elements which comprise a style, which will in turn allow you to develop and hone your photographic techniques. 

Keep these tips in mind when photographing your layout with your smartphone and you might find your results improving.

Interested in model railroad layout photography? You may also enjoy reading more about rail travel photography or vintage film camera rail photography.

2 thoughts on “Model railroad cellphone photography tips

  1. What the author is referring to as “depth of field” is actually a shallow depth of field or depth of focus. All photographs have depth of field, the question is how far in front and behind the actual point of focus is also in acceptable focus. Having a greater depth of field actually looks more real than a shallow depth of field. That’s why photos using focus stacking software look more real. However, most of us don’t use focus stacking software, especially when on a layout tour or other time limited situation. The author’s advice is useful for most of us.

  2. May I respectfully suggest that excellent depth of field can be achieved with an iPhone. One needs to download a focus stacking application to a PC or Mack computer. The one I use is Helicon Focus 7 https://www.heliconsoft.com/software-downloads/ which will accept jpg photos from the iPhone. You securely stabilize the iPhone on a tripod or surface and point it at the scene you want to have in focus throughout. You then take several photos at different focal lengths. To do that simply touch the iPhone screen, say in the upper-left corner. A small box will show up, and the part of the scene in that box will be in focus. Use the iPhone timer (3 seconds is enough) and snap the picture. Touch the screen at another part of the scene and the box will appear there; take the photo. Continue until you’ve covered the entire iPhone screen. For model railroads, I take between 6 to 12 photos. Open up the focus stacking software and load all of the pictures taken of the scene. In Helicon Focus 7 you hit “render” and the program will quickly and smartly combine the stack into a fully focused image. I’ve used this method for many years with both my Canon digital SLR camera and my iPhone 14.

    Best regards,
    Jerry Lauchle, MMR

You must login to submit a comment