When I joined North Georgia Modurail, I noticed early on that the club had a hard time planning show layouts. The layout would be planned on paper, but inevitably changes had to be made at the last minute. My inspiration came while watching my 4-year-old son play with his LEGO. The bricks were a small-scale representation of our club modules! Each stud on top of a brick represents 1 foot. I went to work to find a way to start planning a modular show layout with LEGO.
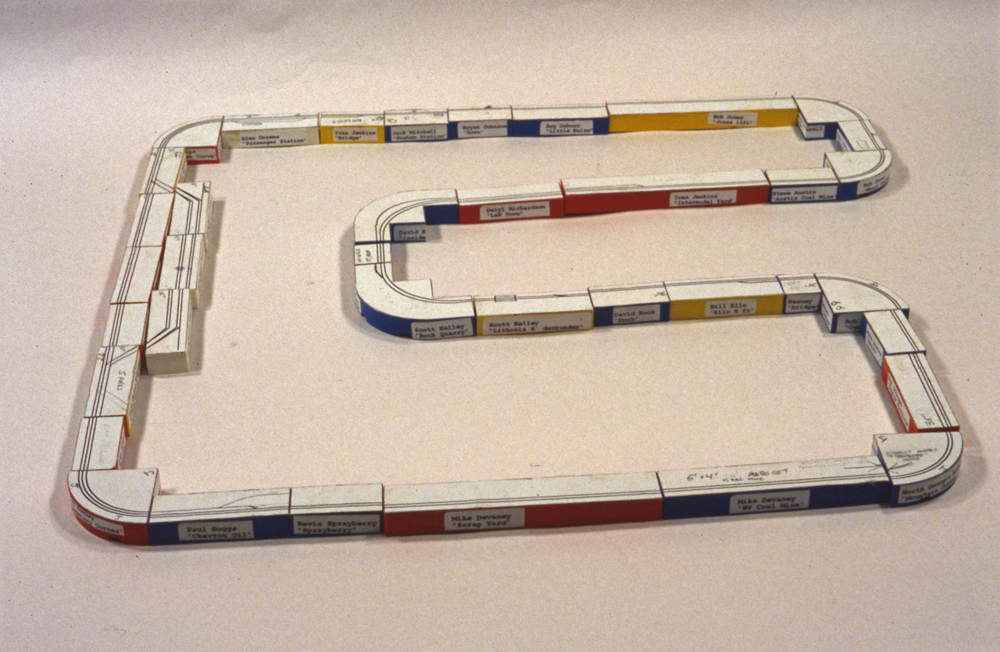
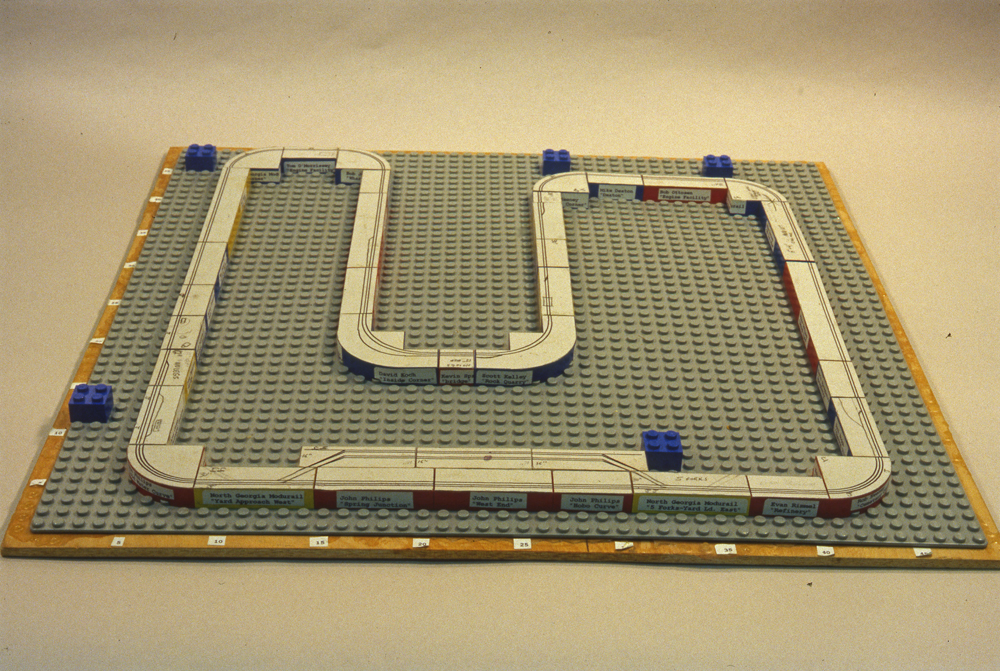
The result is a collection of LEGO bricks representing all of the modules in our club and a board for planning the layouts. I made LEGO bricks for various size modules, including straight modules from 2 to 12 feet long, and inside and outside corner modules.
Making the bricks
My goal was to put all the necessary information for planning a layout on the bricks, so any club member could do it. The labels on the sides have descriptive information about the owner and the module name. The labels on top have the track configuration, important scenery elements, and throttle jack locations. The bricks could be color-coded for track configurations, but we found the pictures on top were sufficient.
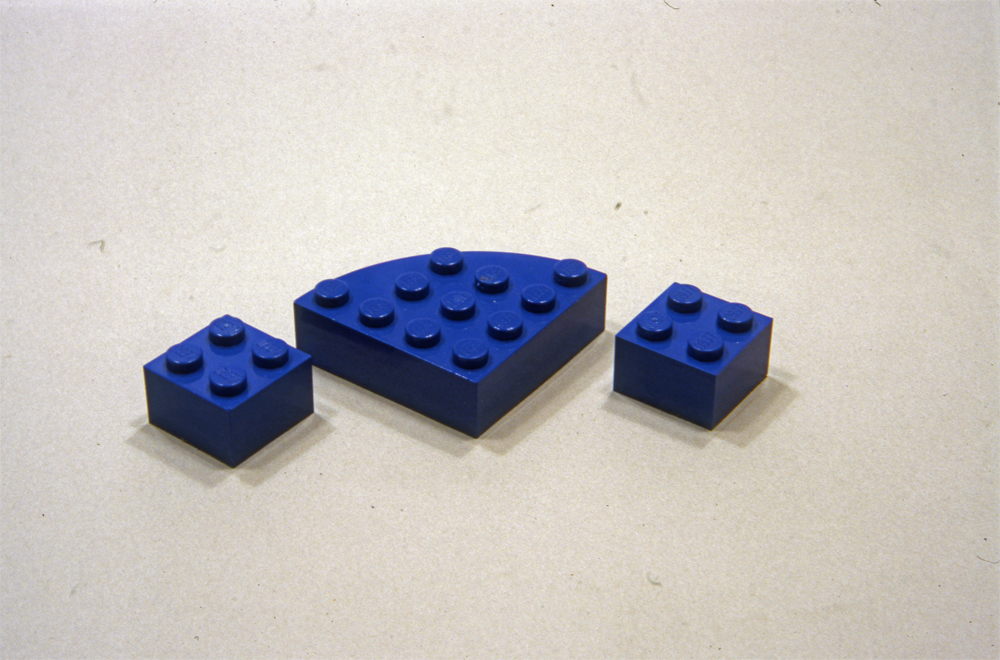
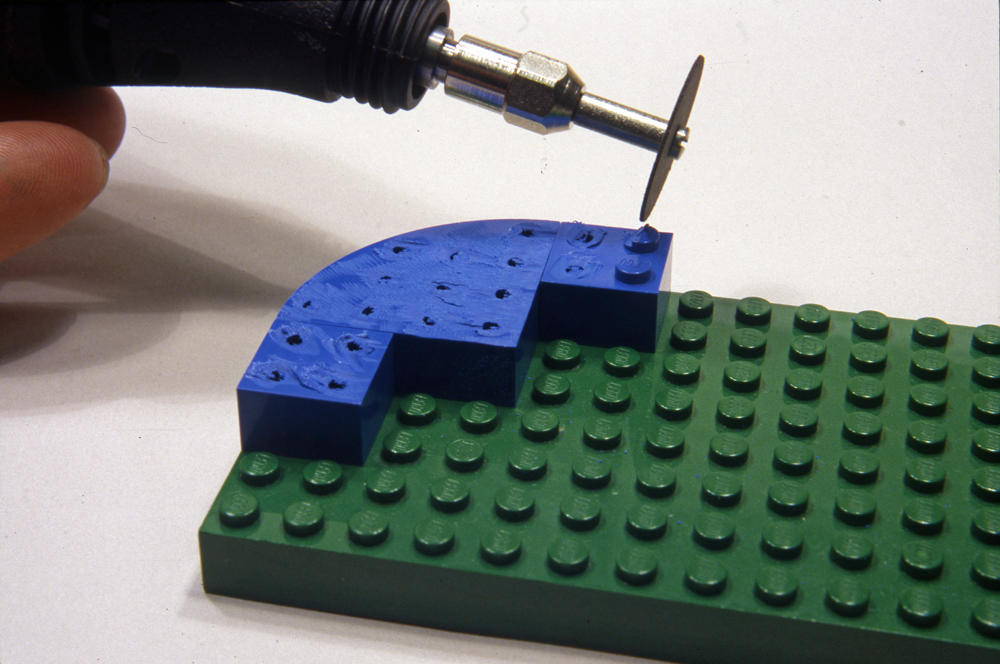
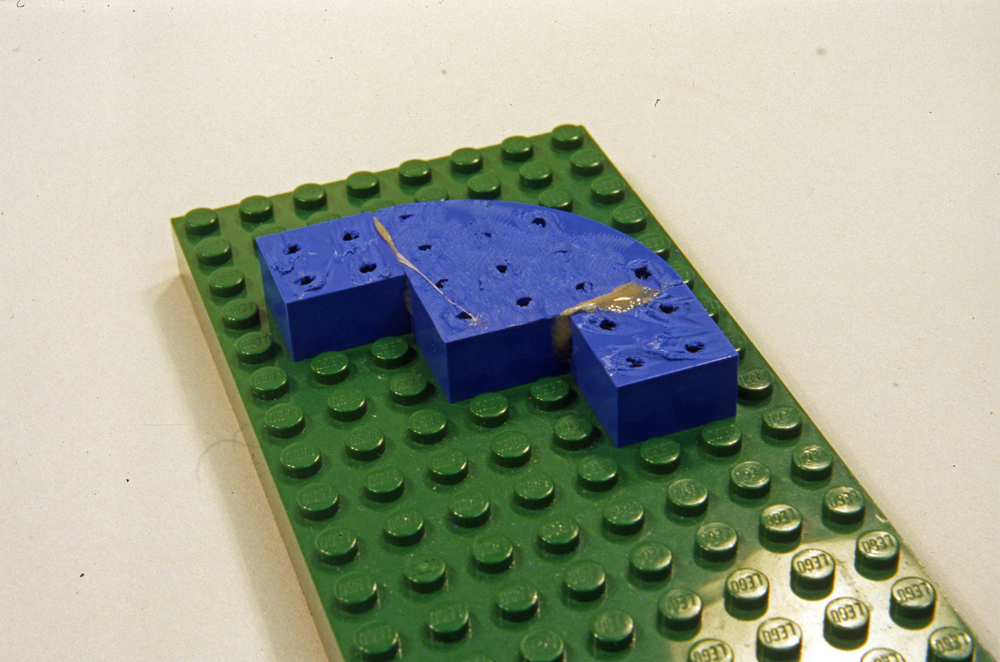
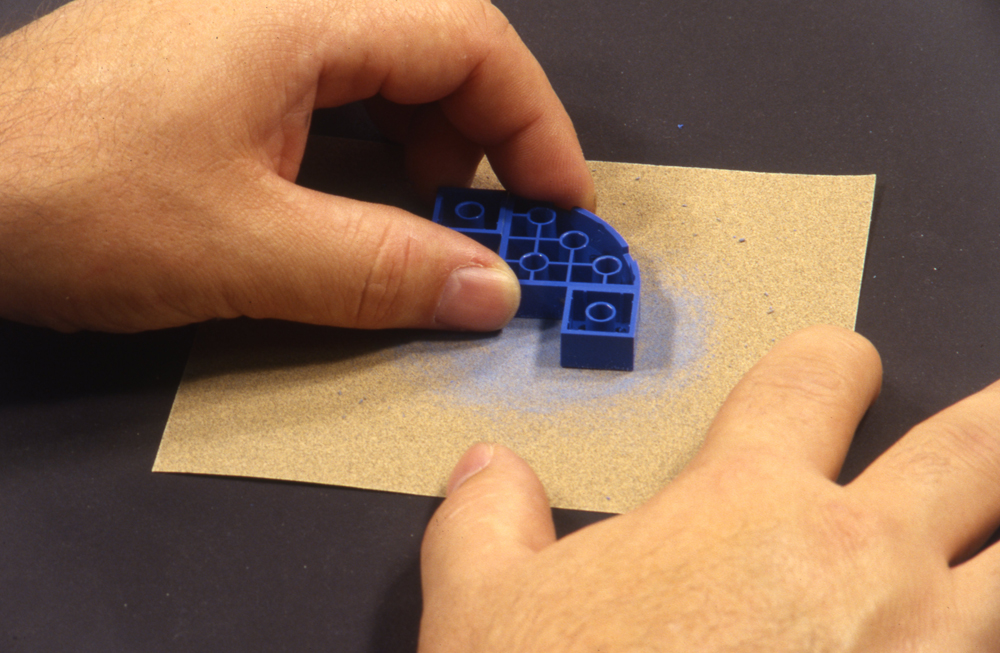
The first step in making a module brick is to select a brick or bricks for the module to be represented. Remove the studs on top of the bricks with a motor cutoff wheel tool. If multiple bricks are being used, glue them together with Walthers Goo. To align the bricks while drying, place them on top of a larger piece after removing excess glue from the bottom. After it dries, remove any excess Goo, file off any burrs on top, and sand the top by rubbing the brick on some 400-grit sandpaper on a flat surface. Place the adhesive labels with module descriptions on each long side of the brick. Put the labels across the seams of multi-brick modules to hide the seam and to add strength to the joint.

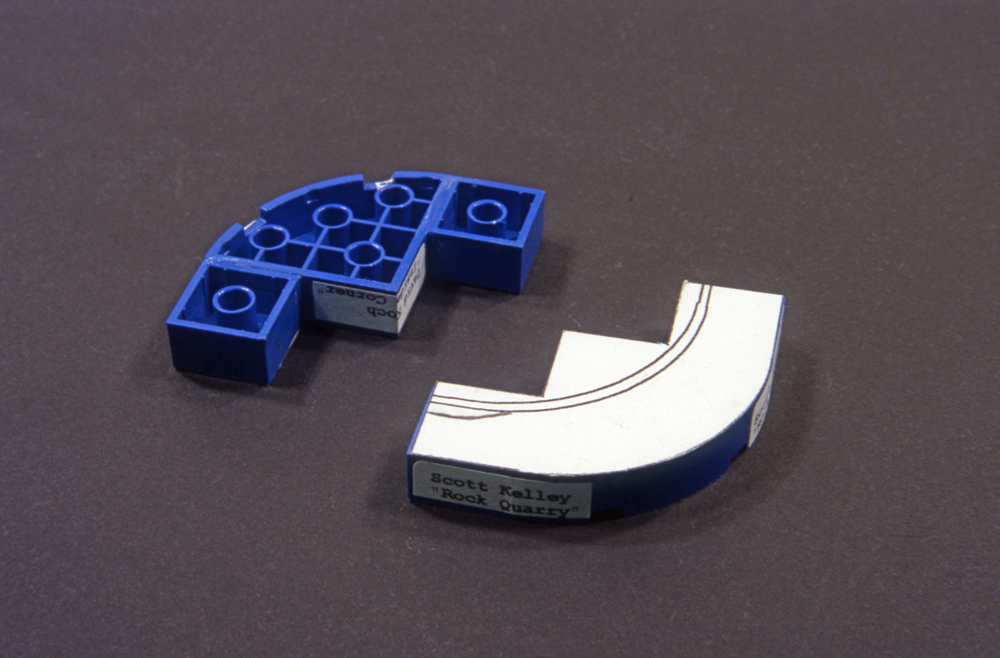
The adhesive label can be printed from any computer, word processor, or label program and cut to fit the brick. I generated the paper label for the top of the brick using Cadrail, but it could easily be done with any drawing program or even by hand. Use heavy construction paper, then cut it out making sure that the finished piece is slightly smaller than the top of the brick. This will help it to hold up better during handling. Glue the paper label on top with a glue stick. The glue will hold the label well, but the label can be peeled off later to put different labels on as module designs change. Apply the glue generously around the edges, then press the label firmly, running a fingernail around the edge for a good seal. After wiping away any excess glue, the brick is finished.

Making the board
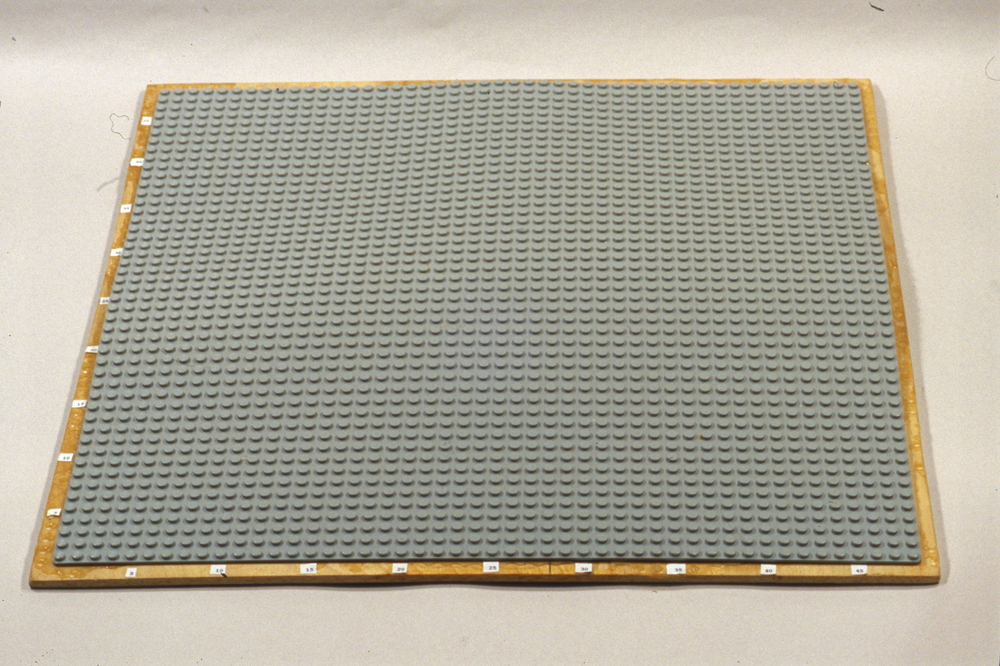
The planning board was made with a LEGO baseplate glued down on a piece of 1/4″ plywood with epoxy. The plywood was slightly larger to allow a margin for labeling along the edge. I placed numbers along the margin at increments of five to represent feet.
Planning the layout
To plan for a show, first get the list of modules that will be there. Then gather the bricks for each of those modules from the collection. Place unmodified bricks on the board to represent the available space and any obstructions such as building columns. Then the funs begins! Using the available modules, try different configurations, accounting for throttle jack locations and third track passing sidings. The finished plan is taken to the show, where the inevitable last-minute changes can be made easily with the board.
Since I joined North Georgia Modurail, I’ve always enjoyed the public shows, but setup can be trying on one’s patience. The LEGO planning board has made one of the difficult aspects much easier. I hope that other modular clubs will give it a try.


