Next to “we are moving” some of the most disconcerting words a layout owner can hear is “we need home improvements.” Major changes to the house around a layout bring fear to our hearts: while models can be moved out of the way, all our hard work on track and scenery is suddenly in peril, totally at the mercy of much larger construction work. “Prototype” heavy tools and new appliances or fixtures tend to win when they come in contact with a modeled world! So how do you go about protecting your railroad during home improvements?
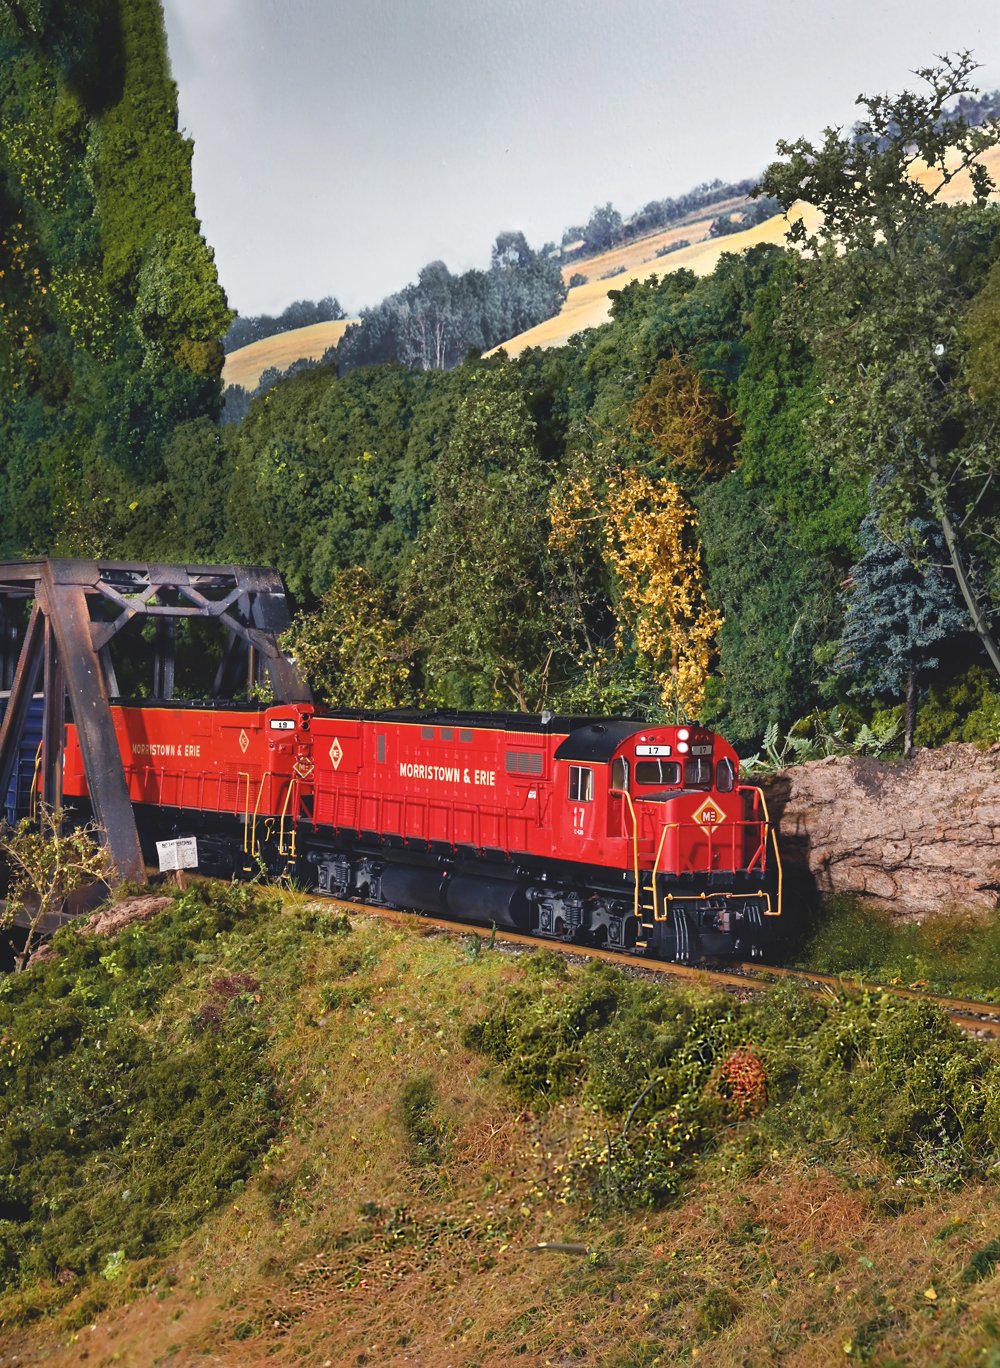
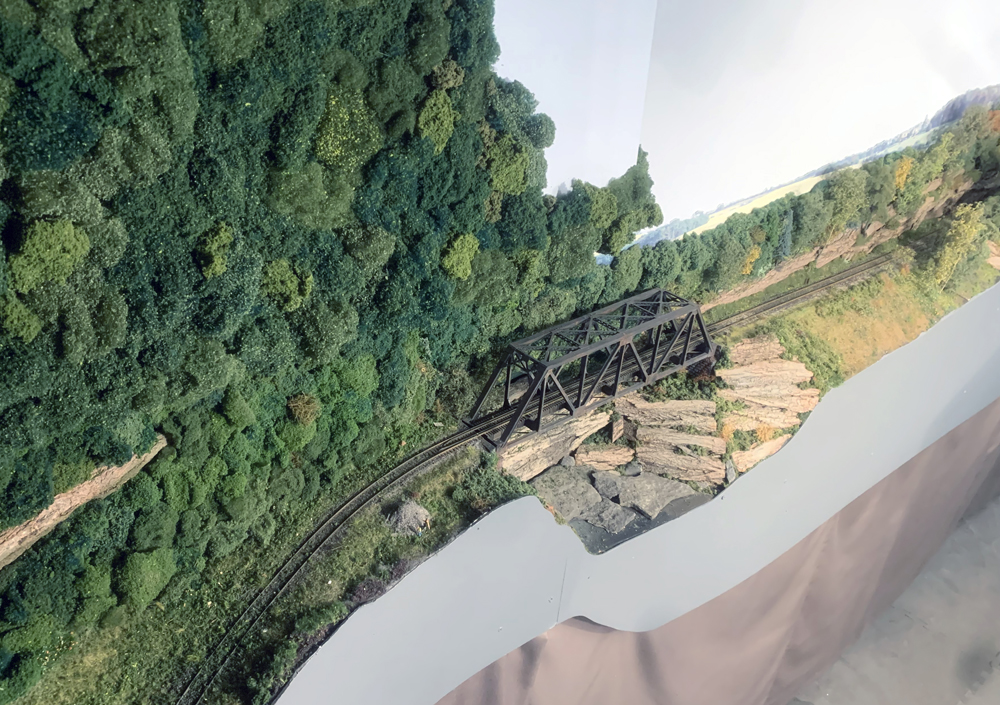
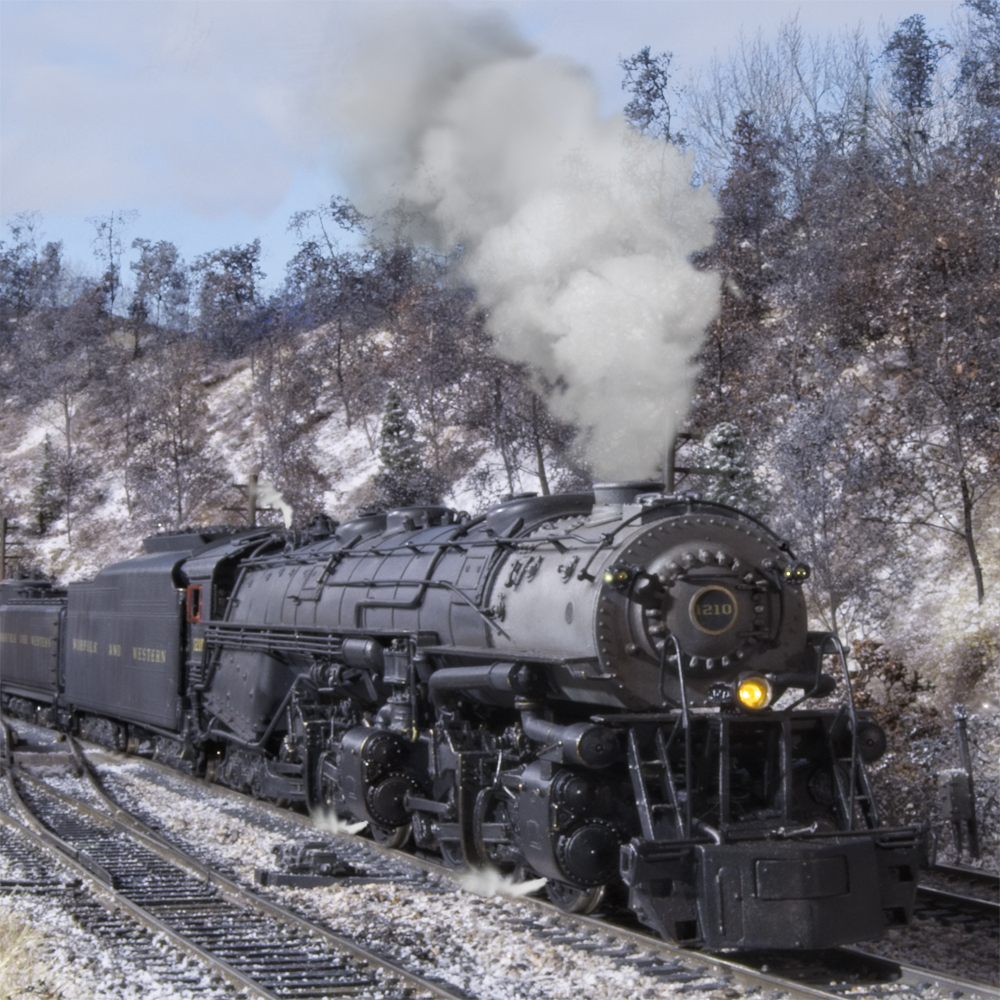
Minoa & Euclid’s ME-1 is running through newly renovated scenery just days after major home construction on Dave’s Onondaga Cutoff. Careful preparations and protective measures helped to ensure not only successful construction, but also no layout damage. Dave Abeles photos
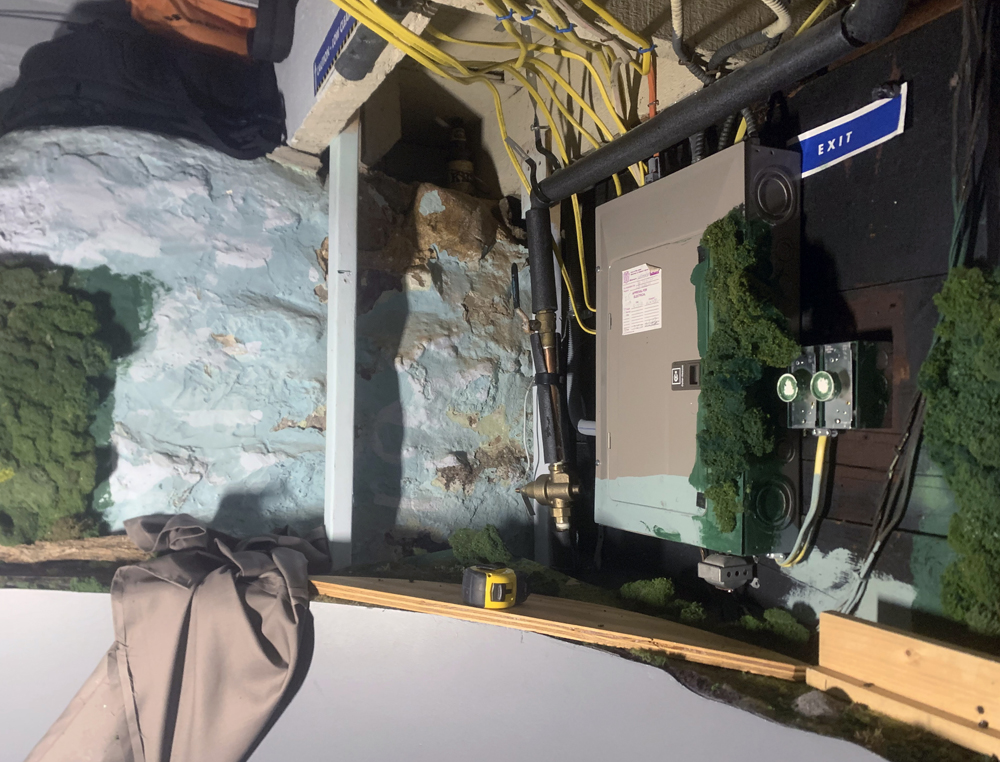
When my wife and I decided to go ahead with installation of a ductless air conditioning system for our home, the basement that contains the Onondaga Cutoff was the location of extensive preparations and work on the electrical system to support the new machinery. Contractors — full size ones — needed to run new electrical and copper lines above and around the railroad and to replace the entire electrical panel immediately above part of the OC. However, all was not lost. With careful consideration of what aspects of the layout would be affected at different stages, I was able to minimize damage and cleaning needed after construction.
First, like any construction project, a walk-through before work begins is essential. We had several contractors quote the job and each one was required to make a site visit first. I took them through the layout space and described that we needed to protect it as much as feasible. Once we selected the contractor, we also worked with the town to ensure building permits were filed and work was inspected to comply with local codes. With the start date finally set, I took a day off work to install protective measures around the layout before the work started.
Some of these same concepts may well help you if you realize that your layout will be below, near or around extensive construction. Take it from me: a few minutes preparation will save hours of cleanup (or repairs) later!
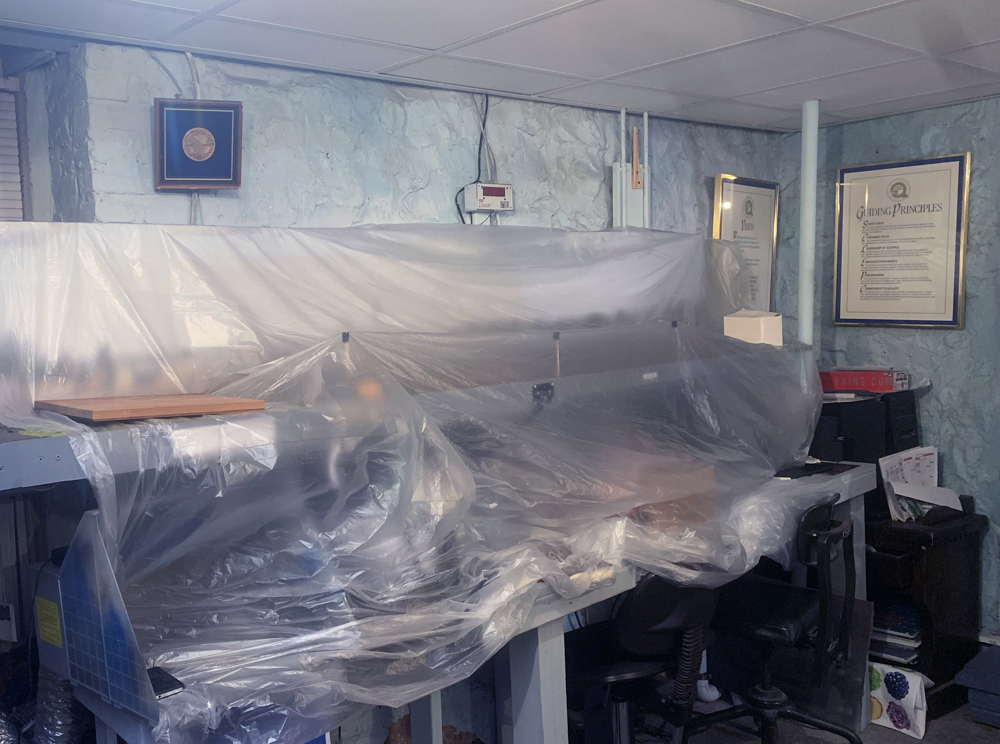
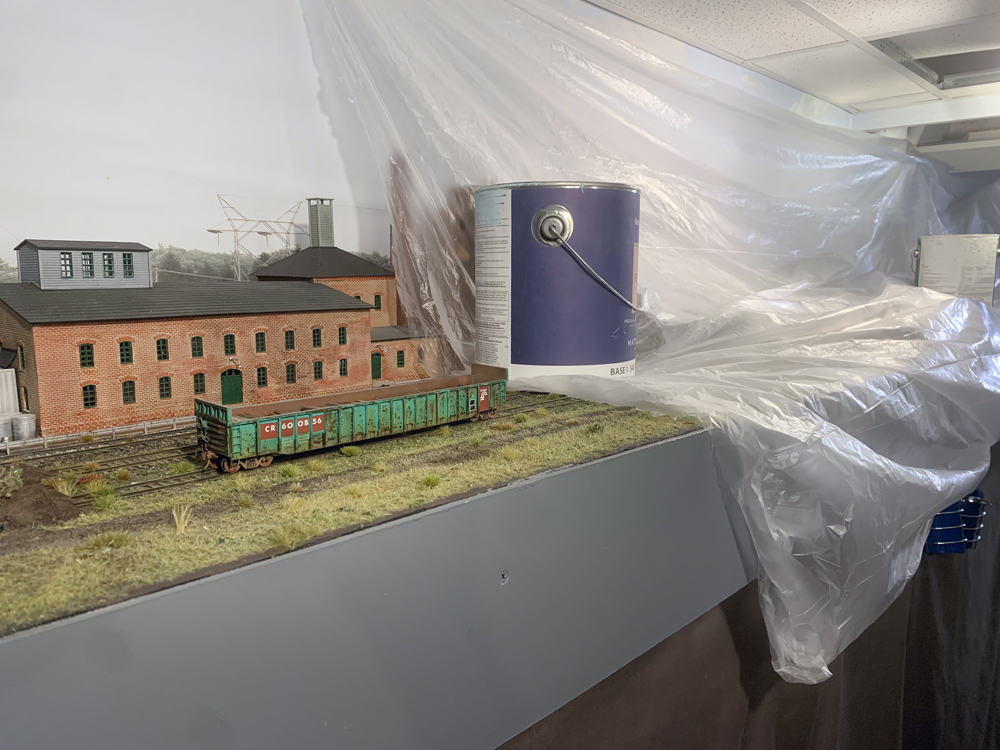
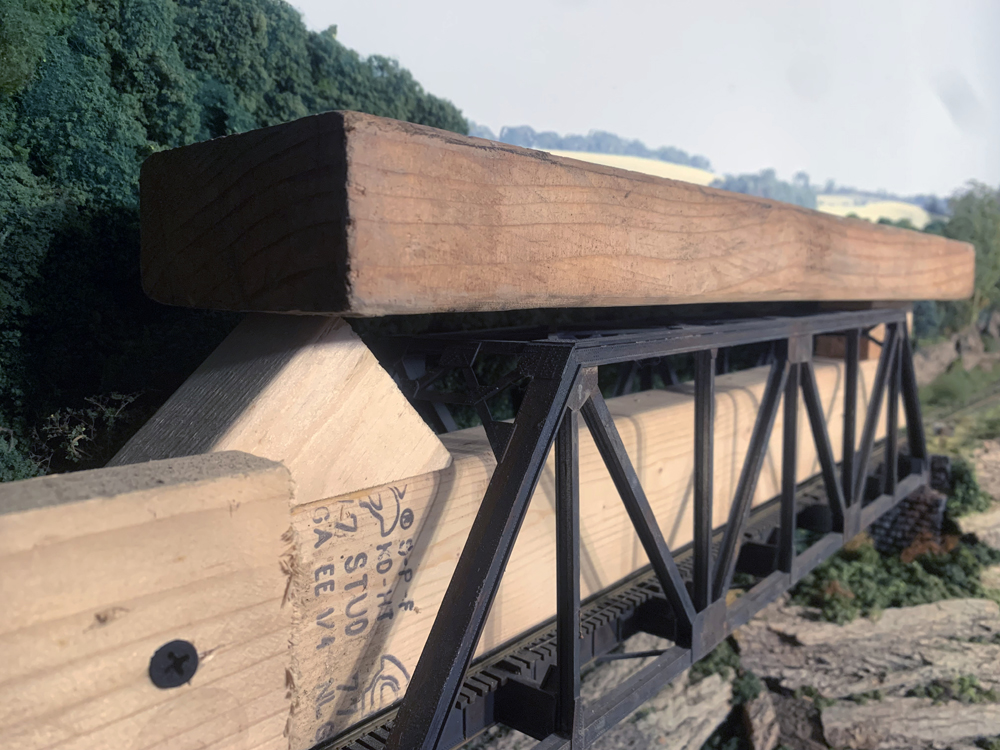
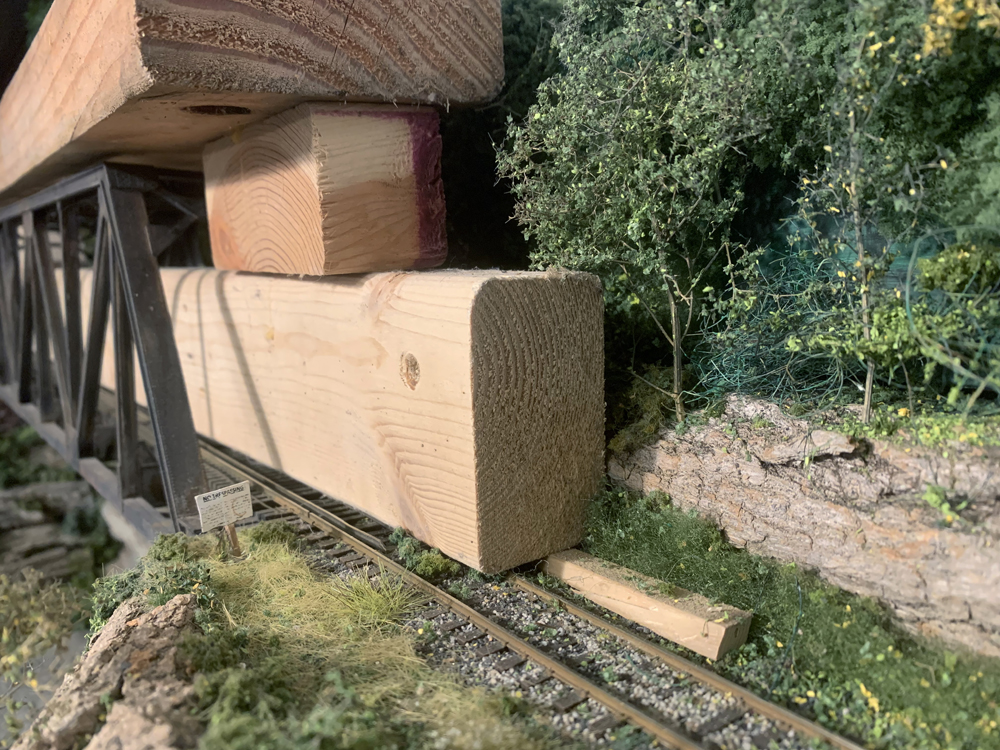
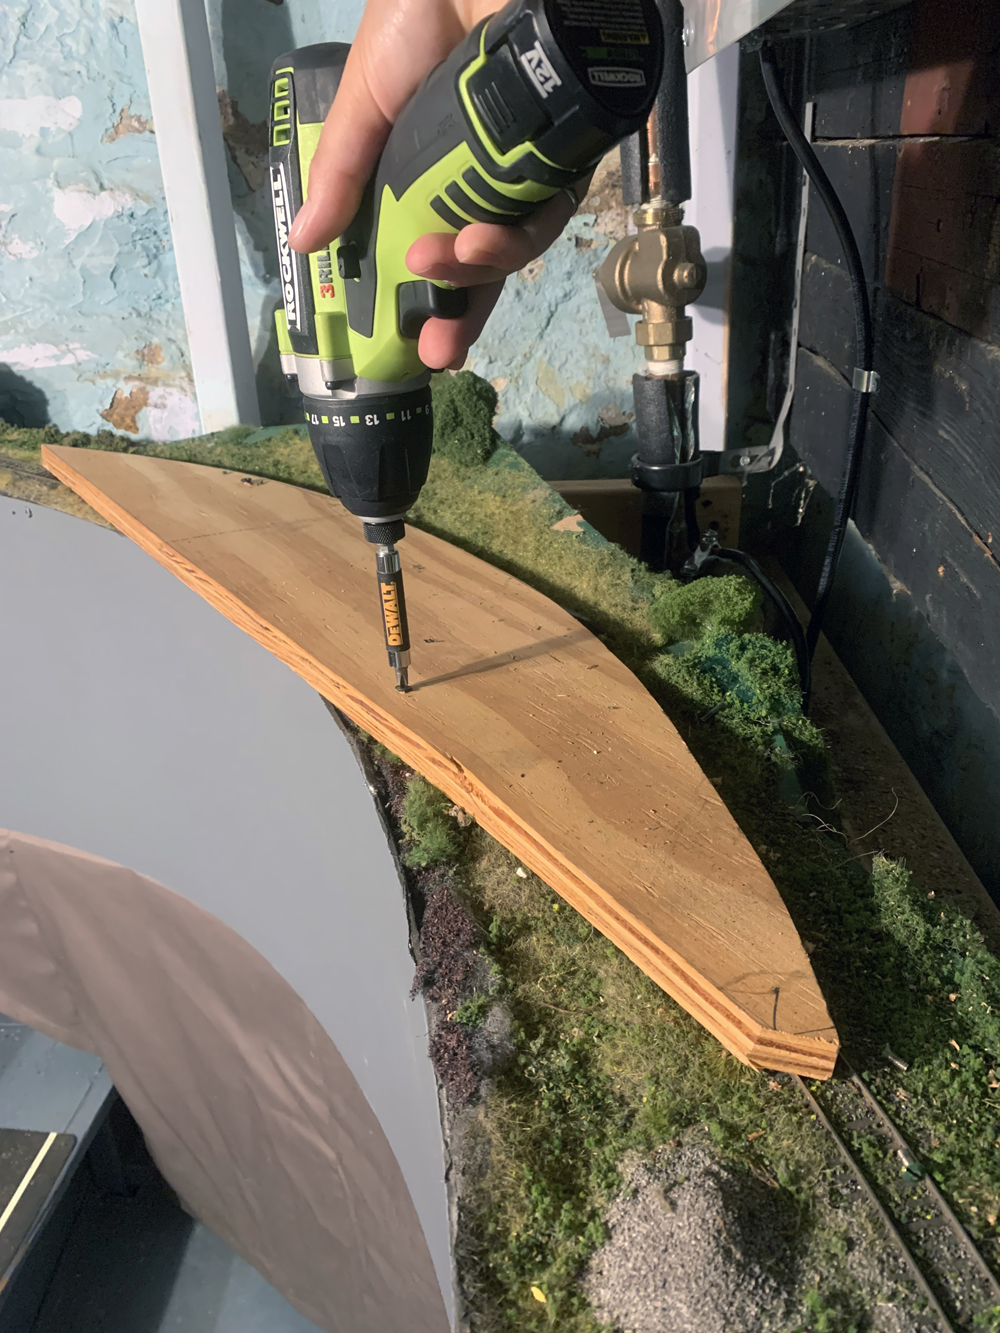
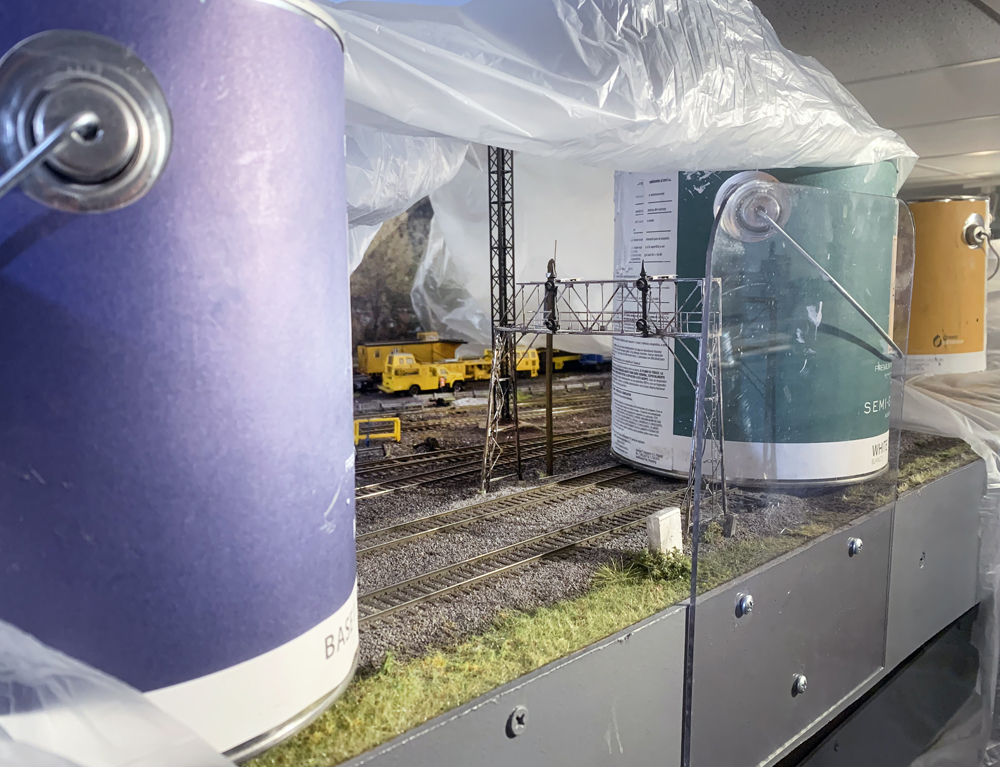
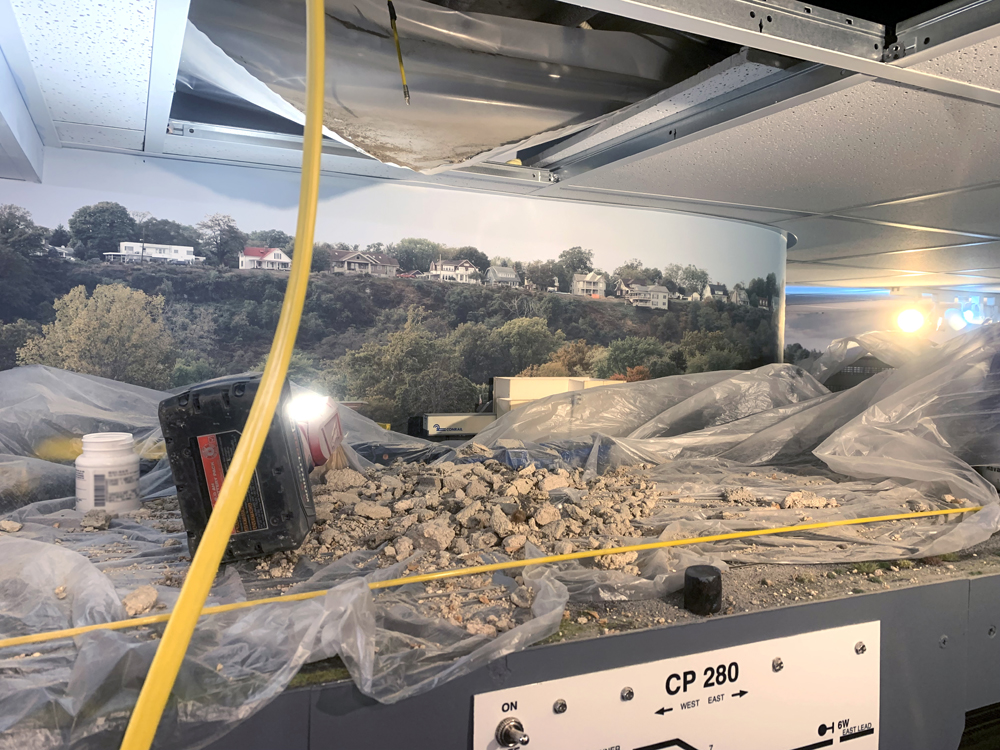
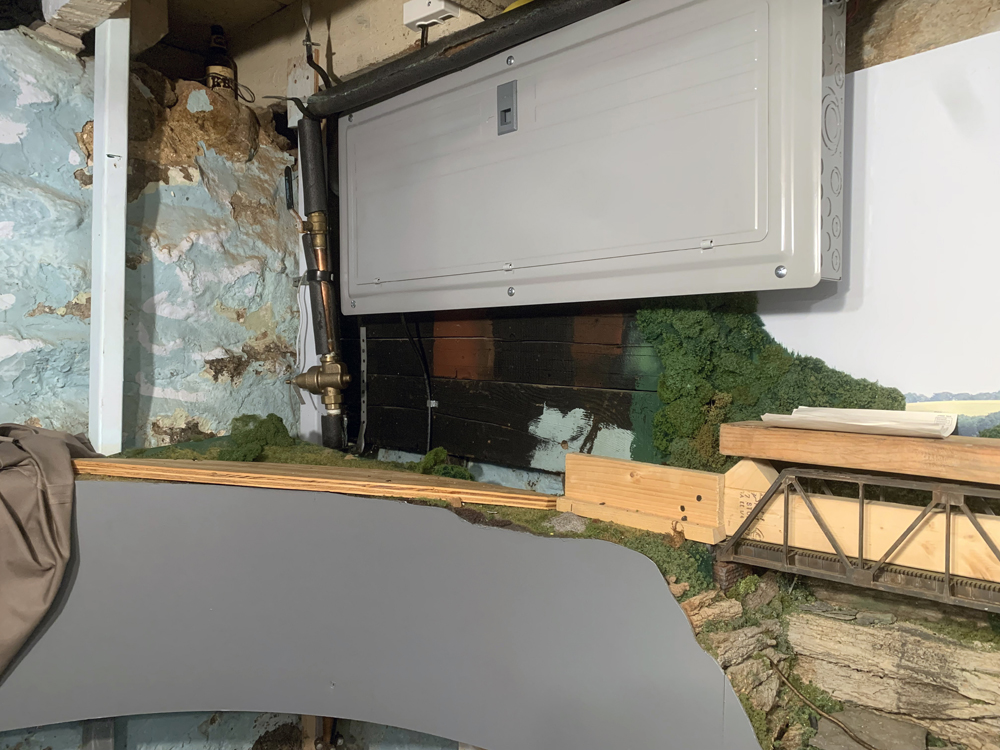
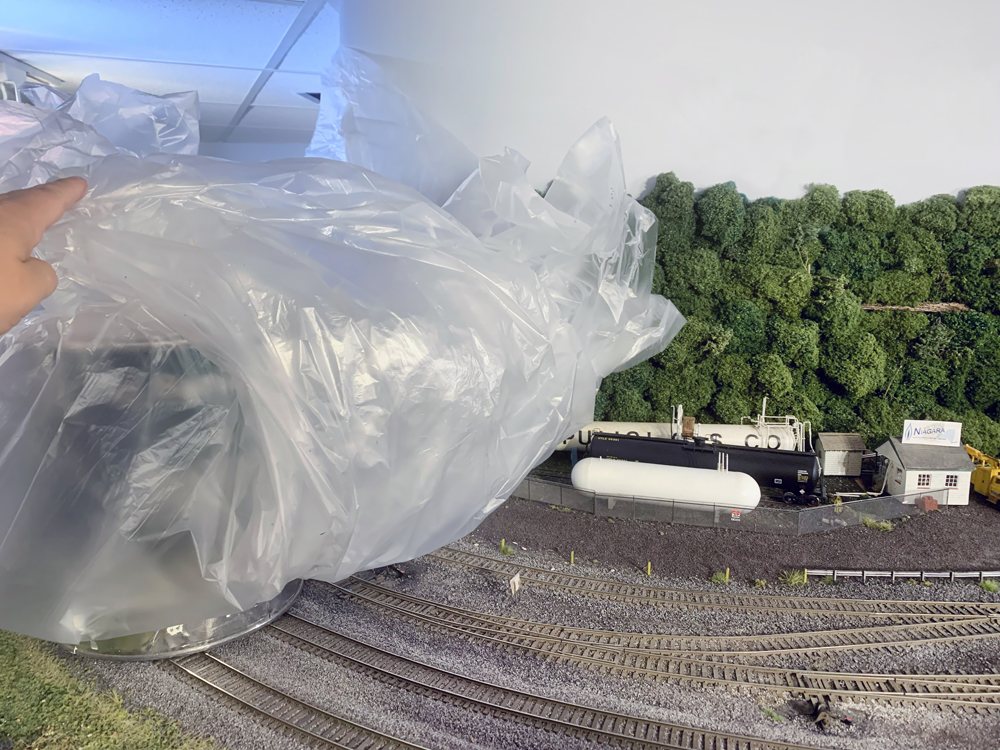
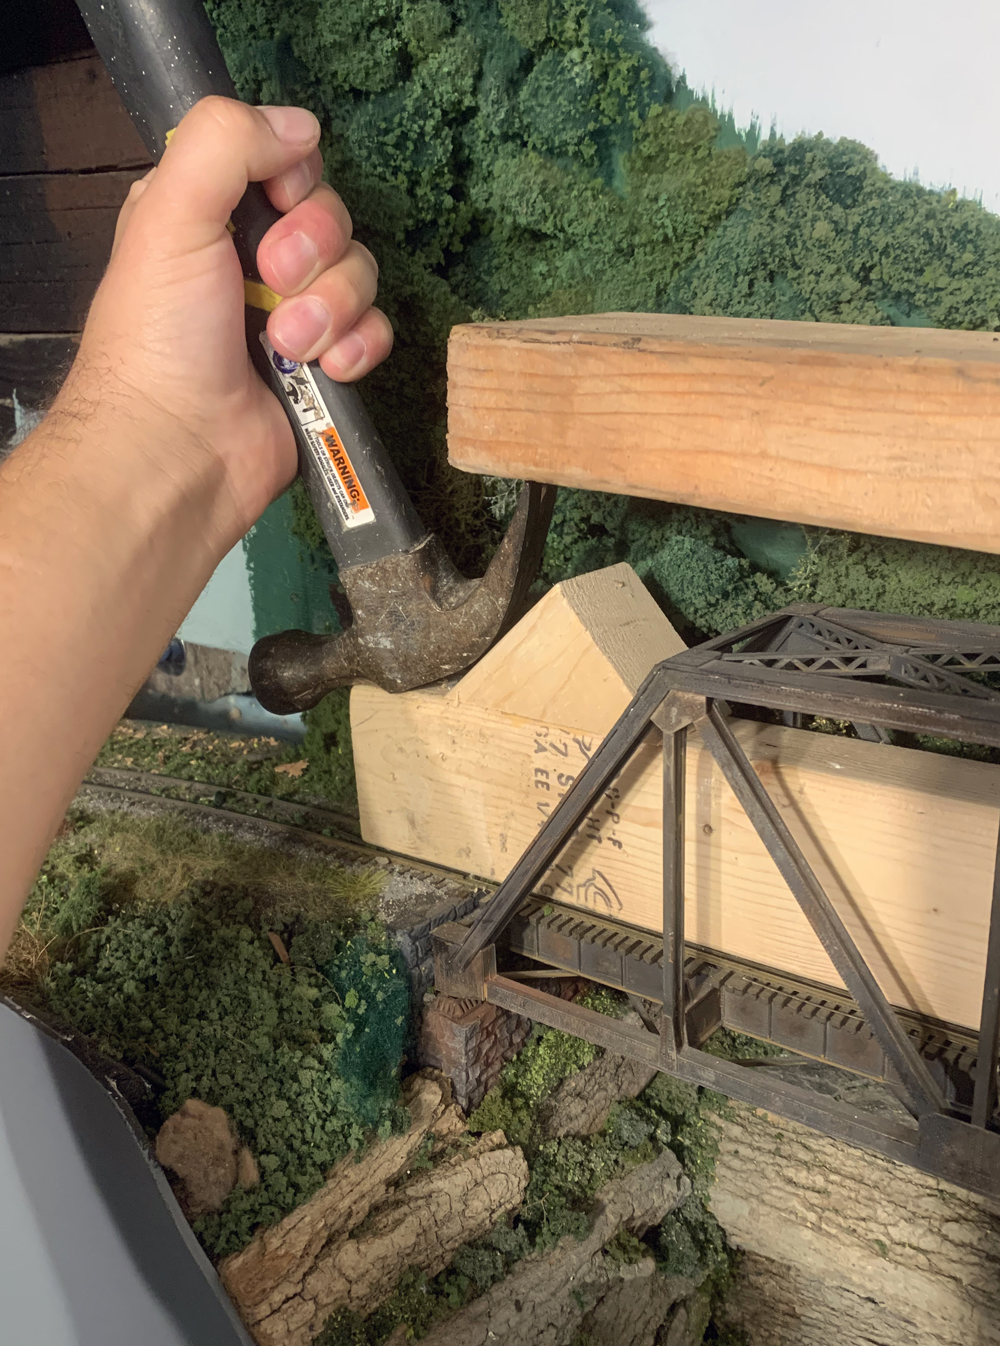
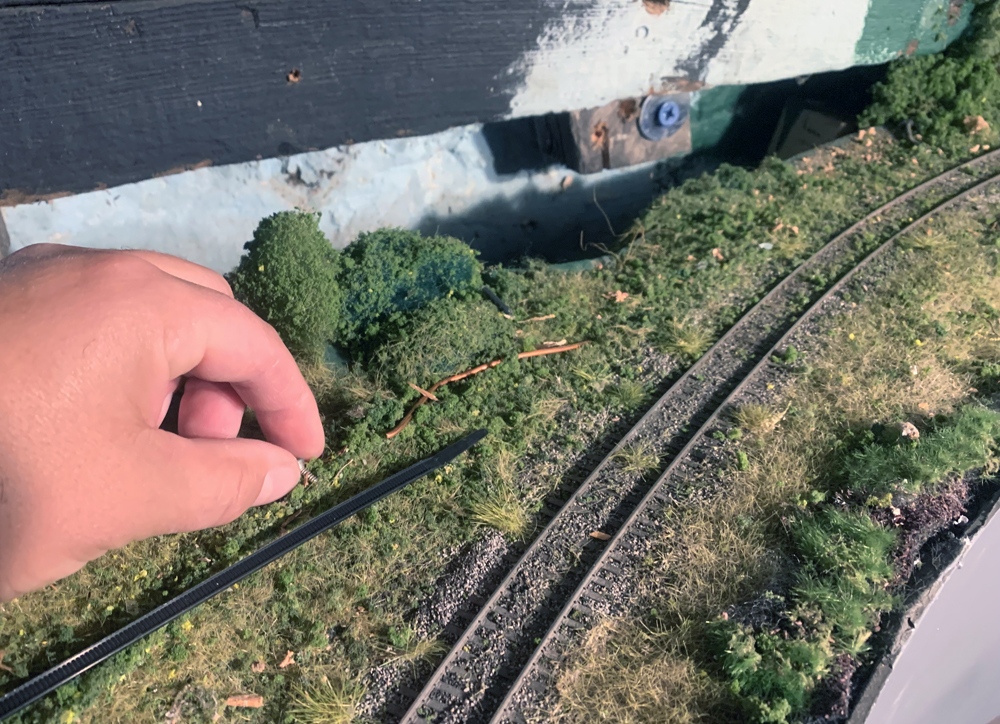
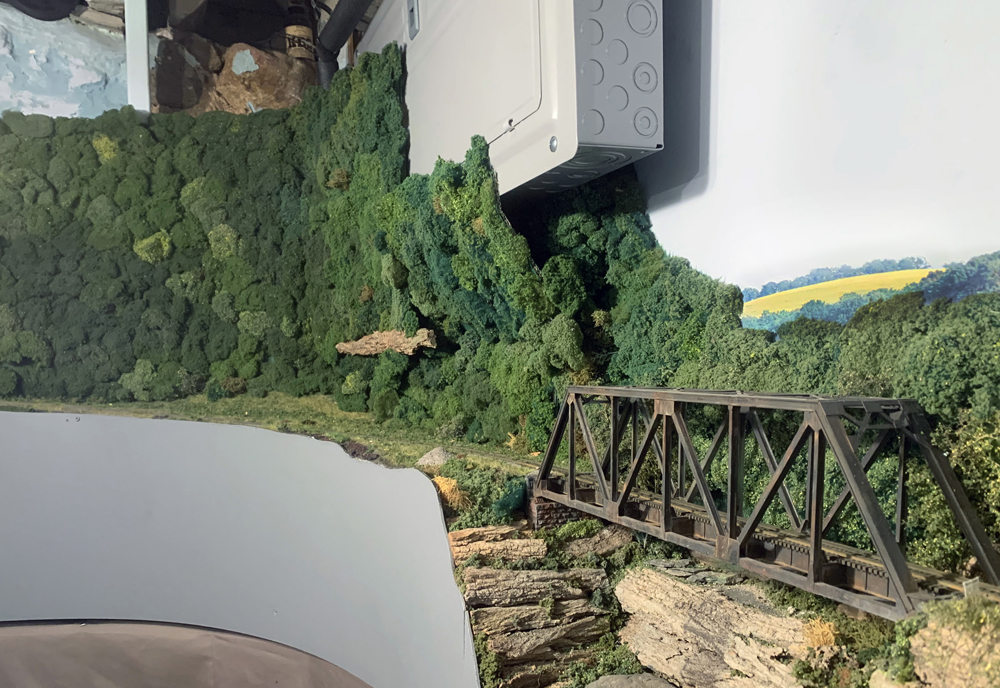
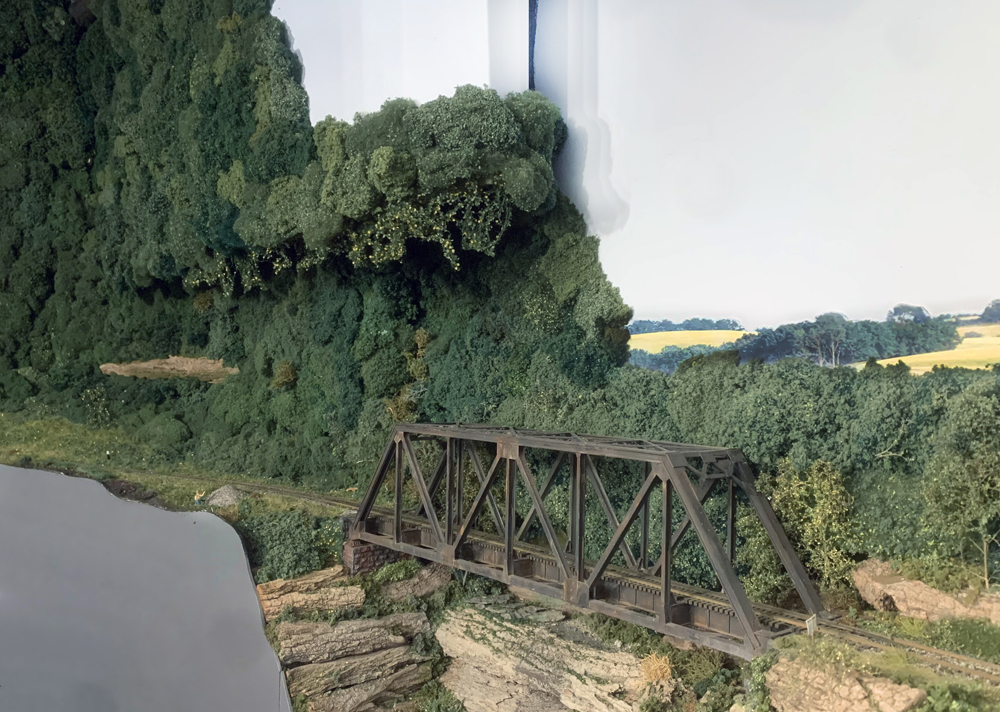
The old electrical panel had suited the home well since Dave purchased it in 2004. He removed the modular backdrop before a walk-through with the contractor. Unfortunately, upon inspection, the old panel did not have the number of breakers needed to supply the new air conditioning units. There was no way around it: this would be a big project.Once plans were approved and permits filed with the local code officials, a date was set to start construction. Much of the preparations can be made ahead of time. Activities like removing models from the layout, adding dust covers, and protecting track and permanent structures should all be accomplished before a contractor starts work. Here we see simple painter’s plastic sheeting that Dave uses for a disposable dust cover as it appeared when installed over the island yard track.Euclid Yard would be adjacent to construction, not under it. Dave used old paint cans and more painter’s plastic sheeting to ensure dust and debris would not affect any permanent structures on the layout surface. Rolling stock, such as Conrail gondola 600856 seen here, should be removed and stored safely off the layout surface to ensure no damage.Unfortunately for Dave, the area where the new electrical box would be mounted was right above the big through-truss bridge over Onondaga Creek on the M&E. The bridge cannot be removed without major surgery. How can we protect it from harm? Dave used lumber scraps from previous jobs to construct a timber frame designed to create a sort of wooden sarcophagus around the bridge. Wood pieces were attached directly to the subroadbed with screws through the scenery, carefully placed to avoid track and details below. A top piece relies on a few small spots of carpenter’s glue to secure the joints.The goal of the wooden sarcophagus is to support the weight of a tool or the whole electrical cabinet in case of it slipping or dropping during construction. A key is to ensure the weight of the sarcophagus is not bearing on the track itself. Dave used timber shims inserted below the main member to ensure the frame rested on the subroadbed.Other track in the work area was protected with 3/4” plywood scraps screwed in place over the scenery. If a heavy tool or panel fell on the layout, the wood would help distribute the load of the impact to minimize damage to the track.On a railroad as far along as the Onondaga Cutoff, there are certain things that can’t be moved out of the way during construction. Signals, light towers, lit structures, trees — all of these must remain. To protect against not just dust but also accidental impacts that could destroy a fragile signal bridge, Dave again placed old paint cans adjacent to each side of those objects, including here at CP 280.Ceiling panels can be removed ahead of time, which can help minimize damage. However, as the crew ran new wire, pieces of plaster wall crumbled and landed on the layout. What a mess! It was hard to witness the layout space in this condition, but fortunately things got better from here.After two full days of work, the new panel has been mounted in place. Normally it would have been mounted vertically, but that would have required severing the M&E main line. Thankfully local code does not forbid horizontal mounting and the contractor worked with Dave to ensure the best possible placement of the new breaker cabinet.Even with the best preparations, some cleanup is inevitable. The contractor worked hard to ensure minimal damage to the railroad and nothing was damaged — but plaster dust is insidious. CP 280 seen here appears to have had an early dusting of snow! Careful vacuuming was the name of the game to remove dust from the track, scenery and accessories in this area.With the heavy work finally complete, it was time again to return the railroad to operations. Dave started by disassembling the sarcophagus on the Onondaga Creek bridge. Thanks to sparing use of glue, a quick pry with a hammer popped the top piece loose. Screws were removed from the other protected areas and all protective wood was lifted off the layout.The best cleanup by contractors will still leave an owner a few items to handle. Dave removed a few spare screws, wire clippings, zip tie straps and connectors from the foliage around the work areas. Everything received a gentle vacuuming before running any trains.The new panel installed, all is now in working order. Just as on the prototype, before the layout was returned to regular service, Dave ran a few closely-supervised trains to test the track and signals to ensure no unseen damage would be discovered in operations. The new panel presented a new challenge for scenery.While not a perfect solution, future access to the breaker cabinet demanded a removable cover. Dave used cardboard sheets and covered them with a fiber-ball forest canopy and scale leaves. On the back, he hot-glued several strong magnets to the cardboard, which in turn hold the “forest” in place to hide the panel.As viewed entering the layout room, the new cabinet is nicely hidden by the scenery. Thanks to the protective measures installed, no repairs were needed to trackwork or structures — the Onondaga Cutoff was back up and running after just a few evenings cleaning up. At the next operating session, no one even commented on the new panel — which was the best possible outcome.