


First, you’ll need to run a test train over each track section and turnout route to pinpoint locations where locomotive headlights flicker or rolling stock derails.
Your test train should consist of reliable rolling stock of varying lengths. The locomotive should be smooth running with all-wheel power pickup. The cars should have correctly gauged wheels and couplers mounted at the correct height with their trip pins (“air hoses”) properly adjusted. Once you’ve run the test train around your layout and located the problem areas, you can tackle them one by one.
A layout tune-up involves three basic steps: cleaning track and rolling stock wheels, adjusting wheelsets and couplers to National Model Railroad Association standards, and then checking and correcting all the layout’s track and turnouts. Follow this systematic approach and you’ll have a consistently smooth-running layout.
Checking track gauge and rail alignment
Out-of-gauge rails and poor rail alignment between track sections are the most likely causes of derailments on straight or curved track.
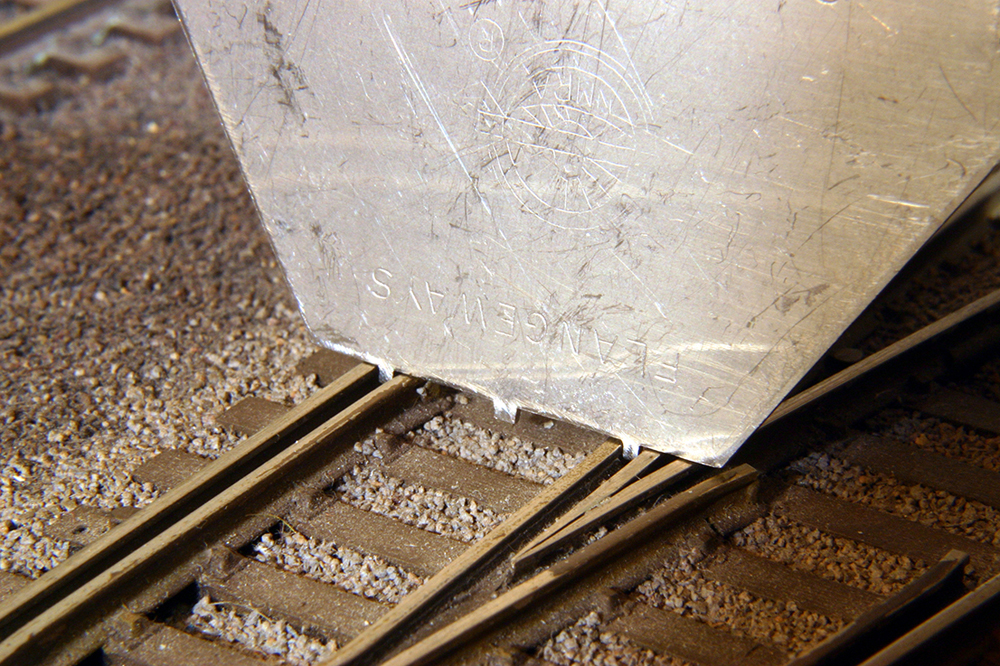
The easiest way to check for proper rail spacing is to use an NMRA multi-purpose gauge, as shown in the photo above. Even new track can be out of gauge. If a section has severely out-of-gauge or kinked rails, it should be replaced.
For out-of-gauge flextrack, I chisel off the cleats holding the rails to the plastic ties in the problem location. Then I push the rails in gauge and spike them in place. You can spike a rail by holding a track spike in a pair of needle nose pliers, then pushing it about halfway into the roadbed. Then use the closed tip of the pliers to push the spike all the way down so that the head of the spike holds the bottom edge of the rail.
Another common cause of derailments is poor alignment between two pieces of track. Rail ends and tops should be perfectly aligned, forming a smooth path through the joint. For out-of-alignment track sections, I carefully bend or file the rail as needed. Then I spike the rails in position.
Rail joiners can also act as shims between the rails and the ties, forming a bump at the joint. To fix this, I trim a notch in the ties or use ties made of thinner material underneath the joiners.
When initially laying your track, you can minimize alignment problems through curves by joining together two pieces of flextrack and soldering the joiners in place.
You’ll need to remove a few ties on each side of the joint, but you can replace them after laying the track. You can then bend this extra-long piece of flextrack to form a smooth-flowing curve.

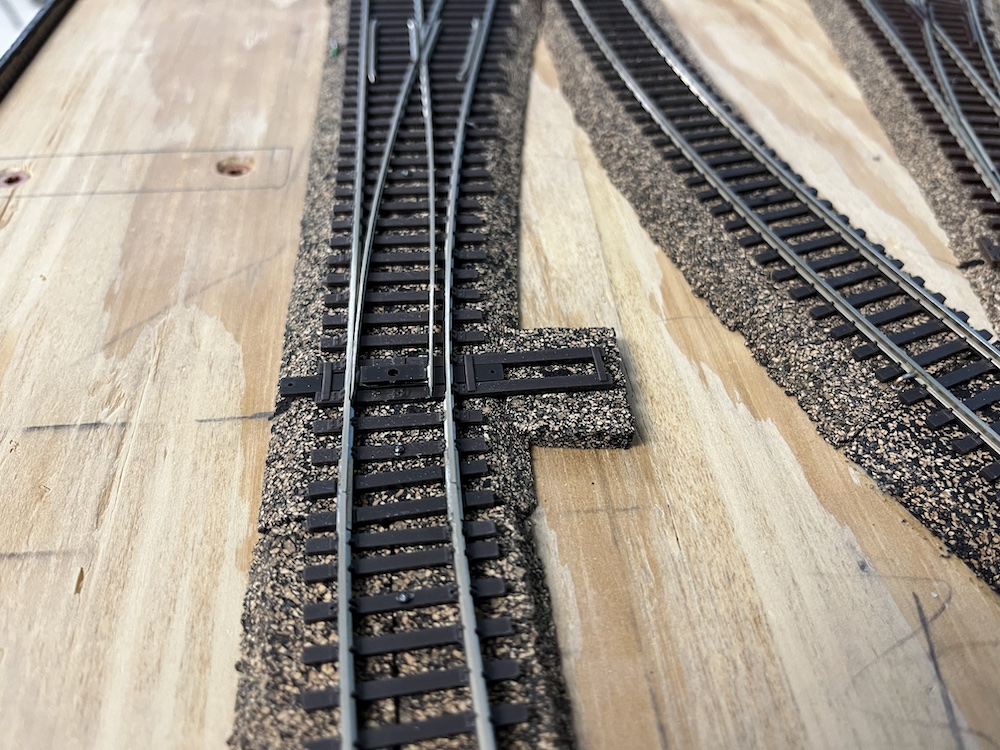


What is the manufacturer and model of that turnout, please? I notice that the frog is very long which I’m interested in because I notice there is a lot less movement of the trucks going up and down when the frogs are nice a long.
I had bought about 300 feet of HO flex track for my layout. some was used, and some was new.
One thing I learned, you should check the gauge of every piece of track you put down before fastening it down. Had over 100 feet of new track that was out of gauge, too wide. It worked on straight track but everywhere it was on a curve, trains derailed. One reason not to solder rail jointers if there is a chance your going to have to replace track sections. And just nailing flex track is sufficient, cause it will get glued when you apply ballast.