Model railroad benchwork is the support structure that hold up our train layouts. It’s traditionally made of wood with a plywood surface, and this is fine for many builders. But sometimes, there’s a need for non-traditional model railroad benchwork.
Two parts: support structure
Benchwork can be split into two parts: the framing that supports the model railroad, and the surface the trains run on. Typically, the support structure is some sort of boxed frame, which we call open-grid benchwork, or a series of joists resting on a support beam. The most popular form of support beam is called an L-girder, made by gluing and screwing a 1 x 2 (or 1 x 3) flange to a 1 x 4 or larger piece of dimensional lumber to form an L shape. This beam is flipped over so the flange is on top, allowing the joists to be screwed in from below. The inverted beam is attached to legs, often 2 x 2s with cross-bracing. The inverted beam allows adjustment to the joist position even after the surface of the layout has been laid down.
But sometimes, an L-girder is too bulky or heavy for the layout design or the space the layout will be built in. If the layout is going to be in a shared living space, you might want some attractive under-layout storage to help the model railroad blend into the room environment.
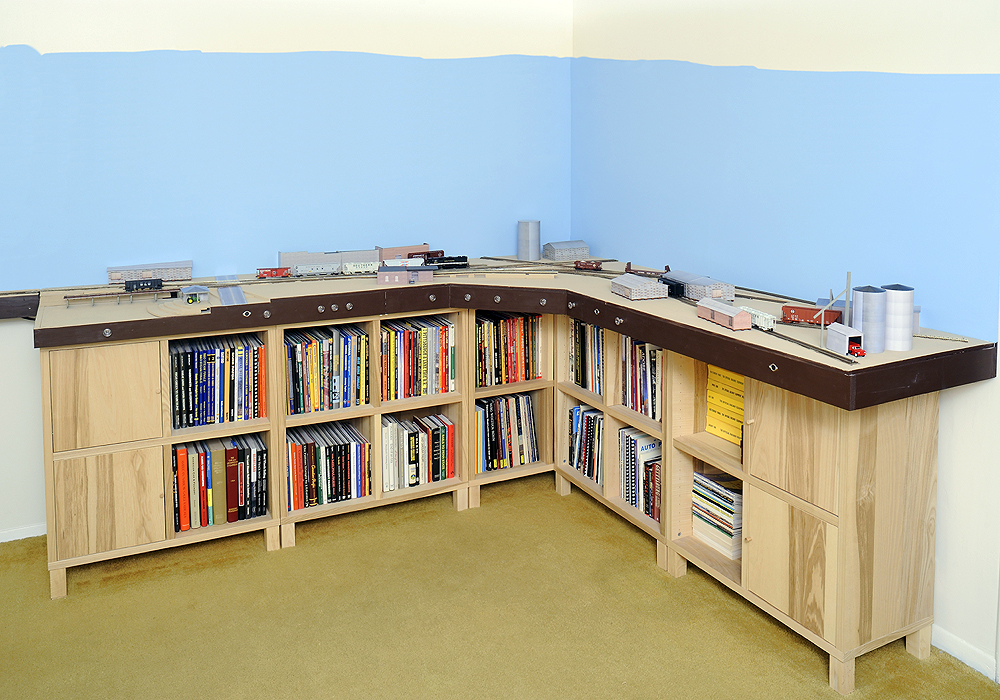
Enter the Ikea bookshelf support. Several modelers have chosen simple, sturdy Ikea bookshelves to support their layouts. The surface of the layout can be as simple as a hollow core door. If you prefer, an open grid of 1 x 3 can be built, then topped with traditional plywood, or slightly less traditional extruded-foam insulation board.
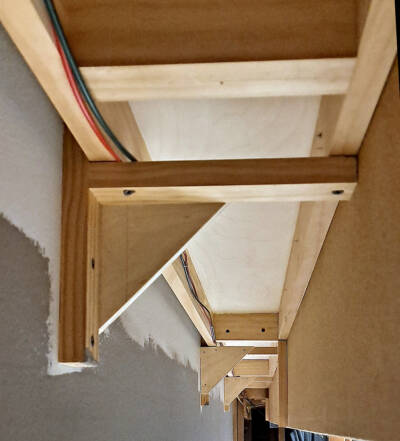
Sometimes, you just want a shelf layout without any supports going to the floor. For most purposes, various shelf brackets can be used. The most basic is the steel angle bracket you can pick up at the hardware store or home center. These standalone parts need to be screwed into a joist in the wall to work well. If your layout is in a basement, the angle brackets work best if your walls have been finished. They’re fairly unobtrusive and are quite flexible as far as height is concerned. They can support a lightweight open grid, hollow core door panel, extruded-foam insulation board panel, or just about any other surface you might like. Other shelf systems using rails and brackets are also available. Homemade brackets are another alternative.
If you want a clean look, check out Lance Mindheim’s floating shelf design in the October 2016 issue of Model Railroader. Lance’s system uses an open grid of 1 x 3 pine and ¼” lattice to make a lightweight shelf filled with extruded-foam insulation board. With its narrow profile, it appears to float on the wall.
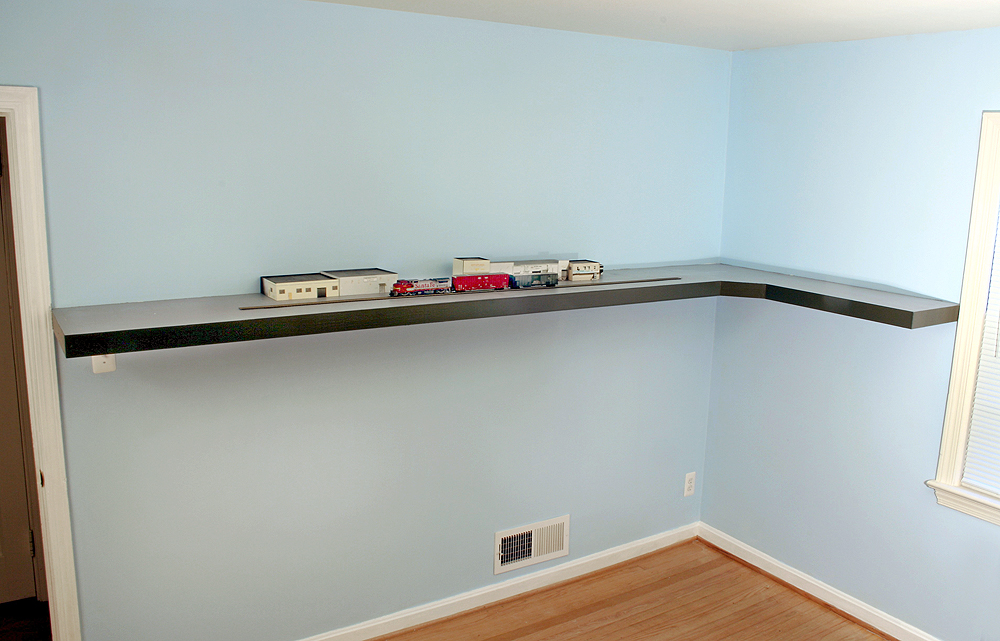
Lance Mindheim wanted a clean look for this home-office shelf layout, so he developed a method to create floating benchwork using poplar, pine, extruded-foam insulation board, and lath. Lance Mindheim photo
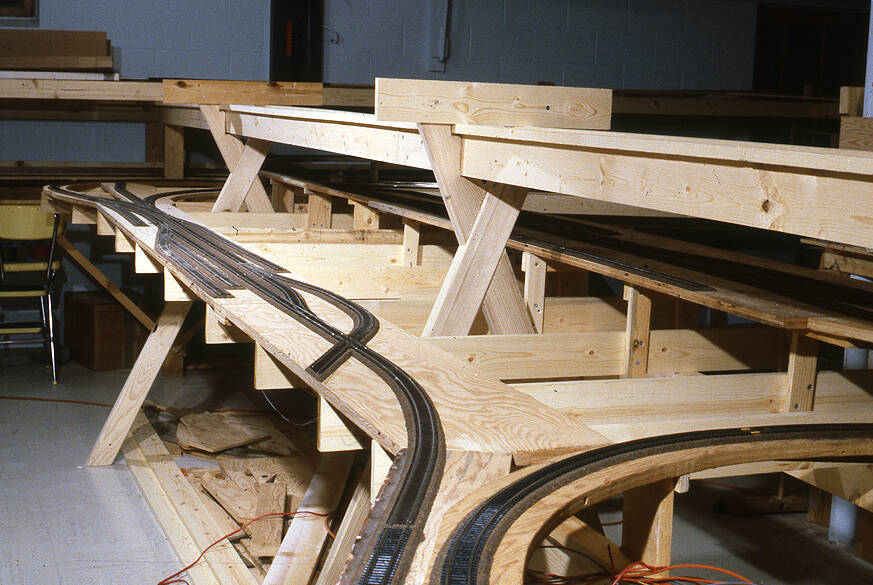
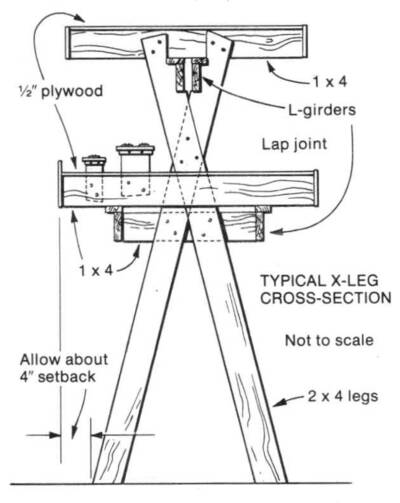
Shelf designs often work well with double-deck layouts, when you reach a peninsula, there’s another option from Model Railroader’s late Senior Editor Jim Hediger, who found inspiration while taking care of a household task.
Jim wanted to build his upper level support without needing a wall down the middle of his basement, or with legs from the upper level intruding on the lower level. While putting away the family picnic table for the winter, he realized the X-shaped legs were the solution. The lower level was situated where the legs cross, and the ends provided a wide, sturdy base at the floor, and a wide support at the upper level.
Part two: subroadbed options
Once you have your support structure, you need a surface on which to lay track. Traditionally, plywood from ½” to ¾” thick is used. As the cost of plywood has increased, some have turned to Oriented Strand Board (OSB). Be sure to put the smooth side up, and be aware that it can vary in thickness.
But there are other options available. One of the more common in recent decades is extruded-foam insulation board. Available in thicknesses from ½” to 4”, it’s easy to cut, lightweight, and can be shaped into scenery contours as well.
An extendable wallpaper knife is a great tool to cut out sections of foam board as you can make it long enough to cut through even 2” foam. Take your time and make several passes for a cleaner cut. Another option is a hot-wire foam cutter. Make sure you work in a well-ventilated area and wear personal protective equipment while cutting foam. Woodland Scenics offers a kit and others are available as well.
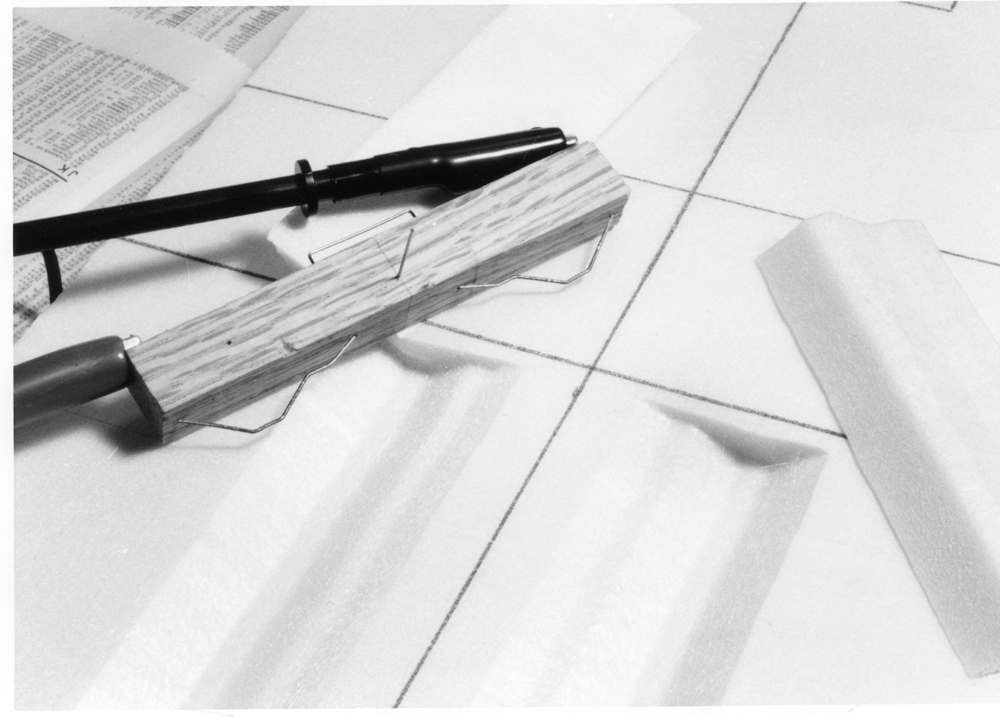
Custom wire shapes can be created to allow special cuts to be made. In the June 1994 issue, Bill Darnaby, builder of the well-known HO scale Maumee Route, shared his plans for a wire cutter that would cut the complete roadbed profile into his layout surface.
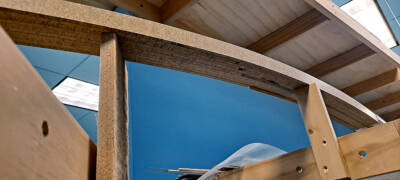
Spline roadbed has its adherents as well. It can be made from several materials. Tempered hardboard, pine lath, and Homasote are popular choices. In the cases of Homasote and hardboard, sheets of 4 x 8 material are cut into strips about 2” wide, then laminated together during construction. Bill Sornsin’s Great Northern/Northern Pacific layout uses a variety of subroadbed materials, including hardboard spline in areas where the track goes through curves. It’s a great choice for a curving, single-track main line.
Bill is also experimenting with drywall. He said he likes it for straight runs of track, known as tangents, where all he has to do is score and snap the drywall into strips wide enough for the intended number of tracks. He laminated it to hardboard to add extra support, and to provide a place for switch machines to mount. Others have used drywall on its own as a subroadbed and layout surface.
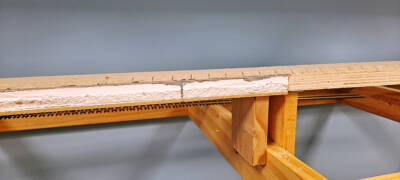
Traditional methods still work, but everyone’s situation is different, so sometimes it makes sense to take a look at non-traditional model railroad benchwork.


