How To N scale trees by the bucket

N scale trees by the bucket

By Angela Cotey | January 22, 2010

| Last updated on November 3, 2020


How to make N scale forested hillsides quickly and easily for your model railroad

Email Newsletter

Get the newest photos, videos, stories, and more from Trains.com brands. Sign-up for email today!

For additional scenery tips, don’t miss Essential Model Railroad Scenery Techniques from Kalmbach Books.

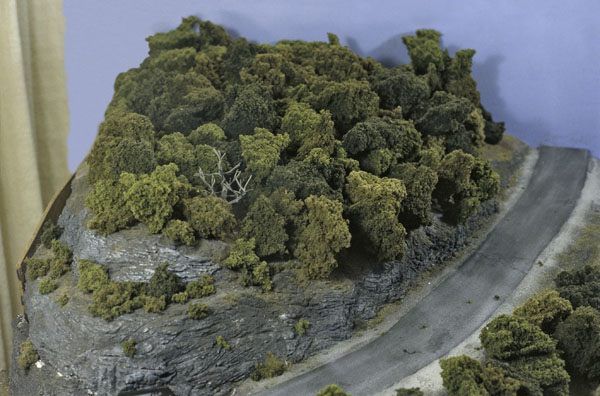
No muss! No fuss! Just add the ingredients, mix thoroughly, and pour yourself a hillside full of trees. Believe it or not, it really can be just about that simple.

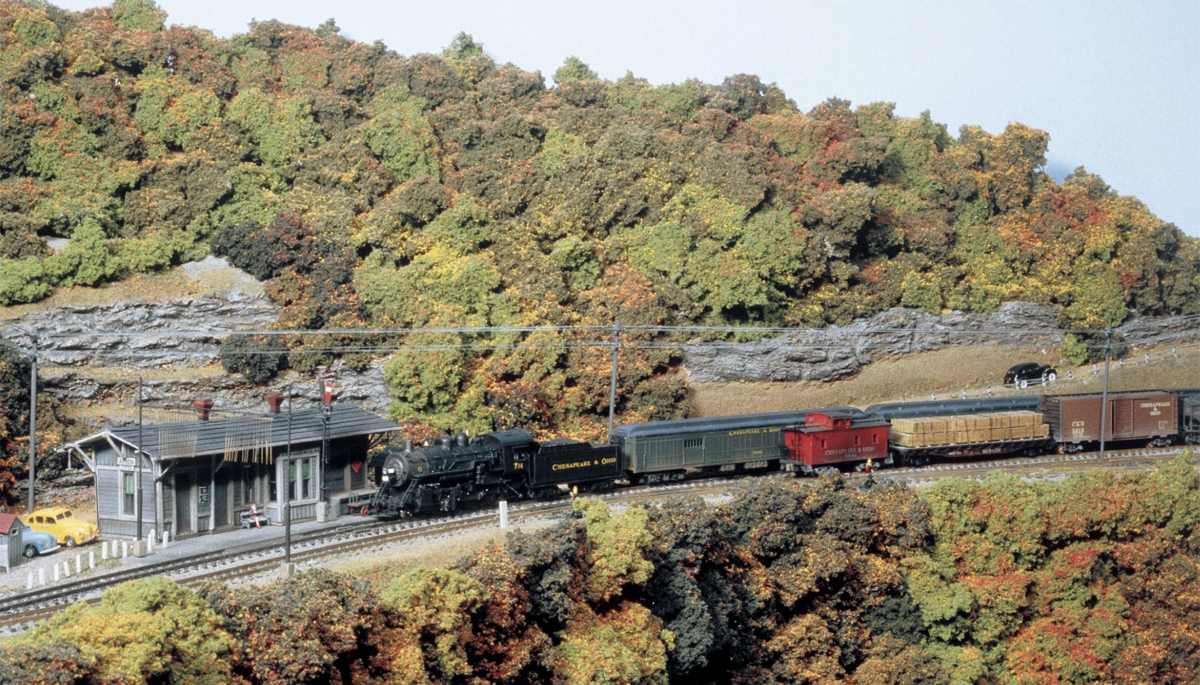
I came up with my scrambled-trees technique when I wanted to model deciduous forests on my N scale Midwestern layout. The thought of making all the trees I would need individually seemed like a lot of work. But when I noticed how real deciduous forests looked, I realized that during summer and early fall it’s mostly the leafy tree canopy that’s visible rather than the branches and trunks.

Many people have modeled this look effectively by making puffball trees, gluing poly-fiber balls to their scenery and covering them with ground foam. However, I wanted something that had more variety and was quicker to complete. While my finished method still uses a few fully modeled trees, the bulk of my forested areas are made with Woodland Scenics clump foliage.

Getting ready to scramble
My forest-making technique has just a handful of steps. As shown in step 1, I begin by determining the area to be covered with trees and creating a boundary for the forest using nails. These can be just about any type of 11/2″ to 2″ nail, but you’ll want to paint them a dark color to simulate tree trunks. Hardware stores and home centers sell painted paneling nails in a variety of colors and lengths that would work well for this application.

Space the nails about 1″ to 2″ apart. For flat areas, you’ll need to completely ring the space. On hillsides, however, as shown in step 1, you need to place the nails only at the bottom of the slope and on the sides where rock outcroppings or cliffs will show through. If you use foam scenery like I do, you can simply press the nails in place. Otherwise, you may need to glue them to get them to stand straight.

If you’re building a tall forest, you’ll want to add a filler under the tree canopy to save on foliage clumps. Step 2 shows how I layer foam blocks under the canopy for flat areas and hillsides. Round the top edges of the blocks with a knife or sanding block, and then glue the foam fillers to the layout. Paint the foam a dark green color, since it will show through some of the gaps in the clumps. Finish the surrounding scenery before proceeding.
With the nails, foam, and scenery in place, I now add a few highlight trees, as shown in step 3. These are complete trees with trunks and branches and have more detail than the clump trees that form the rest of the canopy. I place a few tall highlight trees in the center of the open space, as well as some smaller highlight trees outside the nail boundary. Dead trees, made with bare armatures, also make good highlight trees. You can place them just about anywhere in the forest.
Filling in the canopy
To make the numerous treetops needed to finish the project, I use foliage clusters, made by Woodland Scenics. The firm offers this material in three different shades of green (light, medium, and dark), and I use equal portions of each for my summer trees. The clusters tend to interlock in the package, forming a solid foam brick, so you need to break them into pieces.

After making some medium-size tree clusters, I press these clumps onto the tops of the nails along the outer border, as shown in step 4. I randomly choose the colors as I go, to avoid making any patterns. You shouldn’t need to glue the clusters to the nails.

Once the outer border is finished, I break the remaining foliage clusters into an assortment of different-size clumps. (Be sure you don’t make them too small.) I dump all these clumps into a large bucket and scramble them together until I’ve got a fairly uniform mix of colors. From there I place handfuls of the clumps into the open forest space. (You could pour them in as well.) It’s easy to arrange the clumps to suit the scenery, and I usually make sure clumps don’t pile up too high next to the highlight trees in the center, as shown in step 5.

Since the forest is a pliable mass, it’s easily modified. You could change your hillsides to reflect autumn by taking out the green clumps and replacing them with those in fall colors. You could do something similar for spring as well with the light- and medium-green clumps representing new leaves. And, should you eventually decide to replace the scrambled clumps with modeled trees, you can use the foliage clusters to make the new trees.

Now that my forests are done, I wish I could find some way to make my towns as easily!

25 thoughts on “N scale trees by the bucket

  1. Since I'm modeling Bald Mtn. near Farner, Tn. I'll be needing a lot of trees. This technique will sure help a lot.

  2. I'm new to the hobby and have spent lots of time and money fixing my layout after screwing it up with lousy scenery. This tip looks like something even I can do.

  3. SOUNDS LIKE A GREAT IDEA- AS I AM A NOVICE TO TREE SCENERY, IT'S WELL WORTH A TRY, SEEING MY N SCALE LAYOUT IS QUITE LONG.. THANKS….

  4. Great idea, I have a large hill side with a tunnel running thru, this jus made a whole lot easier (cheaper) to do..

  5. Im not a rich guy so this is an inexpensive way for a forest.Any more railroading on the cheep would be very helpful. thankx

  6. always a good series. i paint home interiors but clouds always seem difficult. might have it now. thx guys.

  7. Gee mate this sounds like a great idea, my son and I have built a shed in the side yard insulated it.Gybrocked it and air conditioned it nearly finnished building the benchwork for a double deck layout. We have been looking for an easy (or should I say lazy) way of making lots and lots (i guess well into the thousands) of trees to cover large areas of scenery and boy does this ever sound like a winner, thanks for the article.

  8. I have been dreading making up lots of trees, this will be a better way to make those hills green. Thanks for the tip.

  9. Great, I am starting over after a 15 year lapse in a hobby that haunts me daily on how am I going to approach my scenery plans. Thanks for the article

  10. Ryan the techniques discussed here in the article and in previous comments should work for o scale just as well. and if you guys that have questions of dust and such refer back on the trchinique i outlined here that we used ont the Crescent Lines. If you set up dowels right to contain the forest you dont have to glue each clump on. this allows you in later years to remove them easily for a touch up at the work bench and just replacing them on the layout. YOu can just collect the tired clumps and lightly blow them off or vacum the ol foam off and reaply fresh material then bring them back and replace them on the layout. over the span of years we found this method very durable and cost effective. even to the point of type of adhesive we used on the clumps to hold on the ground foam. we go and buy a case of the cheapest hairspray we can find and its more tha adequate for our purpose. you can usually get a good deal on hairspray at a local beauty supply. While there look around. I get makeup brushes for spreading balast and weathering, qtips that we all use and just so much other goodies. so.. check it out..

  11. Appalachia rules! Nicely done. Busily finishing a hillside on the M&WV and this was a timely article as this particular hillside is toward the background.

You must login to submit a comment