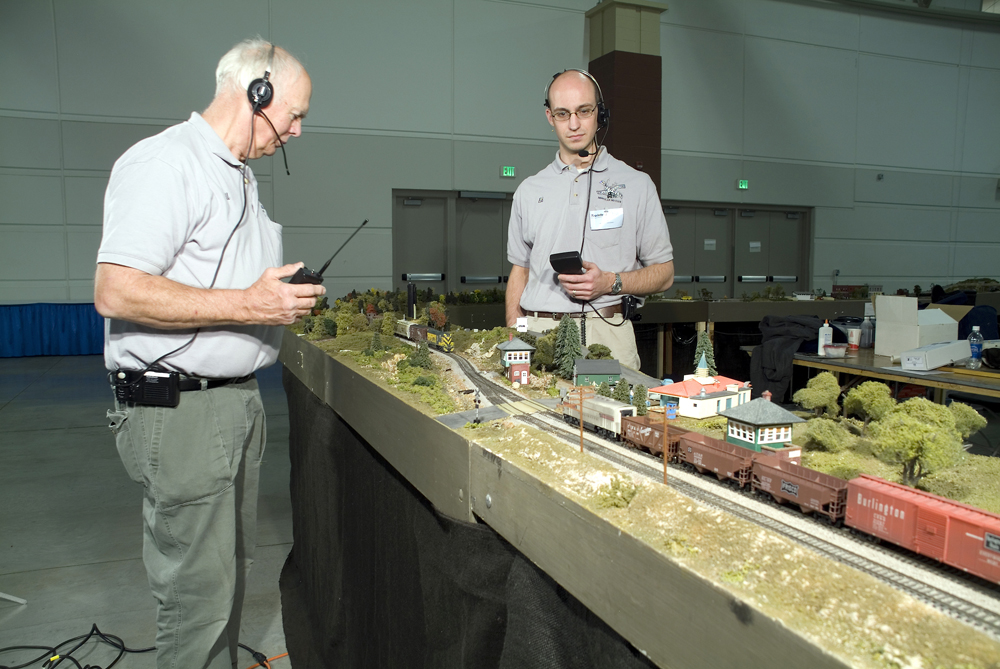
Most modelers have heard of modular railroading, or even practice it themselves. Modular railroading is an easy and practical way for a hobbyist (be they a beginner or more experienced) to create a mobile, and sometimes more manageable, layout. Modular layouts are built to a set of standards that allows an individual unit to connect with ones independently built by others, often to come together as one large set-up that can be arranged in various formations. It’s a popular practice with clubs, as it allows members with limited room for a home layout to participate in a club effort.
You may have heard of Free-mo at conventions or posted about on online forums. But how does Free-mo differ from other modular building standards? It’s relatively new, first appearing in Europe in the 1980s and then slowly being imported into the world of North American hobbyists by clubs in the United States and Canada.
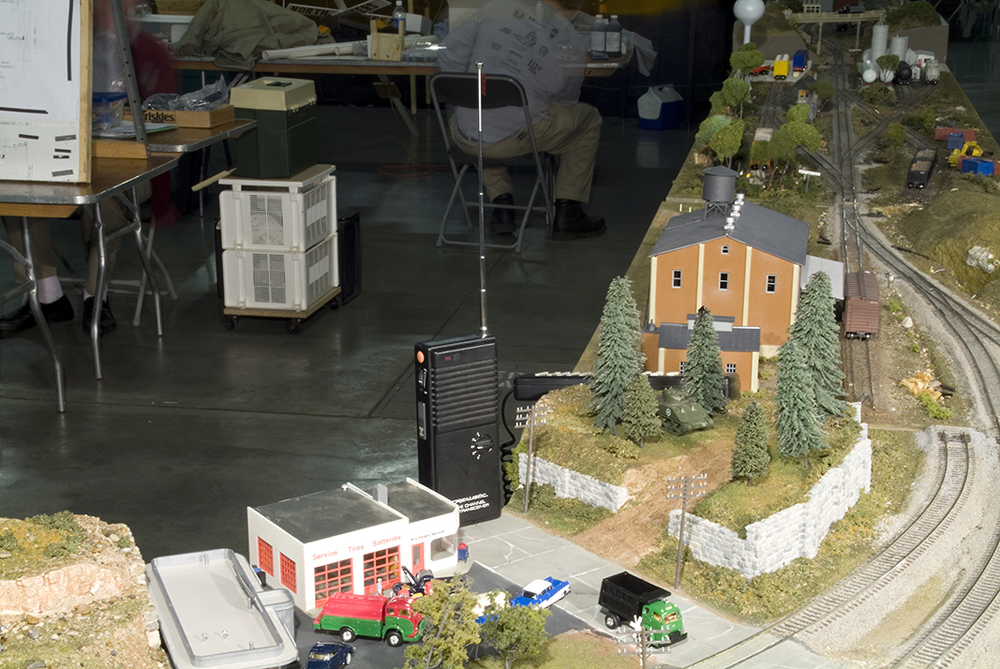
Free-mo was originally created for the use of HO scale modelers, but the standards have been adopted for other scales, including N and O. Free-mo standards focus on the module endplates, ensuring that modules built to the standard can connect electronically and mechanically with any other. Unlike more rigid modular standards, Free-mo leaves details such as the length and shape of the modules and their track configuration up to each individual modeler.
The rationale behind the creation of the Free-mo Standards was that by focusing on the endplates, modules created by different groups could still work together, while still allowing each individual builder room for creative liberties.
While the list of Free-mo standards is long (you can read the complete set at the official Free-mo website), according to adherents, they boil down to “realism, excellence, and elegance.” Here are few of the standards that define the practice:
• Free-mo endplates should be 3/4” plywood or equivalent to make sure they are strong enough to attach to other modules
• Modules can be any length and configuration, and the endplates can be at any angle to each other
• Modules should use flex or hand-laid track
• The centerline of the track should always be 4” or more from the sides of the module
• The railhead, measured at the end plate, should be 62” from the floor
• LocoNet-compliant Digital Command Control and accessories are standard
• Scenery at the ends should have a flat profile 3/8” below the top of the rail on the through route
While these standards may seem rigid at first glance, Free-mo modelers are free to build almost anything they want between their modules’ endplates. The standards are designed to allow modules that are both prototypical and reliable. Followers of free-mo strive to create some of the best layouts in the industry, while working to go beyond the traditional closed-loop set-up that has defined modular railroading in the past.
Does this type of building pique your interest? Be sure to go online to see if there are any local Free-mo groups near you. The Free-mo standards are picking up steam, and you don’t want to get left behind on the rise of this popular practice.






I belong to the South Hills Model Railroad Club in Pittsburgh. We use Freemo standards to build and display modular layouts at different events during the year. As stated in the previous comment, the minimum height of the rail is 50 inches from the floor which we adhere to even though we were asked to lower our modules for a show at the Children’s Museum of Pittsburgh. In the first picture in this article, Bill and his son Ed are either extremely tall, or the track height is well below 50 inches.
Public shows and encouraging youth to get involved in the hobby is why Calgary Free-mo normally operates at 42″ rail height. But slap in a second set of legs and we’re at the 50″ for other Free-mo setups.
From the Free-mo.org standard page on rail height:
S2.5 The nominal and minimum height of the railhead, at the end plate, is 50 inches from the floor. (FAQ S2.5)
S2.7 The maximum height of railhead , at the end plate, is 62 inches from the floor. (FAQ S2.7)