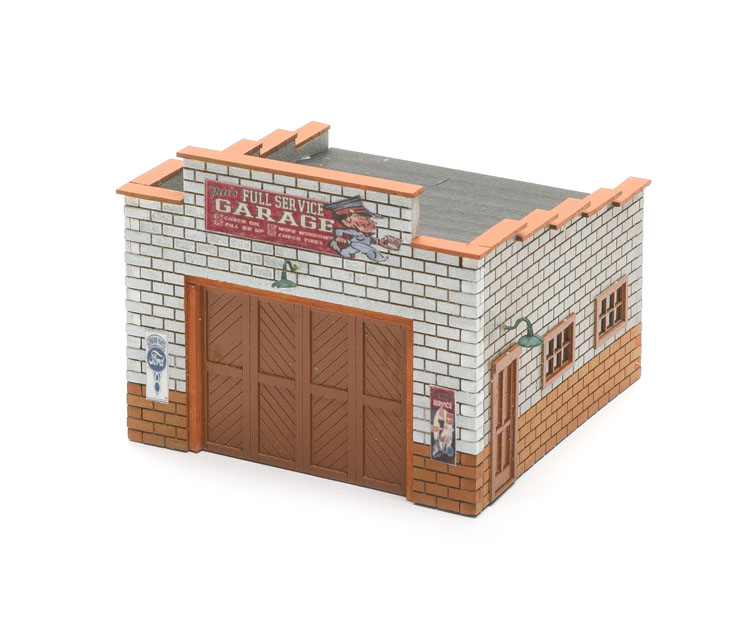
Pete’s Garage, one of the initial offerings from Railroad Line Models, is an easy-to-assemble kit that would fit on almost any layout from the late steam era to the present. The laser-cut matboard walls fit together well, and the peel-and-stick doors and windows were easy to paint. The finished model should please beginner and advanced modelers alike. I assembled and painted our HO scale sample in less than 3 hours.
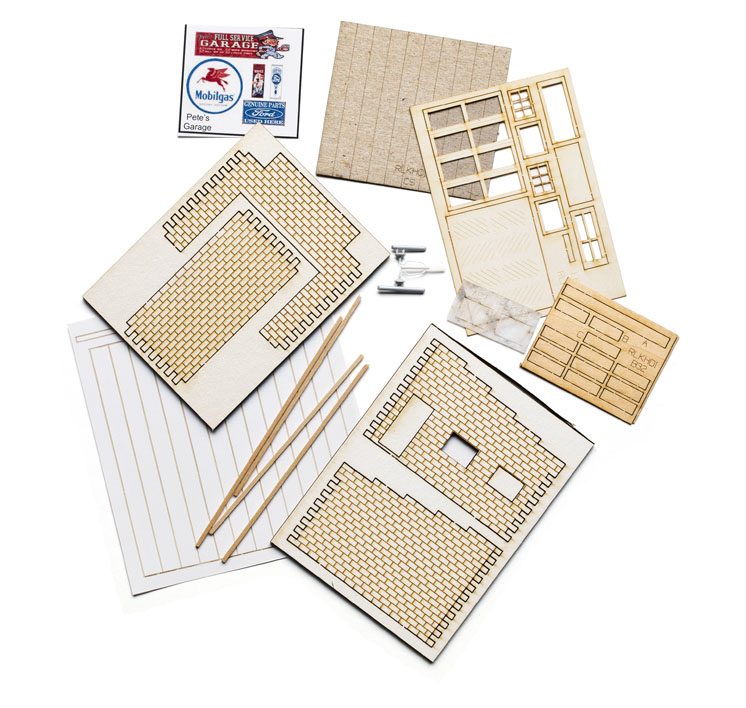
Inside the package. The kit comes in a blister pack with an instruction sheet. Inside the package are four thick matboard walls, laser-etched with a cinder block pattern and notched to fit together at the corners; a sheet of laser-cut doors and windows; clear window glazing; wood roof trim pieces; a cardboard roof; self-stick rolled roofing material; two plastic gooseneck lamp castings; and a small sheet of colorful printed paper signs. Also included is 1⁄16″ square stripwood for framing the large front door.
All that a modeler needs to finish this kit is a hobby knife, fine sandpaper, wood or white glue, a few colors of paint, and a paintbrush – truly an “E-Z Build” kit, as the package proclaims.
Assembly. Since matboard has a tendency to swell and warp with water-based acrylic paints and glues, I started by spraying those parts with gray auto body primer. This would serve as the base cinder block color for most of the structure and seal the porous surface. The sheet of self-stick door and window parts I sprayed with Cinnamon Rust-Oleum Painter’s Touch 2X Satin.
After the spray paint dried, I test-fit the parts and found that the notched ends were a little longer than they needed to be, resulting in raised blocks where they fit into the adjacent wall’s notches. It was easy to sand them down to fit flush, and in fact, after sanding they looked much smoother and more masonry-like than the fibrous texture the paint brought out on some of the matboard. Next Railroad Line Models kit I build, I’ll hit all the surfaces with a sheet of fine sandpaper before painting.
Though the matboard felt sturdy, I chose to install interior bracing of 1⁄8″ x 1⁄4″ stripwood from my own stockpile in the corners and along the walls.
As the picture on the instruction sheet recommended, I brush-painted the face of the building Reefer White and the lower five courses of blocks Southern Pacific Daylight Orange to complement the Cinnamon trim color.
I spray-painted the self-stick rolled roofing material black, then applied it to the cardboard roof and glued the roofing material in place. Next came the doors and windows. The final steps were to detail the building with the included gooseneck lamps and paper signs.
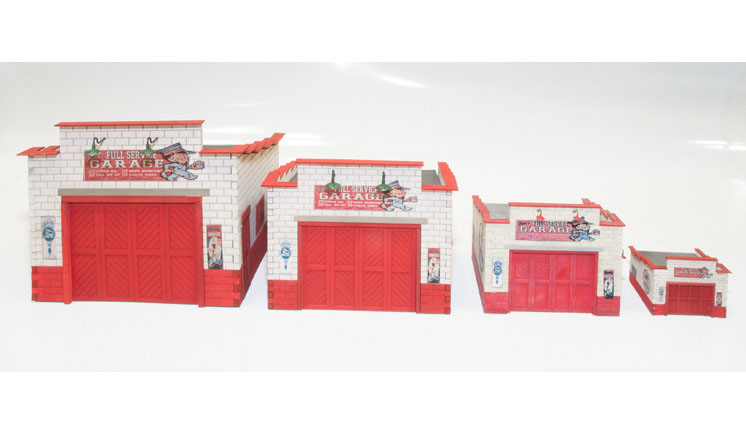
Welcome to the hobby. Though we received and built our kit in HO scale, it’s also available in N, S, and O scales – good news for those who bemoan the lack of good laser-cut kits in their scales. Railroad Line Models also offers three other laser-cut kits, including a rail-truck transfer platform, a milk-and-produce platform, and a yard foreman’s office with shed. I look forward to eventually building them all.
Price: HO, $29.95; N scale, $19.95; S, $34.95; O, $39.95
Manufacturer
Railroad Line Models
P.O. Box 704
Gorham, ME 04038
www.railroadlinemodels.com
Era: 1920s to present
Features
▪▪Full-color printed paper signs
▪▪Laser-cut matboard, plastic, wood, and peel-and-stick parts
▪▪Simple assembly


