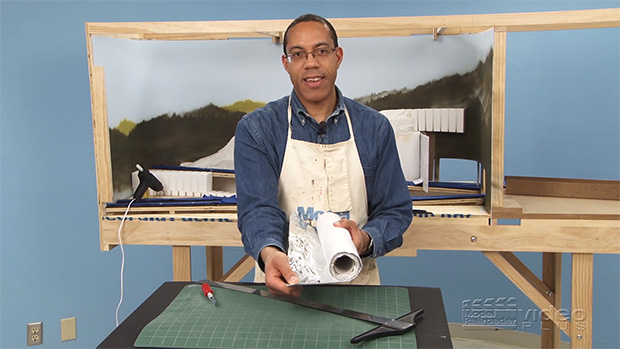
Having trouble viewing this video? Please visit our Video FAQ page MRVP’s Kent Johnson demonstrates two methods for adding a sturdy scenery hardshell over the mountainside terrain of our On30 Olympia Logging Co. display-style layout. In this video, Kent shares helpful tips and techniques for working with rolls of plaster cloth and all-new Shaper […]
Read More…
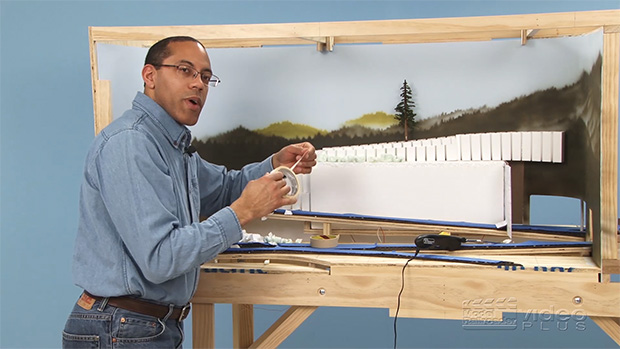
Having trouble viewing this video? Please visit our Video FAQ page In this video, Kent Johnson shares techniques he uses to transform the stacks of flexible foam blocks into a more natural, gradually sloping mountainside on MRVP’s On30 Olympia Logging Co. display-style layout. You’ll see how to work with a handy hot wire cutting […]
Read More…
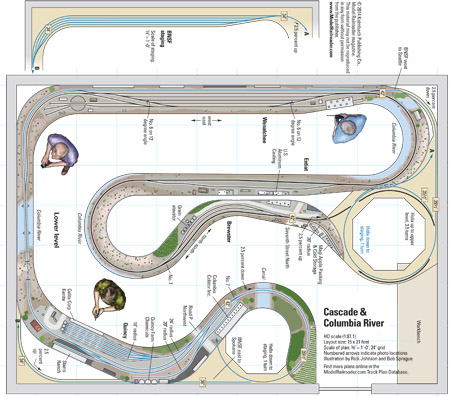
Name: Cascade & Columbia River RR Layout designer: Bob Sprague Scale: HO (1:87.1) Size: 15′-0″ x 21′-0″ Prototype: Cascade & Columbia River RR Locale: Washington state Era: Present day Style: walkaround Minimum radius: 27.5″ (main), 18″ (industrial) Minimum turnout: no. 6 Maximum grade: 2.5 percent Originally appeared in the August 2014 Model Railroader. Click on […]
Read More…
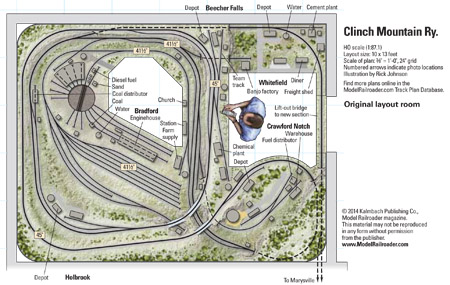
Name: Clinch Mountain Ry. Layout designer: Dave MacPherson Scale: HO (1:87.1) Size: 10 x 13 plus 10 x 20 feet Theme: Freelanced bridge route Locale: New England Era: 1952-1963 Style: walk-in Mainline run: 110 feet Minimum radius: 26″ (main), 18″ (industries) Minimum turnout: no. 6 (main), no. 4 (yards) Maximum grade: 3 percent Originally appeared […]
Read More…
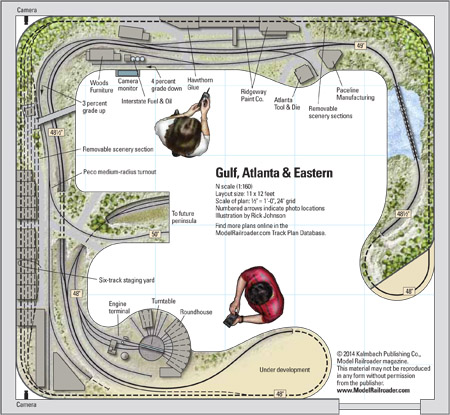
Name: Gulf, Atlanta & Eastern Layout designer: Alastair Reynolds Scale: N (1:160) Size: 11 x 12 feet Prototype: freelanced Locale: Georgia Era: steam-to-diesel transition Style: walk-in Mainline run: 72 feet Minimum radius: 11″ (hidden), 15″ (visible) Minimum turnout: no. 6 Maximum grade: 4 percent (2 percent on main line) Originally appeared in the September 2014 […]
Read More…
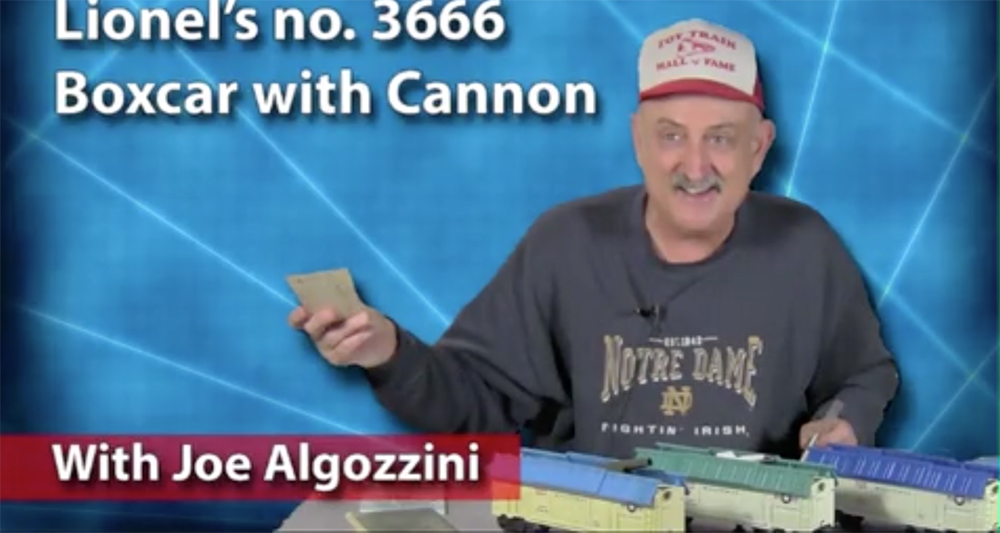
The September 2014 issue’s Collectible Classic discusses this interesting boxcar. Joe Algozzini provides detailed information about the variations of this car. […]
Read More…
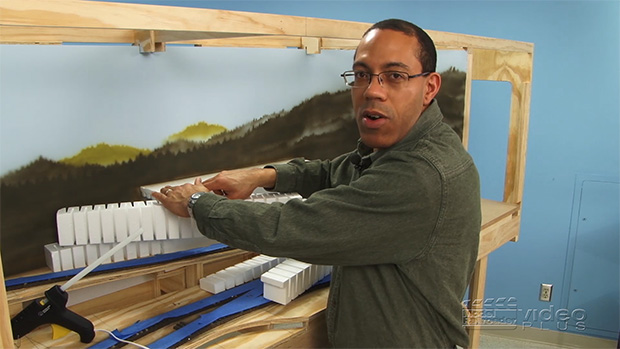
Before adding scenery to our On30 Olympia Logging Co. display-style layout, MRVP’s Kent Johnson first builds up the terrain using sections of flexible foam from Woodland Scenics. In this video, Kent shows viewers how easy it is to form sloped terrain along the painted backdrop — all without creating the mess typically associated with foam […]
Read More…
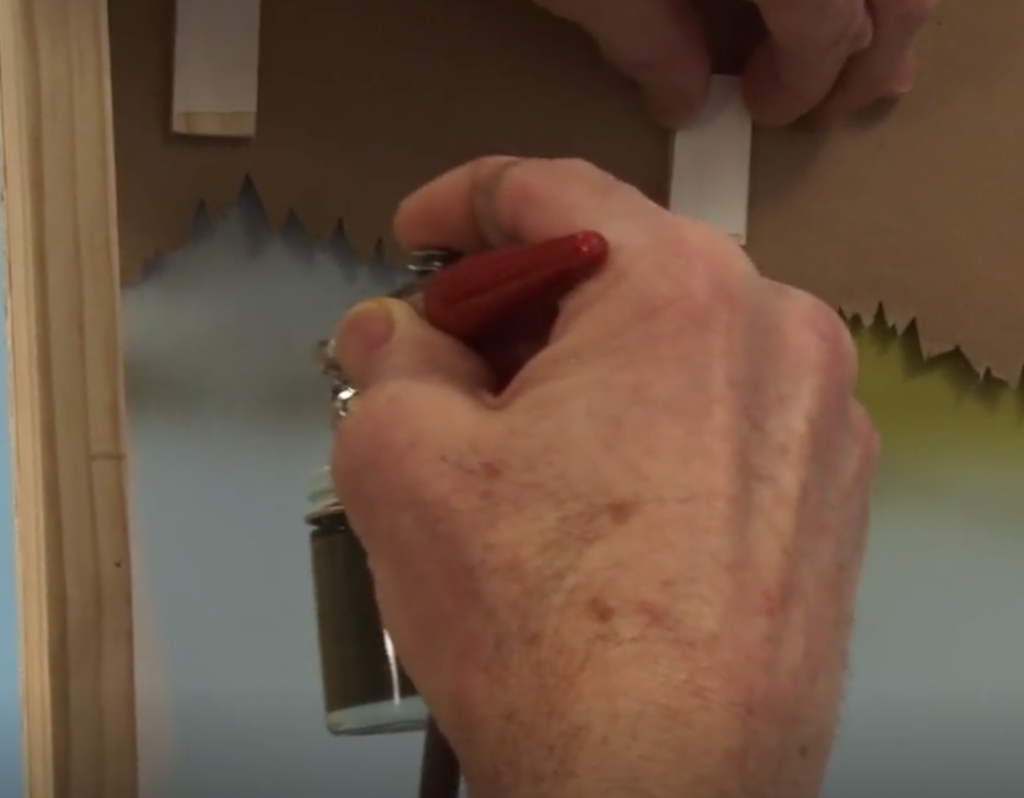
Using little more than a cardstock template and a couple paint colors, artist Jay Smith shows viewers just how quick and easy it is to add a realistic pine forest treeline to MRVP’s On30 Olympia Logging Co. layout. Jay used his favorite internal mix airbrush to apply the paint, but his simply technique for making […]
Read More…

This Northern Pacific class C depot has seen its better days. Cody Grivno explains how to model a weather-beaten wood structure. In model railroading, weathering is typically associated with freight cars and locomotives. However, structure weathering is another way to add realism to a layout. Peeling and faded paint, a roof in need of repair, […]
Read More…
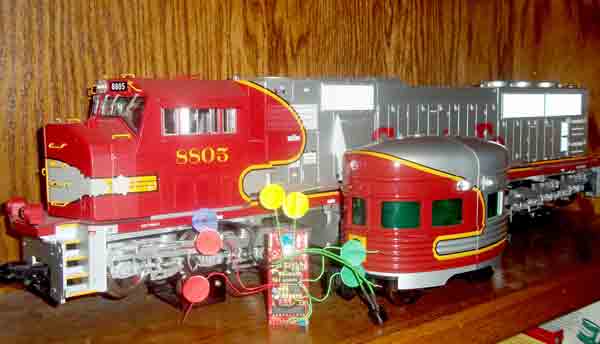
Mark Buccini In the August 2014 issue, Mark and Vince Buccini wrap up a three-part series on building a simple DCC system. This part explains how to program and install a locomotive decoder. Cut-and-paste the code for the decoder here or download the attached .txt file. And don’t miss parts one and two (April and […]
Read More…
In the August 2014 issue, David Bodnar shows us how to program a Picaxe to make realistic signal lights. Cut-and-paste the code here for six different projects. Program 1: A simple crossing signal #TERMINAL 4800 ‘set the speed of the terminal SYMBOL LED1 = b.2 ‘pin 11 SYMBOL LED2 = b.4 ‘pin 9 SERTXD (13,10,”Crossing […]
Read More…
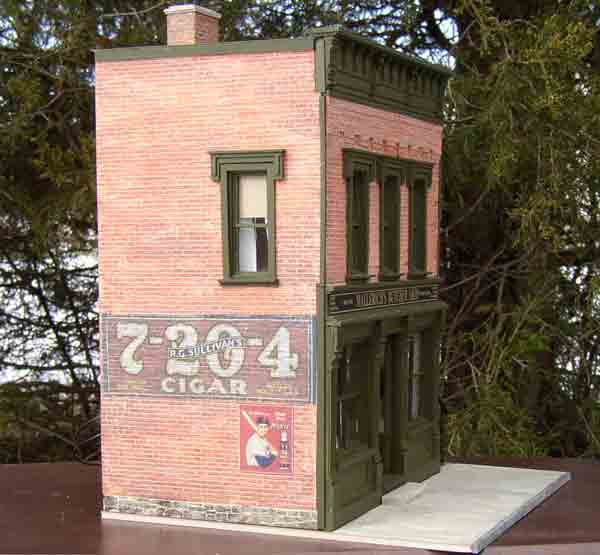
In the August 2014 issue, Bob Santos shows us an easy way to make signs for your buildings using decals. Bob has compiled a sheet of sample signs for you to download! […]
Read More…


