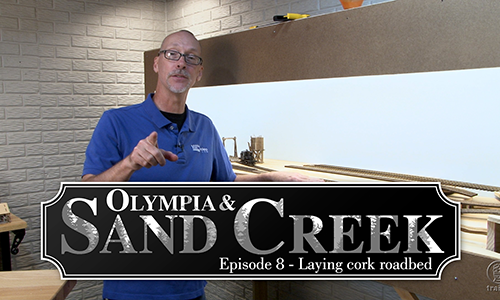
Host David Popp has the track and cork roadbed in hand, so he’s all set for trackwork! Following good construction processes, David first surveys the various sites where tracks will route. You’ll see how to install roadbed along the main line roadbed, along the turntable lead tracks, under turnouts, and even over bridges! Follow along […]
Read More…
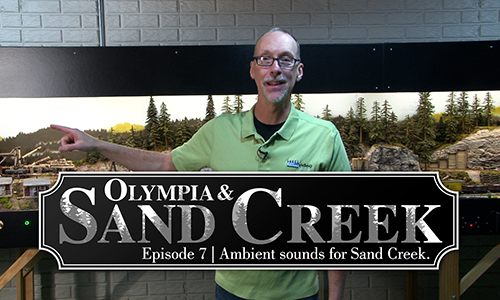
David works to put all the right sounds in all the right places on his Olympia Logging Co. On30 layout. His secret to installing the proper audio effects lies in the PRICOM Dream Player modules and the wide array of sounds samples that fit on a tiny micro-SD card. Follow along to learn David’s pro […]
Read More…
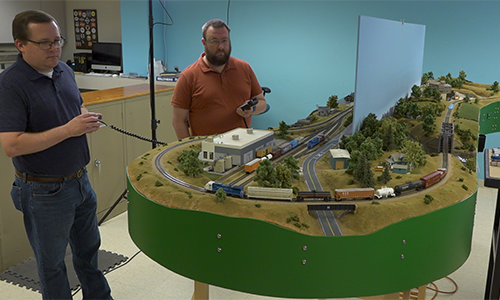
Operating the layout | In the previous Episode 25 (Car routing with JMRI OperationsPro), you saw the crew prepare the State Line Route N scale model railroad for an operating session. Now, host David Popp walks you through the prototypical actions as they transpire over the simple, yet engaging layout! Enjoying this coverage of our […]
Read More…
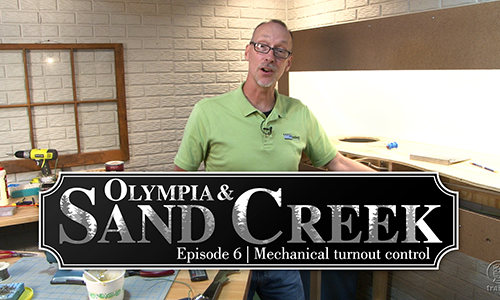
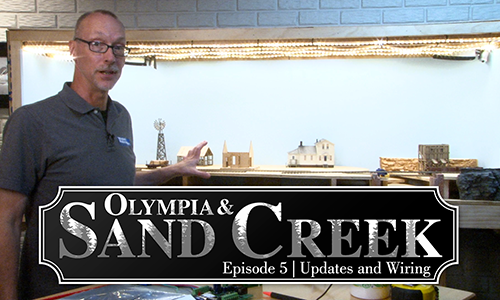
With underside wiring in place, David returns front and center at the side of his Olympia Logging Co. On30 layout. That’s where he temporarily placed the fascia, and prepared to into install hand-operated, mechanical Blue Point turnout controls. Follow along to learn the process and techniques pros like David use! And be sure to explore […]
Read More…
This time around, our intrepid host lets anxious viewers see all the progress he’s made to prepare the O scale (1:48) Olympia Logging Co. On30 layout for the next big step! From backdrop to tabletop to trackwork to scenery, David shares the extent of his off-camera efforts — all to get things into place for […]
Read More…
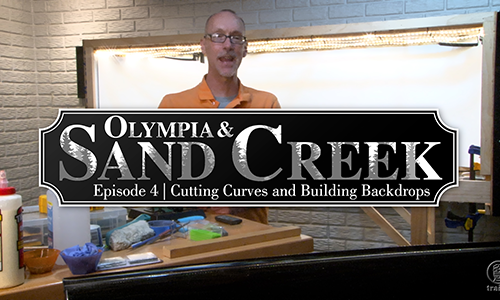
David has cleared the deck and marked his track configuration on the plywood, so he’s ready to cut things to pieces! No fears! In this video, he’ll show you how to make accurate measurements, so you can make equally precise cuts. Once those cut parts are assembled, David also shares how to install the styrene […]
Read More…
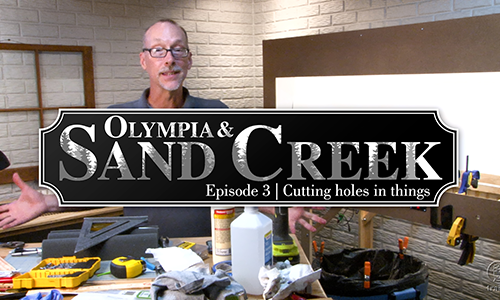
Can’t you just tell by the pile of materials, supplies, and tools on David’s workbench? Progress is being made on the construction of his O scale (1:48) Olympia Logging Co. On30 layout. But “change” is the name of this layout-building game! This time out David is really poking holes in his plans… all before he […]
Read More…
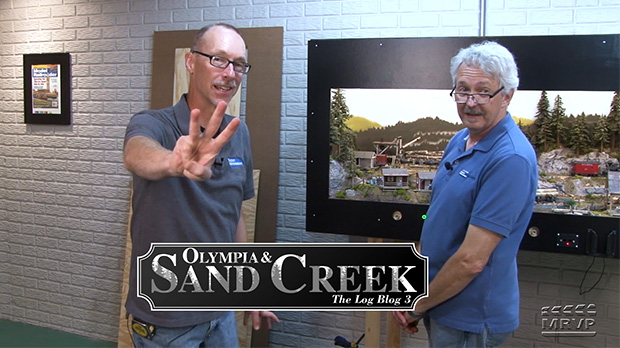
David is back to building out his O scale (1:48) Olympia Logging Co. On30 layout. But this time, he’s got a little bit of extra help from MRVP Contributing Editor Gerry Leone! Watch as the two team up to construct new benchwork for an expanded townsite and interchange for the logging railroad. Of course, you‘ll […]
Read More…

Watch the latest in narrow gauge, On30 with David Popp’s Olympia & Sand Creek Railroad. See this trailer video for a taste of what you’ll find! […]
Read More…
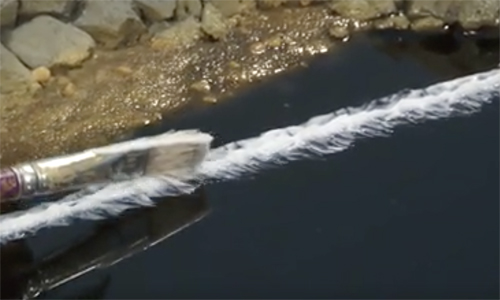
The HO scale Rice Harbor project continues after the two-part resin water has set. MR’s Cody Grivno shows how to add wave effects by brushing on Gloss gel with a paintbrush. In this video, Cody demonstrates the various brush techniques he used to create realistic results. […]
Read More…
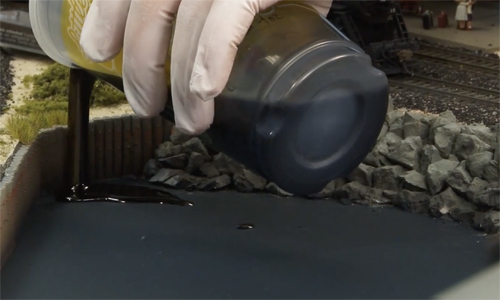
The HO scale Rice Harbor layout is now properly prepared for an application of two-part resin used to simulate water in the harbor. In this video, MR’s Cody Grivno demonstrates the steps for mixing, tinting, and pouring resin – without making a mess of the surrounding scenery. […]
Read More…
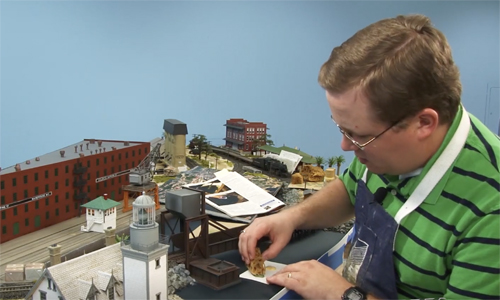
Cody Grivno adds a beachfront to a small area of MR’s Rice Harbor layout. He unintentionally shares not one, not two, not three, but FOUR useful options for creating beach scenery, plus a simple, subtle, yet very effective way to blend the shoreline and the harbor water. […]
Read More…
