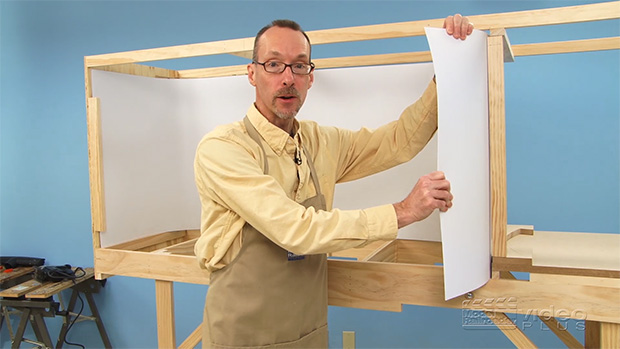
Having trouble viewing this video? Please visit our Video FAQ page As part of the shadow box construction on MRVP’s On30 Olympia Logging Co. layout, David Popp shows how to add a curved styrene backdrop. In this video, David demonstrates how he cuts and installs support components, makes cutouts in the styrene sheet, and […]
Read More…
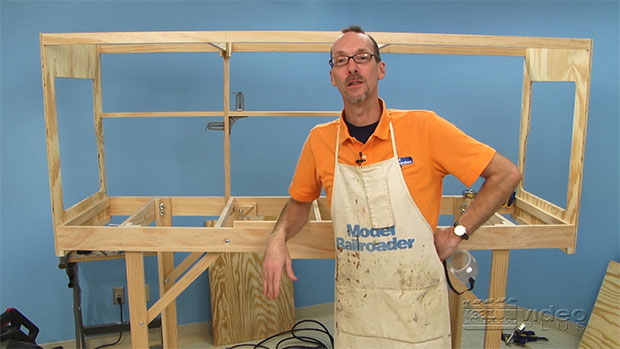
Having trouble viewing this video? Please visit our Video FAQ page Benchwork construction continues on MRVP’s On30 Olympia Logging Co. layout. In this video, David Popp assembles and installs a shadow box atop the lower frame he completed in the previous episode. […]
Read More…
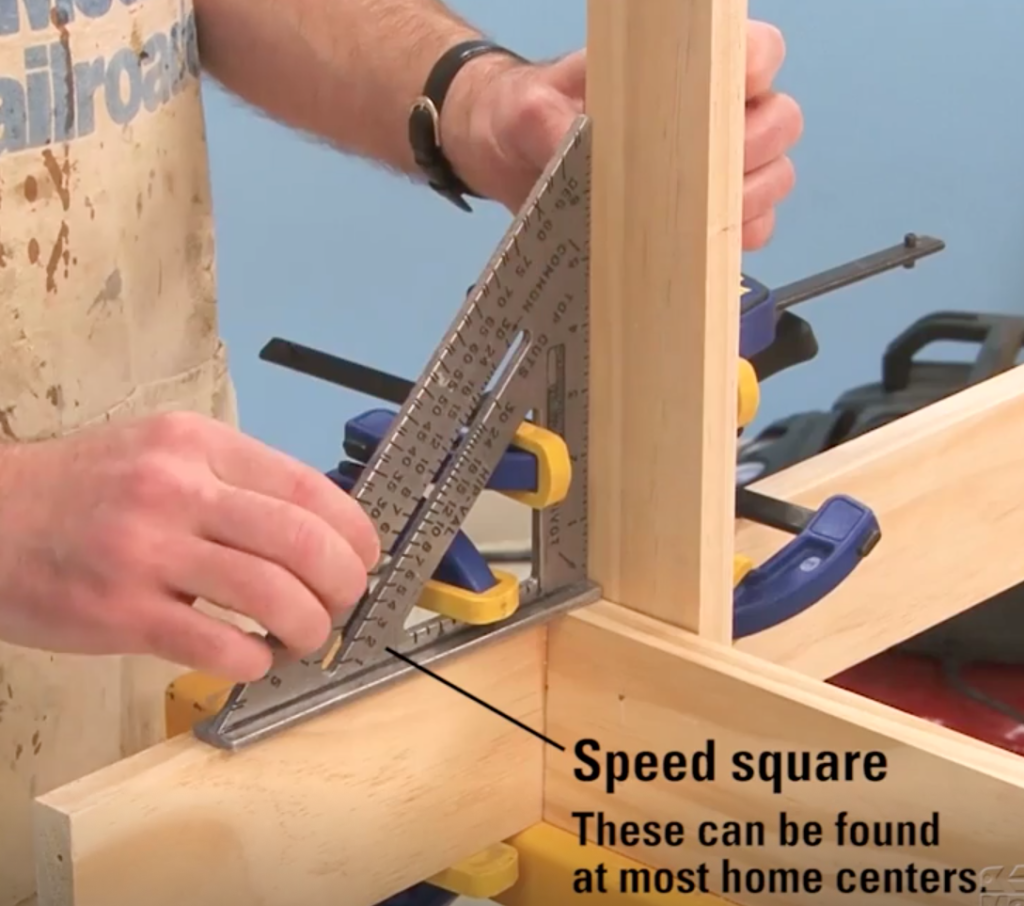
Construction on MRVP’s On30 display-style logging layout gets off to a fast start! MRVP’s David Popp introduces the sketched plans for the trackwork and diorama frame, before addressing the construction steps used to make the lower frame and leg assemblies. Also be sure to download the PDF of the Olympia benchwork specifications so you can […]
Read More…
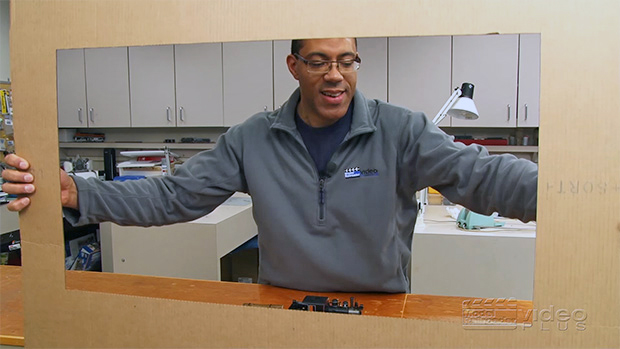
Having trouble viewing this video? Please visit our Video FAQ page In addition to boasting a unique sectional design, MR’s 5×9-foot Rice Harbor HO scale layout also features a swing-up staging section topped with a car float. David Popp shares how he assembled and then installed this hinged section to the layout. […]
Read More…
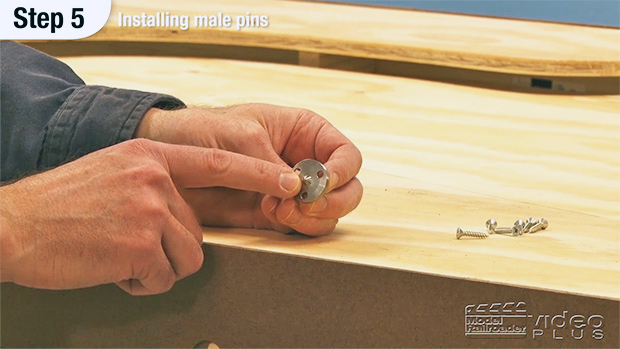
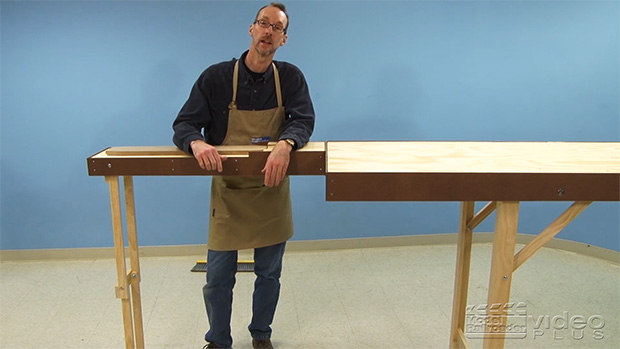
Having trouble viewing this video? Please visit our Video FAQ page Are you building a sectional or modular layout that requires precise alignment of adjoining sections? If so, then you’ll want to see how David installed benchwork alignment dowels, also called pattern maker pins, on MR’s HO scale Rice Harbor. These steel dowels […]
Read More…
Before starting construction, MRVP’s Kent Johnson introduces the concept of an all-new On30 display-style layout. Kent touches on On30 equipment, track, and a shadow box design he, David Popp, and other MR staff modelers will use to showcase a freelance logging operation set in the Pacific Northwest mountains. […]
Read More…
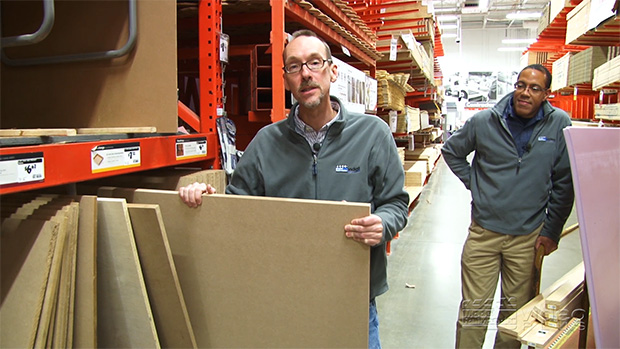
David and Kent head to a local home improvement store to collect the building materials they’ll need to start an all-new On30 project layout. Inside the store they’ll share insights for selecting quality lumber, essential hardware, layout lighting, and more. […]
Read More…
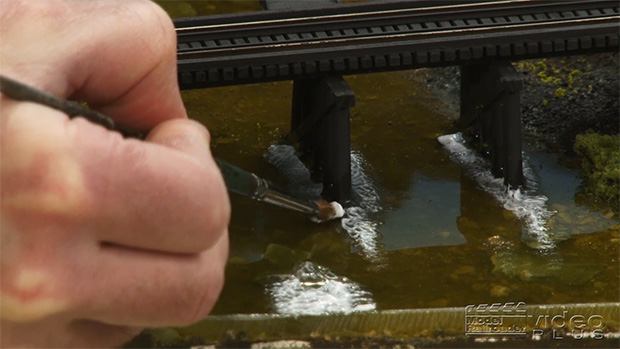
Having trouble viewing this video? Please visit our Video FAQ page David concludes the river making tasks on the HO scale Thin Branch layout by adding waves and rapids to the poured resin water. A commercial water effects product, white acrylic paint, and a paint brush makes it quite simple to turn still […]
Read More…
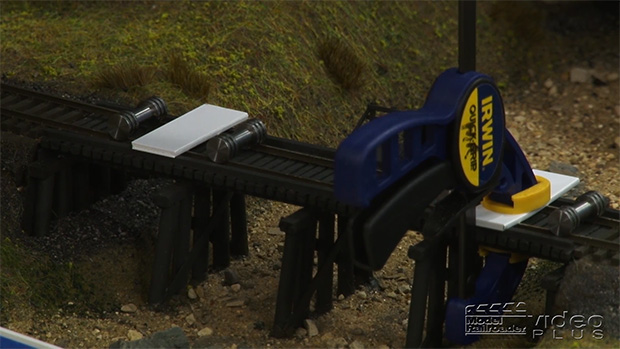
Having trouble viewing this video? Please visit our Video FAQ page Before he could pour the resin water on the layout, David needed to finish installing the bridges over the river. In Build a River Part 3B, he shows you the final steps for completing the the through-girder bridge and the pile trestle. To […]
Read More…
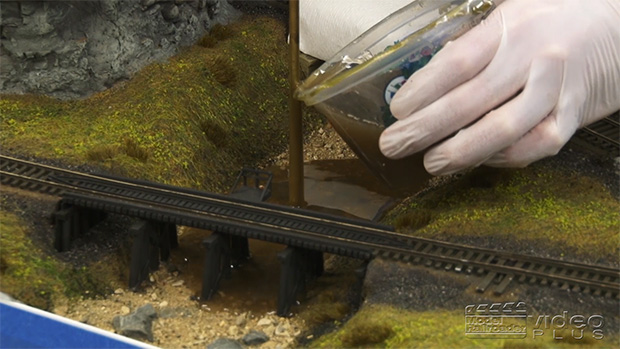
Having trouble viewing this video? Please visit our Video FAQ page The river for our Thin Branch layout is starting to take shape. In this installment, David mixes, tints, and pours the resin water. To see how he built the river and added the surrounding scenery, see parts 1 and 2 of the […]
Read More…
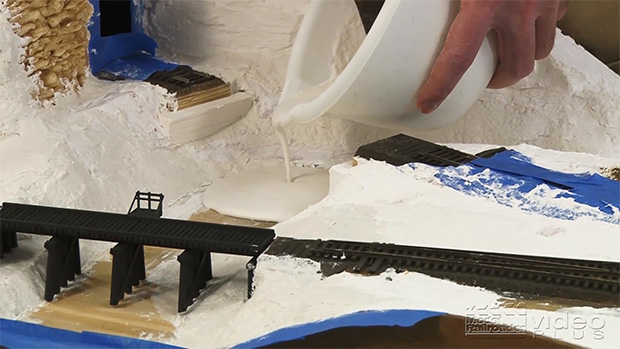
Having trouble viewing this video? Please visit our Video FAQ page Looking to add an impressive river scene to a layout? In part 1, David uses our HO scale Thin Branch project layout to demonstrate easy techniques for preparing river banks and bed. […]
Read More…
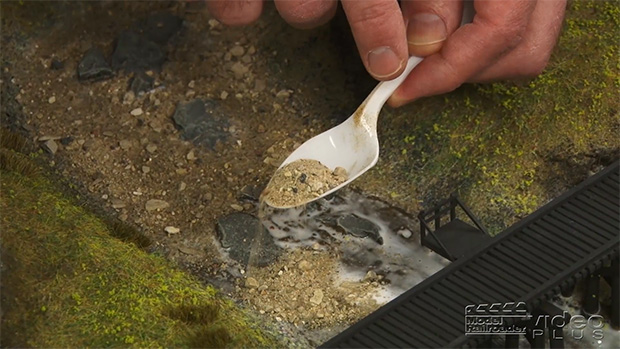
Having trouble viewing this video? Please visit our Video FAQ page In part 2, David shows how he completed the landscape around the banks and river bed using a wet scenery technique, static grasses, and an application of sand for the river bottom. […]
Read More…
