Infrared photography
Photography is a wonderful way to document your life. Whether you take pictures of your family, animals, landscapes, or trains, after a while the “seeing it like it is” or untouched photo can leave something to be desired. It may even eventually make you put the camera down. I was in such a rut until I discovered Infrared photography.
We’ve all seen those false color shots with blue skies and red trees. Or the stark black-and-white shots with the black skies and the white trees. Those are infrared.
I had an opportunity to pick up a full spectrum camera — one that allows the camera to “see” more light than a normal camera — that can capture visible to ultraviolet to infrared portions of the light spectrum. You can change what you want your pictures to look like by adding filters. It was an eye-opener. At once, photography seemed interesting again. A picture I wouldn’t have given a second glance too now pops out at you in full spectrum.
My camera is a Fujifilm X-T1 IR, a full spectrum camera built at the factory. The manufacturer removed the infrared blocking filter that enables you to shoot through the entire spectrum, depending on the filter you attach to the lens. There are also several companies that will convert your “regular” camera to either full spectrum or to various wavelengths for infrared. Typically, 590, 665, 720, or 850 nanometers (nm). Each gives you a distinctive look. So, if you are contemplating this, do your research. The filter that I used for these pictures is the Kolari Vision 850 nanometer filter.
What is the 850nm?
The 850nm is full infrared and provides beautiful black-and-white shots.
All these shots were in the early afternoon, with the sun high in the sky. This is not typically a good time for photography but see what you think.
In the Metrolink picture, I was at a crossing near Acton, Calif., when a southbound train approached. There were clouds in the sky, trees all around, and the gates were down. Everything was perfect for an infrared shot.
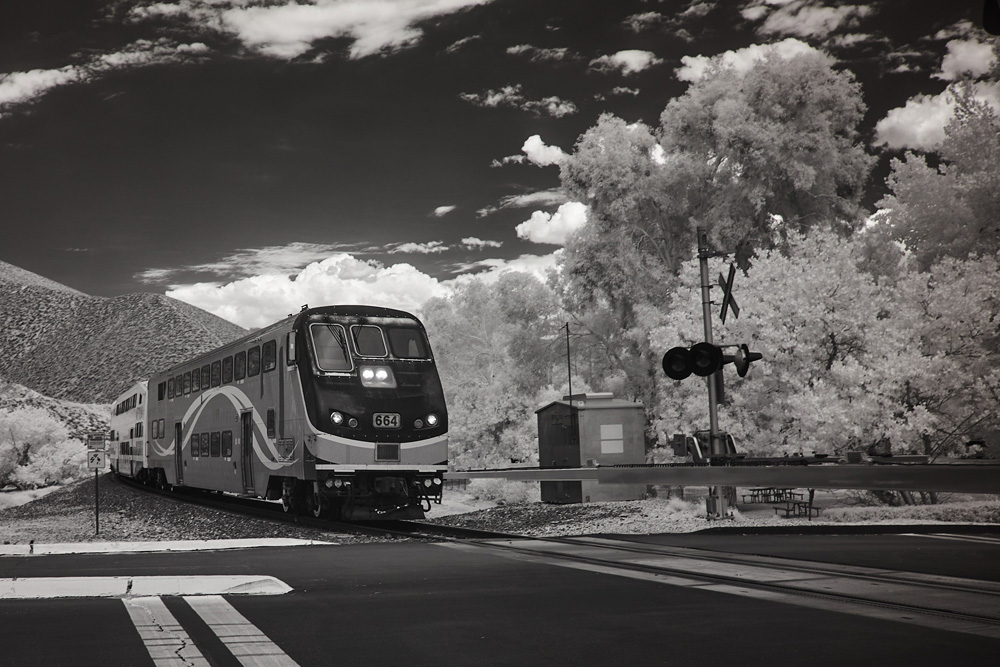
The black sky was framed by the bright white clouds. The trees and bushes at the crossing and on the nearby hills were a darker shade of white. The signs on the signal box and the crossing arms have lost the words and colors you would normally see. And the locomotive stands out beautifully. This is the kind of picture that, if you didn’t know it was infrared, you would think something was a little off. And it is. But it makes you look twice.
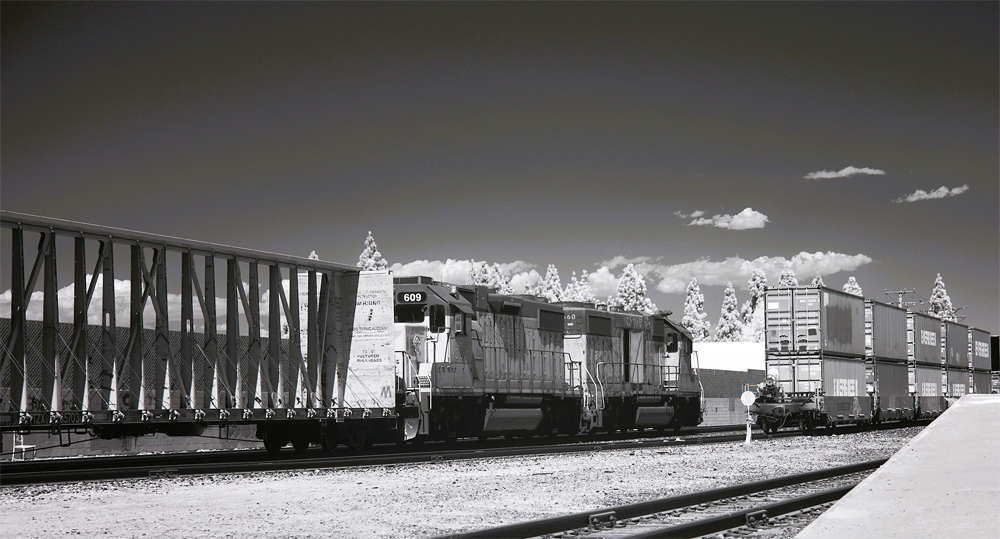
The second picture was of Union Pacific local LOG41R switching at Paramount Yard in California. Once again, it has the shades you wouldn’t expect to see in a black and white photo. The white trees look like they have a dusting of snow. The “D” on the derail sign in front of the stack cars has completely disappeared. That is what confuses the mind and makes you take a second look.
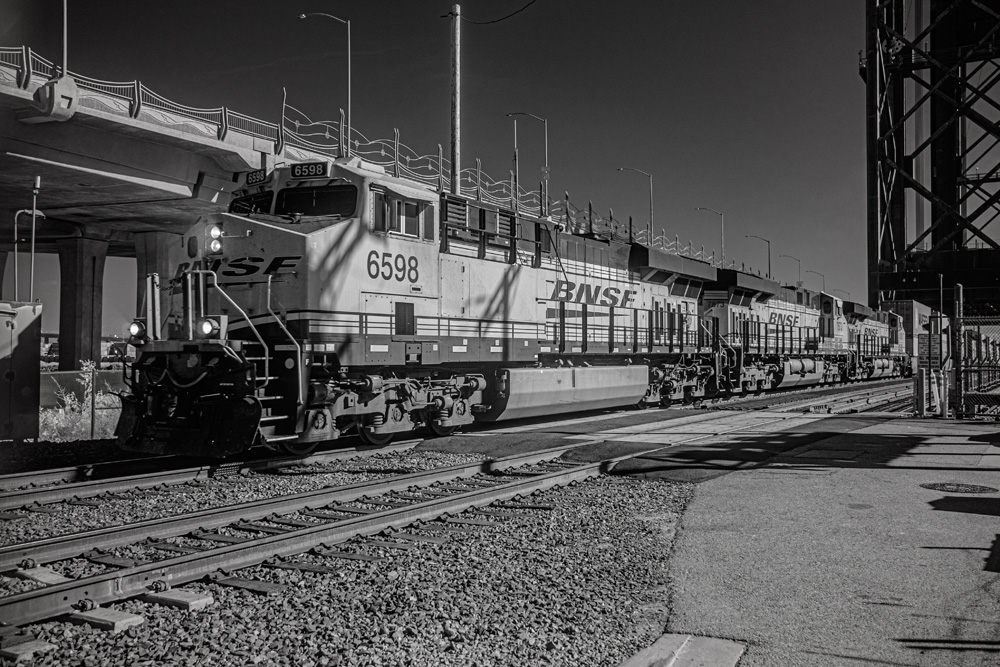
The final shot is a BNSF stack train pulling across Badger Bridge off Terminal Island in Wilmington, Calif. The black of Badger Bridge off to the right and the freeway bridge and sky above set off the consist beautifully. Even the shadows on the ground seem to point to the lead motor. This just works. I see something else every time I look at it.
In my opinion, that’s what you want in your photos. Make people take a second glance and study it a bit more. Make them think!
If you can do that, you’ve accomplished something more than just another snapshot or just another train picture. It’s always better to hear, “What pictures have you taken today?” rather than, “Here comes Uncle John with another train picture, just humor him.”


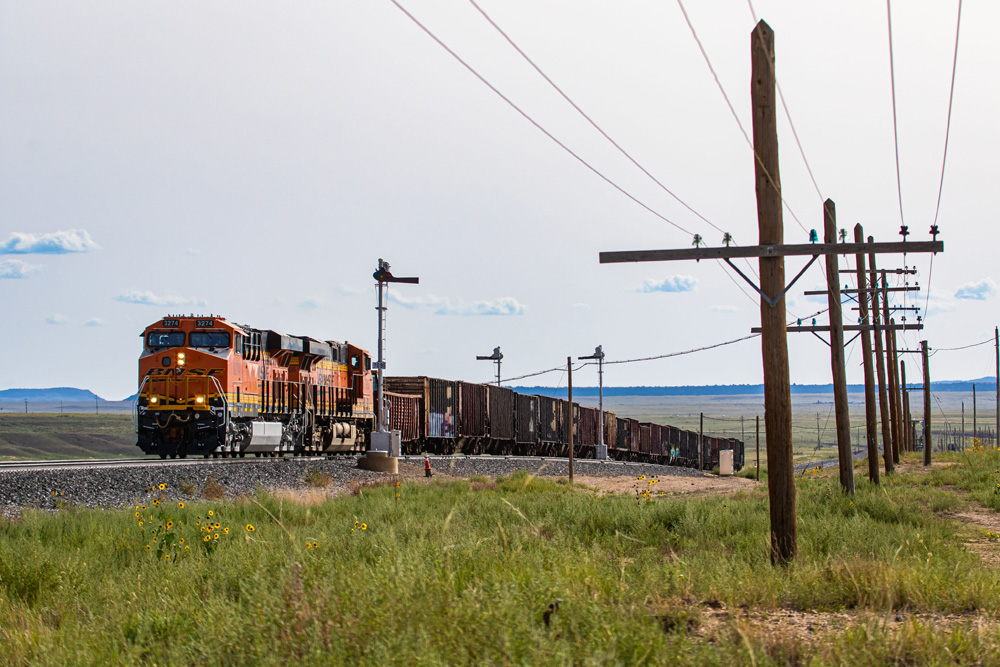


I wonder if you would get a similar look by using a “monochrome” camera with a red filter?