Outdoor modeling with durable cement products can create realistic structures and functional scenery. Learn a few rules and tips and your project will outlast you! In part 1 (December 2014 GR) we looked at uses for preformed blocks and recycled concrete, as from old sidewalks: they were stacked, leaned, or mortared together. Now I’ll discuss how to use granular mixes in the garden railway. Here, we’ll look at one big project, one medium-size project, and two small ones that will give you a place to start or a more advanced way to show your art.
Read the bag
The binder in these mysterious products is Portland cement, a ground and heated limestone that is caustic to skin and bad to breathe, so wear rubber gloves and a particle mask. Mortar (masonry mix) is cement premixed with sand: just add water to “glue” stones and blocks. Grout is a finer mortar. Stucco is rougher. The strongest for stand-alone poured projects (as in photo 1) is concrete mix, which combines cement with gravel; keep the thickness 3″ or greater. Thinset mortar sticks tile to surfaces. Quikrete Vinyl Concrete Patcher pours into forms for model-structure walls that are less than 1″ thick—see various applications and a video at http://www.rrstoneworks.com/cementgallery.html
Tips for toughness
The chemical process is still not completely understood. When water is added to cement products, the particles begin to gel and finally harden. Each product has a predetermined time to set up and then cure, hastened by heat and slowed by cool air or moisture. A slow cure is strongest, so I stay away from quick-setting cement. On hot days, keep your setting-up project out of the sun, maybe with moistened cardboard. Or, once it’s set up (a few hours), allow it to cure for several days by hosing it down regularly. You can take advantage of the “green” stage between set up and curing, wherein you can carve details or clean up edges with a knife, but remember it’s a fragile stage, too, and can be easily cracked.
A bridge for the ages
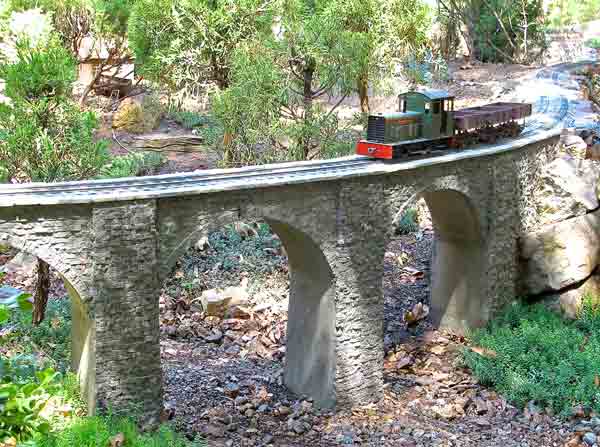
The bottom is usually a good place to start when building something, but the top parameters determine the size of your forms. In photo 1, Gary Broeder’s Roman arch bridge was first sketched out after measuring the distance from the ground to a section of track held up by stakes. The linear length of the bridge and the radius of the arc can also be sketched on paper. I use a section of track to outline the inside and outside radius. Only two forms were built—one for piers and one for arches.
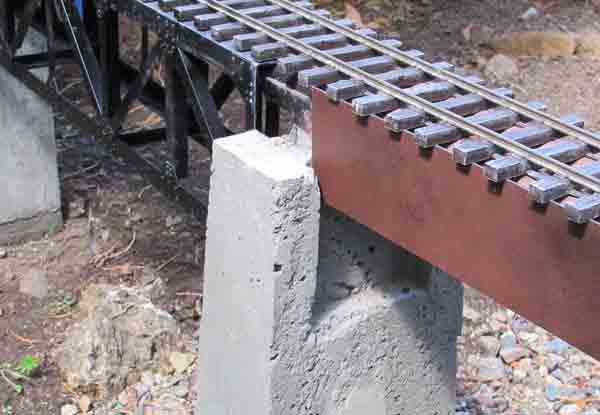
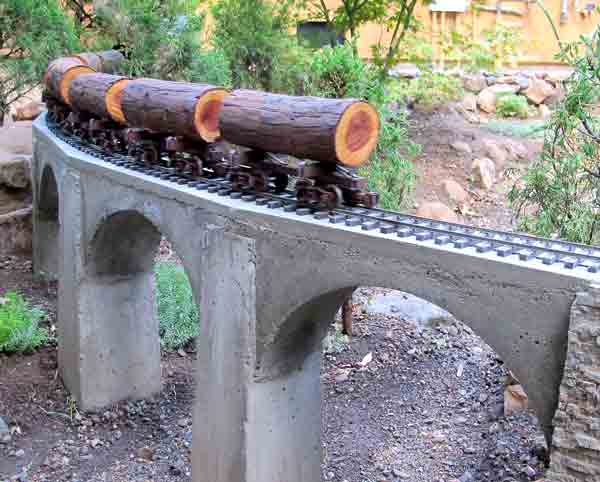
Although photo 2 shows a pier supporting a girder bridge, it’s from the same mold as the arch bridge’s piers. Now you can see where the arch fits, especially if you look at the unclad bridge in last year’s photo 3. The fit needn’t be perfect, as a layer of mortar smeared in the joints makes a smooth finish (or base, if you mortar on tile or stone).
Carved styrofoam makes a good base for the arch form, around which bendable plastic or craft plywood can be clamped and duct-taped. Before pouring, spray the inside of the form with WD-40 or other mold release. Carefully remove forms in the green stage and wash them for reuse. (See GR, August 2000, “Stone viaducts,” as well as October 2000, “Concrete arch bridges and operator pits.”)
Cast tunnel floor
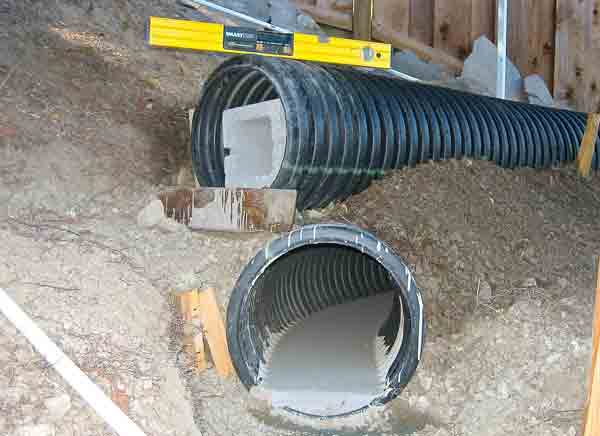
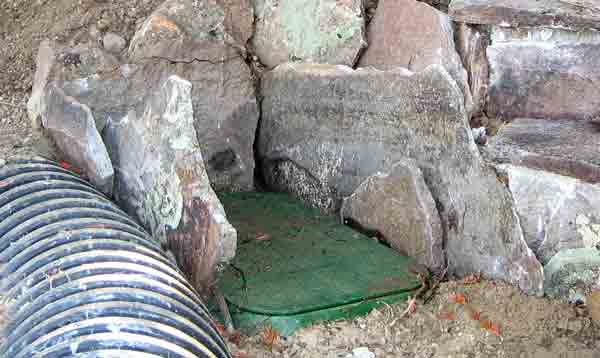
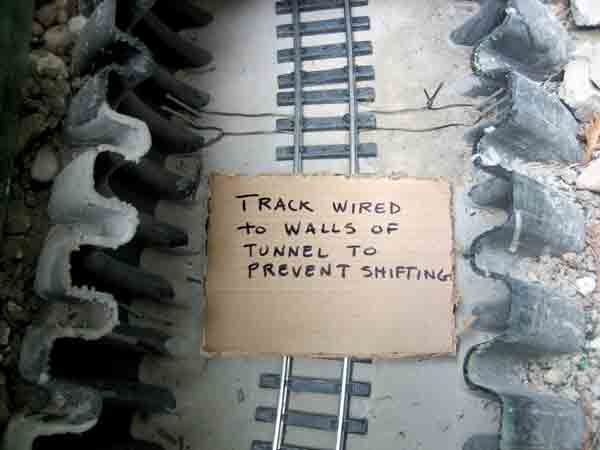
It’s tough reaching into a long tunnel, but if you don’t have a choice, then create a smooth tunnel floor with concrete. If you need a level grade inside the tunnel, then self-leveling cement works best (photo 4), but it’s expensive. A soupier mix of regular concrete mix will work fine if you use a long tool to help smooth it. When set, it’s easier to blow out leaves or drag out trains if they’re not mired in gravel. A tunnel longer than 6′ needs an additional access point (photo 5). Inside the access box, you can push some nails or screws into the setting-up concrete. Wires can be attached to these to center the track (photo 6).
Cobblestone road
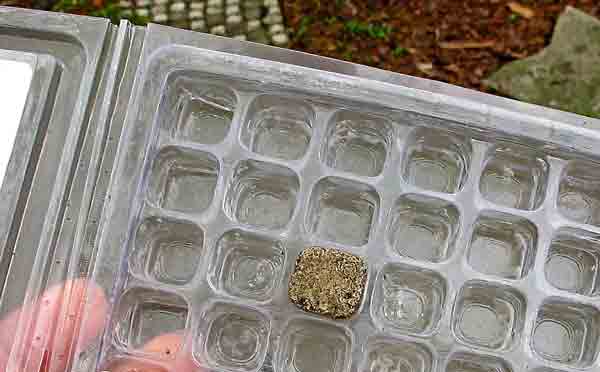
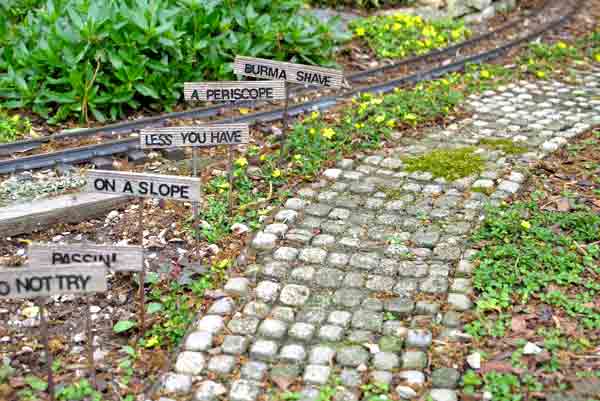
A creative modeler recognized an opportunity when he removed some fish-food pellets from a handy plastic container (photo 7). Dan Hill poured mortar mix into the plastic tray, which had depressions the right size for tiny pavers (photo 8). A realistic cobblestone lane, laid out on a compacted base between benderboard edges, and grouted with sand, invites fun signage and teeny flowers.
Easy does it
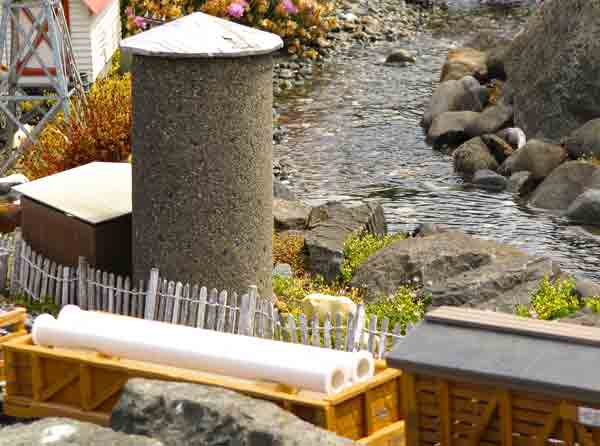
Some of my first projects with mortar and concrete mix involved pouring building foundations into boxes or plant-pot saucers. I made a cliff wall for an archaeological dig using a store-bought resin dinosaur skeleton. I’ve never seen another since. I don’t know how Richard and Evelyn Wolf cast their silo (photo 9). What I noticed is that the silo fits the scene in countless ways. Like David Drake’s concrete buildings in the Regional gardening reports, this silo appears to have been built by farmers who gathered sand from the embankments of their farm’s stream to mix with cement. It’s plausible. When the wooden roof finally bites the dust, I’d like to see the next incarnation, although I’m pretty sure the silo will look just the same, though maybe mossier. Cement products last.
Regional gardening reports
Zones listed are USDA Hardiness Zones
How have you used “concrete mix” or “mortar mix” for hardscape?
David Drake
Ferndale, Washington, Zones 8-9
Weather proof
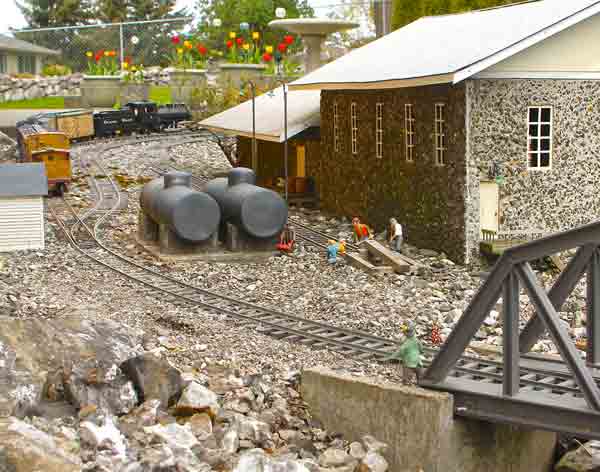
Due to our damp climate, those of us living on the wet side of Washington State are faced with challenges regarding our choice of materials to use in our structures. Projects made of wood require frequent attention in order to maintain their appearance. We do get enough sunshine during the summer to slowly deteriorate even good-quality plastic buildings. I have found concrete to be an excellent alternative. It holds up extremely well in our area. The buildings in the photograph were built using concrete walls. The fuel-storage tanks are resting on concrete saddles, which are attached to a concrete slab. All the bridge abutments are made of concrete. Some of these structures have been out on the railway for close to 20 years. The only maintenance they have needed has been to their non-concrete components.
Robin Patterson
New Port Richie, Florida, Zones 9-10
Mortar mountain
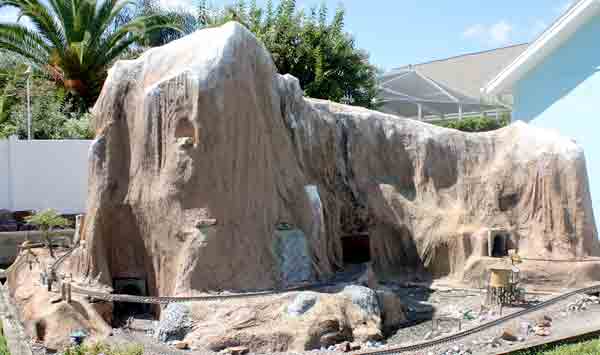
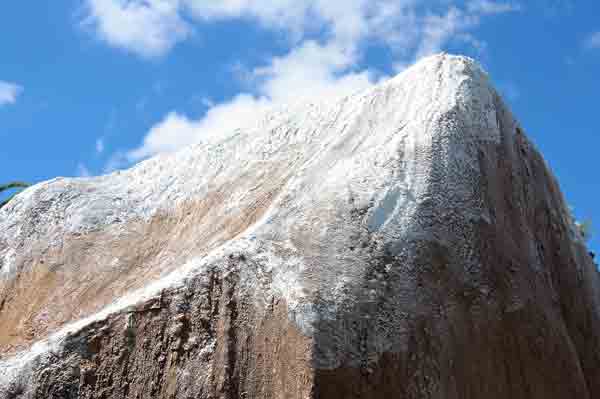
Before you build is the time to plan. How big a mountain? Style? Will the train run through the mountain and/or on the outside of the mountain? Even if you are not an artist, scribble some sort of general outline of your mountain on a piece of paper. Keep it simple. Don’t over-think the task.
I think the simplest way to look at this project, is by thinking it out in four steps: framing, lath, covering, and finishing. For more detailed instructions, see the related article.
Ray Turner
San Jose, California, Zone 9
Rock and mole
I employ a lot of concrete mix on my Mystic Mountain Railroad. First, I use it to cast rockwork, which is so strong that I can stand on it. It’s permanent and requires no maintenance, save for a little paint every 12 years or so. I learned the technique from Bob Treat’s August 2001 article in GR, “Make natural-looking rocks from concrete.” Second, I use it under my track (1-1.5″) to provide a stable roadbed that is gopher and mole proof. And third, I have used it to create a few structures.
Bobby Waal
Alamo, California, Zone 9
Concrete roadbed
When using concrete forms to pour roadbed for track, I’ve developed a civil-engineering approach that works great for straight, curved, or sloping track. For the whole procedure, see the related article.





Am just beggining to work with concrete on my garden railway. What stone tiles did Gary Broeder use on his Roman arch bridge and what is the source?